How To Install Kohler Collet Service Kit – Pro Tips
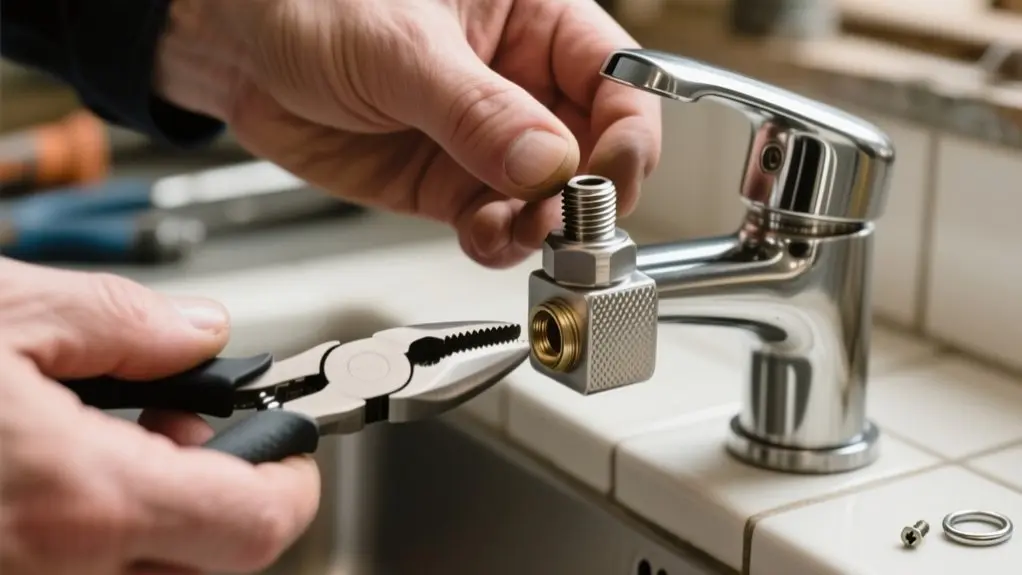
To install your Kohler collet service kit, first shut off the main water supply and drain residual water by opening a faucet. Use pliers to remove the old collet, applying penetrating oil if needed.
Clean the fixture area thoroughly with a mild cleaner and dry it. Align and secure the new collet assembly without over-tightening. Restore water flow and check for leaks using soap water.
Following these steps guarantees a smooth, leak-free installation. Further guidance can help you handle more detailed tasks.
What Tools and Parts You’ll Need for Installation
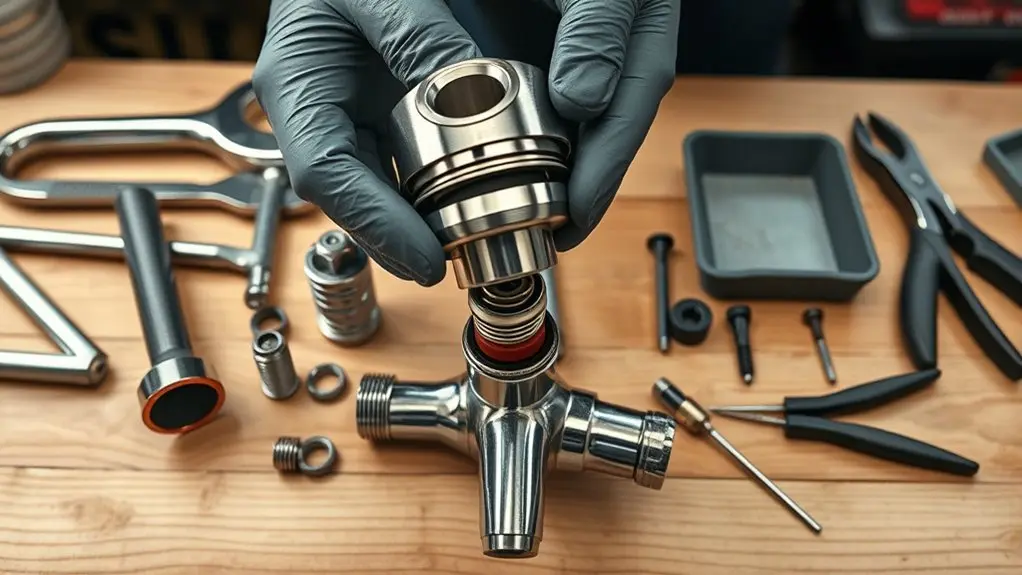
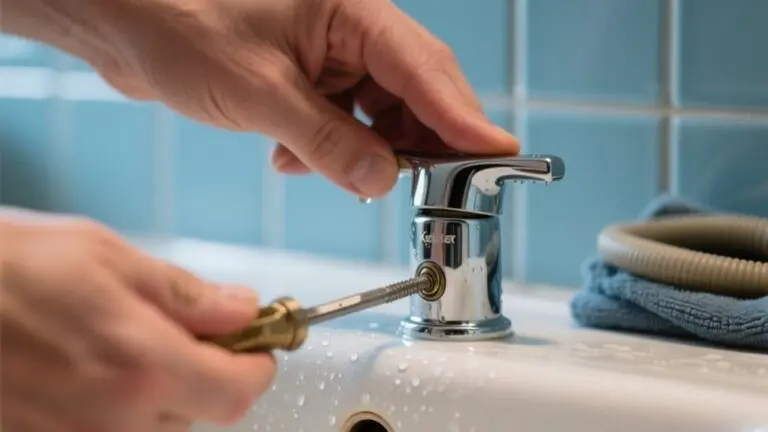
To install the Kohler Collet Service Kit, you’ll need a few essential tools and parts. Gather a Phillips screwdriver, flathead screwdriver, and pliers to remove and install components efficiently.
Essential tools for installing the Kohler Collet Service Kit include a Phillips screwdriver, flathead screwdriver, and pliers.
Have the Kohler Collet Service Kit ready, which includes the collet assembly, retaining nut, and O-rings required for sealing.
Keep a clean, dry cloth nearby to wipe off any water or debris from the installation area, ensuring a proper seal.
A bucket or towel is useful to catch any residual water during disassembly. Wearing gloves is advisable to protect your hands from sharp edges or cleaning chemicals.
Preparing these tools and parts beforehand will streamline the installation process and help you avoid interruptions.
Turn Off the Water Supply Safely
Start by locating the main water shut-off valve, usually near your water meter or where the main line enters your home. Turn the valve clockwise to close it, stopping water flow to all fixtures.
Next, open a nearby faucet on a lower floor to relieve pressure and drain residual water from the pipes. If your sink or appliances like the dishwasher have separate shut-off valves, turn those off as well. This prevents any unexpected water flow during your installation.
After completing your work and turning the water back on, always check for leaks at the valve and fixture connections to confirm a secure seal.
Following these steps guarantees you safely halt water supply before proceeding with your Kohler collet service kit installation.
Removing the Old Collet
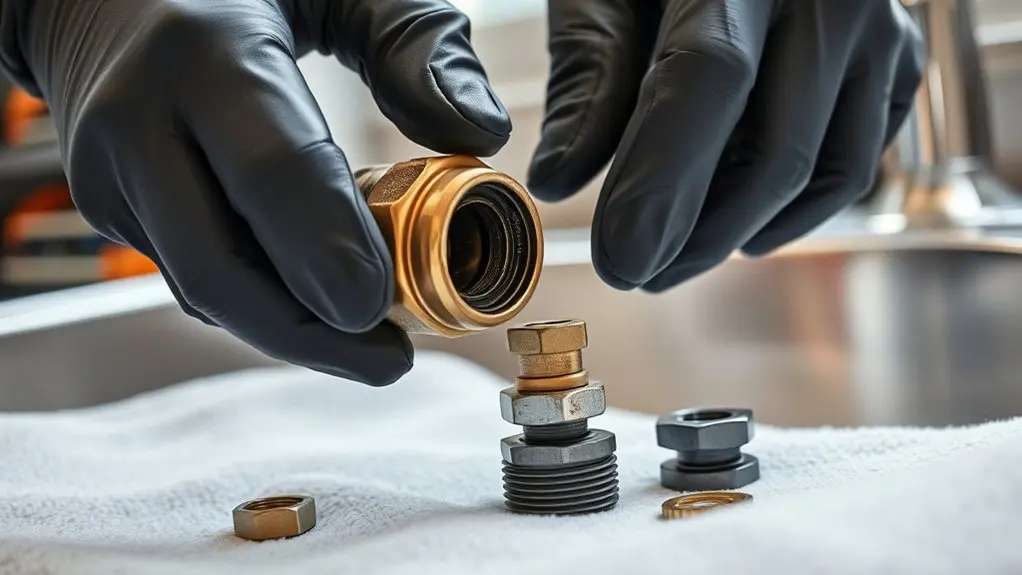
Begin by fully disassembling the faucet to expose the collet, making sure the water supply is off before proceeding.
Use adjustable pliers to firmly grasp the collet and twist it counterclockwise to remove it.
Be gentle to prevent damage to surrounding parts. If the collet resists, apply penetrating oil and wait a few minutes before trying again.
After removal, inspect the collet for wear or damage that might signal additional plumbing issues.
Carefully clean the area around the collet to eliminate any debris that could interfere with the installation of the new service kit.
Handling this step precisely guarantees a smooth shift to the next phase without compromising the fixture’s integrity or function.
Cleaning and Preparing Your Fixture for Installation
Before you install the new collet, make sure to clean the fixture surface thoroughly.
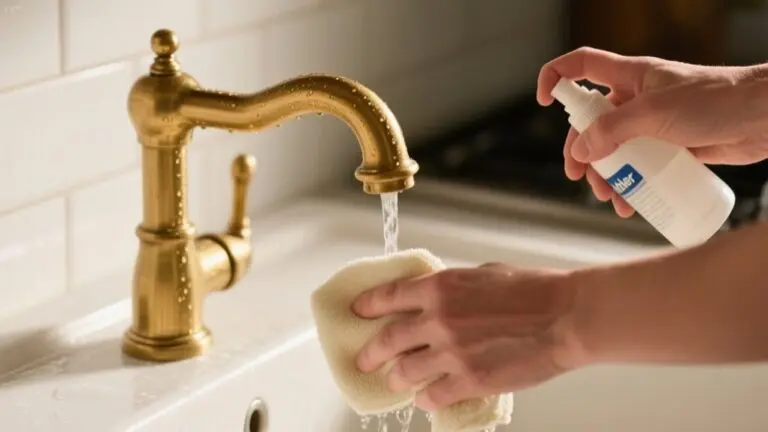
Use a soft cloth and a mild cleaner to get rid of any debris or buildup.
It’s also important to clear the installation area completely.
This way, you’ll have easy access and avoid any contamination during assembly.
Taking these steps helps ensure a secure fit and keeps leaks from happening after installation.
Fixture Surface Cleaning
While guaranteeing the water supply is turned off to prevent leaks, you’ll want to clean the fixture surface with a mild, non-abrasive cleaner that matches the material. Avoid abrasive products that could scratch or damage the finish.
Use a soft cloth or sponge to gently scrub all areas, including corners and crevices, assuring thorough cleaning.
After scrubbing, rinse the surface completely with clean water to remove all soap and cleaner residues, preventing buildup that might interfere with installation.
Once rinsed, dry the fixture thoroughly using a lint-free towel. This step is vital to guarantee a secure seal when installing the Kohler Collet Service Kit.
Proper surface cleaning prepares the fixture for peak kit performance and helps prevent leaks or malfunctions.
Preparing Installation Area
Proper preparation of the installation area guarantees a smooth and secure fit for your Kohler Collet Service Kit. Before starting, turn off the water supply to avoid leaks or flooding.
Next, thoroughly clean the fixture to remove debris and old sealant, then wipe the installation surface with a cloth for a smooth finish.
Inspect all existing parts for wear, replacing any damaged components to guarantee peak performance.
Follow these steps to prepare efficiently:
- Gather all necessary tools and replacement parts to streamline the process.
- Clean and dry the fixture area, removing any contaminants that could interfere with installation.
- Verify that all parts are intact and compatible with the new service kit before proceeding.
This preparation minimizes installation issues and guarantees a reliable seal.
Install the Kohler Collet Service Kit
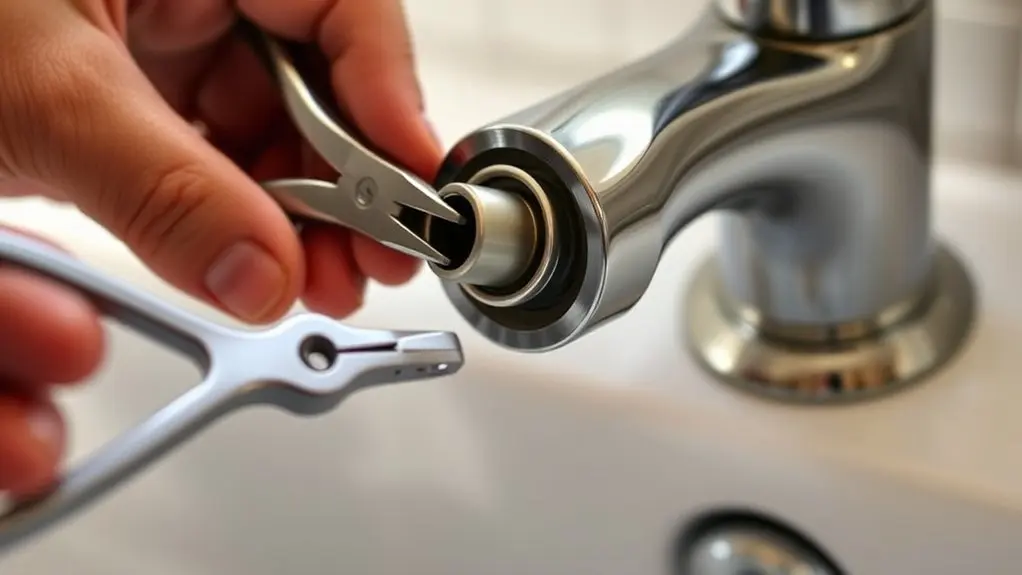
Once you’ve gathered the necessary tools and components, start by shutting off the water supply to prevent leaks.
Next, remove the existing collet assembly by unscrewing it counterclockwise using a wrench or screwdriver.
Inspect the removed collet for wear or damage, addressing any issues before proceeding.
Align the new collet service kit component carefully with the faucet assembly, guaranteeing it fits snugly.
Secure the collet by tightening it firmly but avoid over-tightening to prevent damage.
After installation, restore the water supply and operate the faucet to check for any leaks or malfunctions.
Confirm that the new collet functions smoothly before concluding the process.
This precise approach guarantees a reliable, leak-free installation of your Kohler collet service kit.
Using Plumbing Tape and Tools for a Leak-Proof Seal
Three key steps guarantee a leak-proof seal when using plumbing tape: cleaning the pipe threads thoroughly, wrapping the tape clockwise without overlaps, and tightening fittings carefully to avoid thread damage. Follow these guidelines:
Ensure leak-proof seals by cleaning threads, wrapping tape clockwise without overlaps, and tightening fittings carefully.
- Clean the threads with a cloth to remove debris or old tape, ensuring a smooth surface for sealing.
- Wrap the tape tightly clockwise around the threads, avoiding overlaps that create bulges and compromise the seal.
- Hand-tighten fittings first, then use a wrench cautiously to prevent stripping threads or over-tightening.
Select the correct tape type, like Teflon for water or thicker tape for gas.
You might also want to consider using pipe joint compound alongside tape for extra durability. These steps will help you achieve a reliable, leak-proof connection in your Kohler collet installation.
Test for Leaks and Finish Installation
After installing the Kohler collet service kit, turn on the water supply and carefully inspect all connections for leaks.
Apply a dish soap and water mixture to joints and fittings; any bubbles indicate leaks that need correction.
Allow the system to sit pressurized for at least 30 minutes before fully activating the faucet to verify installation integrity.
Check that mounting screws and fittings are tightened to the manufacturer’s specifications to avoid movement or strain on the collet assembly.
If leaks appear, re-seat seals or tighten connections as needed.
Finally, document the entire installation process and any leak test outcomes for future reference or maintenance.
This guarantees reliability and makes troubleshooting easier if issues arise later.
Frequently Asked Questions
How Often Should I Replace the Kohler Collet Service Kit?
You should replace the Kohler collet service kit every 1 to 3 years, depending on how often you use it and your water quality.
If you notice leaks, wear, or reduced performance, replace it sooner.
For high-use residential setups, changing it annually helps avoid buildup or corrosion.
Regularly inspect the kit and always follow the manufacturer’s guidelines to guarantee your system stays reliable and efficient.
Can I Install the Kit Without Professional Plumbing Experience?
You can install the kit without professional experience, without specialized skills, and without advanced tools.
Start by shutting off the water, removing old parts carefully, and following the included instructions step-by-step.
Use basic tools like a wrench and screwdriver, and prepare towels to catch water.
If you get stuck, watch tutorial videos for extra help.
With patience and attention, you’ll complete the installation effectively and safely on your own.
What Common Mistakes Should I Avoid During Installation?
Don’t rush or skip cleaning the area; leftover debris can cause leaks.
Avoid overtightening collet nuts because you’ll risk cracking parts. Make sure you use the correct tools and follow the manufacturer’s instructions precisely to prevent damage or voiding warranties.
Also, double-check compatibility before starting.
Finally, always test for leaks and proper function after installation to catch issues early and avoid costly repairs.
Will the Kit Fit All Kohler Faucet Models?
No, the Kohler Collet Service Kit won’t fit all Kohler faucet models. You need to verify compatibility with your specific model number before purchasing.
Measure your existing collets and compare them with the kit’s specifications to guarantee a proper fit. Using the kit on incompatible models can cause incomplete repairs.
If you’re unsure, consult Kohler’s customer service or check the installation instructions for your faucet type to avoid mistakes.
How Do I Troubleshoot if the Leak Persists After Installation?
Imagine you just installed the Kohler collet kit, but water still seeps out. First, double-check all components are properly seated and aligned.
Next, inspect and lubricate O-rings. Dry or damaged ones often cause leaks.
Tighten connections to spec, making sure nothing’s loose.
Remove any debris from the assembly. If leaks persist, systematically re-examine each step to confirm correct installation, as even a small error can compromise the seal.
Conclusion
Installing the Kohler collet service kit might seem tricky, but with the right tools and careful steps, it’s straightforward. Don’t worry about leaks. Using plumbing tape and properly tightening connections guarantees a secure seal.
Following this guide, you’ll restore your fixture’s function efficiently without calling a plumber. Just take your time, double-check each step, and you’ll have a reliable, leak-free installation that saves you time and money.