How To Clean Kohler Faucet Head – Beginner’s Guide
To clean your Kohler faucet head, first turn off the water supply by closing the shut-off valves beneath the sink. Unscrew the spray head carefully using snap-ring pliers to access the aerator. Soak the components in a 50/50 white vinegar and water solution for 30 minutes to dissolve mineral buildup.
Next, gently scrub with a soft brush, rinse thoroughly, and dry before reassembling. Make sure to secure all parts without overtightening.
Keep following these steps to maintain the best flow and prevent future clogs. It’s a simple routine that really helps your faucet work smoothly over time.
How To Turn Off Water Supply Before Cleaning Your Kohler Faucet Head
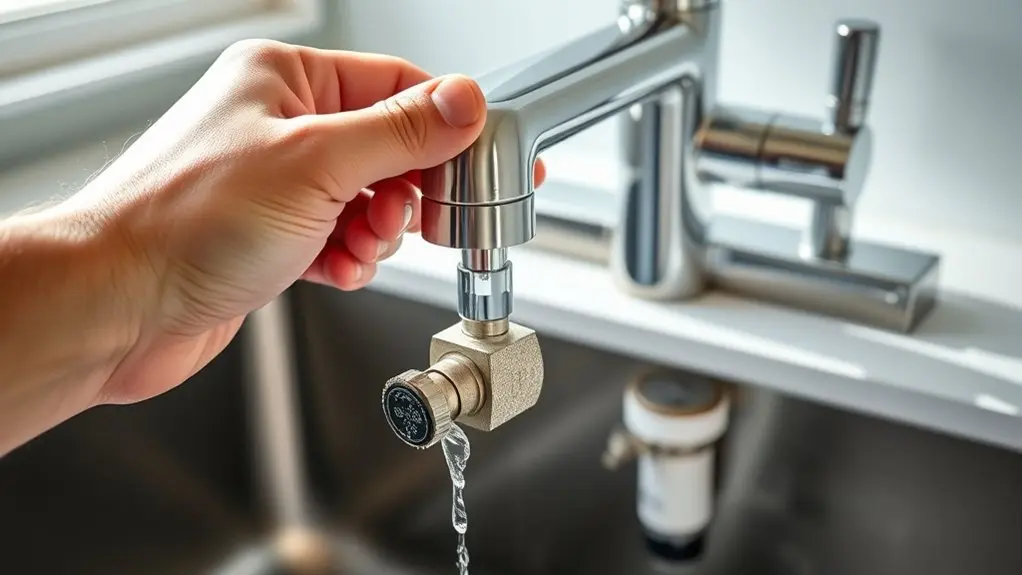
Before you begin cleaning your Kohler faucet head, how do you guarantee the water supply is completely shut off? First, locate the shut-off valves beneath the sink or near the faucet fixture. Turn these valves clockwise until they’re fully closed to stop water flow.
If the valves are stiff, use a wrench to make sure they close securely. After closing the shut-off valves, open the faucet to release any water trapped in the lines. This step prevents leaks during cleaning.
Confirm that no water flows from the faucet before you proceed. Properly shutting off the water supply using the shut-off valves is essential to avoid water damage and ensure a smooth, safe cleaning process.
How To Remove The Kohler 1261404-VS Spray Head Safely
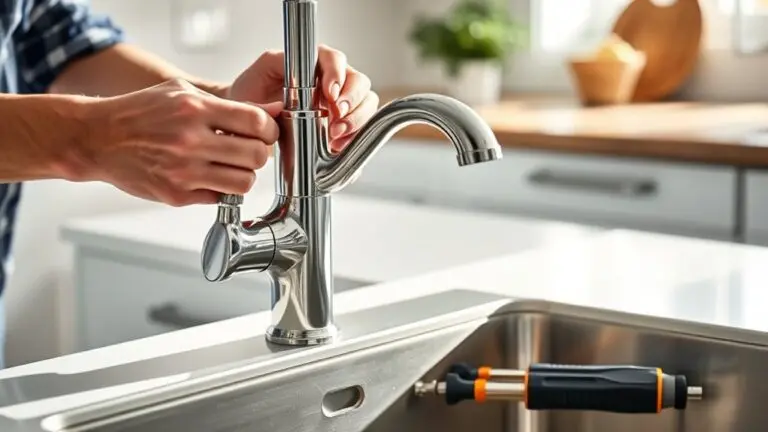
Once you’ve turned off the water supply and confirmed the faucet is dry, you can safely remove the Kohler 1261404-VS spray head. Start by using snap-ring pliers to carefully grip the four holes at the bottom of the spray head. This grip allows you to gently unscrew the bottom section without damaging the finish.
As you remove it, take note of the aerator inside. You’ll be able to remove it for cleaning or replacement with your cleaning solution. This careful disassembly is essential for effective maintenance during your home improvement tasks.
After cleaning or replacing internal parts, just reassemble the spray head by securely screwing the bottom section back on. That way, your faucet will function properly again.
How To Unscrew And Access The Aerator In Your Kohler Faucet Head
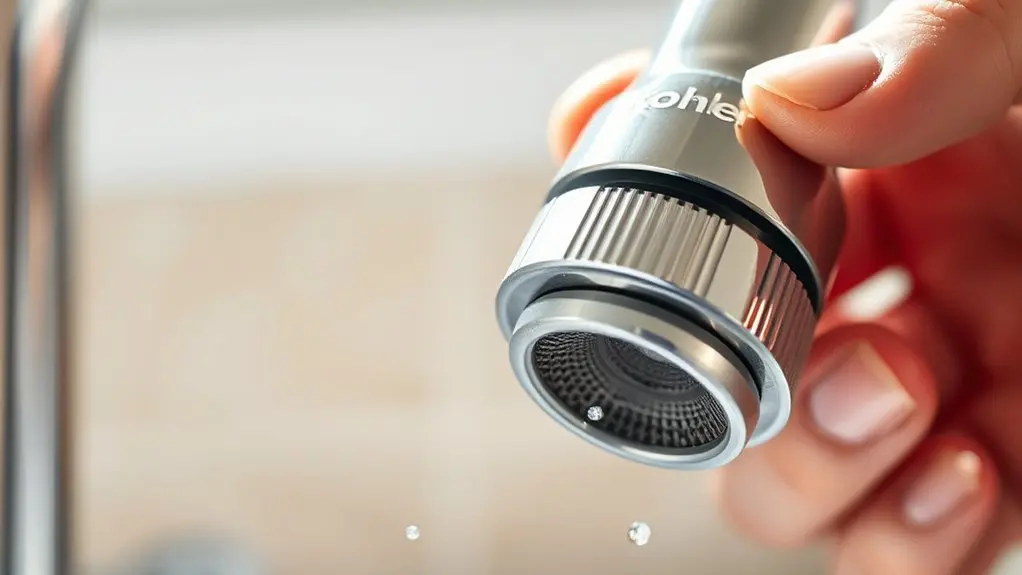
To get to the aerator, you’ll want to begin by removing the bottom section of the spray head where it’s located. Grab some snap-ring pliers and carefully grip that part.
Then, gently unscrew it—just be careful not to damage the threads while you’re at it. Once it’s loosened, you’ll be able to see and take out the aerator for cleaning or swapping it out.
Easy enough, right?
Removing Bottom Spray Head
How exactly do you remove the bottom spray head to access the aerator inside your Kohler faucet? First, turn off the water supply to prevent sudden water pressure release. Then, firmly grip the spray head to avoid damage.
Locate the bottom section, which typically features four small holes. Using snap-ring or needle-nose pliers, carefully unscrew or pry off this bottom cover. This exposes the aerator inside the spray head.
Be precise and gentle to maintain the integrity of the components. Once the bottom spray head is removed, you can clean or replace the aerator as needed.
After maintenance, securely reassemble and screw the bottom section back onto the spray head to restore proper water pressure and function.
Using Snap-Ring Pliers
After removing the bottom spray head, you’ll need snap-ring pliers to get to the aerator inside your Kohler faucet head.
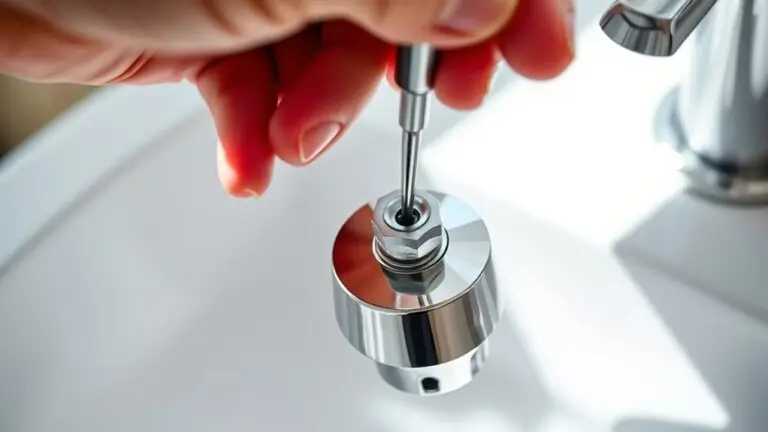
First, find the four small holes at the bottom section of the spray head. Then, insert the tips of the snap-ring pliers into these holes and gently squeeze to remove the snap ring.
This snap ring holds the bottom section in place, so be careful not to damage the spray head or lose any small internal parts.
Once the snap ring is off, you can unscrew the bottom section to finish taking apart the spray head and reveal the aerator.
Take your time with this process to keep all the internal parts safe and make sure everything goes back together smoothly after cleaning.
How To Soak And Clean Mineral Buildup On Your Kohler Faucet
Although mineral deposits can gradually reduce your Kohler faucet’s water flow, you can effectively dissolve buildup by soaking the faucet head in an equal mixture of white vinegar and water for 30 minutes. This cleaning technique targets mineral deposits by breaking down calcium and lime accumulation.
Soak your Kohler faucet head in equal parts white vinegar and water for 30 minutes to dissolve mineral buildup.
After soaking, gently scrub the nozzles with a soft brush to remove loosened residue without damaging the surface. Then, rinse thoroughly with clean water to eliminate any vinegar traces.
If you find stubborn deposits, just repeat the soaking process or try a commercial descaling solution made specifically for mineral removal. Regularly using these cleaning methods helps prevent mineral buildup from restricting water flow and keeps your faucet working like new.
This approach is a simple and practical way to maintain your faucet’s performance over time.
How To Scrub And Clear Debris Without Damaging Your Faucet
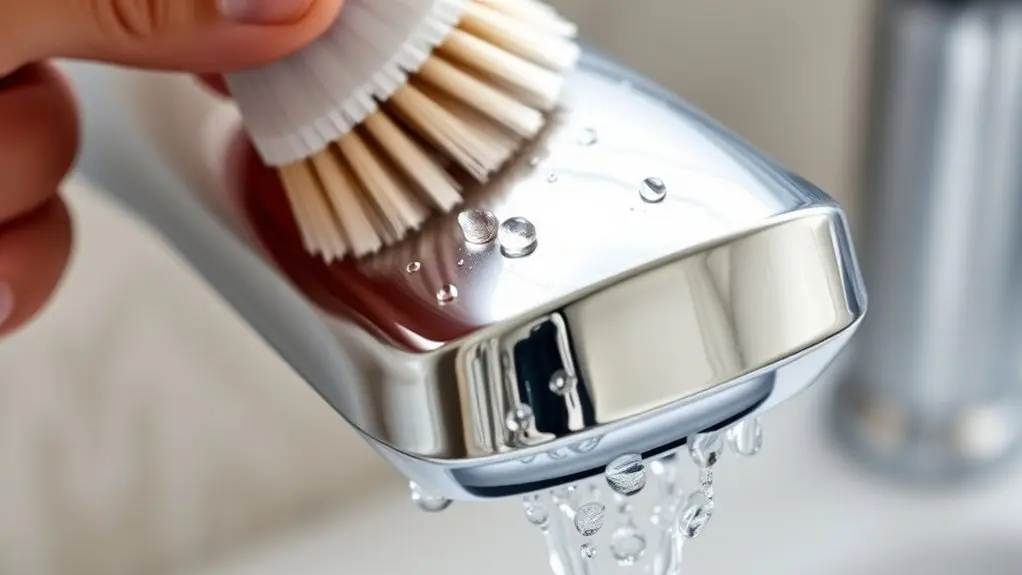
Soaking your Kohler faucet head in vinegar and water helps loosen mineral deposits. But you’ll need to carefully scrub and clear any remaining debris to restore ideal water flow.
Use gentle cleaning techniques like a soft cloth or sponge with mild soap to avoid scratching the surface.
Avoid abrasive scrubbers to guarantee surface protection.
If possible, disassemble the aerator or spray head and use a soft brush to remove internal clogs and debris.
After scrubbing, rinse thoroughly with water to wash away loosened particles and cleaning solution.
Finally, dry the faucet head completely with a soft towel to prevent water spots and further mineral buildup.
Following these steps will help make sure you remove debris effectively without compromising your Kohler faucet’s finish or function.
How To Check And Replace The Aerator For Better Kohler Faucet Flow
When you notice reduced water flow from your Kohler faucet, check the aerator by unscrewing the faucet spout or removing the spray head to access the internal screen.
Inspect the aerator for debris, mineral buildup, or clogs, then clean it thoroughly using a cloth or brush. This step often improves faucet flow by restoring proper water pressure adjustment.
If cleaning doesn’t resolve the issue, go ahead and replace the aerator with a compatible 18mm unthreaded model.
Make sure to securely reinstall the cleaned or new aerator by screwing it back into place.
Regularly inspecting and maintaining the aerator helps guarantee consistent water flow and prevents future clogs. This simple approach keeps your Kohler faucet working well without needing complex repairs or replacements.
How To Test Water Flow And Troubleshoot Remaining Kohler Faucet Issues
After cleaning or replacing the aerator, you should test your Kohler faucet’s water flow to make sure the problem is fixed. Turn the faucet fully on and watch if the water pressure stays steady and strong. You can use a flow measurement tool or simply fill a container over a timed interval to check if the flow rate matches the rated 1.5 GPM or lower.
Test your Kohler faucet’s flow by running it fully and measuring to ensure steady pressure at 1.5 GPM or less.
If the flow is still weak, take a look at the spray head and aerator for any debris or mineral buildup. Clean or replace them as needed.
Next, check for leaks by inspecting the supply lines. Look for kinks, cracks, or loose connections. Make sure all parts are installed properly.
If you’re still having issues, it might be time to replace faulty cartridges or aerators to get your faucet working at its best again.
How To Reassemble The Spray Head Correctly After Cleaning
Although cleaning the spray head is essential, reassembling it correctly guarantees peak performance and prevents damage. Before putting everything back, make sure all components are completely dry to avoid mold and corrosion.
Then, focus on aligning the spray head precisely to prevent cross-threading. It’s a simple step but really important for a smooth fit.
Follow these steps to reassemble properly:
- Confirm all parts are dry before reinstallation.
- Align the spray head bottom section carefully with the faucet body.
- Securely tighten threads and screws, but avoid over-tightening to protect plastic parts.
- Double-check that the aerator is seated and tightened firmly for the best water flow.
Easy Maintenance Tips For Your Kohler Faucet To Prevent Future Clogs
To prevent future clogs and maintain ideal water flow, you should regularly remove and clean the aerator on your Kohler faucet head. Mineral buildup reduces water pressure and can lead to blockages.
So, soaking the aerator in vinegar or a descaling solution at least once every few months is essential.
Use a soft brush to gently scrub the aerator screen. Avoid harsh chemicals or abrasive tools that may damage the mesh and internal components.
Keeping up with this cleaning routine helps preserve optimal water pressure and extends the faucet’s lifespan.
If you have hard water, consider installing a water softener to minimize mineral deposits.
Following these straightforward maintenance steps will help ensure your Kohler faucet stays efficient and clog-free over time.
Frequently Asked Questions
Can I Use Bleach to Clean My Kohler Faucet Head?
You shouldn’t use bleach to clean your Kohler faucet head, as it can damage finishes and internal parts. Instead, go for bleach alternatives like vinegar or mild, non-abrasive cleaners. These options are safer and help preserve your faucet by preventing corrosion and discoloration.
Use soft cleaning tools, such as microfiber cloths or soft brushes, to gently remove buildup. Always rinse thoroughly after cleaning to protect your faucet’s longevity and keep your water quality intact.
Taking these simple steps will help your faucet stay in great shape and working well for years. It’s a small effort that pays off!
How Often Should I Clean My Kohler Faucet Head?
Think of your Kohler faucet head like a well-tuned engine. It needs regular care to run smoothly. You should clean the faucet aerator every three to six months to prevent mineral buildup.
This buildup can choke water pressure and reduce spray quality. If you live in a hard water area, monthly cleaning is best.
This helps keep your water flow consistent and efficient.
Doing this maintenance protects your faucet’s performance and extends its life. It’s a simple step that pays off in the long run.
Are There Specific Cleaning Products Safe for Kohler Faucets?
Yes, you should use cleaning products specifically designed for bathroom and kitchen fixtures to protect your Kohler faucet’s finish. Avoid abrasive cleaners and harsh chemicals like bleach. Mild soap or a water-vinegar mix is ideal.
For maintenance routines, regularly wipe the faucet with a soft cloth and use gentle products. These cleaning tips and product recommendations help prevent damage and buildup, keeping your faucet looking new and functioning well.
What if My Kohler Faucet Head Leaks After Cleaning?
Did you know 30% of faucet leaks come from worn seals? If your Kohler faucet head leaks after cleaning, start by checking the O-rings and cartridges. Make sure they’re seated properly and not damaged.
Next, try tightening the faucet handle and cartridge securely. This often stops water from escaping.
If the leak keeps happening, you might need to replace parts like the cartridge or even the entire faucet head.
To avoid leaks in the future, inspect your faucet regularly. Also, clean it gently to help extend the life of its components.
Taking these simple steps can save you a lot of hassle down the road.
Can I Clean My Kohler Faucet Head Without Removing It?
Yes, you can clean your Kohler faucet head without removing it. To keep the water pressure steady and stop mineral buildup, try soaking the spray nozzles in vinegar while it’s still attached by simply inverting the faucet head.
Use a soft brush to gently scrub the outside. It’s best to avoid fully removing the aerator unless you really need to.
Doing regular cleaning like this helps your faucet work well without risking damage or leaks from taking it apart the wrong way. Easy and effective!
Conclusion
Now that you’ve gently refreshed your Kohler faucet head, you’re set to enjoy a smoother, more reliable water flow. Regular care helps avoid those pesky interruptions and keeps your faucet performing like new.
By taking these straightforward steps, you’re not just cleaning; you’re giving your faucet a little spa day to maintain its efficiency and longevity. Keep this gentle regimen up, and your Kohler will continue serving you flawlessly for years to come.