How To Remove Kohler Bathroom Faucet Handle – Made Easy
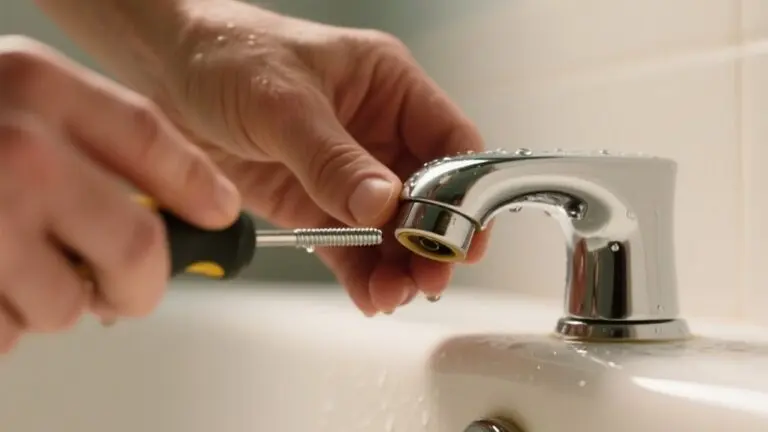
First, turn off the water supply valves under the sink and make sure no water flows when you test the faucet. Use a flat-head screwdriver to carefully pry off the handle plug. Then, unscrew and lift the faucet handle straight off.
If needed, protect the finish with a cloth to avoid scratches. Removing the handle exposes the internal parts so you can do more work inside.
Just follow these steps closely, and you’ll be ready to tackle the next stages of your faucet repair with confidence. It’s easier than you might think!
Turn Off Faucet Water Supply and Prepare Tools
Where do you start when removing your Kohler bathroom faucet handle? First, shut off the water supply valves located under the sink. This step prevents water flow during the removal process, avoiding potential leaks or damage.
Begin by turning off the water supply valves under the sink to prevent leaks during faucet handle removal.
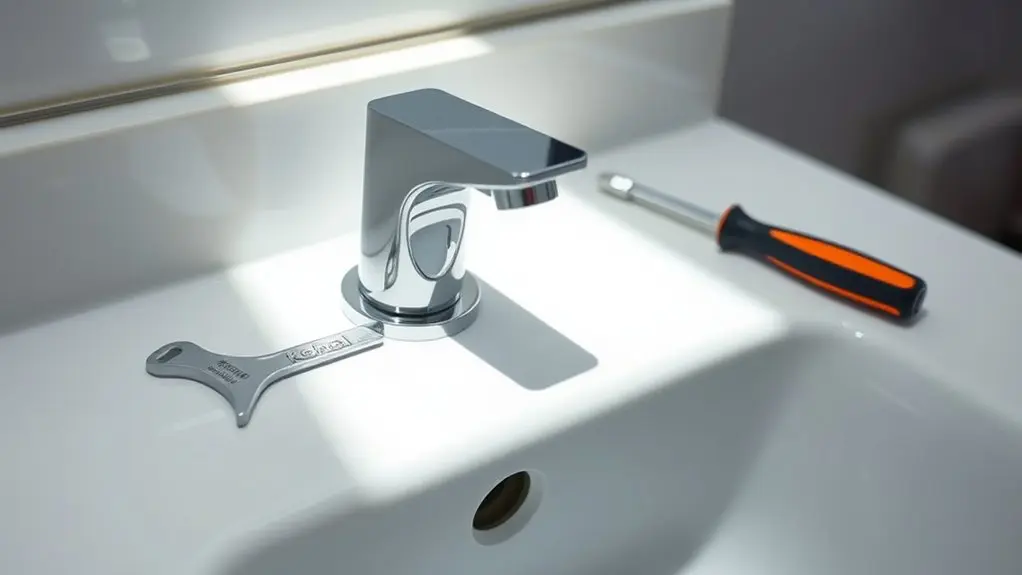
Next, gather the necessary tools before proceeding. You’ll need an adjustable wrench, strap wrench, and cleaning supplies for later use.
Depending on your faucet model, a flat-head screwdriver and Allen wrench or screwdriver will also be required to remove screws.
Having all these tools ready ensures a smooth workflow without interruption. Confirm the water supply is fully closed by testing the faucet handles briefly.
Once your tools are assembled and the water supply is off, you’re prepared to move on to handle removal safely and efficiently.
Remove the Handle Plug to Access the Screw
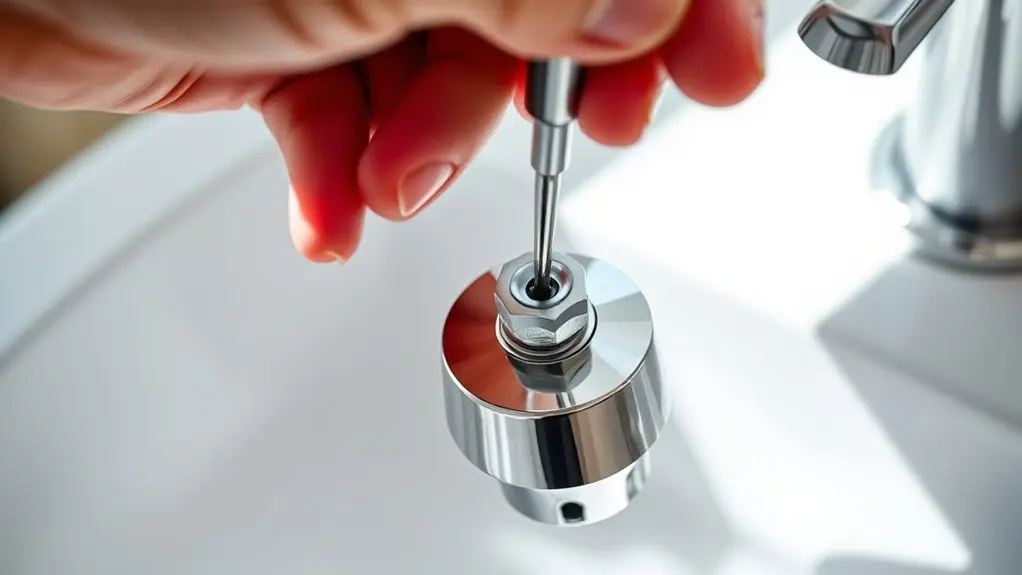
First, find the handle plug—it’s a small button right in the center of the faucet handle, covering the screw. You’ll want to use a flathead screwdriver or a utility knife to gently pry it out.
Just be careful not to scratch or damage the finish while you do this.
Once the plug is off, you’ll have easy access to the screw underneath, making it simple to remove the handle.
Identifying The Handle Plug
Although the handle plug is small and often blends seamlessly with your faucet’s finish, you’ll need to remove it to access the screw securing the handle. Identifying the handle plug is your first step. It’s a decorative cap designed to conceal the screw beneath.
Look for these features to identify the handle plug: It’s usually located at the top or side of the handle and matches the faucet’s finish. It’s small and discreet, often made from the same material as the faucet.
You might notice it’s slightly raised or flush, which makes it easier to pry off gently. Once you spot the handle plug, you’ll be ready to carefully remove it without damaging your faucet.
This will reveal the screw that keeps the handle firmly in place. Recognizing it correctly makes the removal process smooth and hassle-free.
Removing The Plug Button
Before accessing the screw beneath the handle plug, you’ll need to carefully remove the plug button using a flathead screwdriver or a small pry tool.
Start by locating any small indentation or notch on the plug button, which can help guide your tool.
Gently insert the flathead screwdriver or pry tool at the edge of the plug button, applying slight upward pressure to avoid scratching or damaging the handle’s finish.
Work your way around the plug button’s perimeter if needed, loosening it gradually.
Once loosened, lift the plug button straight out to reveal the mounting screw underneath.
Be sure to keep the plug button in a secure place for reinstallation later.
This step is essential for safely removing the handle without causing damage.
Tools For Plug Removal
When removing the handle plug, you’ll need the right tools to avoid damaging the finish or handle. Using improper tools can scratch or crack delicate surfaces, so choose carefully. Most handle plugs pop out with minimal force, but some require specific tools.
Here are the essential tools for plug removal:
- Flat-head screwdriver: Use gently to pry out the handle plug without scratching the finish.
- Plastic pry tool: Ideal for preventing damage when levering the plug free.
- Allen wrench (hex key): Necessary if a set screw secures the handle plug before removal.
In some Kohler models, you can pull the handle plug straight out by hand. Always inspect the plug for a set screw first to avoid applying excessive force.
Once removed, you’ll access the securing screw easily.
Unscrew and Remove the Faucet Handle
First, find the screw that holds the handle in place. It’s usually hidden under that decorative cap you took off earlier.
Next, grab the right tool—either an Allen wrench or a Phillips screwdriver—and carefully unscrew it.
Once the screw is loose, you can lift the handle off the valve stem.
Make sure to keep all the parts organized so you can put everything back together later.
Locate Handle Screw
Although the handle screw is often hidden, you can find it by looking for a small decorative cap or plug on the faucet handle. This cap usually covers the screw that holds the handle in place.
To get to the screw, gently pry off the cap using a flat-head screwdriver or even your fingernail. Once you see the screw, check what type it is—usually Phillips or hex—and get ready to remove it.
Here’s how you can locate and access the handle screw:
- Look for a small decorative cap or plug on the handle surface.
- Carefully pry off the cap to reveal the screw underneath.
- Identify the screw type so you know how to remove it.
Finding the handle screw correctly is important before you try to unscrew and take off the faucet handle.
Use Proper Tools
After you’ve located and exposed the handle screw, select the appropriate tool, either a Phillips screwdriver or hex wrench, to loosen and remove it. Use the tool that matches the screw type to avoid stripping or damaging the handle.
If the handle resists removal, protect the faucet’s finish by applying a strap wrench or wrapping a cloth around the handle before applying torque.
Once the screw is fully loosened, carefully lift the handle away from the faucet. Try to avoid contact with surrounding surfaces to prevent scratches or damage.
Keep all removed parts, including screws, organized in a container to prevent loss during disassembly.
Always consult the manufacturer’s instructions for recommended tools and procedures. This way, you make sure you don’t damage the handle or faucet components during removal.
Remove Handle Components
When you’re ready to remove the faucet handle, start by locating the screw that secures it. This screw is often hidden beneath a small plug or cap. Use a Phillips screwdriver or hex wrench, depending on the handle design, to unscrew it carefully.
Make sure to protect the finish by applying a strap wrench or soft cloth when handling the components. Then, gently lift the handle off, noting the position of any washers or clips.
Keep all removed parts organized to simplify reassembly.
To remove handle components efficiently, use the correct tool (Phillips screwdriver or hex wrench) for the securing screw. Protect the finish surface during removal.
Also, store washers, clips, and screws together to avoid loss.
This method ensures a smooth process when you remove handle components.
Remove the Bonnet to Access the Valve
How do you remove the bonnet to access the valve?
First, after removing the handle screw, unscrew the bonnet by turning it counterclockwise using a wrench or by hand.
Once loosened, carefully lift the bonnet off the valve assembly, taking care not to damage the finish or nearby components.
Inspect the bonnet for mineral deposits or debris, cleaning it as needed before reinstallation.
Keep the bonnet and all related parts organized to guarantee proper reassembly later.
Make sure the bonnet is fully removed to gain clear access to the valve for any repair or replacement tasks.
Following these steps will help you efficiently reach the valve without causing damage or losing essential parts.
Just take your time and keep everything in order, and you’ll have it done in no time.
Loosen and Remove the Mounting Nut Holding the Valve
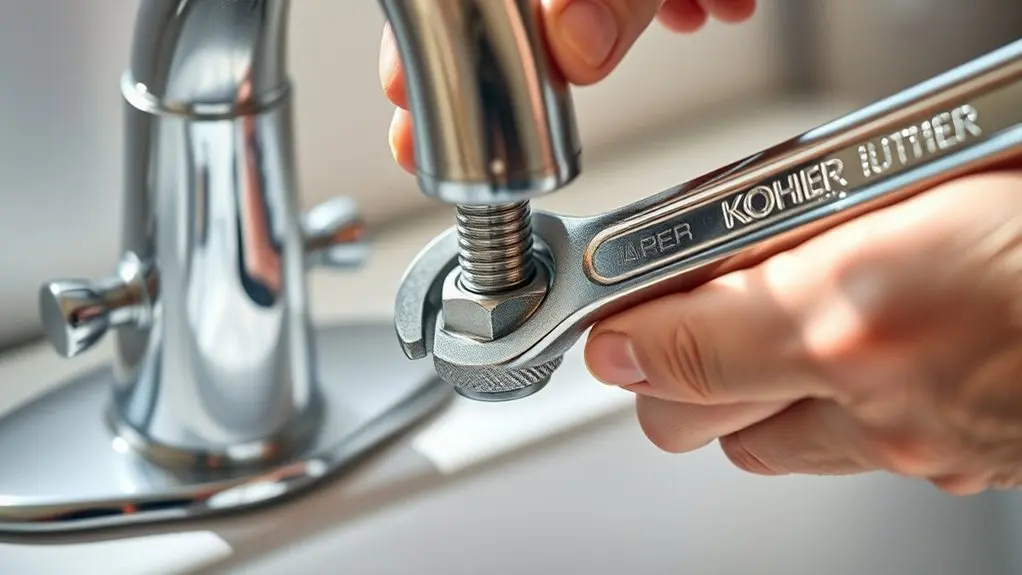
Although the mounting nut may be hidden beneath a decorative cap or escutcheon, you’ll need to remove these first to access it.
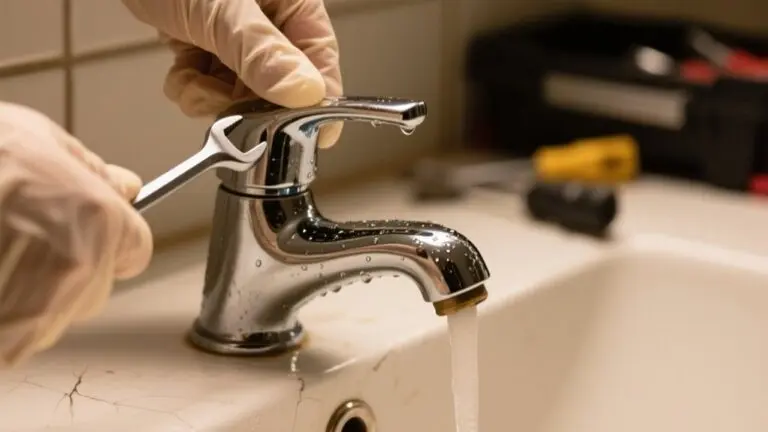
Once exposed, use an adjustable wrench to carefully loosen the mounting nut by turning it counterclockwise.
Be sure to support the valve or handle firmly to prevent sudden movement while loosening.
If the nut is stuck or corroded, apply penetrating oil and allow it to sit for a few minutes before trying again.
Keep track of the mounting nut and any washers or gaskets for proper reassembly.
Follow these steps:
- Remove any decorative caps or escutcheons covering the nut
- Support the valve or handle securely
- Use an adjustable wrench to loosen the mounting nut
This guarantees safe and efficient removal of the mounting nut holding the valve.
Detach the Old Valve, Noting Its Orientation for Proper Replacement
Why is it essential to note the valve’s orientation before removal? Proper orientation guarantees the new valve fits correctly, preventing leaks or malfunction.
Begin by carefully observing the old valve’s position, marking any depressions, grooves, or notches. These features dictate how the valve aligns within the faucet body.
Carefully observe and mark the valve’s depressions, grooves, or notches to ensure proper alignment.
After loosening and removing the mounting nut with an adjustable wrench, gently detach the valve, maintaining awareness of its orientation.
Keep the old valve intact and organized to serve as a reference. This practice ensures you replicate the exact alignment when installing the replacement valve, maximizing performance.
Failing to note the valve’s orientation can lead to improper fitting, causing operational issues.
Always document the valve’s position thoroughly before proceeding. It might seem like a small step, but it really makes the process smoother and prevents headaches down the line.
Install the New Valve, Aligning It Correctly
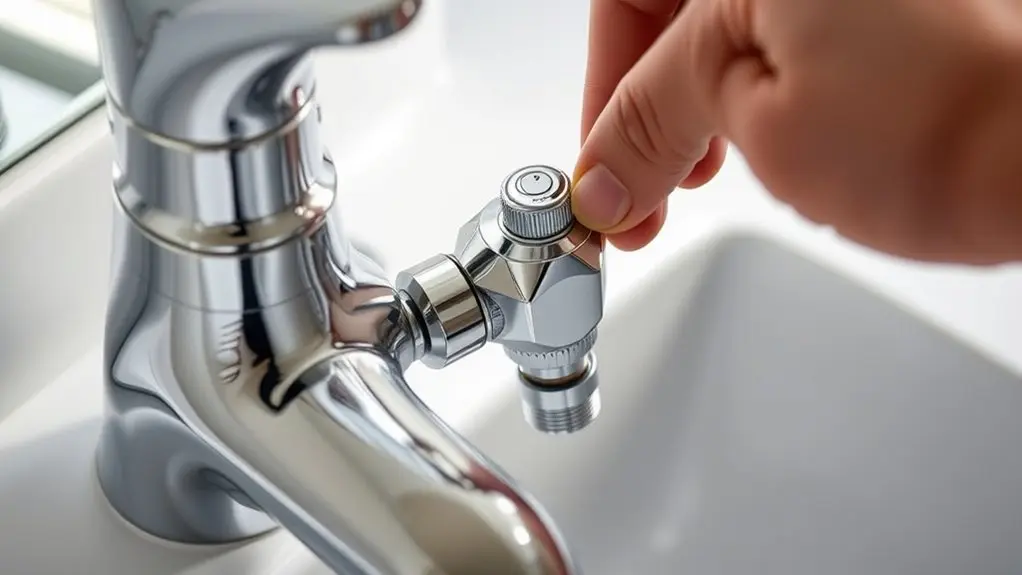
Before inserting the new valve, align its pegs with the depressions in the valve body to guarantee a proper fit. This ensures the valve seats correctly and functions smoothly.
Insert the valve carefully, matching the manufacturer’s markings for orientation.
If needed, rotate the valve slightly to align the pegs and depressions perfectly. Follow these steps for proper aligning:
- Confirm the valve’s pegs and depressions are matched before insertion.
- Seat the valve evenly and securely in the valve body.
- Tighten the mounting nut, then double-check the valve’s position to maintain alignment.
Properly aligning the valve is crucial for smooth faucet operation and prevents leaks or damage. Take your time to ensure the valve fits precisely before proceeding. It really makes a difference!
Reassemble the Faucet Handle and Bonnet
Once the valve is properly aligned and secured, you can go ahead and reassemble the faucet handle and bonnet. Start by aligning the handle and bonnet components carefully to make sure they fit just right.
Thread the bonnet clockwise by hand, tightening it with gentle, even turns. This helps avoid damaging the finish or stripping the threads.
Next, reinstall the handle screw. Make sure it’s snug but don’t overtighten it—this prevents damage to the screw or handle.
Finally, press the handle’s plug button firmly into place until it clicks securely. This step keeps the handle looking clean and intact.
Follow these instructions closely, and you’ll restore the faucet’s functionality while keeping everything looking great without causing any damage.
Test Faucet for Leaks and Finalize Repair
How do you guarantee your Kohler bathroom faucet is properly sealed and fully functional after reassembly? Start by turning the water supply back on and operating the faucet. Check carefully for any leaks around the handle, valve, and mounting area.
Observe the water flow to ensure it’s smooth and consistent, confirming the internal components were put back correctly. To finalize the repair, wipe away any water or debris near the reassembled parts so you can spot leaks more easily.
If you see leaks, gently tighten the mounting nut. Just be careful not to over-tighten it, since that can cause damage. Then, keep an eye on the faucet for several minutes to make sure no leaks show up during normal use.
Following these steps will help you make sure your faucet is leak-free and working perfectly after reassembly.
Frequently Asked Questions
What Tools Do I Need to Remove a Kohler Faucet Handle?
You’ll need a Phillips screwdriver and a 3/32-inch hex wrench for most Kohler faucet handle removal. Keep an Allen wrench handy for set screws.
Use an adjustable wrench to loosen mounting nuts if necessary.
A strap wrench helps protect surfaces during faucet maintenance. A soft cloth prevents scratches and slipping.
These tools make handle replacement easier and help you work efficiently without damaging your faucet’s finish.
How Do I Know if My Faucet Valve Needs Replacement?
You’ll know your faucet valve needs replacement if you notice valve symptoms like reduced water flow, inconsistent pressure, or continuous dripping even when the handle is off.
If the handle feels loose, requires a lot of force, or makes unusual noises, that’s another clear sign.
Also, take a close look for corrosion or mineral buildup around the valve area. These issues usually mean the valve is worn out, clogged, or damaged.
When you spot any of these problems, it’s a good idea to have the valve inspected and replaced as soon as possible. That way, you can avoid bigger headaches down the line.
Can I Use Plumber’s Tape During Valve Installation?
Yes, you can use plumber’s tape during valve installation to guarantee a watertight seal. Wrap the tape clockwise around the valve’s threaded connections 2-3 times to fill small gaps and prevent leaks.
Just be careful not to over-wrap, as excess tape can interfere with fitting and reassembly. Make sure the tape lies flat and smooth on the threads to maintain a proper seal and secure the valve effectively.
How Do I Prevent Water Damage During Faucet Repair?
To prevent water damage during faucet repair, start by turning off the water supply.
Use maintenance tips like placing a towel or drip tray beneath the faucet to catch any residual water.
Protect surrounding surfaces with a cloth or cover to avoid splashes.
Disconnect supply lines carefully to prevent spills.
After the repair, reassemble components securely and check for leaks before restoring water flow.
These steps help minimize water damage risks effectively.
What Should I Do if the Handle Screw Is Stripped?
If you find the handle screw stripped, don’t panic. It’s time for precise screw extraction.
First, wrap a rubber band or steel wool around the screw head to improve grip during handle removal.
Next, apply penetrating oil like WD-40 and wait a few minutes to let it loosen up.
Use a screw extractor or a left-handed drill bit carefully to avoid causing any damage.
If all else fails, you can drill out the screw and replace it with the correct size.
Just take your time, and you’ll get that handle back on in no time.
Conclusion
Now that you’ve removed and replaced your Kohler faucet handle with ease, you’re practically a plumbing wizard! Just remember to double-check all connections and test for leaks before finishing up. Taking these precise steps guarantees your faucet works flawlessly, saving you from a waterfall disaster in your bathroom.
With these simple instructions, you’ve mastered a task that once seemed intimidating. This will make future repairs a breeze.