How To Remove Kohler Bathtub Faucet Handle – Made Easy
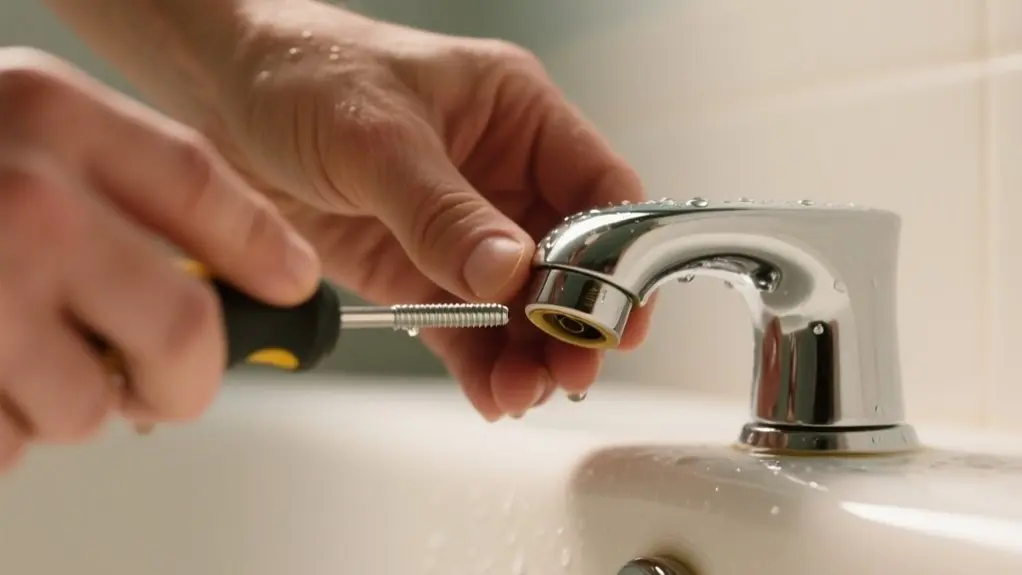
To remove your Kohler bathtub faucet handle easily, first identify the handle type and locate the set screw, usually at the back under a decorative cap. Use a 3/32 hex wrench to loosen the screw, protecting the finish with a soft cloth or strap wrench.
Unscrew any bonnet screws with a Phillips screwdriver, then turn the handle skirt counterclockwise to remove it. Keep parts organized to streamline reassembly.
Follow these steps to avoid damage and guarantee a smooth process. Further details will help you tackle cleaning and reassembling confidently.
How To Identify Your Kohler Faucet Handle
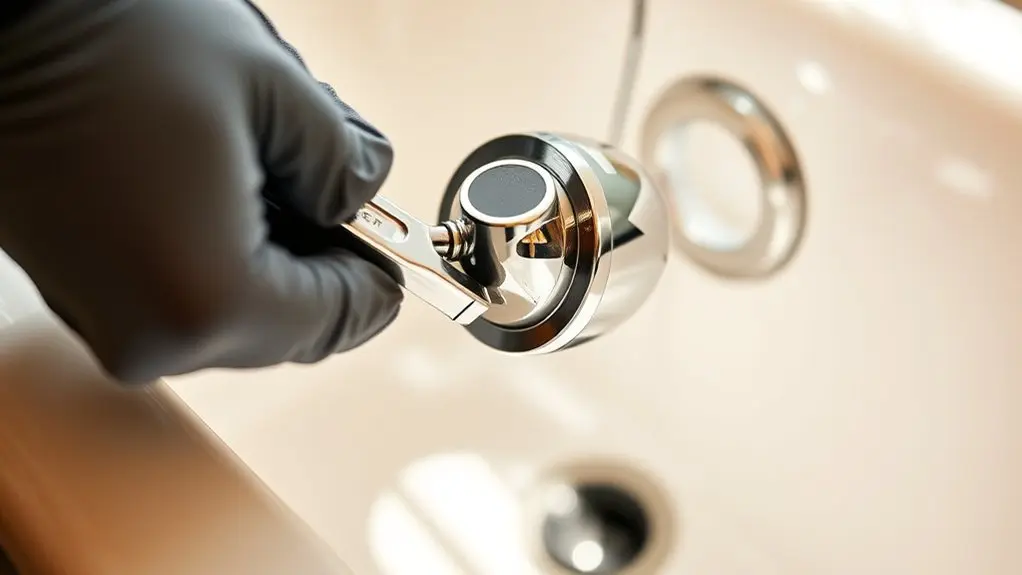
How can you quickly identify your Kohler bathtub faucet handle? Start by inspecting the handle for a visible set screw, typically located at the back. This screw is essential for recognizing the handle type and its removal method.
If the handle includes a decorative flared piece or cap, gently pry it off to check for hidden screws beneath.
Next, locate the model number on the faucet body, often found underneath or in your installation guide. This number helps confirm the exact Kohler handle style, whether lever, knob, or cross.
Each type requires specific removal steps. For precise identification, refer to Kohler’s website or customer support for detailed diagrams and photographs that match your handle’s design and hardware configuration.
Tools You’ll Need For Handle Removal
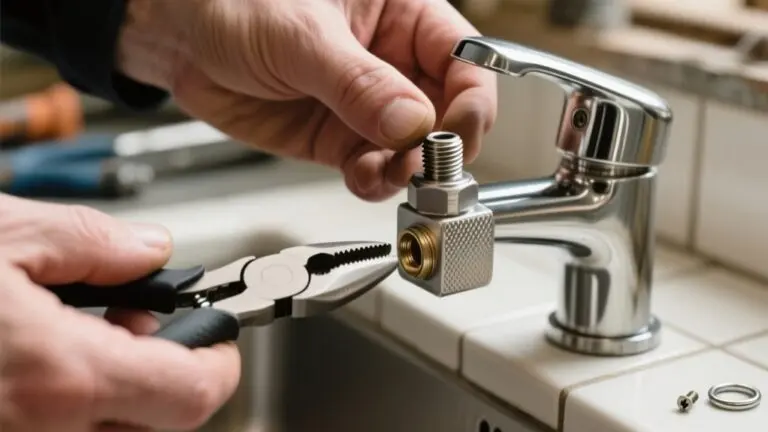
You’ll need a few essential tools like a strap wrench, hex wrench, and Phillips screwdriver to remove your Kohler faucet handle efficiently.
It’s a good idea to protect the faucet’s finish by using a soft cloth or towel while you work.
Also, having a bowl nearby for screws helps keep everything organized, and if you have some grip enhancers, they can make the job go a lot smoother and prevent any parts from getting lost.
Essential Removal Tools
To remove a Kohler bathtub faucet handle efficiently, gather a few essential tools first. You’ll need a hex wrench, typically 3/32 size, to loosen the set screw hidden at the back of the lever handle.
A Phillips screwdriver comes next. It’s vital for removing any screws that secure the handle or bonnet. Sometimes, a flathead screwdriver is necessary to pry off the decorative cap, exposing these screws.
Using a strap wrench is highly recommended. It provides a firm grip on the faucet handle and skirt without damaging the finish.
Finally, keep a container nearby to hold screws and small parts during disassembly. Having these tools ready guarantees a smooth, damage-free removal of your Kohler faucet handle.
Protective Equipment Needed
Several key pieces of protective equipment guarantee a safe and efficient removal of your Kohler bathtub faucet handle. To protect the finish, use a strap wrench for a secure grip when turning the skirt counterclockwise. A clean cloth or towel placed beneath the handle will catch drips and shield surfaces.
To expose and remove internal components, have a 3/32 hex wrench ready to loosen the set screw, especially on centerset styles. A Philips screwdriver is essential for removing bonnet screws. Keep pliers on hand for gripping tasks and a small container nearby to hold screws and prevent loss.
These tools help you remove the handle without damage, maintaining the faucet’s integrity and ensuring smooth access to internal parts during the removal process.
Optional Grip Enhancers
Although basic tools often suffice, optional grip enhancers can greatly ease the removal of your Kohler bathtub faucet handle. A strap wrench provides a secure grip without damaging the finish, allowing you to turn the skirt counterclockwise smoothly and remove the handles efficiently.
Always use a 3/32 hex wrench to loosen the set screw at the back of the lever handle, ensuring proper detachment. To protect all finish surfaces, place a clean cloth between tools and the faucet.
A Philips screwdriver is necessary for removing the bonnet screw to access internal parts. In stubborn cases, a hacksaw can modify the turning stem, but exercise caution to avoid damage and deburr edges afterward.
These optional tools improve control and safeguard your faucet during handle removal.
How To Protect Your Faucet’s Finish
When working on your Kohler bathtub faucet, protecting its finish requires careful preparation. Use a soft cloth or towel to cover the faucet, preventing scratches.
Apply painter’s tape around areas where tools may touch to shield the finish. Avoid abrasive materials and harsh chemicals that can wear down the protective coating.
Use a strap wrench to evenly distribute pressure and avoid damage. Regularly clean with a 50/50 vinegar and warm water solution to remove buildup without harming the finish.
| Protect Finish | Use Soft Cloth | Apply Tape |
|---|---|---|
| Prevent Scratches | Avoid Abrasives | Use Strap Wrench |
| Clean with Vinegar | Remove Buildup | Preserve Look |
How To Remove Your Kohler Faucet Handle
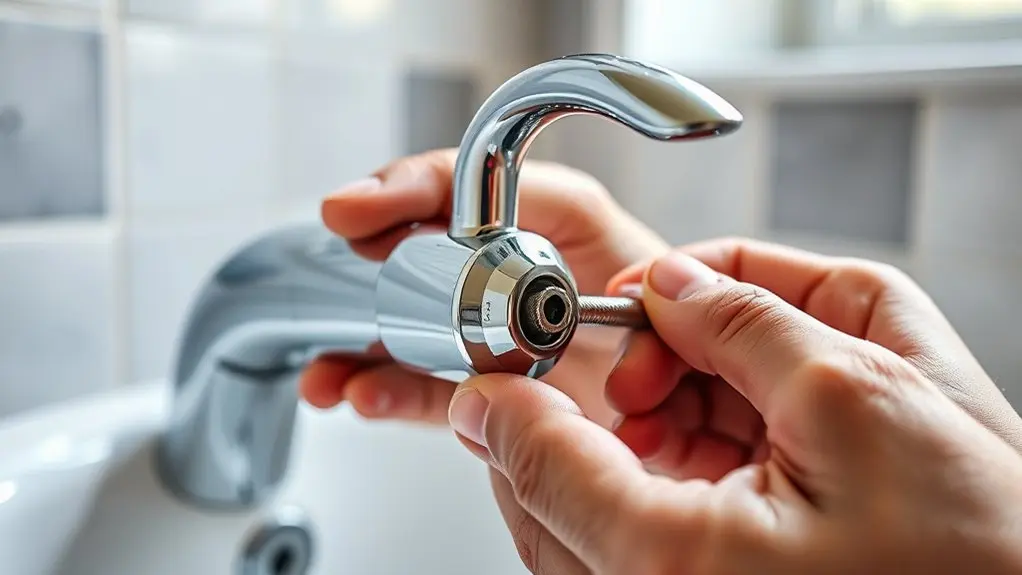
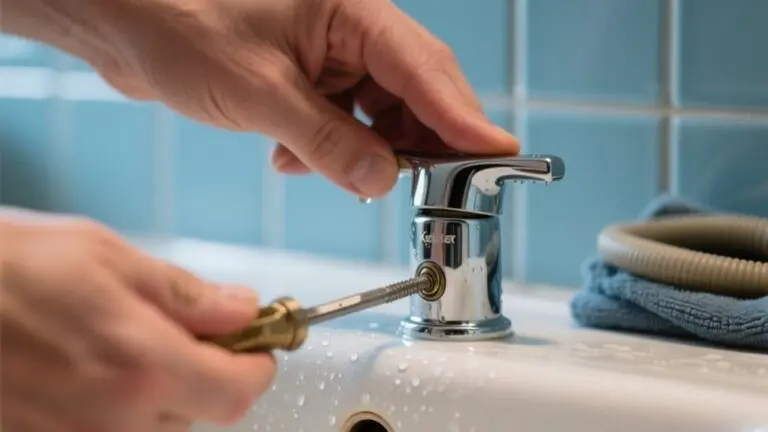
Protecting your faucet’s finish is important before you start removing the Kohler bathtub faucet handle. Begin by loosening the set screw on the lever handle’s back with a 3/32 hex wrench.
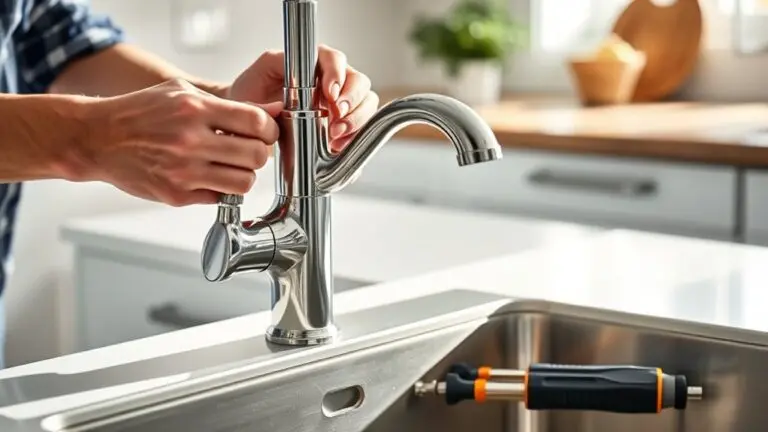
Remove the screw and carefully unscrew the bonnet using a Philips screwdriver. Hold the handle firmly and turn the skirt counterclockwise. Use a strap wrench if needed to detach it from the faucet body.
Organize all removed parts systematically and document the process to guarantee smooth reassembly. This method helps expose the valve without damaging components.
After repairs or to remove mineral deposits, reassemble the handle parts in reverse order, tightening securely to avoid leaks. Following these steps guarantees efficient removal and prepares the faucet for maintenance or replacement tasks.
Cleaning Mineral Deposits From Kohler Faucet Handles
Anyone dealing with mineral buildup on Kohler faucet handles can effectively remove deposits using a simple 50/50 solution of white vinegar and warm water. Soak a cloth in this mixture and wrap it around the affected areas for 15-30 minutes.
For stubborn mineral deposits, gently scrub with a soft-bristled toothbrush dipped in the vinegar solution to avoid scratching the finish. After cleaning, rinse the faucet handles thoroughly with warm water to remove residue.
Regular cleaning with this method prevents buildup and maintains functionality.
| Step | Action | Purpose |
|---|---|---|
| 1 | Mix white vinegar and warm water | Dissolves mineral deposits |
| 2 | Soak cloth and wrap handles | Allows acidity to break buildup |
| 3 | Scrub stubborn areas | Removes tough deposits |
| 4 | Rinse thoroughly | Eliminates residual solution |
| 5 | Repeat regularly | Prevents future mineral buildup |
How To Reassemble The Faucet Handle Correctly
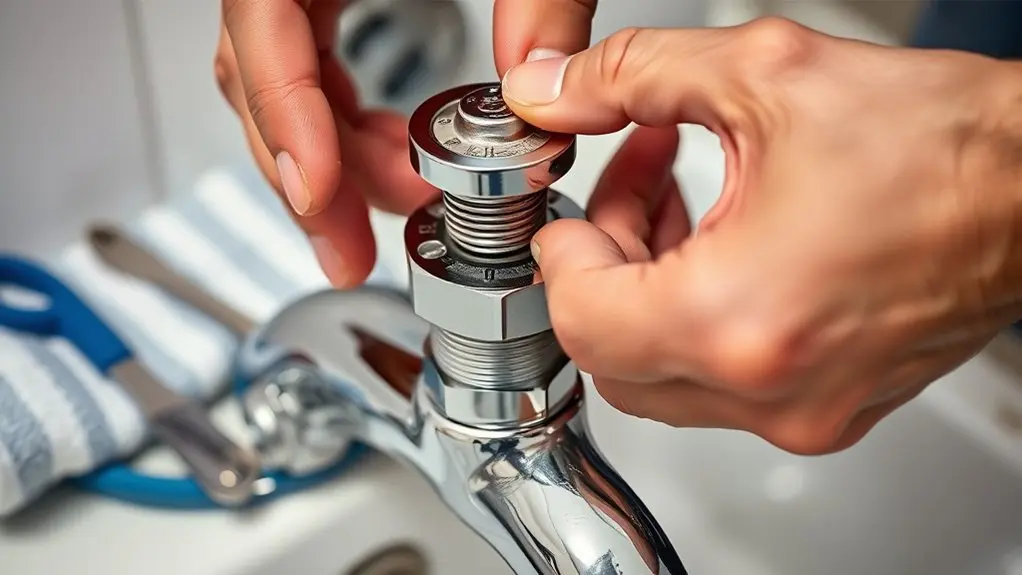
Begin reassembling your Kohler bathtub faucet handle by reversing each step you took during removal. Carefully reassemble all parts in the exact order, making sure the handle and skirt are oriented correctly to avoid misalignment.
Before finalizing, clean any surfaces affected during disassembly to prevent mineral buildup and preserve the faucet’s appearance. Securely tighten the set screw and any other fasteners to eliminate wobble and leaks.
Once assembled, test the handle’s operation by turning it to confirm smooth movement and proper seating on the valve. If you notice resistance or looseness, double-check alignment and fastener tightness.
Following these steps guarantees your Kohler faucet handle functions reliably and looks pristine after reassembly.
Frequently Asked Questions
Can I Replace My Kohler Faucet Handle With a Universal Handle?
Yes, you can replace your Kohler faucet handle with a universal handle, but you need to check compatibility first.
Make sure the universal handle fits your faucet’s valve mechanism and matches the size specifications.
Keep in mind, using a universal handle might void your Kohler warranty.
Always review both manufacturers’ guidelines and test for proper function and leak prevention before final installation to avoid issues.
How Do I Know if My Faucet Handle Needs Complete Replacement?
You need a complete replacement if your faucet handle leaks persist after tightening, feels excessively stiff, or shows visible cracks or corrosion.
Also, replace it if internal parts like the set screw or stem are stripped or broken beyond repair.
Sudden changes in water pressure or flow when using the handle indicate malfunction. These signs mean your handle’s functionality or integrity is compromised, so a full replacement is the best solution.
Are There Any Warranty Considerations When Removing the Handle?
Think of your faucet handle like a precious heirloom. Removing it carelessly can break its protective charm, your warranty. You need to check your warranty terms first because unauthorized removal might void coverage.
Document every step with photos and keep your purchase proof safe. If you’re unsure, reach out to Kohler support for guidance.
Following these precautions guarantees you don’t unintentionally lose your warranty’s shield while working on your faucet.
What Should I Do if the Handle Is Stuck and Won’T Turn?
If the handle is stuck and won’t turn, first check for a set screw at the back and loosen it with a 3/32 hex wrench.
Apply penetrating oil around the base to break down corrosion.
Wiggle the handle gently while pulling upward to loosen it.
Use a strap wrench if you need a better grip without damaging the finish.
If these steps fail, contact Kohler support or a professional to avoid damage.
Can I Upgrade My Kohler Faucet Handle to a Different Style?
You absolutely can upgrade your Kohler faucet handle to a different style. It’s like giving your bathroom a fresh facelift with just one part.
First, check if your current handle uses set screws or special fittings because these affect compatibility.
You might need to swap out the valve or mounting parts to make the new handle fit perfectly.
Always consult Kohler’s guidelines to guarantee your chosen style matches your specific faucet model.
Conclusion
Now that you’ve identified and removed your Kohler bathtub faucet handle, you see how straightforward the process really is. There’s no need to call a plumber.
The theory that faucet handle removal is complicated isn’t true when you have the right tools and steps. Protecting the finish and cleaning mineral deposits guarantee smooth operation and longevity.
Follow the reassembly tips carefully, and your faucet will function like new in no time.