How To Install A Kohler Kitchen Faucet – Do It Right
To install a Kohler kitchen faucet correctly, first gather your tools and turn off the water supply. Remove the old faucet carefully, and clean the sink area. Then assemble your new faucet components, checking compatibility as you go.
Next, position and securely mount the faucet. Connect the supply lines using plumber’s tape and test for leaks to make sure everything’s tight.
Adjust the handle and cartridge so they operate smoothly. If you run into any issues like drips or poor water flow, troubleshoot those before finishing up.
Finally, maintain your faucet regularly to guarantee lasting performance. Keep following along for detailed guidance on each step.
Gather Tools and Materials for Kohler Faucet Installation
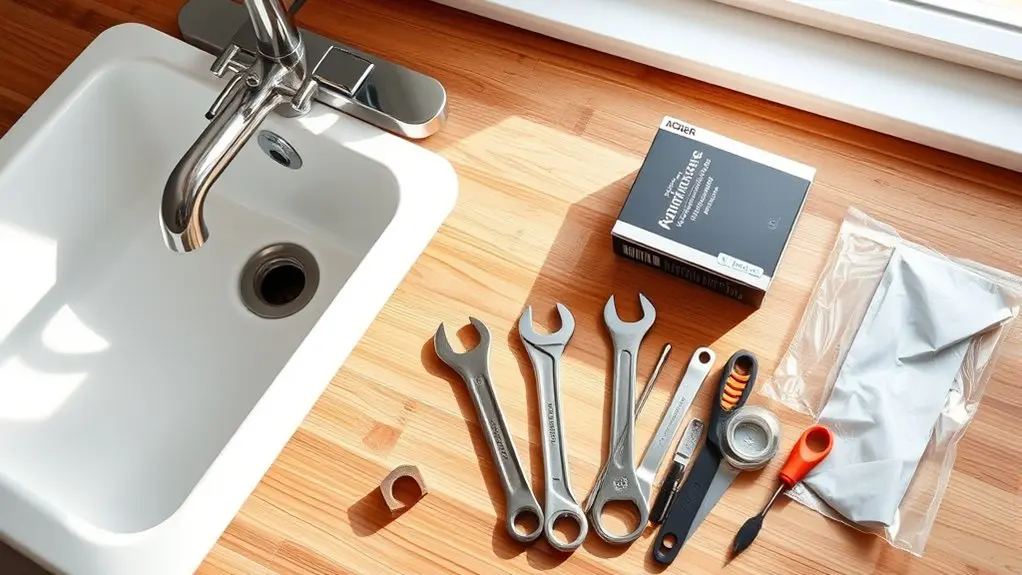
Before you begin installing your Kohler kitchen faucet, gather all the necessary tools and materials to ensure a smooth process. Start with an adjustable wrench, basin wrench, Phillips and flat-head screwdrivers, and plumber’s tape. Make sure you have the correct Kohler faucet model, including all mounting hardware, supply lines, and the O-ring kit.
Prepare a bucket and towels to manage any water spills and keep your workspace clean. Check that the decorative finishes on your faucet match your kitchen design. Also, confirm the model supports water conservation features to help optimize efficiency.
Finally, review the manufacturer’s installation instructions thoroughly so you understand each step and have all required components. This preparation minimizes interruptions and ensures a precise, durable faucet installation.
Turn Off Water Supply and Prepare the Sink Area
Since water flow can cause leaks and damage during installation, you need to turn off the hot and cold water supply valves located under the sink. After shutting off the valves, open the faucet handle to drain any remaining water and relieve pressure in the lines.
Turn off water supply valves and open the faucet to drain water and relieve pressure before installation.
Place a towel or bucket beneath the sink to catch drips.
Carefully disconnect the supply lines from the old faucet with an adjustable wrench, watching for residual water. This step protects the decorative finishes on your new Kohler kitchen faucet from potential water damage.
Make sure the sink area is dry and clear before moving on.
Properly preparing the sink prevents leaks and safeguards your workspace. It also helps you have a smooth installation without compromising the faucet’s look or how it controls water flow.
Safely Remove Your Old Faucet and Clean the Area
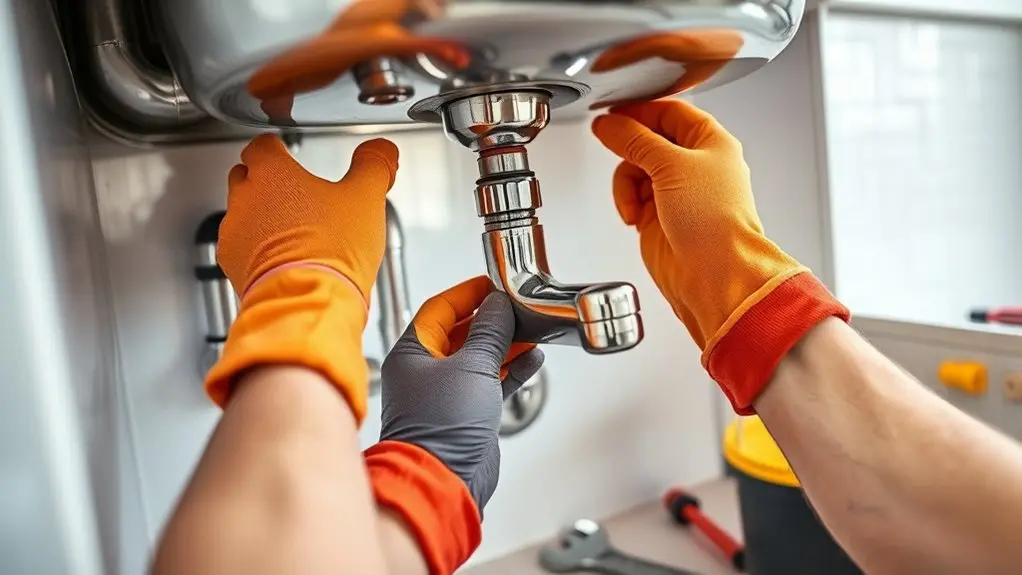
Once you’ve shut off the water supply, use an adjustable wrench to disconnect the supply lines and loosen the mounting nuts securing your old faucet. Carefully lift the unit out, making sure not to drop any debris into the drain or sink area.
Next, focus on cleaning the sink. Give the surface a good scrub with a non-abrasive cleaner to get rid of mineral deposits and grime. Take a close look at the mounting holes and clear away any leftover buildup or debris.
This will help ensure a smooth installation of your new Kohler faucet. Proper faucet removal combined with thorough sink cleaning sets a solid foundation for a secure, leak-free fit.
Assemble Your Kohler Faucet Components
First, spread out all your faucet parts and check each one against the installation manual to make sure everything is compatible.
It’s a good idea to gather the tools you’ll need, like an adjustable wrench and some plumber’s tape, so you’re ready to go.
Before you start putting things together, double-check that all the components fit your sink’s specifications.
This way, you won’t run into any surprises later on.
Identify Faucet Parts
Several key components make up your Kohler kitchen faucet, each essential for proper installation and operation. First, identify the spout, which can be either pull-down or pull-out, with its attached spray head for versatile water delivery.
Next, locate the handle or handles, which control water pressure and temperature through the cartridge inside the valve body beneath the handle.
Check the faucet finishes to make sure they match your kitchen’s aesthetic.
Mounting hardware like the deck plate, mounting nut, and gasket will secure the faucet firmly to your sink or countertop.
Don’t forget about additional parts such as aerators, supply lines, and replaceable O-rings. These are all critical for preventing leaks and keeping everything running smoothly.
Being familiar with these components will help ensure a precise and efficient installation.
Prepare Installation Tools
After identifying all the Kohler faucet parts, gather the necessary tools to streamline your installation process. You’ll need an adjustable wrench, basin wrench, Phillips and flathead screwdrivers, and plumber’s tape.
Unpack the faucet components carefully, making sure the spout, handle, mounting hardware, and supply lines are all included.
Check the mounting hardware for compatibility with your sink or countertop, especially if you’re doing a wall mount.
Organize all the parts so they’re easy to grab during assembly.
Wrap plumber’s tape tightly around threaded connections to ensure a watertight seal.
Also, have cleaning supplies ready to clear the sink area and mounting surfaces before you start installing.
Lastly, take some time to review the manufacturer’s instructions thoroughly. This way, you’ll understand the specific assembly steps and avoid any mistakes during installation.
Check Component Compatibility
Although you’ve gathered all the parts, you need to verify that each component, such as the spout, handle, and cartridge, matches your specific Kohler model before assembly. Material compatibility is essential to guarantee durability and proper function.
Perform a thorough component inspection to identify any defects or damage that might affect performance.
Follow these steps to check compatibility precisely:
- Consult the installation manual to confirm parts meet Kohler’s recommended specifications and dimensions.
- Verify that mounting hardware and deck support the size and weight of your faucet components.
- Confirm water supply lines and connectors match the faucet’s inlet sizes to prevent leaks.
Doing this ensures your Kohler faucet fits perfectly and operates reliably after installation. It’s a simple step that saves you a lot of hassle down the road!
Install and Secure Your Kohler Faucet to the Sink
How do you guarantee your Kohler faucet is securely installed and leak-free? Start by thoroughly cleaning and drying the sink surface to assure a proper seal.
Position the faucet carefully, considering the faucet material and aesthetic design to avoid damage during installation.
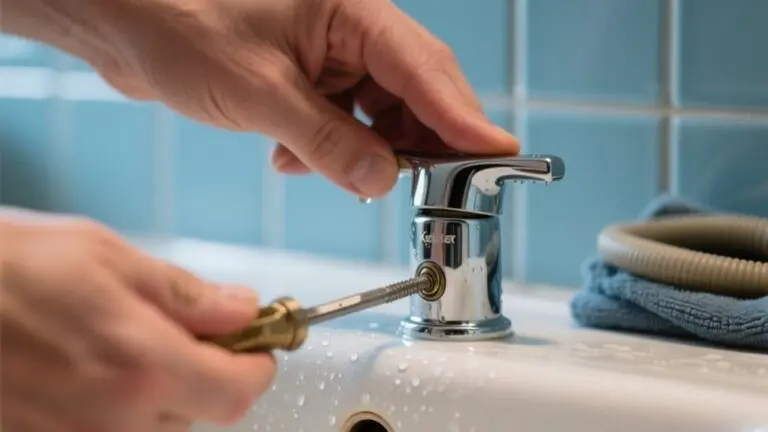
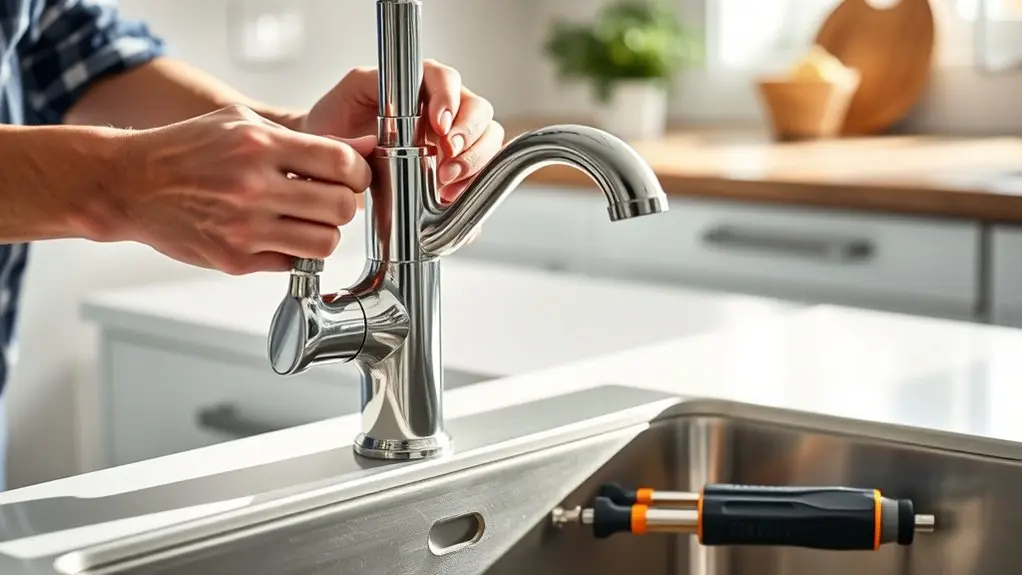
From beneath the sink, use a basin wrench to tighten the mounting nuts securely. Tighten firmly but avoid over-tightening, which can compromise components.
Apply plumber’s tape to all threaded connections to enhance seal integrity.
After securing the faucet, test for stability and proper water flow. Make necessary adjustments to confirm the fixture is firmly anchored.
These precise steps protect your investment, maintain the faucet’s appearance, and prevent leaks, guaranteeing your Kohler faucet performs reliably.
Connect Kohler Faucet Water Supply Lines Without Leaks
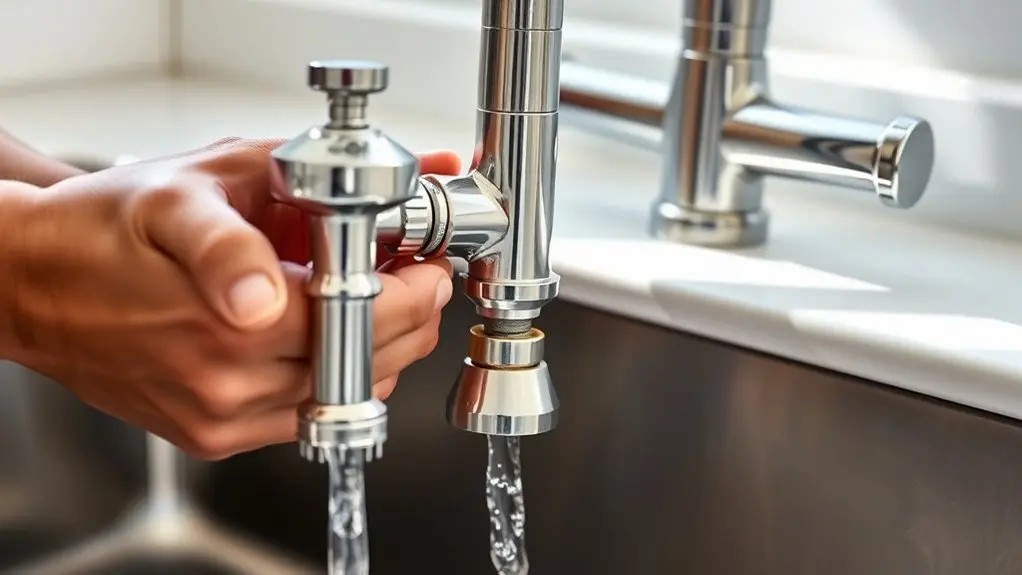
Before connecting the water supply lines to your Kohler faucet, make sure both the supply lines and faucet tailpieces are clean and free of debris to prevent leaks. Proper sealing is critical to handle water pressure without failure. Follow these steps:
- Insert a new rubber washer or O-ring into each supply line fitting for a watertight seal.
- Attach the supply lines to the faucet tailpieces and supply valves. Tighten connections finger-tight, then use adjustable pliers for an additional quarter turn. Avoid over-tightening to prevent damage.
- Once connected, the faucet aerator will regulate water flow. Ensure all fittings are secure before restoring water pressure.
Doing these steps carefully will prevent leaks and make sure your Kohler faucet works reliably.
Test for Leaks and Adjust Kohler Faucet Operation
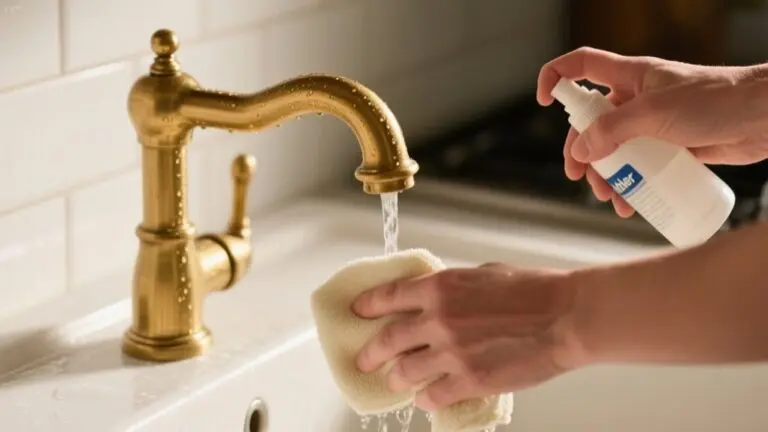
After securely connecting the water supply lines to your Kohler faucet, you’ll want to turn on the water and carefully inspect all joints for leaks. Use a paper towel or cloth around fittings to help spot any moisture or drips. Wiping the area makes it easier to see if water is escaping.
Make sure to check beneath the sink thoroughly because leaks often happen at the supply line connections or around the faucet base.
Next, operate the faucet handle through its full range of motion. Make sure the movement feels smooth and that the water flow is consistent.
If the handle feels stiff or the water flow is uneven, you’ll need to adjust the handle. Loosen or tighten the cartridge as needed to get everything working just right. This helps prevent premature wear and keeps your faucet working properly.
Finish up by double-checking for leaks and making any final handle adjustments. Doing this will ensure your Kohler faucet functions flawlessly.
Troubleshoot Kohler Faucet Installation Issues
If you encounter issues during your Kohler faucet installation, start by verifying that all water supply lines are fully tightened and properly connected to prevent leaks.
Next, check that the faucet is correctly aligned and secured using the mounting bracket to avoid any wobbling.
Ensure the faucet is properly aligned and firmly secured with the mounting bracket to prevent wobbling.
Take a look at the cartridge or valve seating if the faucet drips or won’t turn on. Sometimes, improper seating can cause these problems.
Also, confirm the faucet aerator isn’t clogged, since blockages can reduce water flow.
Use plumber’s tape on all threaded connections and be sure to follow the manufacturer’s instructions closely to avoid installation errors.
Finally, make sure the water supply valves are fully open to guarantee proper water flow and faucet performance.
Maintain Your Kohler Faucet for Long-Term Performance
Resolving installation issues is only part of guaranteeing your Kohler faucet performs reliably over time. To maintain ideal water flow and keep your faucet looking great, clean the aerator regularly to prevent mineral buildup.
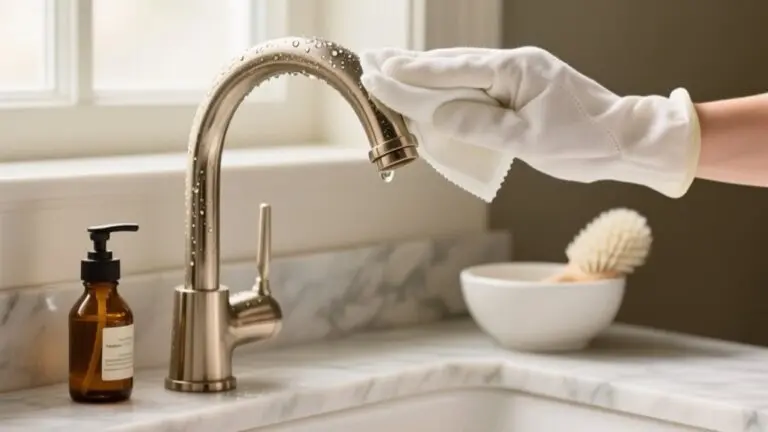
Use a soft cloth with mild soap to wipe the faucet surface, which helps avoid scratches and protects the finish.
It’s also important to inspect O-rings and cartridges now and then. Replace them as needed to prevent leaks and make sure everything runs smoothly.
Try to avoid harsh chemical cleaners because they can damage both the faucet’s finish and its internal parts.
Keep an eye out for mineral deposits or corrosion, and address these problems as soon as you notice them.
Doing all this helps extend your faucet’s lifespan. By following these simple maintenance steps, your Kohler faucet will stay efficient and look like new for years to come.
Frequently Asked Questions
Can I Install a Kohler Faucet Without a Professional Plumber?
Yes, you can install a Kohler faucet without a professional plumber if you’re comfortable with DIY plumbing and basic faucet maintenance. Just make sure to turn off the water supply before you start.
Then, remove the old unit carefully and follow Kohler’s installation instructions step by step.
Use the right tools to connect the water lines and secure the mounting hardware properly. It’s pretty straightforward if you take your time.
But if you run into a complex setup or specialized parts, it might be best to call a pro.
You don’t want to risk leaks or damage by guessing your way through it. So, trust your skills, but don’t hesitate to get help if things get tricky.
What Warranty Comes With Kohler Kitchen Faucets?
Think of Kohler’s warranty coverage as a sturdy shield guarding your faucet’s product longevity. You’ll get a limited lifetime warranty covering defects in materials and workmanship. This means parts and finish will stay reliable for years.
Some components, like cartridges, might have different warranty terms. To activate full benefits, you’ll need proof of purchase and registration.
Always check your specific model’s warranty details on Kohler’s official site for precise coverage instructions. It’s the best way to know exactly what’s covered and how to make a claim if needed.
Are Kohler Faucet Parts Compatible With Other Brands?
Kohler faucet parts have limited brand compatibility. You can replace cartridges and aerators if the threading and dimensions match standard sizes, but proprietary components often won’t fit other brands.
Before replacing any parts, make sure to measure and compare specifications carefully.
It’s always a good idea to check Kohler’s guidelines or talk to a plumbing professional to be sure the parts will work.
Doing this helps prevent leaks or malfunctions, so your faucet operates correctly and keeps its warranty coverage intact.
How Do I Choose the Right Kohler Faucet Model for My Kitchen?
You choose the right Kohler faucet model by evaluating faucet material for durability and matching your kitchen’s style. Consider design options like pull-down, pull-out, or standard spouts based on your tasks.
Check compatibility with your sink’s configuration and plumbing.
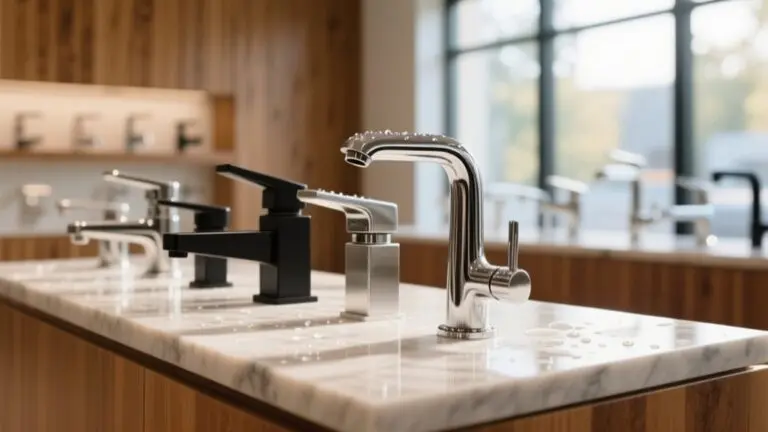
Also, assess finishes like chrome, stainless steel, or matte black to guarantee cohesion.
Finally, factor in features such as water flow rate and touchless operation to select a model that fits your functional and aesthetic needs precisely.
It’s all about finding the perfect balance between looks and functionality.
Can I Install a Kohler Faucet on a Granite Countertop?
Yes, you can install a Kohler faucet on a granite countertop. Just make sure the countertop drilling uses a diamond-tipped bit for a precise, clean hole that won’t crack the granite.
It’s important to confirm the hole size matches your faucet’s specifications.
Use a waterproof sealant or gasket during faucet mounting to prevent leaks.
Also, check that the countertop’s thickness supports your faucet’s mounting hardware. This will help secure it firmly and protect your granite from damage over time.
Conclusion
Installing your Kohler kitchen faucet is like building a reliable bridge. Each step guarantees a secure, leak-free connection. By gathering the right tools and following precise assembly, you set yourself up for success.
Make sure to test everything thoroughly to ensure smooth operation and lasting performance. Keep troubleshooting and maintenance in mind to extend your faucet’s life.
With careful attention to detail, you’ll turn your sink into a dependable workspace. It’ll flow effortlessly every time you use it.