How To Remove A Stuck Kohler Faucet Handle – Complete Guide
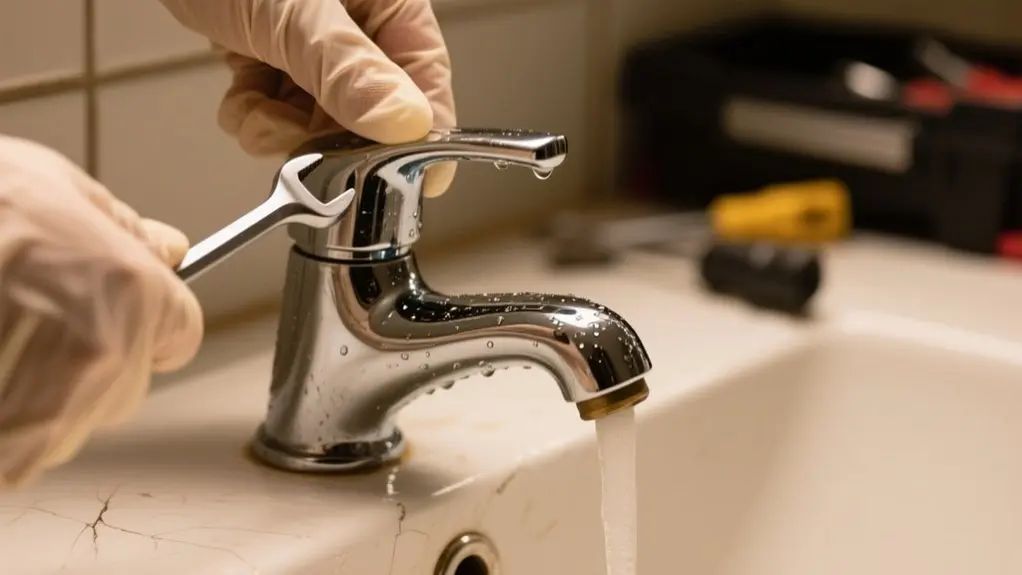
To remove a stuck Kohler faucet handle, first identify if it’s widespread or centerset. For widespread, hold the handle and turn the skirt counterclockwise, using a strap wrench if needed.
For centerset, check for a set screw on the back and loosen it with a hex wrench. Use a vinegar solution to loosen mineral buildup, and apply gentle heat if corrosion is present.
Protect the finish with soft cloths and organize parts carefully. Follow the right steps to guarantee smooth removal and secure reassembly. There’s more detailed help ahead.
Identify Your Kohler Faucet Handle Style
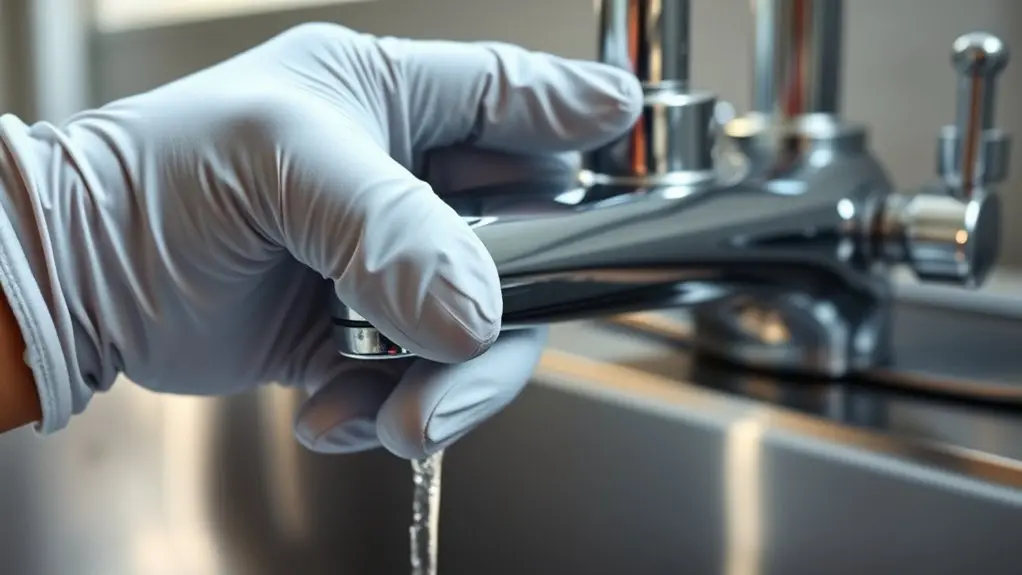
How do you determine the style of your Kohler faucet handle before attempting removal? First, identify whether your faucet is a widespread or centerset design, as each requires a different removal approach.
Widespread handles usually need you to hold the handle firmly while turning the skirt counterclockwise or using a strap wrench for grip.
In contrast, centerset handles often have a set screw at the back of the lever, which you’ll need to loosen with a hex wrench before you can remove the handle.
Accurately identifying your faucet’s handle style is vital to avoid damaging components during removal.
Always refer to the manufacturer’s guidelines or product literature for instructions specific to your Kohler faucet model to guarantee a safe and correct removal process.
Tools You Need to Remove a Stuck Kohler Handle
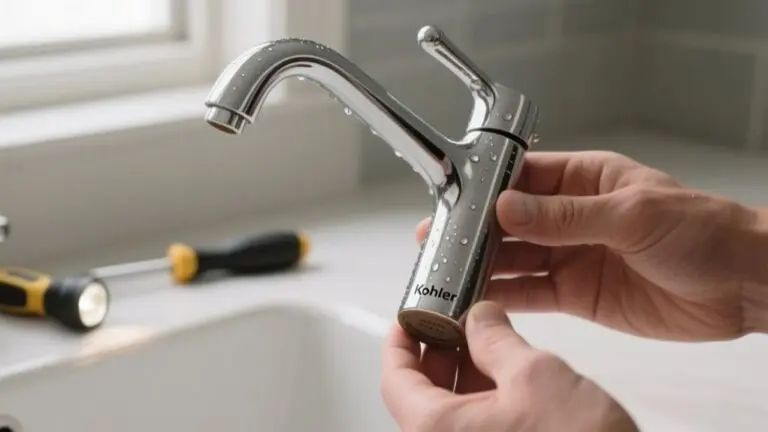
You’ll need a 1/8 hex wrench and a Phillips screwdriver to remove the setscrews on most Kohler faucet handles.
Then, grab a strap wrench and keep a towel nearby to protect the finish from scratches while you loosen the handle.
It’s also a good idea to have a soft cloth ready when you apply cleaning solutions to tackle mineral deposits.
Essential Removal Tools
Although removing a stuck Kohler faucet handle can be challenging, having the right tools makes the process much smoother. You’ll need a 3/32 inch hex wrench to loosen set screws hidden under the handle.
A strap wrench offers a firm grip without scratching the finish, which is ideal for stuck handles or skirts. Use a Philips screwdriver to remove bonnet screws securing the handle.
To dissolve mineral buildup, apply a 50/50 mix of white vinegar and warm water. This helps free the handle before removal. Keep plumbers’ grease handy for reassembly to guarantee smooth operation.
| Tool | Purpose |
|---|---|
| Hex wrench | Loosen set screws |
| Strap wrench | Grip and turn stuck handles |
| Philips screwdriver | Remove bonnet screws |
| White vinegar | Dissolve mineral deposits |
Protective Equipment Needed
A strap wrench provides a strong grip without damaging the faucet’s finish, making it indispensable for removing a stuck Kohler handle. To protect adjacent surfaces from scratches, place soft cloths or towels around the work area before you start.
You’ll need a 3/32 hex wrench to loosen set screws on centerset models, allowing you to safely remove the handle. Furthermore, a Philips screwdriver helps remove bonnet screws on various faucet styles.
Keep a bowl or container nearby to organize and secure all removed components, preventing loss during disassembly.
Using this protective equipment guarantees you remove the handle efficiently while safeguarding both the faucet and surrounding fixtures from damage throughout the process.
Remove Widespread Kohler Faucet Handles Step-by-Step
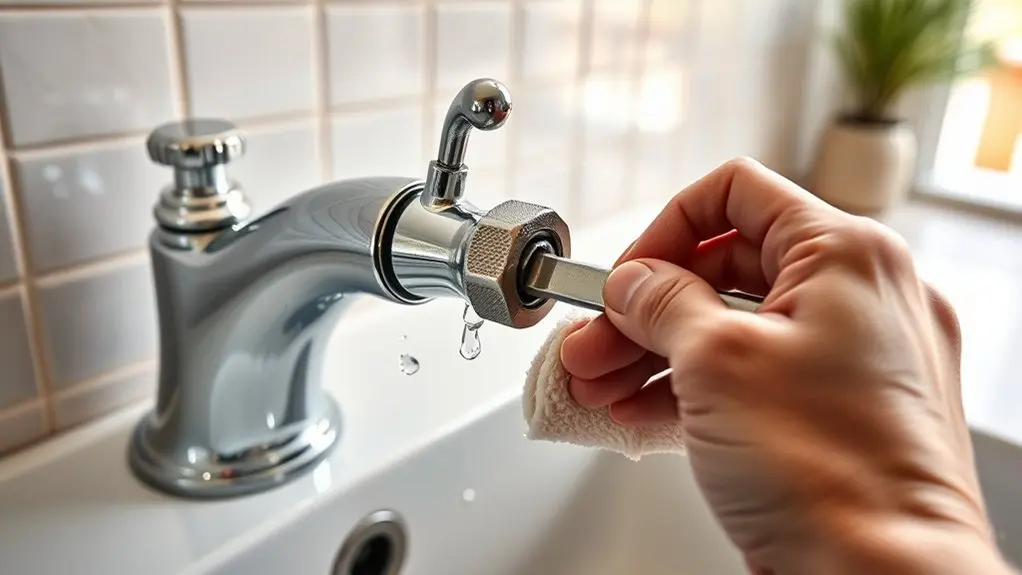
When removing a widespread Kohler faucet handle, start by firmly holding the handle with one hand while turning the skirt counterclockwise with the other to loosen it. If it’s stubborn, use a strap wrench to avoid damaging the finish.
Once the skirt detaches, carefully remove the handles and any remaining components to expose the valve beneath. Handle with one hand to maintain control and prevent dropping parts.
After removing the skirt, gently take off handles and parts to reveal the valve, handling carefully to avoid drops.
Set all parts aside in an organized manner to guarantee none get lost during repairs or replacement.
After completing your work on the valve, reassemble everything in reverse order, making sure all components align properly and tighten securely. This prevents leaks and guarantees smooth faucet operation once finished.
Remove Kohler Centerset Faucet Handles: Styles 1 and 2
To remove Style 1 centerset handles, start by holding the handle securely.
Then, turn the skirt counterclockwise. If it feels stuck, you can use a strap wrench to help—and this also protects the finish.
For Style 2, you’ll want to loosen the set screw using a 3/32 hex wrench first.
After that, remove the bonnet screw with a Philips screwdriver so you can access the valve.
Just be sure to keep all the parts organized so reassembly goes smoothly later on.
Style 1 Removal
Start by firmly holding the Kohler centerset faucet handle and turning the skirt counterclockwise to loosen it. If it’s stuck, use a strap wrench to gain grip without damaging the finish.
Once loosened, remove the skirt and then carefully take out the remaining components to expose the valve.
Keep all handle parts in reverse order to simplify reassembly.
Before reinstalling, remove mineral deposits using a 50/50 mix of white vinegar and warm water.
Always work taking care to protect the faucet’s surface and internal parts throughout the process.
- Grip handle firmly and turn skirt counterclockwise
- Use strap wrench if needed to avoid finish damage
- Remove remaining components to expose valve
- Organize handle parts in reverse order
- Clean mineral deposits before reassembly
Style 2 Removal
If the skirt on the Style 1 handle proves difficult to remove, Style 2 offers a different approach.
Start by using a 3/32 hex wrench to loosen the set screw located at the back of the lever handle. Once loosened, remove the set screw completely.
Next, use a Philips screwdriver to remove the screw in the bonnet, which will release the handle.
Carefully remove the handle and set aside all parts for reassembly.
After removing the handle, proceed to remove any additional components necessary to fully expose the valve for repair or replacement.
When finished, reassemble the handle and components in reverse order, ensuring the set screw is securely tightened to maintain proper function and alignment.
This method efficiently removes the handle while protecting its components.
Protect Your Kohler Faucet Handle’s Finish While Removing
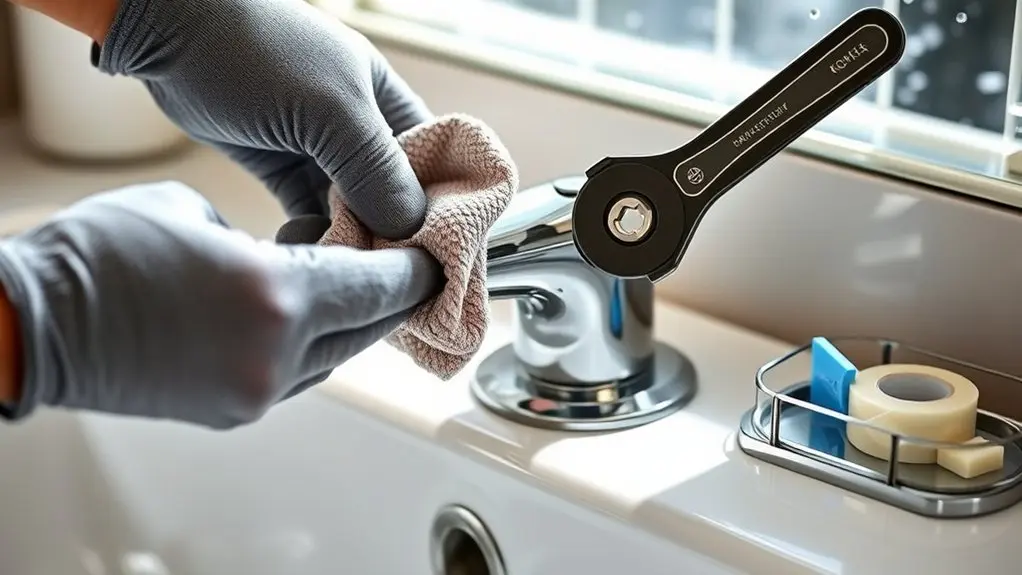
While removing your Kohler faucet handle, protecting its finish is essential to avoid costly damage. Use careful techniques to preserve the surface and avoid scratches or corrosion. Always cover the faucet handle with a soft cloth to protect the finish during removal.
Avoid harsh chemicals that can degrade the coating. Use tools cautiously with protective padding to minimize marks.
- Wrap the faucet handle with a soft cloth or towel before working.
- Use a strap wrench to apply even pressure and prevent slippage.
- Cushion tool contact points with tape or protective coverings.
- Steer clear of abrasive materials and harsh chemicals during removal.
- Inspect and promptly address any minor finish imperfections after removal.
This approach keeps your Kohler faucet handle intact and maintains its aesthetic appeal throughout the process.
Clean Mineral Deposits to Loosen Stubborn Kohler Handles
Tackle stubborn Kohler faucet handles by dissolving mineral deposits with a simple vinegar and warm water solution.
Mix equal parts white vinegar and warm water to create an effective cleaner that breaks down stubborn mineral deposits causing the handle to stick.
Soak a cloth in this solution and wrap it tightly around the faucet handle, ensuring direct contact with the affected areas.
Let it sit for 15 to 30 minutes to penetrate and loosen the buildup.
Afterward, remove the cloth and thoroughly rinse the faucet handle with clean water to eliminate any vinegar residue, preventing potential corrosion.
Regularly using this method helps clean mineral deposits before they harden, maintaining smooth operation and extending the lifespan of your Kohler faucet handle.
Troubleshoot Stuck or Damaged Kohler Faucet Handles
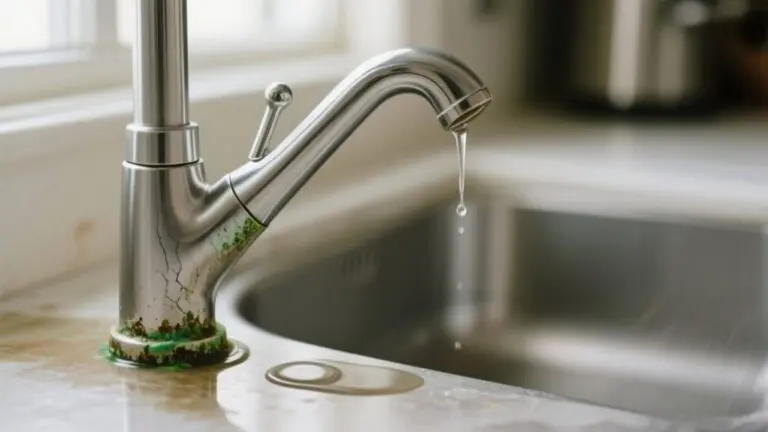
After loosening mineral deposits with a vinegar solution, inspect your Kohler faucet handle for a hidden setscrew, typically located at the back. This screw often causes the handle to remain stuck if not loosened properly.
If corrosion or damage is present, gently apply heat with a hairdryer to expand the metal and ease removal. When the handle resists, use a strap wrench to increase grip without damaging the finish.
Always prioritize protection of the faucet’s surface and surrounding areas during troubleshooting.
Protect the faucet’s finish and surrounding areas carefully throughout the troubleshooting process.
- Locate and loosen the hidden setscrew with a hex wrench
- Use a 50/50 white vinegar and warm water mix to dissolve mineral buildup
- Apply gentle heat if corrosion hinders removal
- Employ a strap wrench for additional leverage
- Protect the faucet finish and nearby surfaces throughout the process
Reassemble Your Kohler Faucet Handle Correctly
Begin reassembling your Kohler faucet handle by carefully retracing the removal steps to maintain the correct order of parts. Verify each component fits properly to avoid misalignment that could affect the faucet’s function.
As you reassemble, double-check all components for correct positioning and secure them tightly with screws and fittings to prevent leaks. Before fully tightening, clean any surfaces disturbed during disassembly using a gentle cleaner to preserve the faucet’s finish.
After reassembly, test the handle by turning it on and off, confirming smooth operation and proper sealing. Following this methodical approach verifies your Kohler faucet handle is reassembled correctly, restoring its functionality and preventing future issues.
Frequently Asked Questions
Can I Use WD-40 to Loosen a Stuck Kohler Faucet Handle?
Yes, you can use WD-40 to loosen a stuck Kohler faucet handle. Spray it directly at the base where rust or grime builds up, and let it sit for several minutes to penetrate thoroughly.
Afterward, gently turn the handle to free it.
Make sure to wipe away any excess WD-40 and clean the area to prevent residue buildup or damage. Regular maintenance will reduce future sticking issues.
How Often Should I Clean My Kohler Faucet Handles to Prevent Sticking?
You should clean your Kohler faucet handles every 1 to 3 months to prevent sticking.
Studies show that mineral deposits can reduce faucet efficiency by up to 30% within just a few months.
Use a 50/50 mix of white vinegar and warm water to dissolve buildup effectively.
Focus on the handle base and surrounding areas, where deposits accumulate most.
Regular maintenance keeps your faucet operating smoothly and looking great.
Are There Specific Kohler Faucet Models Prone to Handle Corrosion?
Yes, certain Kohler faucet models are more prone to handle corrosion, especially older ones and those with metal or chrome finishes.
You’ll want to watch out for single-handle models like the Kohler K-596 and K-1042, as their compact design traps moisture and minerals, increasing corrosion risk.
To avoid stuck handles, clean them regularly with a 50/50 vinegar-water solution.
This helps you maintain smooth operation and extend your faucet’s life.
Can a Stuck Handle Cause Leaks or Other Plumbing Issues?
Yes, a stuck handle can definitely cause leaks and other plumbing issues. When you can’t fully open or close the valve, water pressure builds up behind it, which stresses seals and can lead to drips or leaks at the base.
Over time, this pressure and mineral buildup wear down internal parts, risking bigger failures.
Addressing a stuck handle quickly helps you avoid costly repairs and keeps your faucet functioning properly.
Is Professional Help Recommended for Removing Extremely Stuck Handles?
Yes, you should get professional help if the Kohler faucet handle is extremely stuck.
Professionals have the right tools and expertise to remove it safely without damaging the faucet or surrounding areas.
Trying to force it can strip screws or break parts, leading to costly repairs.
A plumber can also identify underlying issues causing the handle to stick, providing a more effective and lasting solution than DIY attempts.
Conclusion
Now that you’ve mastered the art of releasing your stuck Kohler faucet handle, you hold the key to smooth operation and lasting functionality. Like a skilled technician opening a stubborn vault, your careful steps protect the finish while dismantling mineral barriers.
With these precise techniques, you’ll troubleshoot and reassemble with confidence, turning a frustrating jam into a simple fix. Keep this guide close; your faucet’s flawless flow depends on it.