How To Clean Kohler Faucet Aerator – Pro Tips
To clean your Kohler faucet aerator, first turn off the water and identify its type, whether threaded, keyed, or recessed. This way, you can use the right removal method. Unscrew it carefully with appropriate tools.
Next, soak the parts in vinegar for a few hours to dissolve deposits. Use a toothbrush and sewing needle to clear holes and buildup thoroughly.
Reassemble the aerator, making sure it’s tight and properly installed to prevent leaks. Keeping your aerator clean helps maintain steady flow and prevents damage.
Explore further tips to troubleshoot and keep your faucet performing at its best.
Gather the Right Tools for Removing Your Kohler Aerator
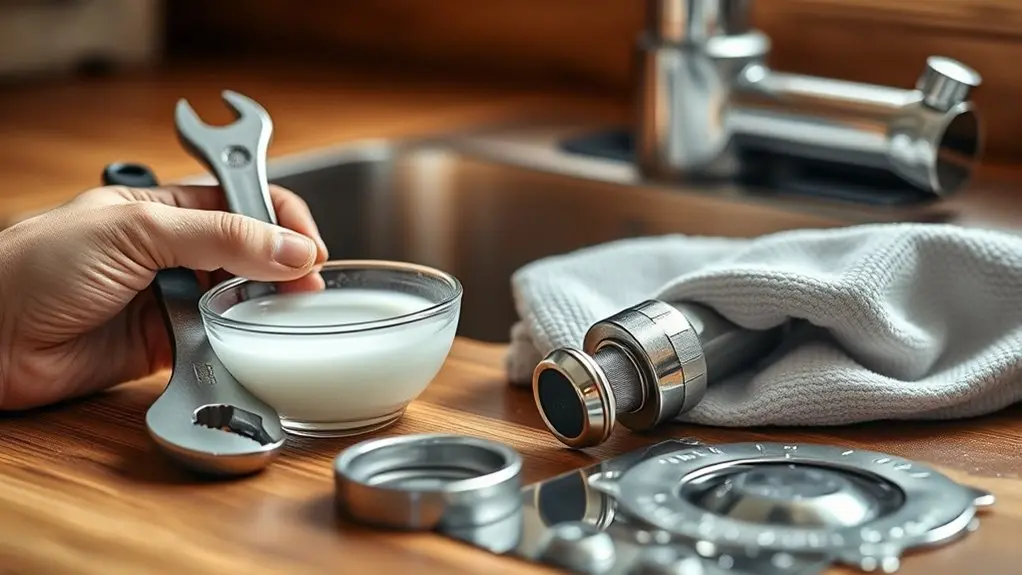
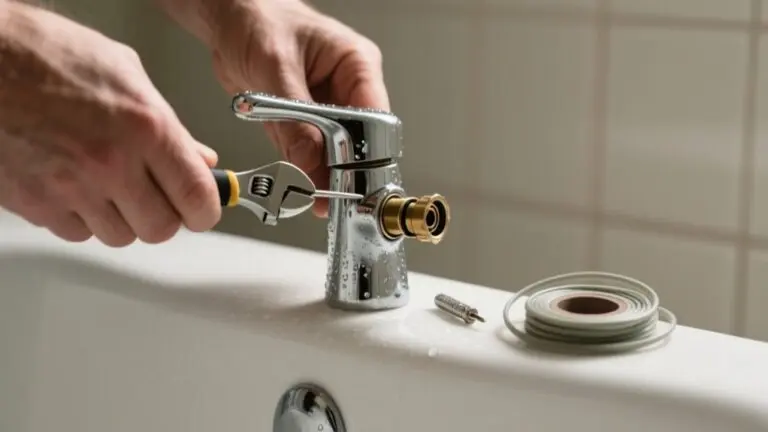
To remove your Kohler aerator efficiently, gather a few essential tools first. An adjustable wrench is your primary tool to remove the aerator without damaging the faucet or aerator assembly.
If the aerator is stuck, use pliers carefully, but wrap their jaws with electrical tape or heat tubing to prevent scratches.
Have a screwdriver on hand to clear debris from the faucet and aerator parts during disassembly. In addition, a sewing needle is useful for unclogging blocked aerator holes without harm.
Keep track of the aerator’s component arrangement as you remove the aerator to guarantee correct reassembly. Using the right tools not only protects your faucet but also makes the cleaning process straightforward and effective.
Identify Your Kohler Faucet Aerator Type
First, figure out which type of Kohler aerator you have—threaded, keyed, or stream breaker.
Each one needs a different way to remove it. Threaded aerators just twist off easily. But keyed and stream breaker types require special tools to avoid any damage.
Knowing your aerator type makes sure you use the right method and tools. That way, cleaning it becomes much easier and more effective.
Aerator Type Identification
How can you tell which type of Kohler faucet aerator you have? Start with aerator type identification by inspecting your faucet’s spout.
Threaded aerators show visible threads along the edge, allowing manual removal by twisting counterclockwise.
Keyed aerators have a smooth exterior and require a specific key tool for removal.
Stream breaker aerators sit recessed inside an oval-shaped spout opening, often needing specialized tools.
Properly identifying the type is critical to avoid damage when cleaning or removing the aerator.
Always consult your faucet’s installation manual or product literature for precise guidance on your model’s aerator type.
This guarantees you select the correct tools and methods, maintaining your Kohler faucet’s integrity and functionality throughout maintenance.
Removal Method Variations
Three main Kohler faucet aerator types: threaded, keyed, and recessed. Each needs a specific removal technique to avoid damage.
Threaded aerators have visible threads and can be removed by gripping firmly and rotating counterclockwise.
Keyed aerators don’t have visible threads, so you’ll need the right key tool made for your model to safely take them out.
Recessed aerators sit inside an oval-shaped faucet spout opening and often require a special removal tool to avoid harming the spout or aerator housing.
Understanding these removal method variations is essential. Using the wrong approach can damage the faucet spout or aerator assembly.
First, identify your Kohler faucet aerator type, then apply the proper removal technique for a smooth, damage-free process every time.
How to Remove Your Kohler Aerator

Before you start removing your Kohler aerator, it’s a good idea to figure out what type you have. This way, you can pick the right tools for the job. Usually, standard aerators can be unscrewed with an adjustable wrench.
But if you have a keyed or recessed model, you’ll need some specialized tools.
Also, don’t forget to turn off the water supply first. This helps prevent any unexpected spills while you’re working on removing the aerator.
Identifying Aerator Types
Since Kohler faucets come with various aerator designs, you’ll need to identify your specific type to remove it correctly.
Start by identifying aerator types: threaded aerators feature visible external threads, allowing you to grip and unscrew them counterclockwise.
In contrast, keyed aerators have smooth, threadless exteriors and require a specialized key tool for removal. Stream breaker aerators sit recessed within oval-shaped spout openings, demanding careful identification and often specialized extraction tools.
Accurately determining your aerator type is essential because each requires a different removal approach and tool. Misidentifying the aerator can lead to damage or ineffective cleaning.
Focus on the exterior design. Threaded aerators are the simplest to handle with just a firm grip, making them easier to remove compared to keyed or recessed models.
Removal Tools Needed
Although removing your Kohler faucet aerator might seem straightforward, using the right tools guarantees you avoid damage and frustration. The removal tools needed depend on your aerator type and its position. An adjustable wrench is your go-to for threaded aerators, providing a secure grip without marring the finish.
Keyed aerators require their specific key tool for proper extraction. For recessed aerators, specialized extraction tools might be necessary. To protect the aerator when loosening stuck parts, wrap electrical tape over pliers’ jaws.
- Adjustable wrench for firm grip and controlled rotation
- Key tool specific to keyed aerators
- Specialized extraction tools for recessed aerators
- Electrical tape to shield surfaces when using pliers
Always follow Kohler’s guidelines to maintain faucet integrity during removal.
How to Clean Your Kohler Aerator Thoroughly
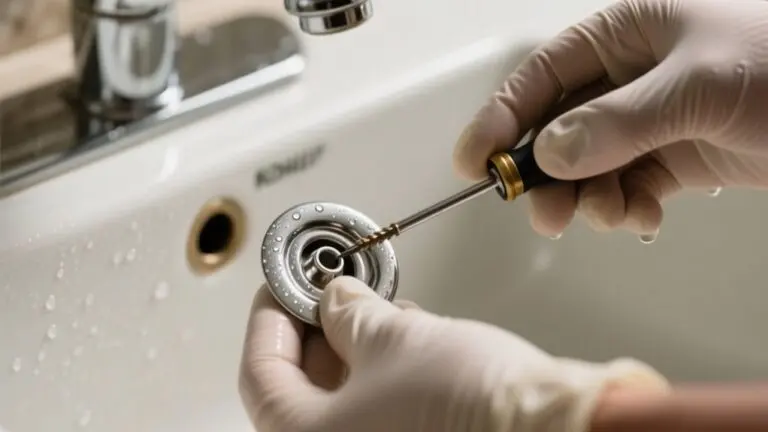
To clean your Kohler aerator thoroughly, start by carefully unscrewing it from the faucet. Use pliers wrapped with electrical tape to prevent damage.
Next, clean the faucet spout to remove any mineral buildup that could affect water flow.
Once the spout is clean, disassemble the aerator. Make sure to note the order of parts for straightforward reassembly.
Soak the aerator components in vinegar for 2 to 24 hours to dissolve mineral deposits effectively.
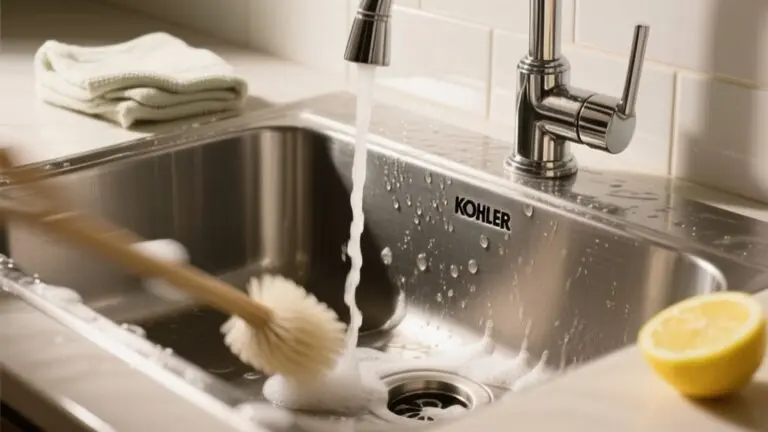
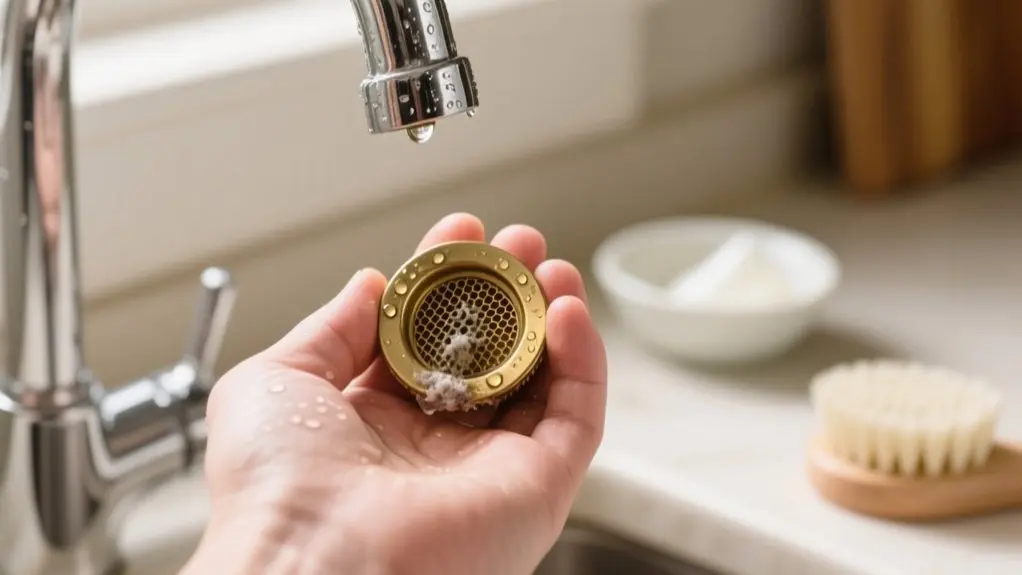
After soaking, use a toothbrush to scrub each part and a sewing needle to clear blocked holes.
Finally, rinse all components with water, reassemble the aerator, and screw it back onto the faucet. This process guarantees your Kohler aerator functions efficiently and maintains steady water flow.
Clean Your Aerator Without Removing It
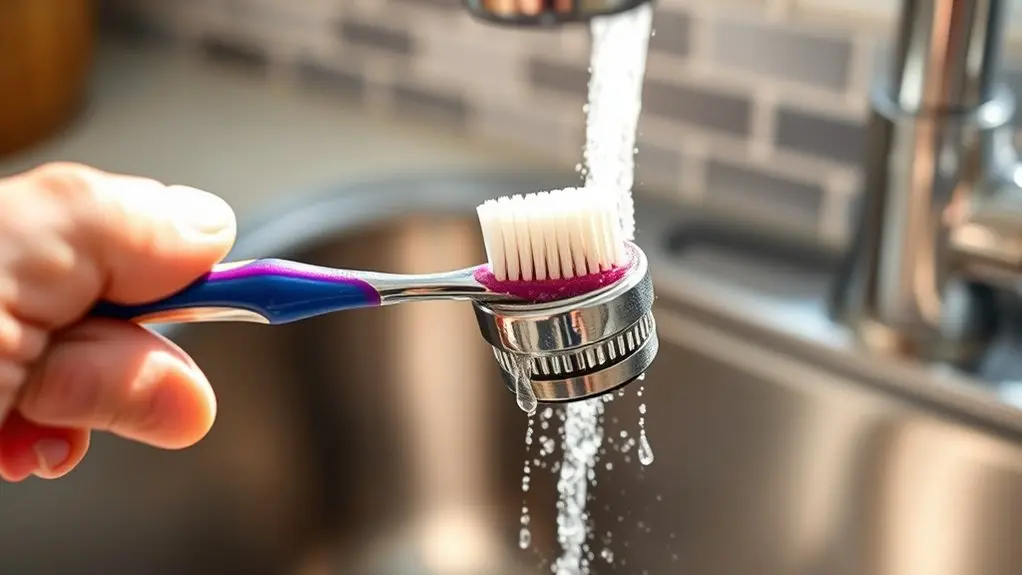
Anyone looking to maintain their Kohler faucet aerator quickly can clean it without removing it. This method saves time and effort while effectively dissolving mineral buildup.
Maintain your Kohler faucet aerator quickly without removal, saving time and effectively dissolving mineral buildup.
To clean your aerator without disassembly, follow these steps:
Fill a plastic bag with vinegar and submerge the aerator by securely tying the bag around the faucet. Soak for 1 to 2 hours to break down debris and mineral deposits.
Remove the bag, then scrub the aerator’s exterior with a toothbrush to remove loosened particles. Run water for a few moments to flush out residual vinegar and debris.
After cleaning, store your cleaning supplies properly for future use. This approach keeps your Kohler aerator functional without the hassle of removal.
Identify and Fix Common Kohler Aerator Problems
When your Kohler faucet shows signs like low water flow, strange noises, or leaks, these issues often stem from problems with the aerator.
Low flow typically indicates a clogged aerator, which you can clear by soaking it in vinegar to dissolve mineral buildup.
If you hear unusual noises, check for loose aerator fittings and tighten them to restore proper water pressure.
Leaks often result from improper aerator installation, so make certain it’s seated correctly and securely.
Frequent clogs or inconsistent flow might signal sediment in your water supply affecting aerator performance.
Address these issues promptly to avoid further damage.
Identifying and fixing these common aerator problems guarantees your Kohler faucet operates efficiently without leaks or flow interruptions.
Maintenance Tips to Keep Your Kohler Aerator Flowing Smoothly
Addressing common aerator issues is just one part of keeping your Kohler faucet functioning efficiently. Regular maintenance prevents mineral buildup that restricts water flow and guarantees smooth deliveries every time you turn on the tap.
Follow these essential tips to keep your aerator in top shape and avoid unnecessary returns:
- Soak the aerator in vinegar for 2 to 24 hours to dissolve mineral deposits.
- Use a soft brush to remove debris and maintain a consistent spray pattern.
- Carefully remove the aerator with an adjustable wrench to protect fittings and finish.
- Inspect for wear or damage during every cleaning to prevent leaks or reduced water pressure.
Frequently Asked Questions
Can I Use Bleach Instead of Vinegar to Clean My Aerator?
You shouldn’t use bleach to clean your Kohler faucet aerator.
Bleach can damage rubber seals and gaskets, leading to deterioration and leaks. It may also cause harmful chemical reactions if mixed with other cleaners.
Instead, soak the aerator parts in vinegar.
Vinegar effectively dissolves mineral buildup without harming components, preserving your aerator’s functionality and longevity.
Regular vinegar cleaning guarantees ideal water flow and protects your faucet’s integrity over time.
How Often Should I Replace My Kohler Faucet Aerator?
You should replace your Kohler faucet aerator every 1 to 3 years.
Imagine mineral buildup thick enough to reduce water flow by nearly 50%. This impacts efficiency and water quality.
If you notice persistent low flow, dripping, or strange noises despite cleaning, it’s time for a new aerator.
Regularly inspect it for damage and follow Kohler’s model-specific guidelines to guarantee peak performance and avoid costly repairs.
Will Cleaning the Aerator Improve Water Pressure Significantly?
Yes, cleaning your Kohler faucet aerator will improve water pressure considerably.
Mineral buildup and debris restrict flow, so removing these blockages restores ideal water delivery. You’ll notice an immediate boost in pressure after cleaning.
To maintain consistent flow, clean the aerator regularly, especially if you have hard water.
This simple maintenance step prevents clogging, prolongs faucet efficiency, and avoids the need for premature replacement.
Are There Specific Aerators for Hard Water Areas?
Yes, you can arm your faucet with aerators designed to battle hard water’s mineral siege.
Kohler offers models with corrosion-resistant coatings and mesh screens that fend off sediment and buildup.
Choosing aerators with larger holes helps maintain good water pressure despite deposits.
You’ll want to clean them regularly, soaking in vinegar to dissolve tough calcium layers.
This tactical approach keeps your faucet flowing smoothly in challenging water conditions.
Can I Use a Dishwasher to Clean Aerator Parts Safely?
You shouldn’t use a dishwasher to clean Kohler faucet aerator parts.
The high temperatures and harsh detergents can damage plastic components and cause warping or cracking.
Small parts might also get dislodged or lost during the cycle, making reassembly difficult.
Instead, disassemble the aerator and soak parts in vinegar to remove mineral buildup.
Then, scrub gently with a soft brush for safe, effective cleaning.
Conclusion
Cleaning your Kohler faucet aerator might seem tedious, but skipping it can lead to clogged flow and frustrating drips. By gathering the right tools and knowing how to remove and clean your aerator, whether fully or in place, you prevent buildup and maintain smooth water pressure.
Regular maintenance transforms a common chore into a simple task, ensuring your faucet performs efficiently without unexpected issues. Don’t let neglect turn a minor fix into a major problem.