How To Remove Kohler Sink Stopper – Simple Steps
To remove your Kohler sink stopper, first locate the ball rod assembly under the sink. Detach the ball rod by unscrewing the securing nut, then pull the stopper straight out from the drain.
Check the linkage for obstructions or damage, and clean the stopper and drain area thoroughly. After removal, reassemble carefully to guarantee smooth operation and prevent leaks. If you want to maintain your stopper’s function and avoid issues, there’s more useful adjustment and maintenance advice ahead.
Remove the Kohler Sink Stopper
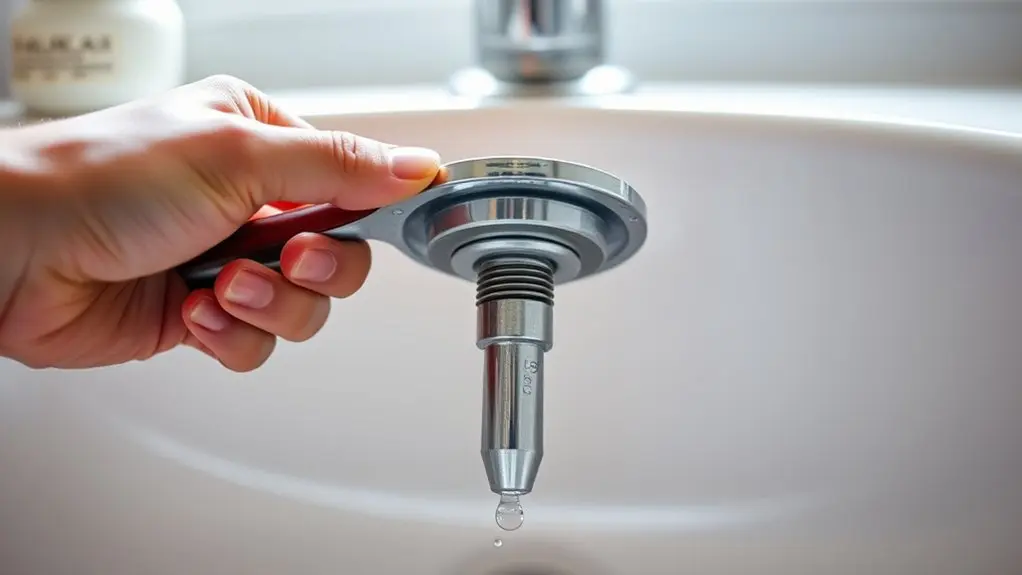
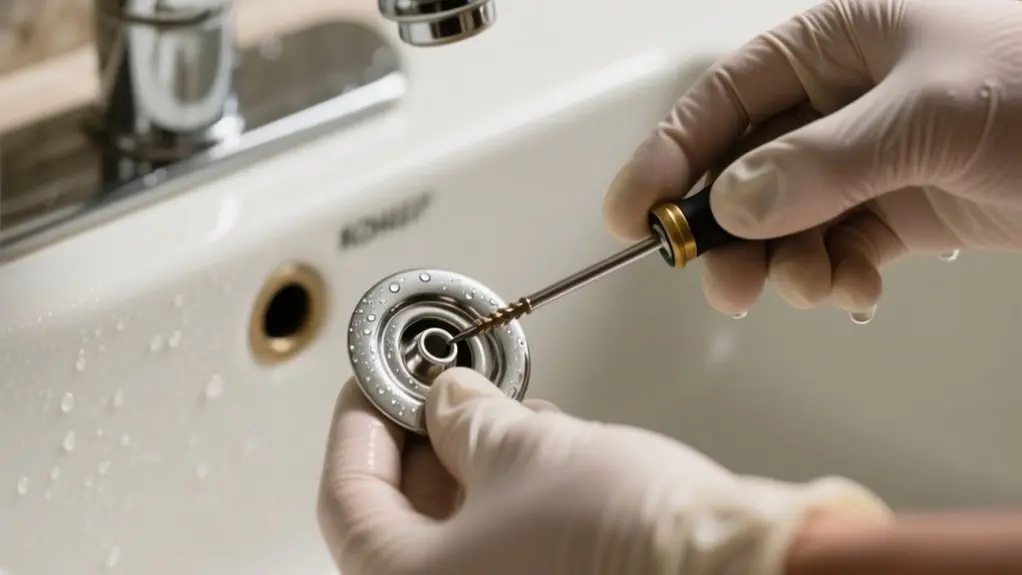
Begin by detaching the ball rod connecting the stopper to the drain side; unthread the nut securing it to free the rod. Once the ball rod is removed, carefully pull the stopper straight out from the drain.
Before you do this, check the linkage and mechanism beneath the sink to verify nothing is obstructing movement, preventing damage.
After removing the stopper, inspect the drain area for debris or buildup and clean as necessary to maintain proper drainage.
When reinstalling, reverse the removal process: insert the stopper back into the drain and reattach the ball rod by threading the nut securely. This step guarantees the stopper functions properly and stays in place.
Following these precise steps helps you efficiently remove and reinstall the Kohler sink stopper without complications.
Find and Understand the Ball Rod Assembly
One key element you’ll encounter when removing a Kohler sink stopper is the ball rod assembly, which secures the stopper in place within the pop-up drain system.
The ball rod connects to the drain’s side via a nut and features a rounded end that fits into a linkage mechanism. This design enables the stopper to move smoothly when operated.
Before you can access or remove the stopper, you need to locate this assembly underneath the sink. Understanding how the ball rod fits and functions is essential; it holds the stopper firmly while allowing motion.
Handle the ball rod assembly carefully to avoid damaging the connecting components. Familiarity with this part sets the foundation for properly detaching and reinstalling the sink stopper later.
Unscrew the Ball Rod Nut and Remove the Rod
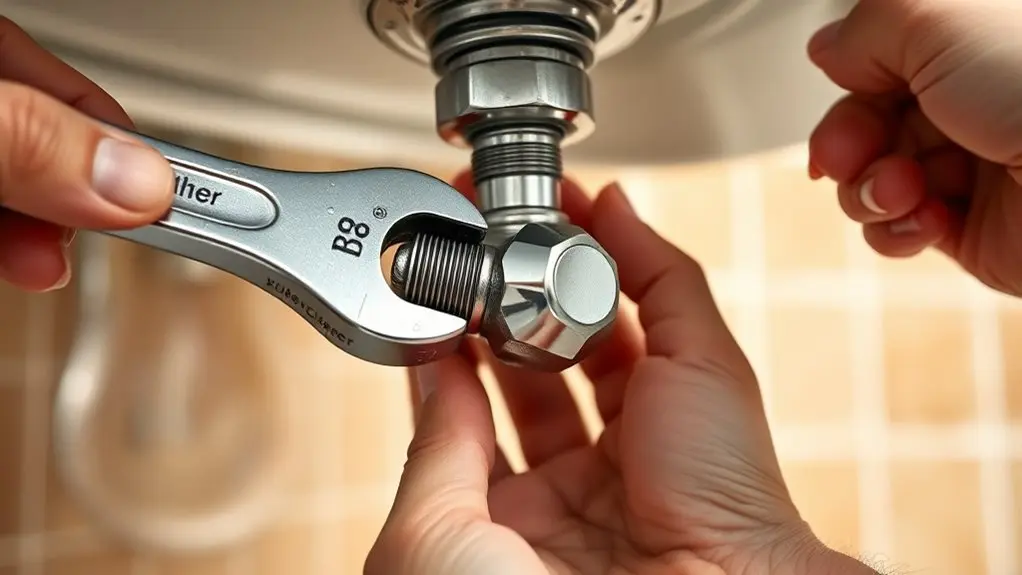
First, find the ball rod that’s connected to the stopper and the drain assembly.
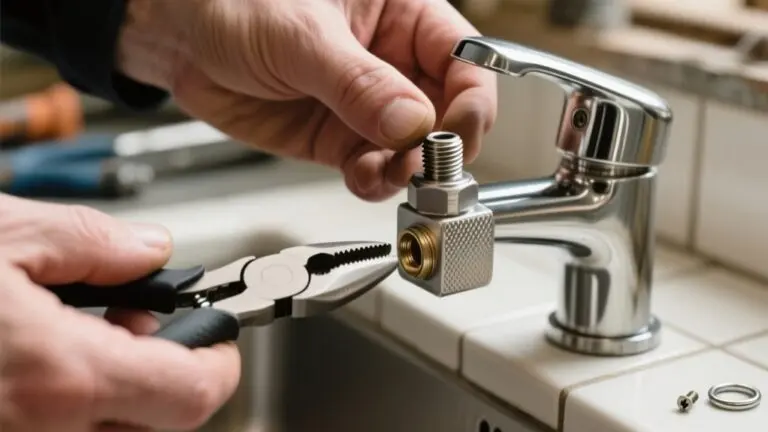
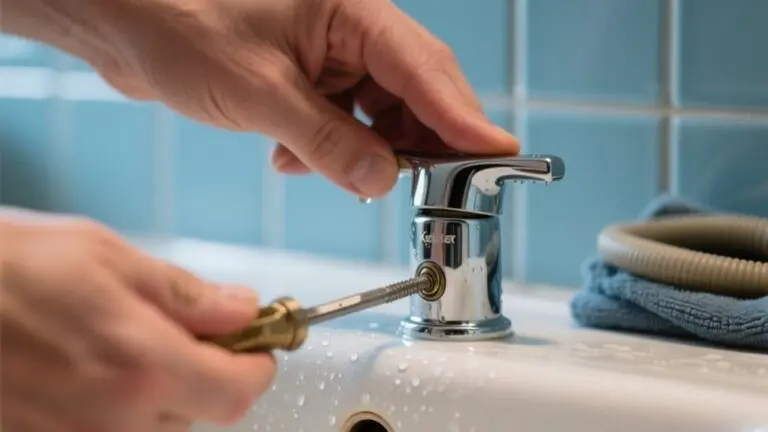
Then, grab a wrench or some pliers to carefully unscrew the ball rod nut that’s holding the rod in place.
Once you’ve got the nut off, just pull the ball rod out to disconnect it from the drain.
Locating The Ball Rod
The ball rod, a key part securing the sink stopper, is located on the side of the drain assembly. To begin, look under the sink and identify the horizontal rod connected to the drain’s side.
This rod links directly to the stopper mechanism inside the drain. Once you spot the ball rod, you’ll see a nut securing it in place. Before removing the stopper, you need to free this rod by unscrewing the nut.
Use a wrench or pliers to turn the nut counterclockwise until it’s completely detached.
After loosening the nut, gently pull the ball rod out from the drain. Removing this rod releases the stopper, allowing you to take it out for cleaning or replacement.
Unscrewing The Rod Nut
After locating the ball rod and identifying the securing nut, you’ll need to unscrew this rod nut to free the rod. Use a wrench or your fingers to turn the nut counterclockwise until it detaches completely. Once removed, gently pull the ball rod out of the drain to release the stopper.
Keep all components safe for reassembly.
| Step | Action |
|---|---|
| Identify nut | Find the rod nut securing ball rod |
| Unscrew nut | Turn counterclockwise to remove |
| Remove rod | Pull ball rod out gently |
This process guarantees the stopper is free without damage or loss of parts.
Detaching The Ball Rod
Locate the ball rod nut on the side of the drain and use a wrench or pliers to carefully turn it counterclockwise until it loosens.
Once loosened, fully unscrew and remove the nut.
With the nut removed, gently pull the ball rod straight out from the drain assembly.
Be mindful of any washers or small components attached to the rod as you remove it to avoid losing them.
Detaching the ball rod clears the way to easily access and remove the stopper inside the drain.
Keep all parts organized for reassembly or replacement.
This step is essential for safely removing the Kohler sink stopper without damaging the linkage or drain components.
Clean the Stopper and Drain Components
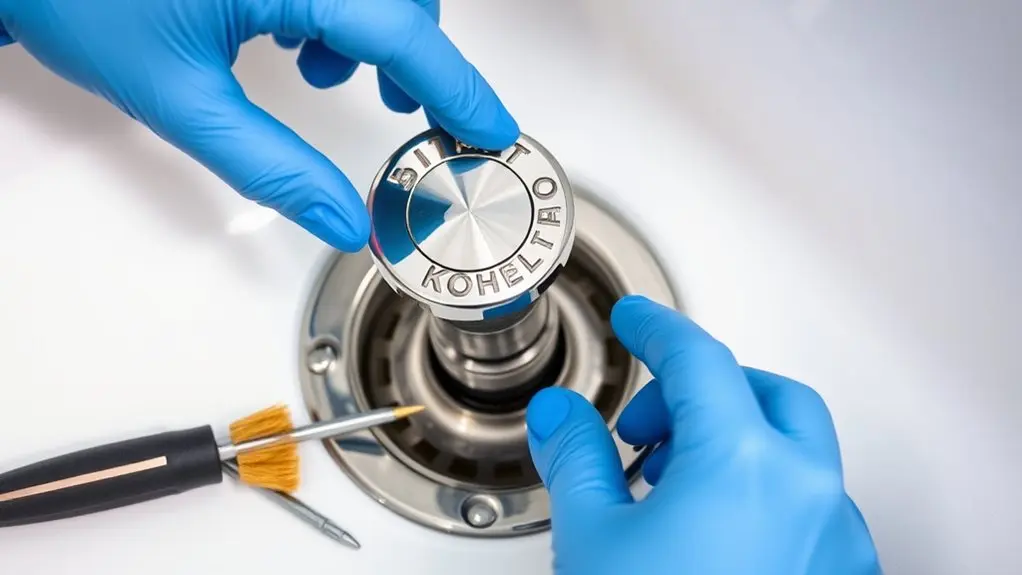
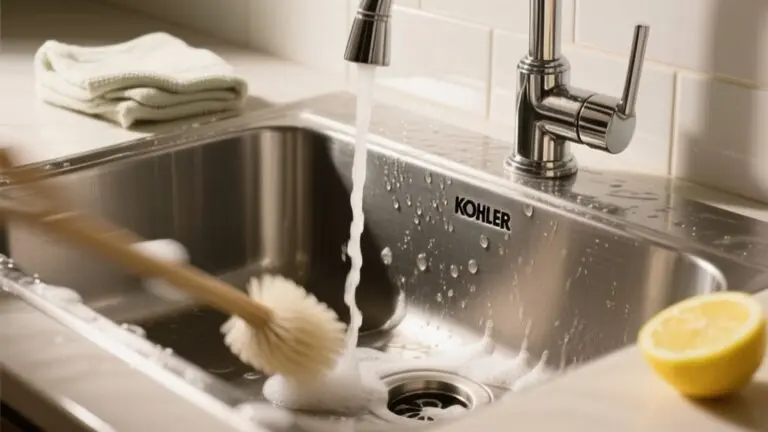
You’ll want to clean the stopper and drain components regularly to keep things running smoothly and avoid clogs.
Just grab some warm, soapy water and a soft brush to gently remove any debris. While you’re at it, take a quick look to see if any parts show signs of wear or damage.
Once everything’s cleaned, give it a good rinse to wash away any soap residue.
Then, put everything back together carefully. Before you finish up, test the mechanism to make sure it’s working properly. Easy, right?
Stopper Cleaning Tips
Keeping your Kohler sink stopper and drain components clean is essential for best drainage performance. Start by washing the stopper with mild detergent and warm water to prevent buildup. Use a soft brush or cloth to scrub all surfaces, focusing on crevices where debris collects.
Avoid harsh chemicals or abrasive tools that can damage finishes. While cleaning, inspect the stopper and linkage for wear or damage; address any issues promptly.
After scrubbing, rinse all parts thoroughly to remove detergent residue, which can cause clogs if left behind. Regular, gentle cleaning maintains smooth operation and extends the lifespan of your sink’s components without risking harm from aggressive cleaning agents or neglect.
Drain Component Maintenance
Regularly cleaning your Kohler sink stopper is only part of maintaining smooth drainage; the drain components also need attention. Use a soft cloth or sponge to wipe the stopper, removing soap scum and debris.
Inspect the ball rod and linkage mechanisms for buildup, ensuring they operate smoothly. If the stopper resists removal, unthread the nut securing the ball rod to detach it, allowing easier access for thorough cleaning.
This prevents clogs and maintains efficient water flow. Consistent maintenance of these parts not only extends their lifespan but also improves overall sink functionality.
Fix the Linkage if the Stopper Won’t Move
Start by inspecting the adjustable linkage connected to the lift rod when the sink stopper won’t move or close. First, remove the clip by squeezing its ends to release the linkage from the ball lever.
Next, adjust the linkage by repositioning it into a different hole on the lever to restore proper stopper movement. Once adjusted, firmly reinstall the clip to secure the linkage and prevent disconnection.
Test the stopper’s function. If it still doesn’t move correctly, repeat these steps.
| Step | Action |
|---|---|
| 1 | Squeeze clip ends to remove linkage |
| 2 | Detach linkage from ball lever |
| 3 | Move linkage to a different hole |
| 4 | Reinstall clip securely |
| 5 | Test stopper movement |
Reinstall the Stopper and Test the Drain
Reconnect the ball rod to the side of the drain by tightening the securing nut firmly. Before finalizing, verify the stopper sits correctly within the drain to avoid misalignment.
After securing the ball rod, operate the lift rod to test the stopper’s movement. It should open and close smoothly without resistance. If it doesn’t, readjust the linkage, focusing on the ball rod position, and retest until the stopper functions properly.
Once satisfied, inspect the connection around the ball rod and nut for leaks. Tighten as needed to secure a watertight seal.
This step verifies your Kohler sink stopper is reinstalled correctly and ready for reliable use without drips or operational issues.
Tips for Maintaining Your Kohler Sink Stopper
To keep your Kohler sink stopper functioning smoothly, clean it frequently to remove debris that can cause buildup and hinder movement.
Regularly inspect the ball rod and linkage for wear, damage, or looseness, and tighten connections to prevent leaks or operational faults.
Adjust the linkage as needed to maintain proper alignment and guarantee the stopper opens and closes fully.
Apply a silicone-based lubricant sparingly to the moving parts to reduce friction and extend the mechanism’s lifespan.
If you notice difficulty operating the stopper, check the ball rod for signs of wear and replace it if necessary.
Consistent maintenance will preserve functionality, prevent drainage issues, and save you from frequent repairs or replacements.
Frequently Asked Questions
What Tools Do I Need to Remove a Kohler Sink Stopper?
You’ll need pliers to grip and turn fasteners, and a flathead screwdriver to disengage clips or components.
A wrench or socket set helps unthread the ball rod nut securing the stopper.
Keep a towel or bucket nearby for any water spills.
Using a flashlight will illuminate tight spaces under the sink, making it easier to see linkage and nuts.
Prepare replacement parts in case the stopper’s worn or damaged.
Can I Remove the Stopper Without Turning off the Water Supply?
You absolutely can remove the Kohler sink stopper without turning off the water supply. It’s as easy as a breeze on a calm day.
Just detach the ball rod by unthreading the securing nut on the drain side, and the stopper will come free without disrupting water flow.
Be prepared with a container and towel to catch any drips. This straightforward method keeps your plumbing intact while you work efficiently.
How Often Should I Clean My Kohler Sink Stopper?
You should clean your Kohler sink stopper at least once a month to prevent debris buildup and keep it working smoothly. If you notice slow drainage or odors, try cleaning it every two weeks instead.
Use a mild detergent with warm water or a vinegar solution to avoid damaging the finish.
Regularly checking the stopper while cleaning helps you spot any wear or damage early. That way, you can make repairs quickly and keep everything running efficiently.
Are Replacement Stoppers Compatible With All Kohler Sink Models?
Replacement stoppers aren’t one-size-fits-all for Kohler sinks. They’re more like puzzle pieces needing the right fit.
You’ll want to check your sink’s model number and the stopper’s design carefully. Some have unique dimensions or attachment styles, so blindly buying can lead to mismatches.
Always consult Kohler’s guidelines or customer support to guarantee you get a stopper that clicks perfectly into place, avoiding leaks or improper sealing.
What Should I Do if the Stopper Is Stuck and Won’T Come Out?
If your stopper is stuck, first check if the ball rod is still attached to the drain, as it might be holding the stopper in place.
Inspect the linkage for obstructions or corrosion.
Gently wiggle the stopper while pulling upward, but avoid using excessive force. If it won’t budge, unthread the rod nut to remove the ball rod for better access.
Finally, confirm the lift rod and linkage are properly adjusted before trying again.
Conclusion
By carefully following these steps, you’ll gracefully restore your Kohler sink stopper to peak function. Taking the time to understand and maintain the ball rod assembly guarantees smooth operation and prevents future inconveniences.
Remember, a well-maintained stopper not only promotes hygiene but also enhances your sink’s longevity. With routine attention and gentle care, you’ll keep your drainage system running effortlessly, turning a simple task into a seamless part of your home upkeep.