How To Remove Kohler Aerator Without Tool – Smart Tips
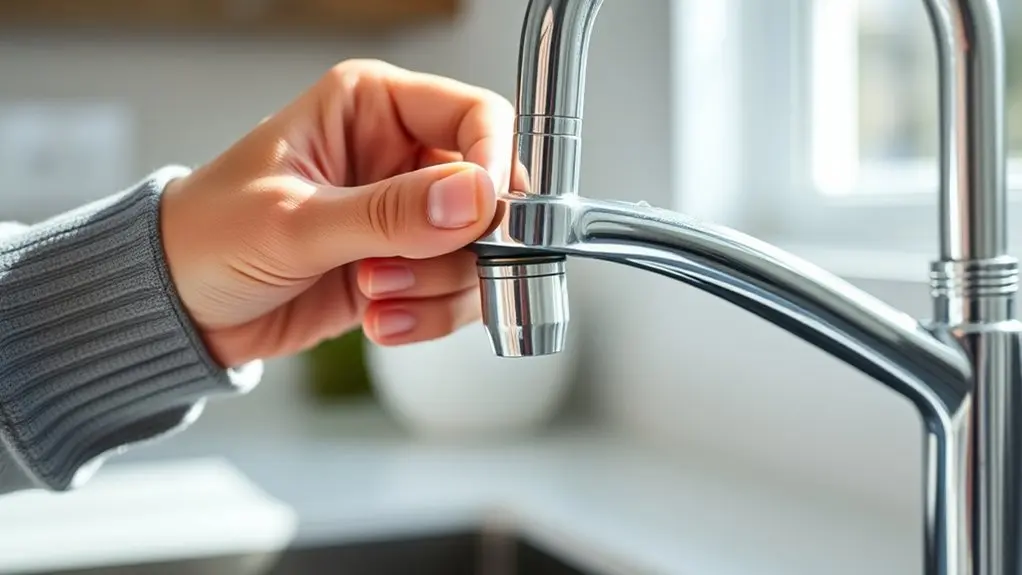
To remove your Kohler aerator without tools, grip the aerator firmly using rubber gloves or wrap a rubber band around it for extra traction. Turn it counterclockwise with steady pressure, supporting the faucet spout to avoid damage.
If it’s stuck, soak it in vinegar for 20-30 minutes to loosen mineral deposits. Then gently work it free with alternating turns.
Avoid harsh tools or excessive force to protect threads and finish. Explore further techniques to clean, inspect, and reinstall effectively.
How To Identify Your Kohler Aerator Type By Sight And Feel
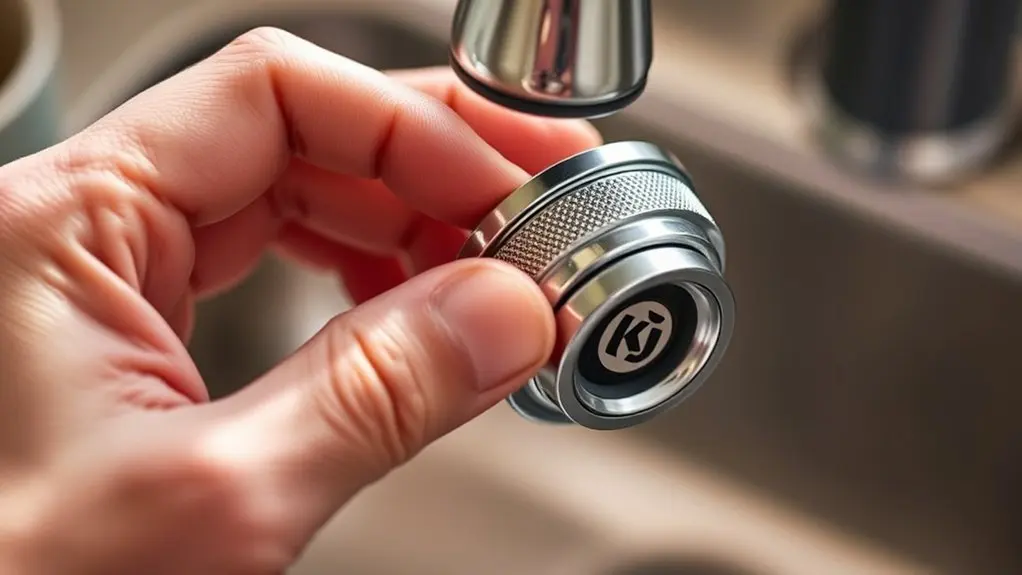
Before you attempt removal, you need to identify your Kohler aerator type by sight and feel. Start by examining the faucet spout tip. If you see a visible round cap with external threads, you have a standard external aerator.
You can confirm this by feeling for ridges around the cap. If the opening is smooth and recessed, the aerator is hidden inside the spout, often requiring a specialized key for removal.
Look for a trim ring or an oval-shaped opening, which indicates a recessed or hidden aerator design.
How To Remove A Kohler Aerator By Hand Without Tools
Before you start, make sure you know what type of Kohler aerator you have. This helps you understand the threading and size.
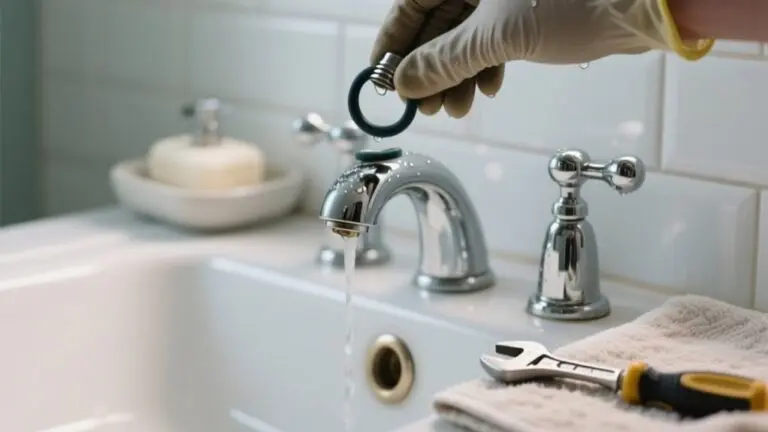
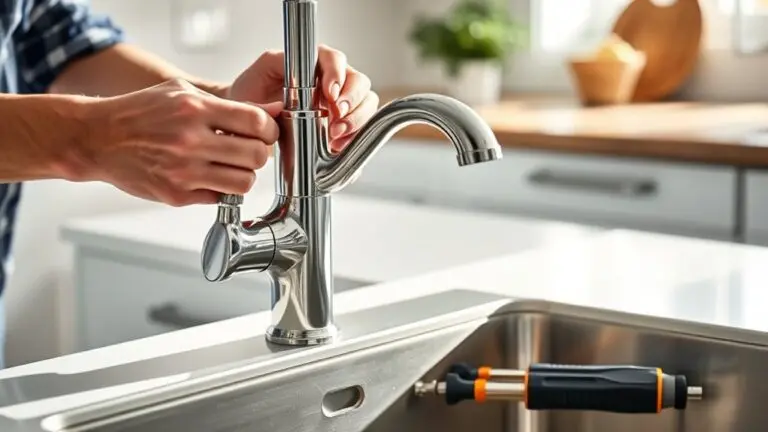
Next, hold the faucet spout firmly so it doesn’t move around. Then, grab the aerator using a rubber glove or a cloth to get a better grip.
Now, just turn it counterclockwise with steady pressure. Do this gently to loosen the aerator by hand without causing any damage.
Identifying Aerator Type
Although Kohler aerators vary in design, you can often identify their type by examining the tip of the spout closely. For effective aerator identification, look for a smooth, rounded tip without visible threads, which usually means a recessed or hidden aerator.
External Kohler aerators typically have visible threading and a textured or knurled edge, making it easier to grip them for hand removal.
Recessed aerators sit flush inside the spout and sometimes require a special key to remove. But if you see an exposed edge, you might be able to loosen it by hand.
Make sure to check carefully for any markings or shapes that can help clarify whether the aerator is external, recessed, or hidden.
Identifying the aerator type precisely helps you pick the right removal method without needing tools. This way, you avoid damaging the faucet or the aerator assembly.
Just take your time to observe the details before you try to remove it.
Hand Loosening Techniques
When you encounter a Kohler external aerator, you can usually loosen it by gripping firmly and turning it counterclockwise by hand.
Hand tightening during installation means you can reverse the process similarly without tools.
To improve grip and ease removal, try these hand loosening techniques:
Use a damp cloth or rubber glove to increase friction and prevent slipping.
Support the faucet spout with your other hand to avoid twisting or damage.
If it’s stuck, alternate gentle clockwise and counterclockwise motions to break mineral buildup.
Apply steady, moderate pressure to avoid cross-threading or damaging threads.
These practical hand loosening methods help you remove a Kohler aerator efficiently without risking damage or requiring tools.
Preventing Damage During Removal
To prevent damage during removal, you should always wrap a soft cloth or rubber band around the aerator to enhance grip and avoid slipping. Use your fingertips or a rubber glove for a firm hold, applying steady, gentle pressure counterclockwise to unscrew it.
Support the faucet spout with your other hand to stabilize it and prevent twisting or strain that could cause damage.
If the aerator feels tight, soak it in vinegar for 20-30 minutes to loosen mineral deposits, making hand removal easier.
Avoid excessive force or using metal tools directly on the aerator, as this risks damaging the threads or finish.
These steps are essential for preventing damage during removal and ensuring the aerator remains intact for reinstallation.
How To Use Household Items To Improve Grip On A Stubborn Aerator
Since stubborn Kohler aerators often resist removal because of mineral buildup and smooth surfaces, using common household items can really help improve your grip and leverage. Boosting your grip is key to prevent slipping and to apply enough turning force without needing special tools.
Stubborn Kohler aerators resist removal, but household items can boost grip and leverage without special tools.
Here are some practical ways to up your grip using stuff you probably have at home:
- Wrap a rubber band tightly around the aerator to increase friction and grip.
- Use a damp cloth or dish towel to add stability and reduce slipping.
- Wear latex gloves to enhance grip strength and control.
- Insert a small flat-head screwdriver or coin between your hand and the aerator to get extra leverage.
These simple tricks work well to improve your grip, making the aerator easier to turn and remove without any fancy tools.
Give them a try and you’ll likely find the task a lot less frustrating!
How To Gently Loosen A Tight Kohler Aerator Without Damage
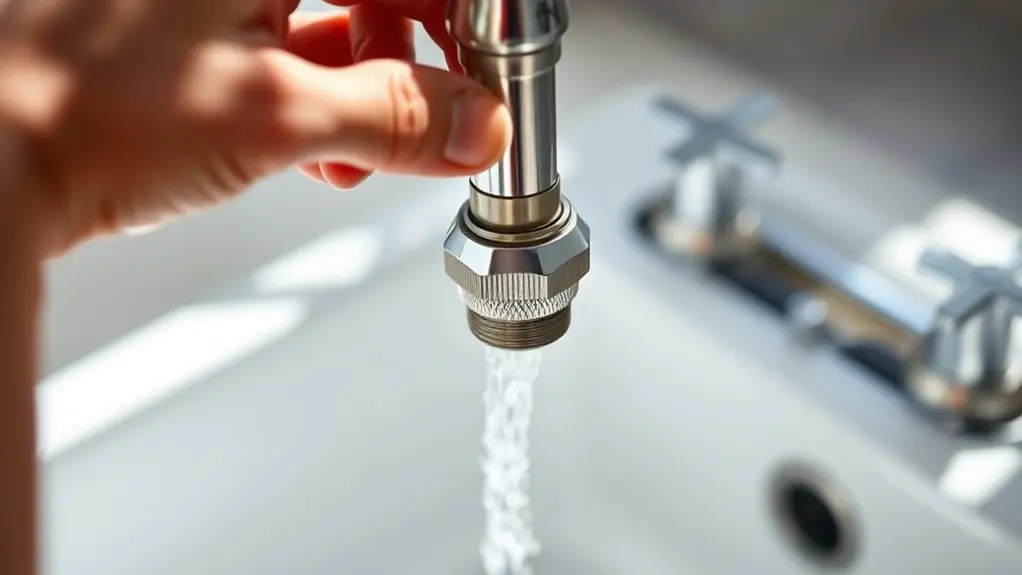
Improving your grip on a stubborn Kohler aerator often isn’t enough to loosen it if mineral buildup has fused it tightly in place. Start by wrapping a soft cloth or rubber band around the aerator to enhance grip, then gently turn it counterclockwise by hand.
Applying warm water or soaking a cloth in vinegar around the aerator for several minutes helps loosen mineral deposits without damage.
Use a plastic or rubber jar opener for extra leverage, making sure you support the faucet spout firmly with one hand to avoid twisting it.
If the aerator remains stuck, carefully tap around its edges with a wooden or plastic tool to break mineral buildup. These steps gently loosen the aerator without harming its finish or the faucet.
How To Soften Mineral Deposits On Your Kohler Aerator Naturally
How can you effectively soften mineral deposits on your Kohler aerator without harsh chemicals? Using natural acids and gentle methods can dissolve buildup and restore performance.
Start by soaking the aerator in white vinegar for 20-60 minutes to break down mineral deposits.
Begin by soaking the aerator in white vinegar for up to an hour to dissolve mineral buildup.
For tougher buildup, wrap the aerator with a vinegar-soaked cloth and leave it for up to 2 hours.
You can also apply lemon juice or a lime remover mixture, which contain natural acids to soften calcium and lime scale.
After soaking, gently brush the aerator screen with a nylon brush to remove loosened deposits without damaging components.
- Soak aerator in white vinegar for up to 1 hour
- Wrap with vinegar-soaked cloth for 2 hours on stubborn buildup
- Use lemon juice or lime remover for natural acid treatment
- Brush gently with nylon brush to clean loosened deposits
Regular soaking prevents heavy mineral accumulation and maintains ideal aerator function.
It’s an easy way to keep things running smoothly!
When And How To Use Heat At Home To Free A Stuck Aerator
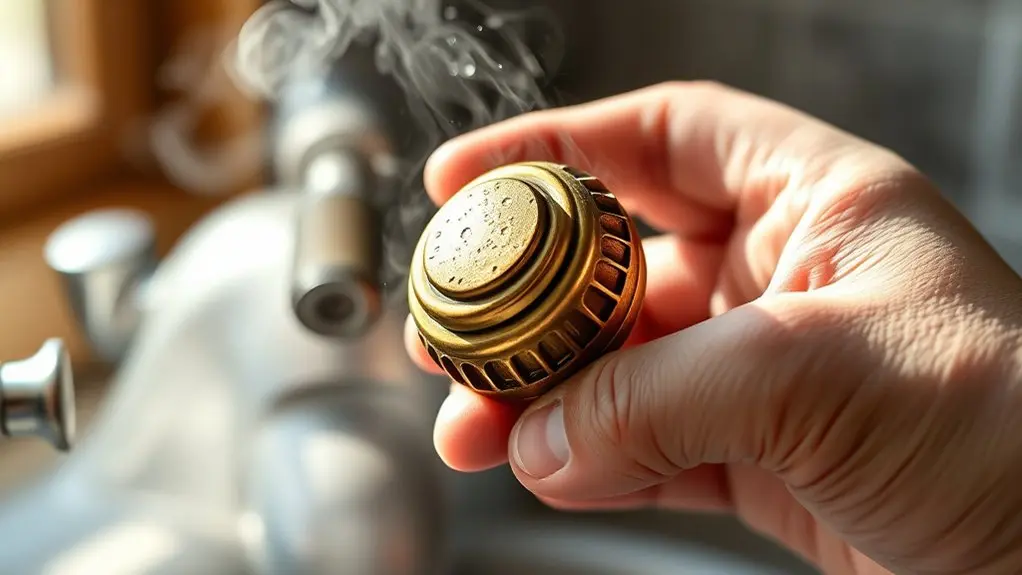
You can use a hairdryer on a low or warm setting to gently heat the metal parts of the stuck aerator. Just be sure to avoid heating any plastic or rubber areas.
Try applying the heat for about 30 seconds to a minute. This helps expand the metal and soften any mineral deposits without getting too hot.
Once the aerator feels warm, go ahead and try loosening it right away. Using a protective tool can help prevent any damage while you work.
Safe Heat Application
When should you apply heat to free a stuck Kohler aerator? Use heat when mineral deposits or corrosion cause the aerator to seize. Gentle expansion of metal parts can help with removal. Just be sure to apply heat carefully to avoid damage.
Here are some safe heat application tips for you:
Use a hairdryer set to low heat, focusing on the aerator area for 30 seconds to 1 minute. Keep the heat source at a safe distance to prevent burns or warping plastic parts.
You can also combine heat with penetrating oil or soaking to break down deposits more effectively.
And remember, never use high heat or an open flame. Excessive heat can damage the faucet’s integrity.
Heat Types To Use
Heat application works best with controlled and appropriate heat sources to avoid damage while loosening a stuck Kohler aerator. Use a heat gun on a low setting to warm the aerator evenly, keeping the nozzle at a safe distance to prevent overheating plastic parts.
A hairdryer is also effective. Apply low heat for about 30 seconds to gently expand metal components. Avoid high heat or open flames because they can deform plastic and damage internal parts.
Controlled heat helps break mineral deposits that bind the aerator threads, making removal easier either by hand or with minimal tools. Before applying heat, test the temperature on a cloth to avoid burns or damage.
After heating, let the faucet cool slightly so it’s safe to handle during aerator removal. This way, you get the job done without risking harm to your faucet or yourself.
Heat Timing Guidelines
Although applying heat can ease the removal of a stuck aerator, timing and duration are super important to prevent damage. Use low heat, like a hairdryer set on medium, and aim it only at the metal parts for about 30 seconds. Overheating or keeping the heat on too long can melt plastic or damage finishes.
Heat works by expanding metal threads just a bit, which helps loosen mineral deposits and corrosion. This makes unscrewing the aerator easier, especially if you use a cloth or strap wrench.
Here are some heat timing guidelines to keep in mind:
- Apply heat in short bursts of about 30 seconds, then check if it’s loosened
- Avoid directing heat onto plastic or painted surfaces
- Use penetrating oil along with heat for aerators that are really stubborn
- Always watch the temperature to avoid burns or warping
Getting the timing right with heat means you can safely and efficiently remove your Kohler aerator without causing any damage.
How To Clean And Inspect Your Kohler Aerator After Removal
Since mineral deposits can considerably reduce your aerator’s efficiency, soak it in vinegar for 20 to 60 minutes to break down buildup before cleaning.
Soaking your aerator in vinegar helps dissolve mineral deposits, boosting its efficiency before cleaning.
After soaking, use a soft nylon brush or toothbrush to gently scrub the screen and housing, removing any remaining debris.
Inspect the rubber O-rings and gaskets carefully for wear or damage. Replace them if necessary to prevent leaks.
Also, examine the flow restrictor for deformation or clogging, and swap it out if it’s cracked or excessively clogged.
Once all parts are clean, rinse them thoroughly with water to remove vinegar residue and loosened deposits.
Finally, make sure all components are dry and properly aligned during reassembly. This will help maintain peak aerator performance and avoid future issues related to improper cleaning or inspection.
How To Reinstall Your Kohler Aerator Without Tools
To reinstall your Kohler aerator without tools, just start by hand-threading it clockwise into the faucet spout. Make sure it’s properly aligned so you don’t cross-thread it.
If you want a better grip, try using a cloth or rubber glove. You can also apply some thread seal tape or an anti-seize compound to help prevent leaks and make it easier to remove next time.
Once it feels snug, turn on the water briefly to check for any leaks or uneven flow. If something doesn’t look right, just adjust it by hand until it’s perfect.
Hand Threading Techniques
When reinstalling your Kohler aerator without tools, align it carefully with the faucet threads and turn it clockwise using your fingers until it feels snug. Proper hand-threading ensures the aerator seats correctly without cross-threading or damage. Apply even pressure while turning.
If you encounter resistance, back off and realign before continuing.
Avoid over-tightening, which can strip threads or crack components.
Keep these hand-threading tips in mind:
- Start threading gently to confirm alignment.
- Use consistent finger pressure to avoid cross-threading.
- Stop tightening once snug; don’t force it.
- Test flow after installation and adjust slightly by hand if needed.
This method guarantees a secure fit and maximum function without requiring extra tools. Easy and hassle-free!
Leak Prevention Tips
How can you prevent leaks while reinstalling your Kohler aerator without tools? Start by gently hand-threading the aerator clockwise until it feels snug to avoid cross-threading.
Applying a small amount of thread seal tape or a dab of anti-seize compound on the threads enhances the seal and simplifies future removal.
Turn the aerator with consistent, gentle pressure until firmly seated. After hand-tightening, briefly run water to check for leaks or side spray. If you notice leakage, re-tighten slightly but don’t over-torque, as that can damage threads.
Regularly inspect the aerator’s position and cleanliness to maintain a proper seal and ideal water flow. These steps help you prevent leaks effectively while reinstalling your Kohler aerator without using any tools.
Preventive Maintenance To Keep Your Kohler Aerator Easy To Remove
Although mineral buildup and corrosion can quickly seize your Kohler aerator, regular preventive maintenance keeps it easy to remove. By implementing a few practical steps, you can guarantee smooth aerator removal every time.
Soak the aerator in vinegar for 20-60 minutes regularly to dissolve mineral deposits.
Apply a small amount of anti-seize compound to threads during reinstallation to prevent corrosion and thread binding.
Keep the aerator clean and free of debris to avoid internal clogging and mineral bonding.
Inspect and replace worn O-rings and gaskets periodically to prevent internal seizing caused by damage or corrosion.
Also, use a soft cloth or protective wrap during installation and removal to avoid scratches that complicate future aerator removal.
Following these practices saves you time and effort in maintenance. It’s a simple way to keep your Kohler aerator working smoothly for years to come.
Common Mistakes When Removing A Kohler Aerator By Hand
Regular maintenance makes your Kohler aerator easier to remove, but improper handling during removal can cause damage. Avoid applying excessive force by hand, as this can strip threads or damage the faucet finish.
Proper maintenance eases Kohler aerator removal; avoid excessive hand force to prevent thread stripping and faucet damage.
Using bare hands without grip-enhancing tools often leads to slipping, increasing injury risk and the chance of dropping parts.
Always support the faucet spout to prevent twisting or cracking the fixture during aerator removal.
Misidentifying the aerator type is another common mistake. Some require tools, so forcing removal by hand can cause damage.
Finally, don’t rush the process. Hasty attempts can result in cross-threading or breaking the aerator and faucet components.
Following these guidelines guarantees safe, damage-free aerator removal.
Frequently Asked Questions
What Are the Signs That My Kohler Aerator Needs Replacement?
You’ll know your Kohler aerator needs replacement if you notice damage like cracks, tears, or heavy mineral buildup that cleaning can’t fix.
Reduced water flow or inconsistent spray patterns often point to clogging or worn parts.
Persistent leaks or dripping after reinstalling also signal damage.
And if water pressure suddenly drops, it’s likely your aerator’s degraded and needs replacing to restore proper function.
Can Using WD-40 Help Loosen a Stuck Aerator Safely?
When it comes to loosening a stuck aerator, WD-40 offers a solid lubricant effect that can help break down rust and mineral buildup. You’ll want to apply it carefully around the base and avoid spraying on plastic parts.
Then, let it sit for several minutes.
After that, rinse thoroughly and use gentle twisting to avoid damage. WD-40 can be your ace in the hole, but always use it cautiously to protect your faucet.
It’s a handy trick to keep in mind when you’re dealing with a stubborn aerator.
How Often Should I Remove My Aerator for Maintenance?
You should perform aerator maintenance every 6 to 12 months under normal conditions.
If you live in a hard water area or notice reduced water flow, clean it every 3 to 6 months.
For heavy usage or water quality issues, inspect and remove the aerator quarterly.
Regular aerator maintenance prevents mineral buildup and guarantees ideal water pressure.
It also helps you spot worn parts early, keeping your faucet functioning efficiently and leak-free.
Staying on top of this simple task can save you from bigger plumbing problems down the line.
Are There Specific Kohler Models Prone to Aerator Issues?
If you own a Kohler K-596 model, you’ll notice its recessed aerator tends to clog more often. Specific Kohler model variations, especially those with internal tabs or tightly fitted aerators, are prone to buildup and removal difficulties.
These design features increase mineral deposit accumulation, especially in hard water areas.
Being aware of your model’s design helps you anticipate maintenance challenges. It also lets you handle aerator issues more effectively without damaging the faucet.
Can Aerator Removal Affect Water Pressure or Flow?
Yes, aerator removal can impact water pressure and flow considerably. When you remove the aerator, you change how water exits the faucet, which affects the water impact.
If you damage or incorrectly reinstall the aerator, you risk leaks or reduced flow efficiency. Also, debris left inside can disrupt water impact and cause irregular pressure.
Maintaining and properly handling the aerator ensures ideal water impact and consistent flow over time.
Conclusion
Removing your Kohler aerator without tools is easier than you think when you know the right techniques. By identifying the type, improving your grip, and softening mineral deposits naturally, you can avoid turning a molehill into a mountain.
Remember to handle it gently to prevent damage. Also, perform regular maintenance to keep things running smoothly.
With these practical steps, you’ll master aerator removal and reinstall it without breaking a sweat.