How To Replace Kohler Faucet Cartridge – Beginner’s Guide
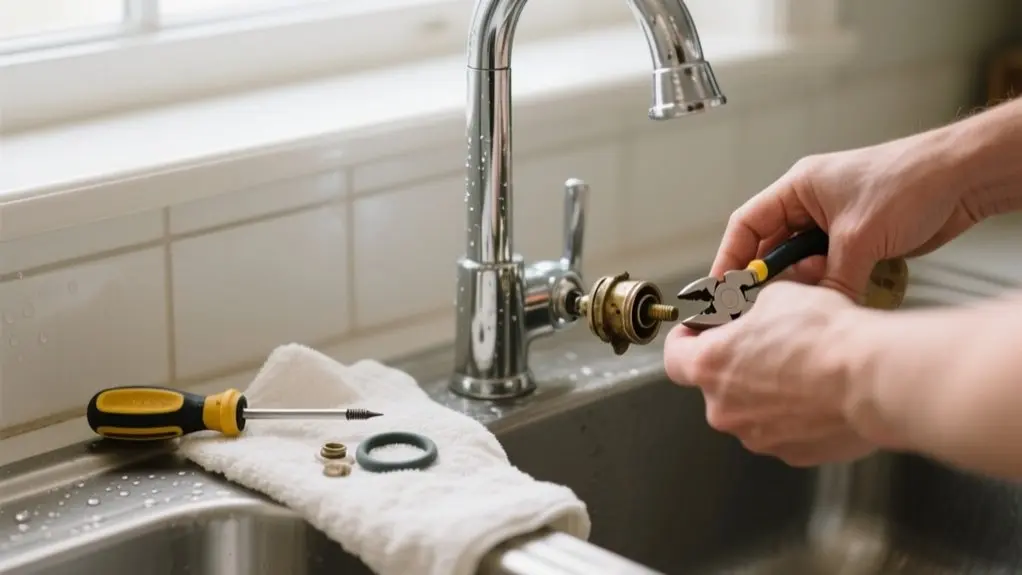
To replace your Kohler faucet cartridge, first turn off the water supply and remove the handle by unscrewing it. Use a wrench to remove the bonnet and mounting nut, then carefully pull out the old cartridge.
Align the new cartridge’s pegs with the valve body, reinstall the mounting nut snugly, and reattach the handle. Turn the water back on and check for leaks. Following these steps guarantees a secure fit and proper function. Next, learn how to troubleshoot common issues and fine-tune your repair.
Get Your Tools Ready and Prepare Your Workspace
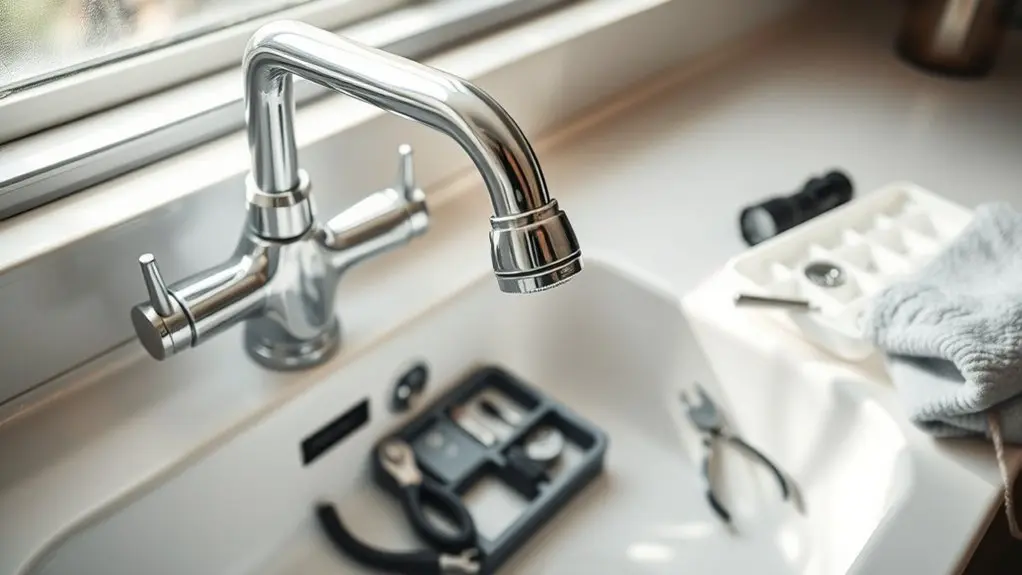
Before you begin replacing your Kohler faucet cartridge, gather all necessary tools, such as an adjustable wrench, fixed wrench, or a 5/8 inch deep socket wrench. Having the right tools guarantees you can efficiently remove and replace the cartridge without damaging components.
Clear your workspace of clutter to provide easy access to the faucet, minimizing hazards and allowing smooth movement during the repair. Confirm the water supply to the faucet is turned off to avoid leaks.
Clear your workspace and shut off the water supply to ensure a safe, efficient faucet repair process.
Familiarize yourself with your specific Kohler model, as cartridge types and removal steps may vary. Moreover, prepare towels or rags to manage any residual water.
Organizing your tools and workspace ahead of time streamlines the process and helps you maintain control throughout the valve replacement.
Turn Off Water and Remove the Faucet Handle
First, go ahead and turn off the water supply to avoid any leaks while you’re working.
After that, take off the plug button on the handle so you can get to the screw holding it in place.
Once you’ve unscrewed it, you can lift the handle right off and move on to replacing the cartridge.
Water Supply Shutdown
Since preventing leaks is essential, you’ll need to shut off the water supply to the faucet before proceeding. Locate the shutoff valves under the sink and turn them clockwise to stop water flow completely.
Confirm the water supply shutdown by opening the faucet and ensuring no water comes out.
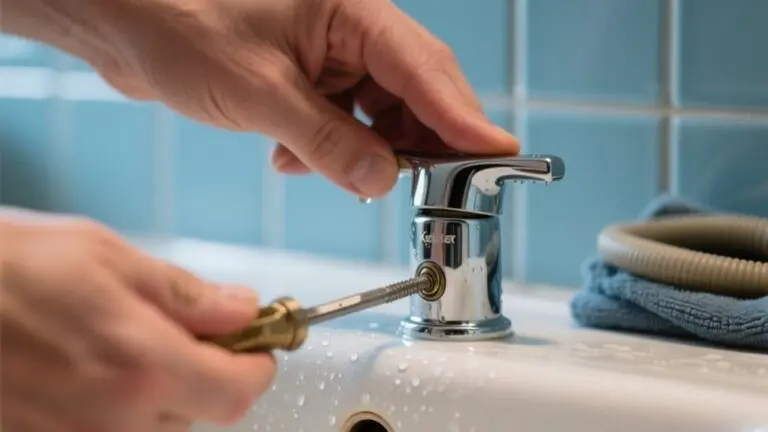
Next, remove the plug button on the faucet handle to expose the securing screw. Use a screwdriver to loosen this screw carefully.
Once loosened, lift the faucet handle off to access the cartridge beneath.
Keep all removed components organized in a clean workspace to avoid losing small parts.
Proper water supply shutdown and handle removal set the stage for a smooth cartridge replacement without unexpected leaks or complications.
Handle Removal Steps
To remove the faucet handle, first turn off the water supply to prevent leaks.
Begin the handle removal steps by locating the plug button on the faucet handle. Carefully pry off the plug button to reveal the screw beneath.
Use a screwdriver to fully loosen and remove the screw. Once the screw is out, gently pull the handle straight off the faucet. This exposes the bonnet and internal components.
Next, unscrew the bonnet by turning it counterclockwise to access the valve or cartridge inside.
Following these handle removal steps guarantees you can safely and efficiently proceed with replacing the Kohler faucet cartridge without causing damage or leaks. Always handle each part gently to avoid stripping screws or damaging the faucet components.
Remove the Old Kohler Cartridge Safely
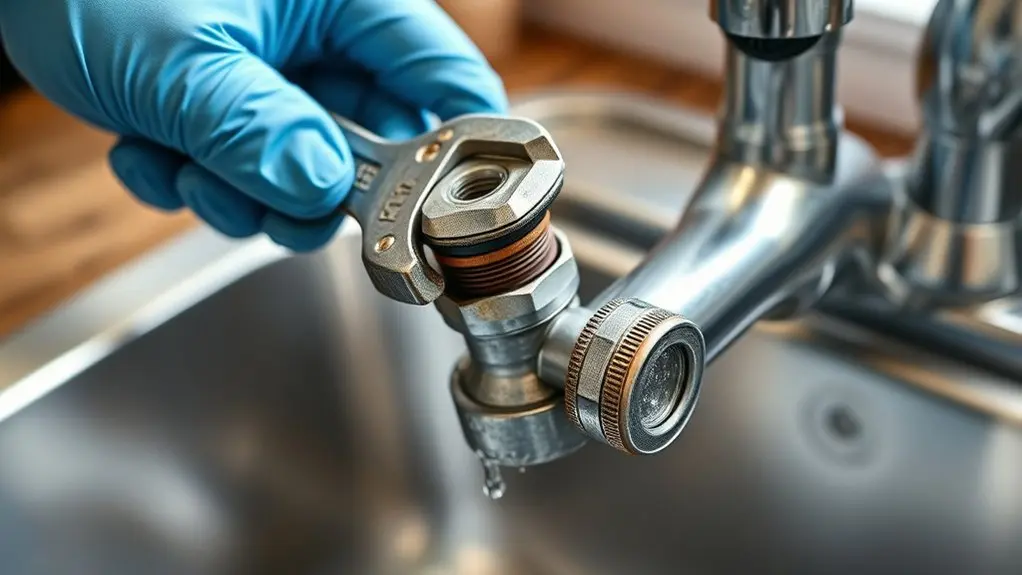
With the water supply turned off and the handle removed, you’re all set to get to the cartridge components.
First, carefully unscrew the bonnet. Then, use a wrench to loosen the mounting nut.
After that, pull out the old cartridge and take a good look at it to check for any wear before moving on.
Turn Off Water
Before you start, make certain you turn off the water supply to the faucet to avoid leaks or water flow during the cartridge replacement. Locate the shutoff valves under the sink and turn the water clockwise until fully closed. Double-check by turning the faucet handle; no water should flow.
| Step | Action | Tip |
|---|---|---|
| 1 | Turn the water off at valves | Use pliers if valves are stiff |
| 2 | Open faucet handle | Drain residual water |
| 3 | Prepare workspace | Have towels ready |
| 4 | Verify water is off | Prevent accidental leaks |
Turning the water off is vital to guarantee a safe, mess-free cartridge replacement.
Remove Handle Components
Start removing the old Kohler cartridge by carefully prying out the plug button from the handle using a flathead screwdriver. This exposes the securing screw beneath. Loosen this screw to detach the handle from the faucet.
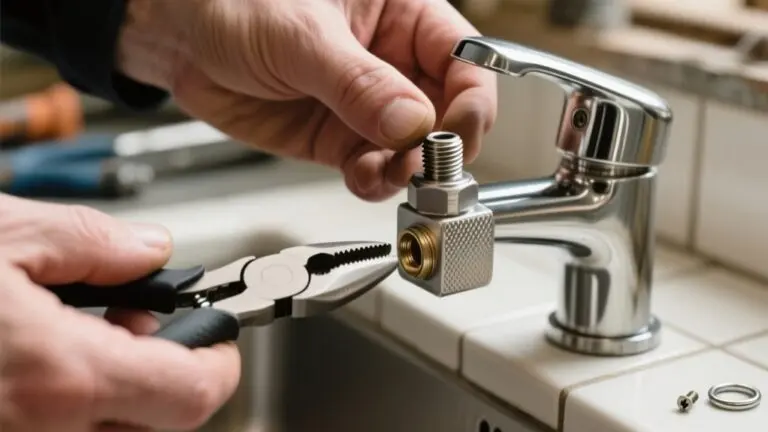
Next, unscrew the bonnet by turning it counterclockwise; this reveals the cartridge and the mounting nut. Use a large adjustable wrench to loosen and remove the mounting nut.
Keep all removed components, including the plug button, screw, bonnet, and mounting nut, stored safely to avoid misplacement during reassembly. Storing these parts in a small container or designated area helps guarantee an efficient replacement process.
With the handle components removed, you’re now ready to proceed to the next step without risking damage to the faucet assembly.
Extract Old Cartridge
After removing the handle components and loosening the mounting nut, you’re ready to extract the old Kohler cartridge. First, verify the water supply is off to avoid leaks.
If there’s an adapter over the valve stem, remove it carefully. Then, pull the old cartridge straight out of the valve body without twisting or forcing it. This helps prevent damage to surrounding parts.
| Step | Action |
|---|---|
| 1. Verify water off | Shut off main supply to prevent spills |
| 2. Remove adapter | Gently detach any adapter over valve stem |
| 3. Extract cartridge | Pull old cartridge straight out carefully |
Following these steps guarantees you extract the old cartridge safely and prepare for a smooth replacement.
Align and Install the New Kohler Cartridge
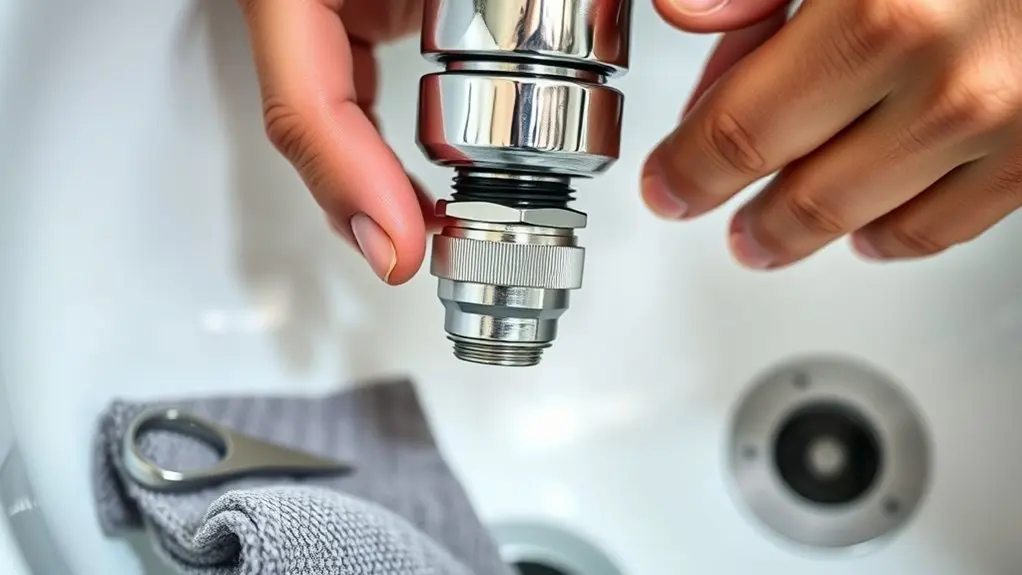
To install the new Kohler cartridge, carefully align the pegs on its bottom with the depressions in the valve body to guarantee proper positioning.
Once aligned, firmly seat the cartridge into the faucet, ensuring it’s fully inserted to prevent leaks.
Firmly insert the cartridge into the faucet to ensure a tight fit and prevent leaks.
Next, reinstall the mounting nut by turning it clockwise until hand tight. Then, tighten it an additional 1/4 to 1/2 turn for a secure fit. Be sure not to overtighten.
After installing, turn on the water supply to test the cartridge’s function and check for leaks. Confirming proper operation and zero leakage means you can proceed to reassemble the faucet handle and plug button, securing all parts in place.
This precise alignment and installation are key to restoring your faucet’s performance.
How to Tighten the Cartridge Just Right
Although it’s tempting to tighten the cartridge as much as possible, you’ll want to stop once it’s snug and secure.
Begin by ensuring the cartridge pegs align properly with the valve body depressions to avoid misalignment.
Use a wrench to apply tightening torque carefully. Turn the cartridge nut 1/8 to 1/4 turn clockwise beyond hand tight. This range provides ideal sealing without risking damage to the faucet components.
Avoid over-tightening, as it can strip threads or deform parts, compromising functionality. Perform the tightening incrementally, checking alignment throughout.
Proper tightening guarantees the cartridge seats firmly, enhancing longevity and performance.
Check for Leaks and Secure Your Kohler Cartridge
Turn on the water supply and carefully inspect the cartridge area for any signs of leaks. Check around all connection points, watching closely for dripping or wetness.
If you spot any leaks, turn off the water and revisit the installation. Confirm the cartridge and components are properly aligned and tightened just right.
Tighten adequately but avoid over-tightening, as that can cause damage.
After confirming no leaks, dry the area around the cartridge with a towel or cloth to detect any future moisture easily. Regularly check for leaks over time, since seals and components can wear down.
Staying vigilant helps you secure your Kohler cartridge and prevents water damage. This way, your faucet will function properly and last longer.
Reassemble the Faucet Handle and Finish Up
Carefully align the faucet handle onto the valve stem, making sure it fits snugly in its original position.
To properly reassemble the faucet handle and finish up, follow these steps:
- Tighten the screw underneath the plug button to secure the handle firmly and prevent any wobbling.
- Push the plug button back over the screw to cover the access point neatly.
- Turn on the water supply and operate the handle to verify smooth functionality.
Finally, inspect all connections once more for leaks and confirm the faucet functions as expected.
Troubleshooting Common Kohler Cartridge Problems
Why is your Kohler faucet acting up after a cartridge replacement? Troubleshooting common issues can help you pinpoint the problem quickly. Dripping usually means the cartridge is worn or defective and needs replacement. Low water flow often signals clogging, which you can fix by cleaning or swapping the cartridge. Inconsistent temperature or pressure and stiffness in handle movement also indicate cartridge malfunction.
| Symptom | Likely Cause |
|---|---|
| Dripping/Leaking | Worn or defective cartridge |
| Low Water Flow | Clogged cartridge |
| Handle Difficult to Turn | Cartridge issue |
Regular maintenance and timely cartridge replacement prevent bigger plumbing problems and extend your faucet’s lifespan. Use this troubleshooting guide to keep your Kohler faucet functioning properly.
Frequently Asked Questions
What Type of Kohler Cartridge Do I Need for My Faucet Model?
To find the right Kohler cartridge for your faucet, first locate your faucet’s model number. It’s usually under the handle or on the body.
Identify if it’s a single- or dual-handle design, as this affects compatibility.
Then, check Kohler’s official site or product docs for cartridge options like GP77005-RP or GP77006-RP that match your model.
If you’re unsure, contact Kohler customer service with your model details for precise guidance.
Can I Use Plumber’s Grease on the New Cartridge?
Yes, you can use plumber’s grease on the new Kohler cartridge.
Apply a thin layer of silicone-based plumber’s grease to the O-rings and seals to guarantee smooth installation, prevent wear, and maintain a proper seal.
Avoid petroleum-based greases, as they can damage rubber and plastic components, causing leaks.
Always follow Kohler’s lubrication guidelines to protect your warranty and ensure peak cartridge performance.
How Often Should I Replace My Kohler Faucet Cartridge?
You should replace your Kohler faucet cartridge every 3 to 5 years to maintain peak function and prevent leaks.
If you notice persistent dripping or the handle becomes hard to turn, it’s time for a replacement.
Regularly inspect and clean the cartridge to extend its life.
Also, use genuine Kohler parts like GP77005-RP or GP77006-RP for reliable performance and compatibility.
Will Replacing the Cartridge Affect My Water Pressure?
Replacing your Kohler faucet cartridge won’t greatly change your water pressure if you use the correct model and install it properly.
If your old cartridge was clogged or worn, swapping it out might actually improve flow.
However, pressure issues usually come from supply lines or valves, not the cartridge itself.
Keep your faucet well-maintained to prevent pressure drops and guarantee consistent performance over time.
Are Kohler Cartridges Compatible With Non-Kohler Faucets?
You wouldn’t fit a floppy disk in a USB port, right? Similarly, Kohler cartridges aren’t compatible with non-Kohler faucets. Their unique design and dimensions guarantee proper sealing only within Kohler models.
Using one elsewhere risks leaks and damage. Always check your faucet’s specs before swapping cartridges.
For non-Kohler faucets, seek manufacturer-recommended replacements to maintain function and avoid costly errors.
Don’t guess. Verify compatibility first.
Conclusion
Replacing your Kohler faucet cartridge isn’t as intimidating as it seems. With the right tools and careful steps, you’ll have your faucet running smoothly in no time.
If you encounter any hiccups, don’t fret. Most issues are minor and easily resolved with a bit of patience. By following this guide, you’re well on your way to mastering a simple yet essential home maintenance skill that keeps your water flow flawless.