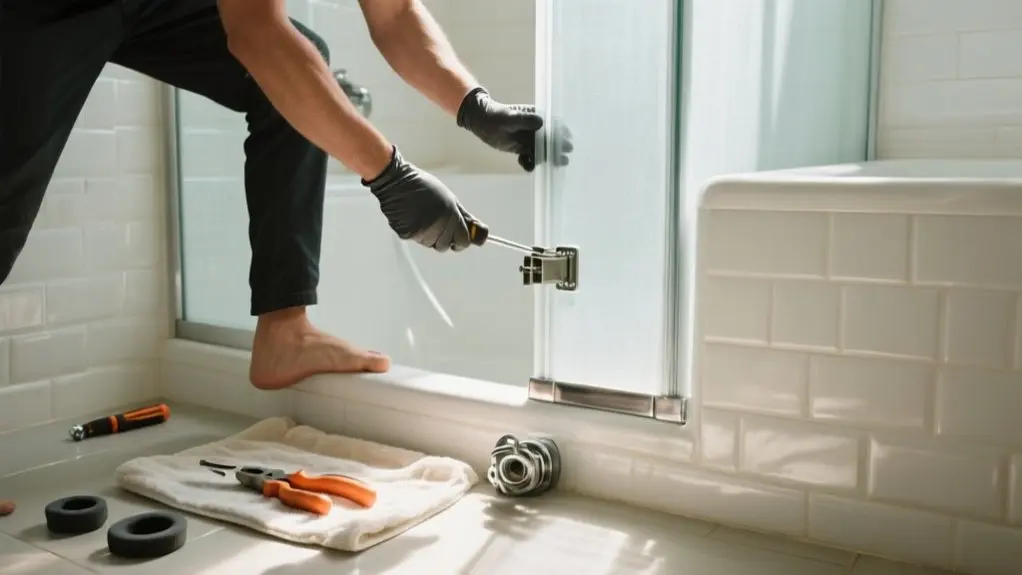
How To Remove Shower Doors – Full Tutorial
To remove your shower doors, first gather tools like a utility knife, screwdrivers, and protective gear. Score and cut the caulk around edges, then unscrew the wall jambs and center guide.
Slide the glass panels to the center. Lift the outside panel carefully with help to avoid damage, and remove remaining screws and the metal frame header.
Finish by scraping old silicone and cleaning the area to prevent mold. Keep going to uncover detailed tips for a safe, smooth process.
Prepare for Removing Sliding Shower Doors
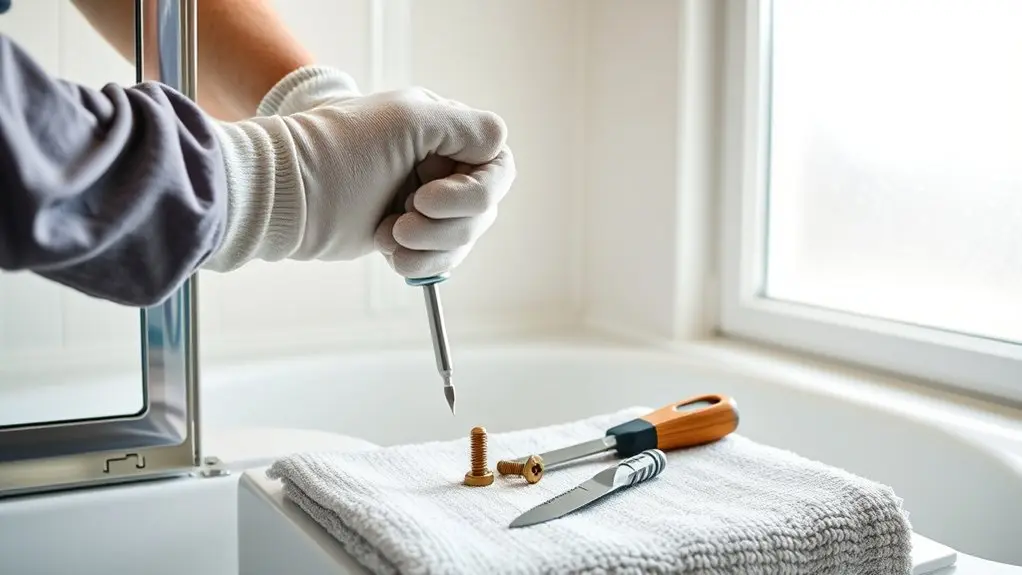
Before you start removing your sliding shower doors, gather the essential tools like a flat razor, utility knife, and screwdrivers. Wear protective gloves and goggles to keep safe.
Begin by carefully scoring the silicone caulk around the edges with your utility knife. This breaks the seal and makes it easier to remove the doors without damaging the walls or glass.
Next, identify and remove the screws securing the wall jambs and other frames holding the doors in place. Plan to remove the outside glass panel first to reduce the risk of breakage.
Working methodically will help you lift the frames and glass panels smoothly.
Taking these preparation steps guarantees a safer, more efficient shower doors removal process.
Remove the Center Guide From the Shower Door Track
Slide the glass panels to the middle position so you can easily access the center guide on the shower door track.
To remove the center guide, start by locating the screws securing it to the tub. Use a screwdriver to carefully unscrew them, making sure not to strip the screws.
Some center guides may have hidden fasteners, so check thoroughly. Once all screws are removed, lift the center guide straight up and out of the track.
Be mindful of any caulk or debris that might be holding it in place; gently break the seal if necessary.
After removing the center guide, inspect the area for leftover caulk and clean it off to prepare for the next steps in removing your shower door.
Lift and Remove the Glass Shower Door Panels
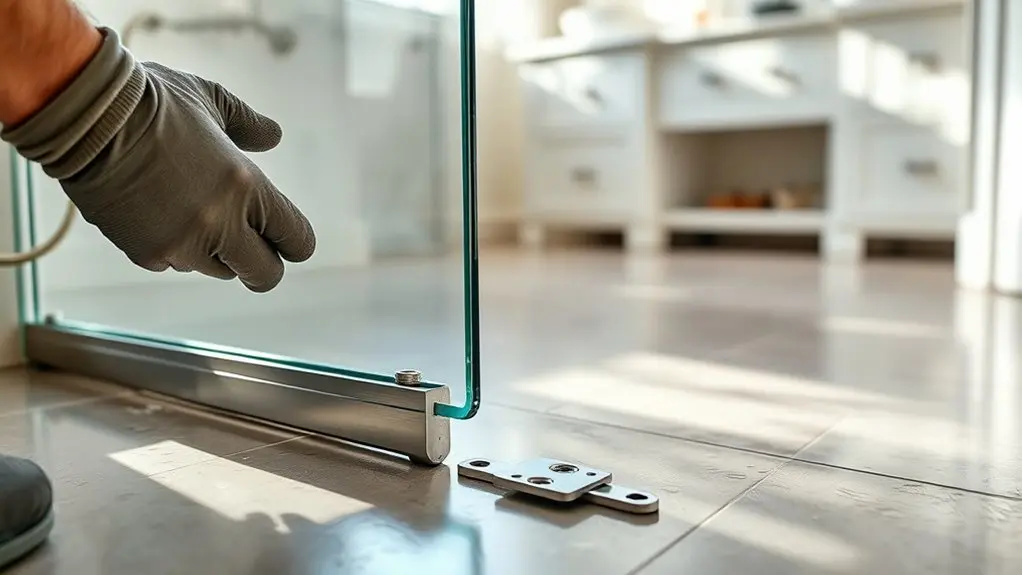
Now that you’ve removed the center guide, go ahead and slide the glass panels toward the center.
Get ready to lift them carefully. When you lift the outside panel, make sure to pull it straight up—this helps detach the rollers properly without forcing or twisting the glass.
Also, support the panels evenly so you don’t create any pressure points that might cause damage while you’re taking them down.
Glass Panel Safety
Two people working together can make lifting and removing glass shower door panels much safer and easier.
Before you start, make certain you wear protective gloves and goggles to shield yourself from sharp edges.
Begin by removing the outside glass panel first, as this usually creates one big space to maneuver the inner panel more easily.
When lifting, raise the panels straight up from the track, supporting the weight evenly to avoid breakage.
Check that the rollers are fully detached to prevent snagging or damage.
In Los Angeles, where many homes have heavy shower doors, these safety steps are especially important.
Having a second person assist guarantees stability and reduces the risk of accidents, helping you remove the glass panels carefully and efficiently.
Proper Lifting Technique
Before lifting the glass shower door panels, make sure you have a firm grip on both sides. This helps evenly distribute the weight and prevents accidental dropping.
Start by removing the outer glass panel first, as it usually offers more clearance and stability. Keep the panels vertical while lifting to reduce stress and minimize the risk of breakage.
Always wear protective gloves for secure glass handling and to avoid cuts. Check the track area for obstructions before lifting to guarantee smooth removal.
Here’s a quick reference table for proper lifting techniques and safety precautions:
| Step | Action | Safety Tip |
|---|---|---|
| 1 | Firm grip on both sides | Use gloves for grip and safety |
| 2 | Remove outer panel first | Avoid instability |
| 3 | Keep glass vertical | Prevent uneven pressure |
| 4 | Check track clearance | Ensure smooth lifting |
| 5 | Lift slowly | Minimize breakage risk |
Roller Detachment Process
Slide the glass shower door panels to the middle of the track to access the center guide screws easily.
Begin by carefully unscrewing the center guide from the tub, handling the screws gently to avoid stripping.
Next, lift the outside glass panel straight up from the track, ensuring the rollers detach smoothly.
Different roller types may require slight adjustments during removal, so stay mindful of how they engage with the track.
Support the glass steadily with both hands to prevent breakage and avoid uneven pressure.
After removing the outside panel, repeat these steps for the inner panel.
Following proper installation techniques and maintenance tips, such as regularly cleaning rollers and checking for wear, will make future removal easier and extend your shower door’s lifespan.
Unscrew and Remove the Wall Jambs and Screws
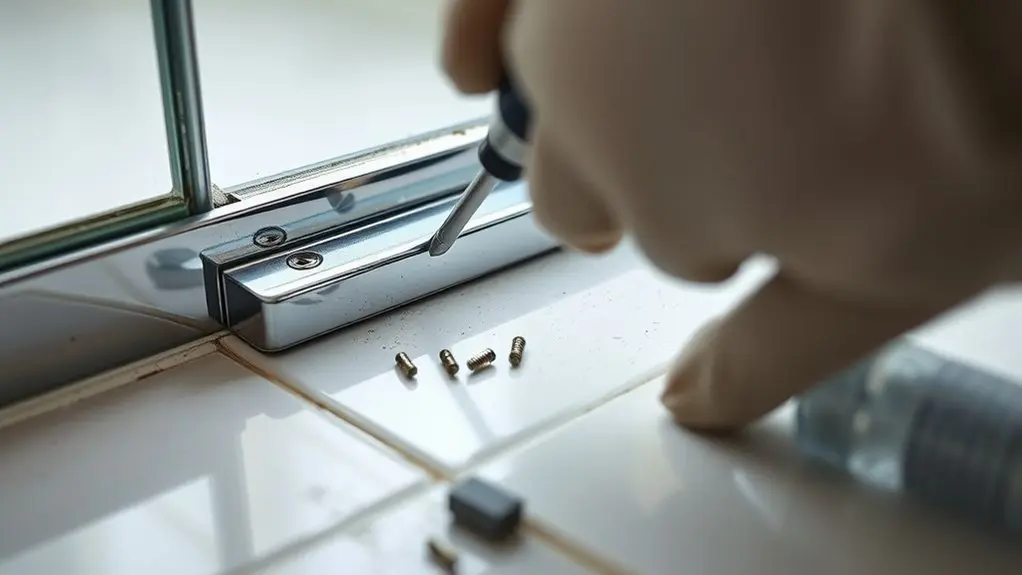
First, find all the screws holding the wall jambs in place — don’t forget to check for any hidden ones near the bottom.
Then, grab your screwdriver and carefully remove each screw. It’s a good idea to keep them organized so you can use them again later.
Once all the screws are out, you can gently pull the wall jambs away without worrying about damaging the wall or tiles.
Locate Wall Jamb Screws
Locate the wall jamb screws securing the jambs to the wall, usually along the inside edges where the glass panels were attached. Before you start unscrewing, check for hidden screws under caulk or debris.
Different wall materials may require specific screw types, so use jamb alignment tips to spot which screws hold the jamb firmly. Keep a container handy to store screws for reinstallation.
| Wall Material | Screw Type | Jamb Alignment Tips |
|---|---|---|
| Tile | Stainless steel | Check for rust-resistant screws |
| Drywall | Phillips head | Look behind trim or caulk |
| Concrete | Masonry screws | Use a drill for pilot holes |
| Wood | Wood screws | Verify screws are flush |
| Metal studs | Self-tapping screws | Avoid overtightening |
Remove Screws Carefully
Once you’ve identified and inspected the wall jamb screws as described earlier, carefully unscrew each one using the appropriate screwdriver. Selecting the right screwdriver is essential since screw types vary depending on the wall jamb materials.
Follow these steps:
- Match your screwdriver to the screw heads, whether Phillips, flathead, or hex, to avoid stripping.
- Apply steady pressure while turning to loosen screws embedded in tile or metal jambs.
- If screws resist, use penetrating oil and wait a few minutes before trying again.
- Keep all removed screws organized in a container to guarantee easy reinstallation.
After removing the screws, gently detach the wall jambs from the tiles.
Take care not to chip or crack the surface. This method preserves both the jambs and wall integrity.
Cut Caulk and Remove the Metal Frame Header
Carefully slice through the caulk seal along the top edge of the metal frame header using a utility blade. Make sure not to press too deeply to prevent scratching the surface beneath. This caulk removal technique helps loosen the seal without damaging tiles or walls.
Start by popping off one side of the header to gain leverage for removing the entire piece. Next, cut the caulk around the metal wall jambs at a 90-degree angle to cleanly detach them.
Keep an eye out for any hidden screws or fasteners behind the caulk. They must be removed to free the frame fully. These metal frame options require careful handling.
Once removed, prepare the surface by addressing any remaining caulk residue. This ensures a smooth area for future installations.
Scrape Old Silicone Caulk and Clean the Shower Area
Start by using a flat razor or utility knife to gently scrape away the old silicone caulk around the shower area. Use these caulk removal techniques to guarantee a clean surface:
- Apply light pressure to avoid scratching tiles or the tub while removing residue.
- For stubborn spots, use denatured alcohol to dissolve and loosen leftover caulk.
- Fully remove all silicone caulk to prevent mold and prepare for new application.
- Clean the area thoroughly with an appropriate cleaner, following cleaning tips to eliminate debris and scum.
Consider silicone alternatives if you plan to recaulk later for better flexibility or mildew resistance.
Proper scraping and cleaning set the foundation for a successful shower door removal and reinstallation.
Frequently Asked Questions
Can I Remove Shower Doors Without Professional Help?
Yes, you can handle shower door removal without professional help by following practical DIY tips.
Start by gathering basic tools like a screwdriver and a razor, then carefully unscrew and detach panels.
Always prioritize safety precautions. Wear gloves and goggles to avoid injury from sharp edges or broken glass.
Familiarize yourself with your door’s design, work methodically, and clean the area after removal to prepare for any new installation.
What Tools Are Safest for Handling Glass Panels?
The safest tools for handling glass panels include padded gloves and suction cups designed for glass lifting. These glass handling techniques help you maintain a secure grip and reduce slipping risks.
Always wear protective gear like safety goggles to shield your eyes.
When transporting panels, use a glass handling cart or dolly to avoid breakage.
For safe disposal methods, carefully wrap shards and use sturdy containers to prevent injury and environmental harm.
How Do I Prevent Glass From Shattering During Removal?
When it comes to glass safety, you don’t want to drop the ball during removal. Always wear protective gear like gloves and safety goggles to guard against shards.
Use careful removal techniques: cut through caulking with a utility blade to ease pressure, support the glass evenly, and handle panels by their edges.
If possible, get a second person to help lift and steady the glass, reducing the risk of shattering while you work.
Can I Reuse the Old Shower Door Hardware?
You can reuse the old shower door hardware if it’s in good shape and matches your new setup.
Check hardware compatibility carefully to avoid installation issues or dimension mismatches.
Keep cost considerations in mind. Reusing saves money but damaged parts might cause problems later.
If the hardware doesn’t fit well or looks outdated, explore installation alternatives like new tracks or curtain rods to guarantee a secure, stylish finish.
What Should I Do With Damaged Shower Door Parts?
Don’t let damaged shower door parts become ticking time bombs. You should carefully inspect them for sharp edges or broken glass to avoid injury.
Explore replacement options like new rollers or tracks available online or at stores. Use proven repair techniques for minor issues, but call a pro if the glass is shattered.
Finally, follow proper disposal methods to safely and responsibly get rid of glass and metal parts, keeping your space safe and tidy.
Conclusion
Now that you’ve removed your shower doors step by step, you’ve taken the first big splash toward a fresh bathroom look. Remember, patience and care are your best tools, like peeling off a sticker slowly to avoid damage.
With the frame gone and the area clean, you’re set for whatever’s next, whether it’s a new door or an open, airy shower. Keep your workspace tidy, and enjoy your refreshed space!