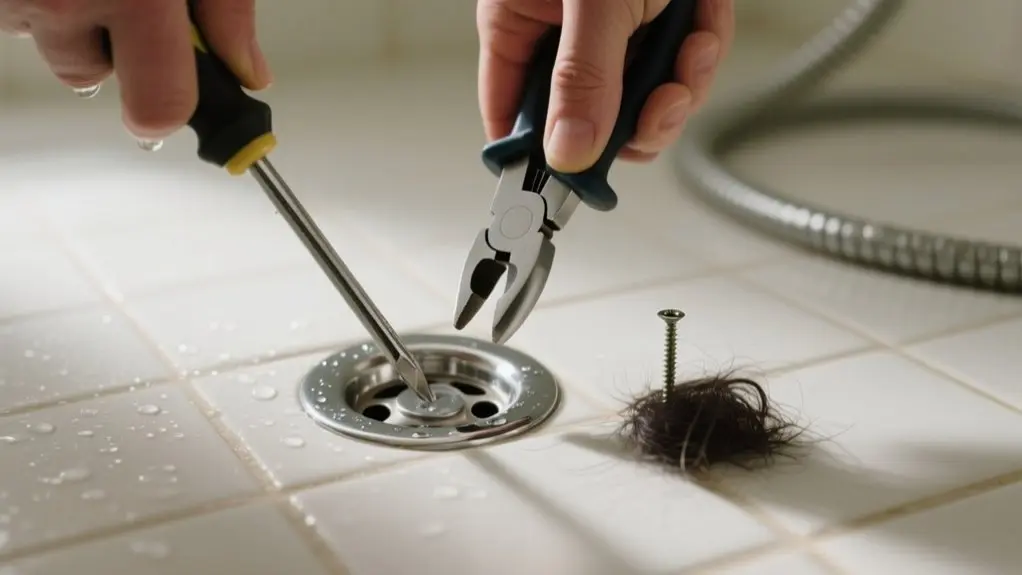
How To Remove A Shower Drain – Simple Steps
To remove a shower drain, first gather a screwdriver, drain wrench, wire hanger, and bucket. Unscrew the drain cover carefully to avoid damage.
Then, clear debris using a wire hook or drain snake to prevent clogs. Gently pry the drain body loose with a putty knife while protecting seals and tiles.
If the drain resists, apply penetrating oil or use a plunger for stubborn blockages. Keep following these steps to master safe removal techniques and maintenance tips.
Gather Tools Needed to Remove a Shower Drain
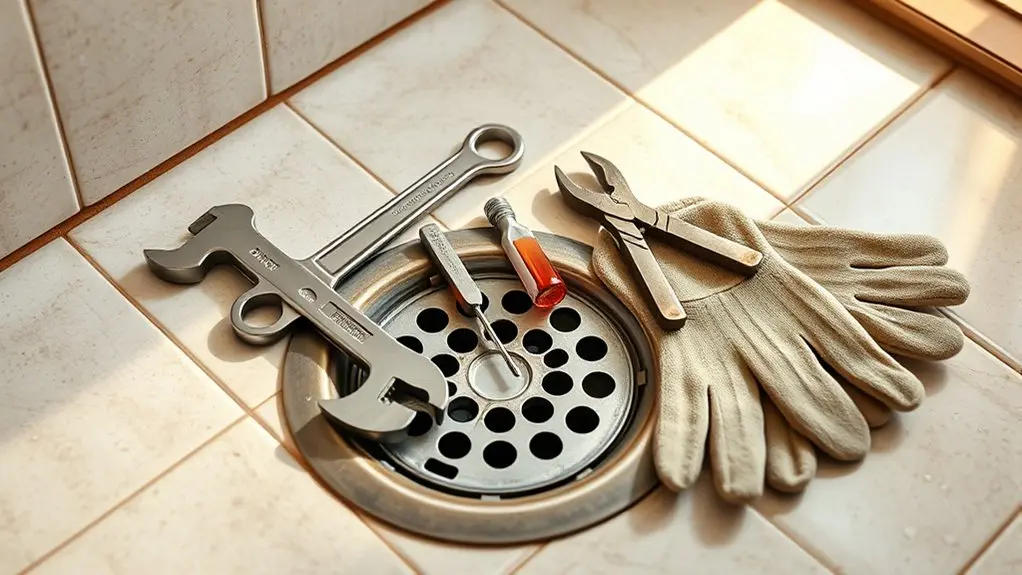
Start by gathering all the necessary tools to remove your shower drain efficiently. First, get a screwdriver, either flathead or Phillips, depending on the screws holding your drain cover.
Begin by collecting the right screwdriver to match your shower drain cover screws for easy removal.
Next, use a drain wrench or pliers designed for drain removal. These tools grip and twist the drain assembly without damaging pipes.
Have a wire hanger or drain snake ready to clear hair or debris once the drain cover is off. Prepare a bucket or towel to catch any water that may spill during removal, keeping your bathroom floor dry.
Finally, keep a flashlight handy to illuminate hard-to-see areas under the drain. This will help you spot hidden screws or clogs.
Unscrew and Remove the Shower Drain Cover Safely
Begin by selecting the correct screwdriver that fits the screws on your shower drain cover to prevent stripping. Carefully unscrew each screw, keeping them in a safe place.
If the cover resists, don’t force it. Instead, gently tap around the edges with a rubber mallet to loosen the seal without damage.
Once free, lift the shower drain cover straight up to avoid cracking the flange.
Remember to:
- Use the right screwdriver size to avoid damaging screws
- Store screws safely for reassembly
- Tap edges gently if stuck
- Lift cover vertically without forcing
Following these steps guarantees you remove the shower drain cover safely, protecting both the fixture and surrounding surfaces.
Loosen the Shower Drain’s Friction-Fit Seal Without Cracking It
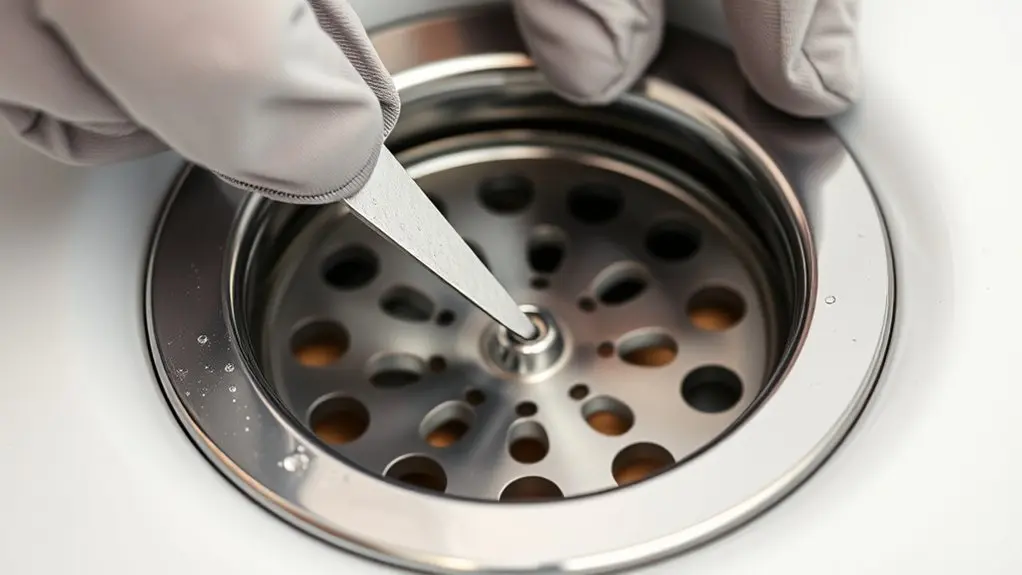
You’ll want to keep the seal intact while loosening it to avoid leaks and damage.
Try using the right tools, like a plastic mallet and some penetrating lubricant, to help reduce friction without putting on too much force.
If you need to, gently pry it with a flathead screwdriver, but be careful not to crack or break any parts of the drain.
Taking it slow really helps keep everything in good shape.
Preserve Seal Integrity
Although loosening a shower drain’s friction-fit seal can be challenging, applying gentle upward pressure while twisting or wiggling the drain helps prevent cracking the flange. To preserve seal integrity, take care during removal to avoid damage that can lead to leaks or costly repairs.
Keep these points in mind:
- Use a rubber mallet to tap gently around the drain’s edge to loosen stubborn seals without harming surrounding materials.
- Avoid prying tools or excessive force that may damage subfloors or joists.
- Inspect for visible screws or fasteners before forcing removal to protect factory pressure seals.
- Perform regular maintenance and handle the drain carefully during removal to maintain seal effectiveness.
Following these steps guarantees you preserve seal integrity and prevent future water damage.
Proper Tool Usage
Select a drain removal tool designed specifically for friction-fit drains to prevent damage to the surrounding components.
Proper tool usage means applying gentle pressure while twisting to loosen the seal without cracking it.
Avoid forcing the drain; if it resists, use a silicone spray lubricant to reduce friction safely.
Never use heavy-duty wrenches or excessive force, as these can break fragile parts.
Always check for hidden screws or clips before attempting removal to avoid unnecessary damage.
Clear Debris From Inside the Shower Drain Before Removal
Start by carefully unscrewing the drain cover with a screwdriver, making certain not to drop any screws into the drain.
Next, clear debris from inside the shower drain to guarantee smooth removal. Use a wire hanger bent into a hook or a drain snake to extract hair and buildup.
Clear debris inside the drain using a hooked wire hanger or drain snake to remove hair and buildup effectively.
Inspect the drain for visible clogs caused by soap scum and dead skin.
To dissolve residual buildup, pour a mixture of baking soda and vinegar down the drain. This step not only clears debris but also minimizes blockages.
Remember, regularly clearing debris from inside the shower drain maintains drainage efficiency and reduces repair needs.
- Use proper tools to avoid pushing debris deeper
- Remove hair and scum carefully
- Apply baking soda and vinegar for buildup
- Inspect thoroughly before proceeding
Remove the Drain Body From the Shower Base Carefully
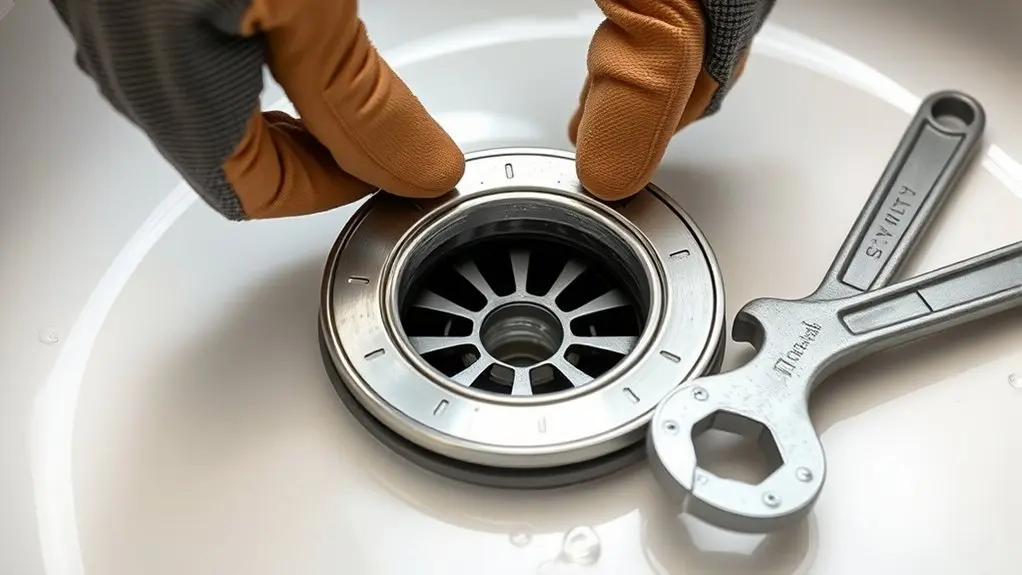
You’ll want to remove the drain body carefully so you don’t damage the shower base or the seals.
Be gentle with all the seals to keep them intact, whether you plan to reuse them or replace them later.
Just take your time with this step—it’ll save you from costly repairs down the road.
Prevent Damage Risks
Although removing the shower drain body might seem straightforward, handling it with care is essential to avoid damaging the shower base or surrounding tiles.
To prevent damage risks when working with the shower drain, follow these key steps:
Turn off the water supply and clear the area to avoid spills or accidents.
Use a screwdriver gently to unscrew the drain cover without stripping screws.
Pry the drain body carefully with a putty knife, protecting tiles and the flange.
Avoid excessive force to prevent cracks or hidden leaks in the shower base.
Handle Seals Gently
When removing the drain body from the shower base, handle the seals gently to prevent leaks and damage.
Start by carefully unscrewing the drain cover to avoid losing screws or harming the surrounding area.
Use a plastic or rubber tool to pry the drain body away from the base slowly. This minimizes the risk of cracking.
Check factory seals for any damage since they’re crucial to preventing leaks.
Avoid excessive force because breaking internal parts leads to costly repairs.
If the drain body resists removal, apply penetrating oil to loosen it without harming materials.
After removal, inspect seals thoroughly before reinstalling or replacing.
Avoid Damaging the Drain Grate or Shower Base During Removal
Since the area around the drain must stay dry, guarantee you wipe it thoroughly before starting to prevent slipping and maintain a secure grip.
The shower drain is usually surrounded by delicate materials, so you want to avoid damaging the drain grate or shower base during removal. Follow these steps for a safe process:
Handle the shower drain carefully to protect the grate and base during removal.
Use plastic or rubber tools instead of metal to prevent scratches.
Apply gentle, even pressure when lifting the grate to avoid bending or cracking.
If the drain is stuck, wiggle it gently instead of forcing it.
Consider a silicone spray lubricant around the edges to ease removal.
Taking these precautions protects your shower base and drain grate, ensuring the drain remains functional and leak-free after removal.
Use a Drain Snake or Wire Hook to Help Free Stubborn Debris
You can make a wire hook by bending a wire hanger. This helps you reach and pull out hair or clogs that are close to the drain surface.
If the blockage is deeper, try gently inserting a drain snake. Rotate it slowly to break up and pull out debris without harming your pipes.
And don’t forget to wear gloves to protect your hands while you’re using these tools!
Wire Hook Techniques
Bend a straightened wire hanger into a small hook shape to maneuver through the drain without damaging pipes. Using a wire hook helps you reach and extract stubborn debris blocking your shower drain efficiently.
Before inserting it, remove the drain cover and clear visible hair or grime for better access.
When working the wire hook, proceed gently to avoid harming the pipes. Keep these wire hook techniques in mind:
- Use slow, controlled movements to snag debris without breaking the pipe
- Wear gloves to protect your hands from germs and sharp materials
- Rotate the wire hook carefully to loosen clogs
- Remove debris gradually, repeating as necessary to clear the drain
These steps guarantee safe, effective clearing with your wire hook.
Drain Snake Tips
Although a wire hook can remove surface debris, a drain snake excels at tackling deeper, stubborn clogs. When using a drain snake, insert the cable slowly until you feel resistance. Then rotate the handle to break through the blockage.
Always wear gloves to protect your hands from sharp edges and bacteria. Place a bucket underneath to catch debris or water during the process.
After clearing the clog, run hot water to flush remaining debris and guarantee smooth drainage.
| Step | Tip |
|---|---|
| Insert cable | Slowly, until you feel resistance |
| Rotate handle | Break through the clog |
| Wear gloves | Protect hands from sharp edges/bacteria |
| Use bucket | Catch debris and water |
| Flush with hot water | Clear remaining debris |
When and How to Use a Plunger on a Shower Drain (If Needed)
When clogs slow your shower drain, using a plunger can be an effective first step to clear the blockage. Start by removing the drain cover carefully to avoid losing screws. Seal the overflow opening with a wet rag to guarantee maximum suction.
When your shower drain clogs, carefully remove the cover and seal overflow with a wet rag for effective plunging.
Position the plunger firmly over the drain and pump vertically with consistent pressure. This creates the necessary suction to dislodge debris.
Follow these plumbing advice tips for best results:
- Remove drain covers gently to access the drain
- Seal overflow openings to maximize plunging power
- Use firm, vertical plunging motions to create suction
- Switch to a drain snake or call a plumber if plunging fails
Regular maintenance, like using hair traps and natural cleaners, helps prevent clogs and reduces plunging needs.
Inspect the Shower Drain Flange for Corrosion or Damage
Start by closely inspecting the shower drain flange for any signs of corrosion or damage. Corrosion weakens the flange material and can cause leaks over time, so it’s vital to identify rust spots early.
Look for visible cracks or chips, as these defects compromise the seal and may lead to water damage beneath the shower.
Check the screws securing the flange; rusted or stripped screws can make removal difficult and hint at underlying issues.
Also, verify the flange sits flush without gaps, which could indicate warping or shifting from water pressure or damage.
Regularly inspecting shower drains helps prevent long-term plumbing problems caused by hidden leaks, making this step essential before proceeding with flange removal.
When to Call a Plumber Instead of Removing the Shower Drain Yourself
After inspecting the shower drain flange for damage, you might realize some issues go beyond simple fixes.
Knowing when to call a plumber instead of removing the shower drain yourself can save you time and prevent costly mistakes.
Consider professional help if you face a clogged shower drain that persists despite using a manual hand snake.
Or if you notice simultaneous clogs in multiple home drains, which might indicate a main sewer line problem.
Also, it’s wise to get an expert if there’s a risk of damaging factory seals or the drain assembly during removal.
Plus, some jobs require specialized tools like an electric snake that need expert operation.
In these cases, a plumber’s expertise guarantees safe, effective resolution without causing further damage to your plumbing system.
Frequently Asked Questions
What Tools Are Best for Tightening a Shower Drain After Removal?
For effective drain maintenance, the best tools to tighten a shower drain are a drain wrench and channel lock pliers. The drain wrench fits snugly in tight spaces, applying even pressure without damage.
Channel lock pliers give you the leverage needed to secure the drain firmly. To avoid over-tightening, use a torque wrench following manufacturer specs.
A rubber mallet helps gently tap the drain into place without harming surrounding surfaces.
How Often Should I Clean My Shower Drain to Prevent Clogs?
Think of your shower drain like a garden. It thrives when tended regularly. You should clean it at least once a month to prevent clogs and guarantee efficient drain maintenance.
This routine removes hair and soap scum buildup before they harden into blockages. Consistent upkeep not only keeps water flowing smoothly but also extends the lifespan of your plumbing.
That way, you save yourself from costly repairs down the line. Don’t wait for slow drainage to act.
Can I Use Chemical Drain Cleaners Safely on Shower Drains?
You shouldn’t use chemical drain cleaners on shower drains due to chemical safety concerns.
These cleaners can cause severe burns and damage your skin and eyes. They also risk deteriorating your plumbing pipes over time, leading to costly repairs.
Instead, use safer alternatives like baking soda and vinegar.
If clogs persist, consult a plumber rather than risking harm with harsh chemicals.
Prioritize safety and protect your plumbing system.
What Materials Are Shower Drains Typically Made From?
Shower drain types are typically made from materials like PVC, stainless steel, brass, and cast iron.
PVC is lightweight and corrosion-resistant, making it ideal for most drain types.
Stainless steel and brass offer durability and an appealing finish.
Cast iron provides strength but can rust over time.
Some drain types combine plastic bodies with metal grates, balancing cost and durability.
Knowing these materials helps you choose the right shower drain type for your plumbing needs.
How Do I Know if My Shower Drain Needs Replacing Instead of Cleaning?
Think of your shower drain like a trusty quill worn with time. If slow drainage persists despite cleaning, or you notice rust, cracks, or foul odors, your drain’s lifespan might be ending.
Frequent clogs, water backing up into other fixtures, or visible corrosion mean it’s time to replace rather than clean.
Don’t ignore these signs; replacing the drain guarantees your plumbing system functions efficiently and avoids costly damage.
Conclusion
Removing your shower drain might seem tricky, but with the right tools and careful steps, you can do it yourself without causing damage. Even if the drain feels stuck, using a drain snake or plunger usually frees it up easily.
Don’t worry about cracking the flange if you work slowly and gently. However, if you notice significant corrosion or damage, it’s wise to call a plumber to avoid costly repairs later.