How To Tile A Shower Floor – Quick Tips
To tile a shower floor properly, guarantee you slope the base at 1/4 inch per foot toward the drain using a leveling compound or pre-sloped pan. Install a high-quality waterproof membrane like Schluter-DITRA over a solid substrate, guaranteeing full adhesion without air pockets.
Use small mosaic tiles with thin-set mortar for better fit and strong bonding, then grout with waterproof grout and seal thoroughly to prevent moisture and mold. Keep following for more detailed steps on achieving a durable, professional finish.
How to Slope Your Shower Floor for Proper Drainage
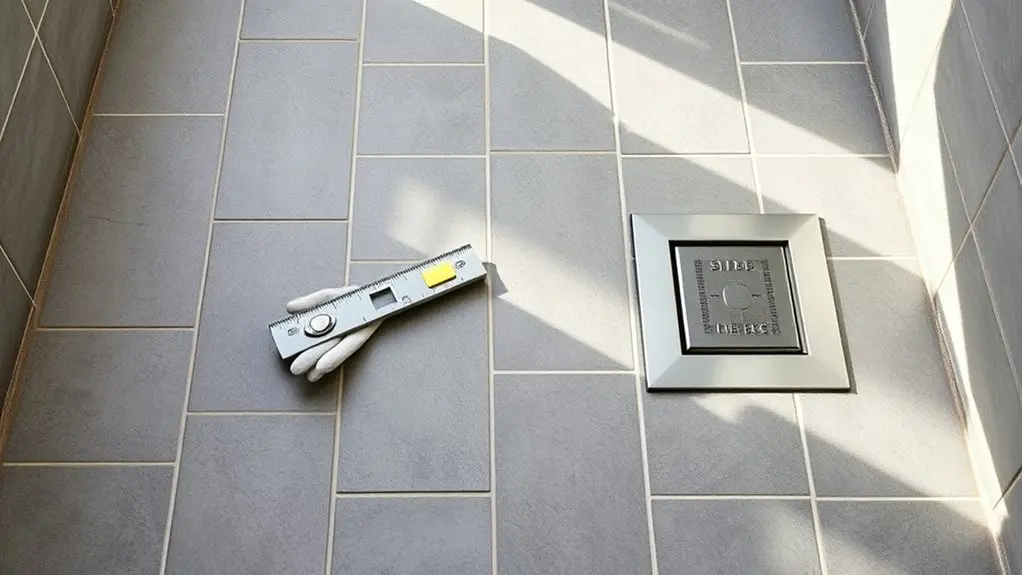
To guarantee proper drainage, you need to slope your shower floor at a minimum pitch of 1/4 inch per foot toward the drain. Start by establishing the high point at the farthest edge of the shower stall, then use a leveling compound or mortar bed to create a consistent slope directing water flow.
Regularly check the slope with a level during installation to avoid flat spots that cause pooling. When tiling, cut tiles at precise angles to maintain this incline, ensuring no uneven surfaces disrupt drainage.
For a more straightforward approach, consider installing a pre-sloped shower pan, which simplifies achieving the correct slope and saves time.
Properly sloping your shower floor is essential to efficient water flow and long-term durability of the shower stall.
Select and Install the Right Waterproof Membrane
You’ll want to pick a high-quality waterproof membrane made specifically for shower floors, like Schluter-DITRA. This helps protect your subfloor from any moisture damage.
When you install it, make sure to apply it over a solid substrate using thin-set mortar. It’s important to get full adhesion without any air pockets, and don’t forget to overlap the seams to create a continuous barrier.
Once that’s done, go ahead and perform a flood test. This will confirm that the membrane is fully waterproof before you start tiling.
Membrane Types Overview
Selecting and installing the right waterproof membrane is essential for a durable shower floor. To help you, let’s know which type suits your project. Please select from two main options: sheet membranes and liquid-applied membranes. Each has unique properties and application methods.
- Sheet membranes, like Schluter-DITRA, require a flat surface and thin-set mortar for secure installation.
- Liquid membranes offer flexibility and are applied with a roller or brush in multiple coats to guarantee thickness.
- Both act as moisture barriers, preventing water damage and mold by sealing the subfloor.
- Membrane thickness and integrity matter. Test with a flood test after installation to confirm watertightness.
Please select the membrane type that fits your shower floor needs before moving forward.
Proper Installation Techniques
Start by choosing a waterproof membrane that suits your shower floor, such as Schluter-DITRA or a traditional PVC liner, to prevent water damage and mold effectively.
Install the membrane on a properly sloped subfloor to direct water toward the drain, avoiding standing water.
Use manufacturer-recommended thin-set mortar to secure the membrane, guaranteeing strong adhesion.
Overlap seams carefully and seal them to maintain a continuous waterproof barrier.
During installation, regularly inspect for punctures or tears, common mistakes that compromise waterproofing.
Proper membrane installation supports your tile patterns by providing a stable, moisture-resistant base, reducing future maintenance issues.
Following these maintenance tips guarantees durability and prevents leaks, critical for a long-lasting shower floor.
Avoid rushing this step to maintain waterproof integrity and tile longevity.
Ensuring Waterproof Integrity
Although choosing the right waterproof membrane might seem straightforward, it plays a crucial role in preventing moisture damage and tile failure. Selecting a high-quality membrane like Schluter-DITRA guarantees effective moisture management and enhances membrane longevity.
To secure waterproof integrity, follow this installation checklist:
- Install the membrane over a solid substrate such as cement board or a reinforced mud bed for stable support.
- Seal all seams and penetrations with waterproof tape or thin-set mortar to block water infiltration.
- Apply a thin mortar layer over the membrane before tiling for full coverage.
- Conduct waterproof testing post-installation and schedule regular inspections to detect wear or damage early.
Adhering to these steps guarantees a durable, waterproof shower floor that prevents costly repairs.
Lay a Solid Mud Bed or Pre-Sloped Shower Pan
Create a solid foundation by laying a mud bed or installing a pre-sloped shower pan to guarantee proper drainage and durability.
The mud bed advantages include providing a sturdy, level base that minimizes cracking and supports tile adhesion.
Mud beds create a strong, even surface that reduces cracking and enhances tile bonding.
Aim for a slope of 1/4 inch per foot toward the drain, guaranteeing efficient water flow.
Applying a waterproof membrane over the mud bed further protects the subfloor.
Alternatively, pre-sloped shower pans offer benefits like built-in drainage slopes, reducing installation time and the risk of pooling water.
Avoid common installation mistakes such as incorrect slope angles or insufficient curing time.
Mud beds need at least 24 hours to set fully.
Choosing between these methods depends on your project’s complexity, but both assure a reliable, long-lasting shower floor.
Choose and Place Mosaic Tiles for a Perfect Fit
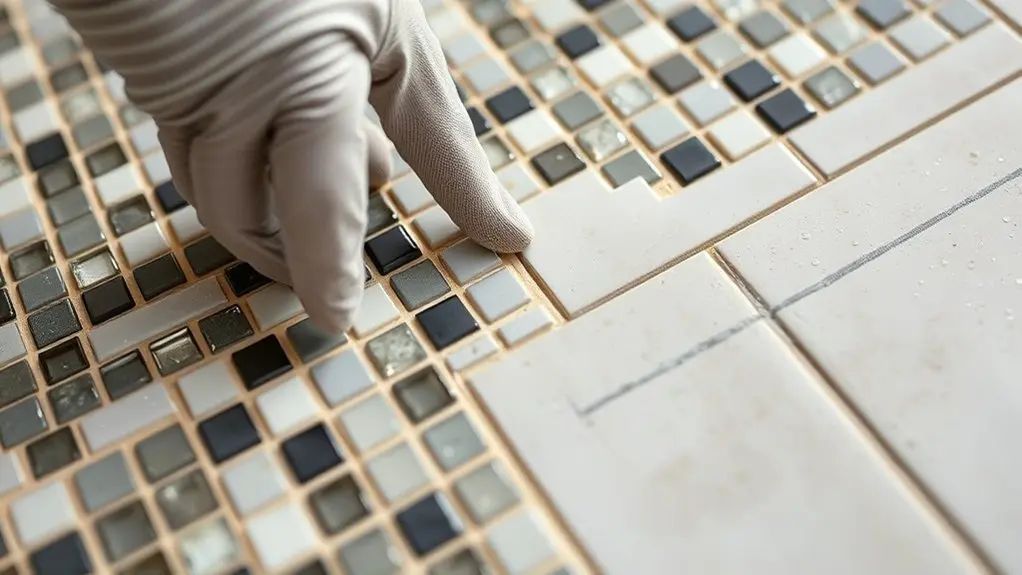
Choosing the right mosaic tiles for your shower floor means picking sizes that fit both flat and curved surfaces easily. This ensures full coverage and proper adhesion.
Start by dry-laying the mosaic tiles to see how they’ll look and make adjustments for a perfect fit.
Think about the adhesive types that work best with your substrate to get a strong bond. Also, grout color options affect the final look, so pick one that complements your tile.
Follow these steps:
- Select small mosaic tiles for contour adaptability.
- Dry-lay tiles to plan layout and minimize cuts.
- Use appropriate adhesive types to secure tiles.
- Choose grout color options that enhance aesthetics and hide dirt.
This method guarantees a seamless, durable shower floor installation.
Apply Thin-Set Mortar and Set Shower Floor Tiles Securely
Start by mixing the thin-set mortar just like the manufacturer says. You want to get a smooth, workable consistency that’s easy to spread.
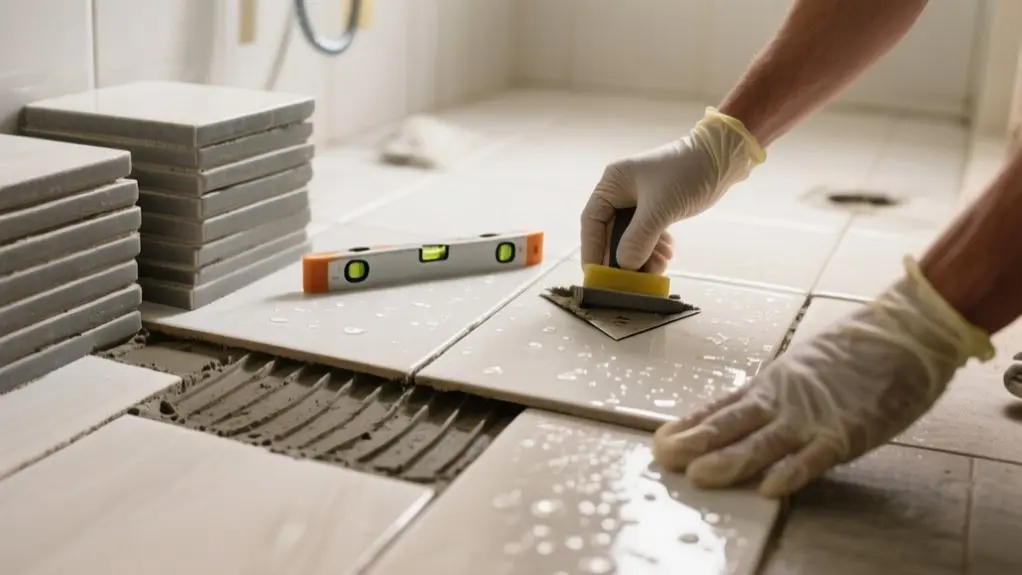
Then, grab a notched trowel and spread an even layer across the shower floor. Make sure you cover the whole area well so the tiles stick strongly.
When you’re ready to set the tiles, press each one firmly into the mortar. Give it a little twist as you press down to lock it in place and push out any air pockets.
This helps keep the tiles secure and prevents gaps underneath.
Preparing Thin-Set Mortar
Mix thin-set mortar carefully according to the manufacturer’s instructions, guaranteeing a smooth, lump-free consistency for maximum adhesion. Proper mixing techniques are critical to achieve the correct mortar consistency, which directly affects tile bonding strength.
Use a drill mixer or paddle for uniform blending. Here’s how to prepare thin-set mortar efficiently:
- Measure water precisely and add it to a clean bucket.
- Gradually add thin-set powder while mixing continuously to avoid lumps.
- Use a notched trowel as your primary application tool to spread mortar evenly.
- Work in manageable sections to prevent premature drying and maintain peak workability.
Following these steps guarantees a reliable mortar bed that supports secure tile installation on your shower floor.
Securing Tiles Firmly
Apply a thin layer of thin-set mortar to a manageable section of the shower floor using a notched trowel. Select a notch size, typically 1/4 inch, that matches your tile thickness for ideal adhesion.
Press each tile firmly into the mortar, twisting slightly to eliminate air pockets and ensure a secure fit. Use tile alignment strategies, like spacers, to keep grout lines consistent and prevent shifting.
Choose your adhesive carefully by considering tips that match your tile type and the environmental conditions. Position tiles according to your chosen pattern, whether diagonal or grid, to boost both aesthetics and functionality.
Avoid excessive movement during placement to protect the mortar bed’s integrity.
Then, allow the mortar to cure for at least 24 hours before grouting, ensuring a durable and stable shower floor installation.
Grout and Seal Your Shower Floor to Prevent Moisture and Mold
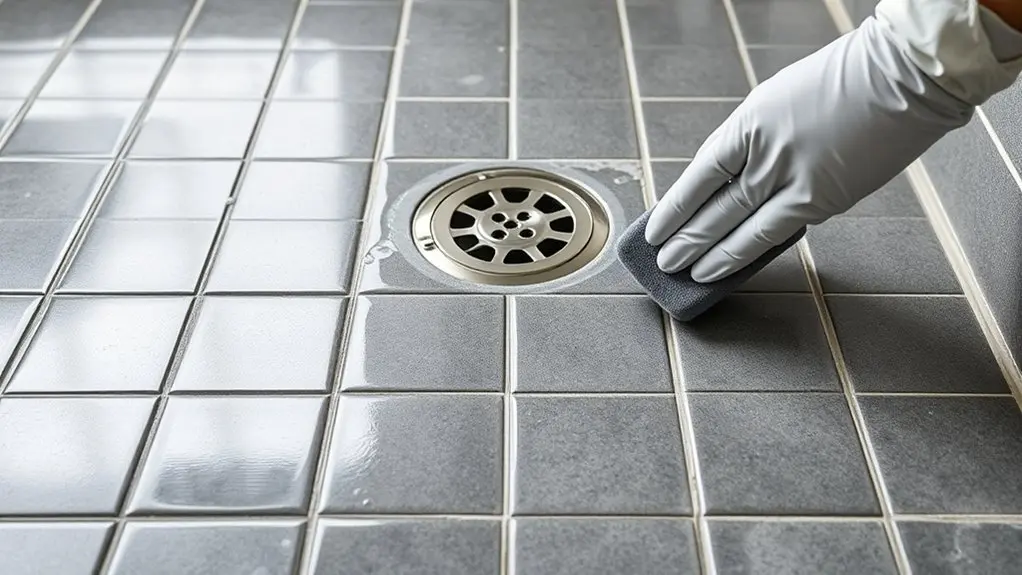
Three key steps will guarantee your shower floor grout stays durable and mold-free: selecting waterproof grout, properly sealing grout lines, and maintaining ventilation.
Use a high-quality, waterproof grout designed for wet areas to prevent moisture infiltration.
After curing, apply a sealant evenly to repel water and inhibit mold growth. Regular inspection is essential. Repair any cracks promptly to avoid moisture seepage.
Moreover, choose a grout color that complements your tile and resists staining. Darker shades effectively mask dirt and mold.
Follow these grout maintenance tips for lasting results:
- Select waterproof grout with color selection advice in mind.
- Apply sealant using precise sealant application techniques after grout cures.
- Inspect grout regularly for damage or wear.
- Confirm proper ventilation to reduce humidity and moisture buildup.
Frequently Asked Questions
What Tools Are Essential for Tiling a Shower Floor?
You’ll need a tile cutter or wet saw for precise cuts, a notched trowel to apply adhesive evenly, and spacers to maintain consistent grout lines during tile layout planning.
A level guarantees proper slope for drainage, which is essential in waterproofing methods.
Finally, use a grout float to fill gaps effectively, preventing water penetration.
Mastering these tools supports efficient tile installation techniques and a durable, watertight shower floor.
How Long Should You Wait Before Using the Shower After Tiling?
You shouldn’t rush to flood your new shower floor like a raging waterfall. Give the tile adhesive at least 24 to 48 hours of curing time to achieve proper water resistance.
If you’ve applied grout, wait an additional 24 to 72 hours to guarantee it fully cures.
Always follow the manufacturer’s guidelines, and consider environmental factors like humidity or temperature that can extend curing time for a durable, leak-proof finish.
Can You Tile Directly Over Existing Shower Floor Tiles?
You generally shouldn’t tile directly over existing shower floor tiles. Instead, use tile removal techniques to strip old tiles and expose a solid substrate.
Proper surface preparation tips include cleaning thoroughly, repairing damage, and applying a leveling compound if needed.
For adhesion, choose high-quality adhesive options compatible with your substrate.
This guarantees a stable, waterproof base, preventing future tile failures and maintaining code compliance.
Taking these steps saves you time and costly repairs.
What Type of Grout Is Best for Shower Floors?
For shower floors, epoxy grout is your best choice because it offers excellent water resistance and durability.
When picking grout types, think about using sanded grout for joints wider than 1/8 inch. It provides strength and helps prevent cracks.
Try to match grout colors to your tile for a seamless look.
Also, make sure you apply grout properly to avoid moisture problems. Always seal the grout after applying it to boost its lifespan and stop mold growth in wet areas.
How Often Should Shower Floor Grout Be Resealed?
You should reseal shower floor grout every 6 to 12 months, following sealing frequency guidelines based on usage and humidity.
Regular grout maintenance tips include inspecting for signs of wear like discoloration or quick water absorption. If you notice these, it’s time to reseal.
Using a pH-neutral cleaner and ensuring proper ventilation can extend sealing intervals. Stay proactive with inspections to maintain grout integrity and prevent moisture damage.
Conclusion
By balancing a balanced base, building a better bed, and blending beautiful tiles seamlessly, you’ll secure a shower floor that’s sturdy and stylish. Don’t dismiss detailed drainage design. Doing so directs water away efficiently, defeating dampness and damage.
Applying airtight waterproofing and grout guarantees guarded gaps against grime and growth. Follow these focused, functional steps, and you’ll finish with a flawless floor that performs perfectly, protecting your space for years to come.