How To Tile A Shower Wall – Full Guide
To tile a shower wall, start by removing old materials and inspecting studs for a flat surface. Install moisture-resistant cement board with proper gaps, then apply waterproof sealant and mesh tape on seams.
Plan your tile layout carefully, using chalk lines and a ledger board for support. Spread thinset evenly and press tiles firmly with spacers for consistent grout lines.
Finish with grout, clean off excess, and seal grout and joints for lasting protection. Following these steps guarantees durable, waterproof walls. Explore further for expert tips and details.
Prepare Your Shower: Demo and Inspect Studs
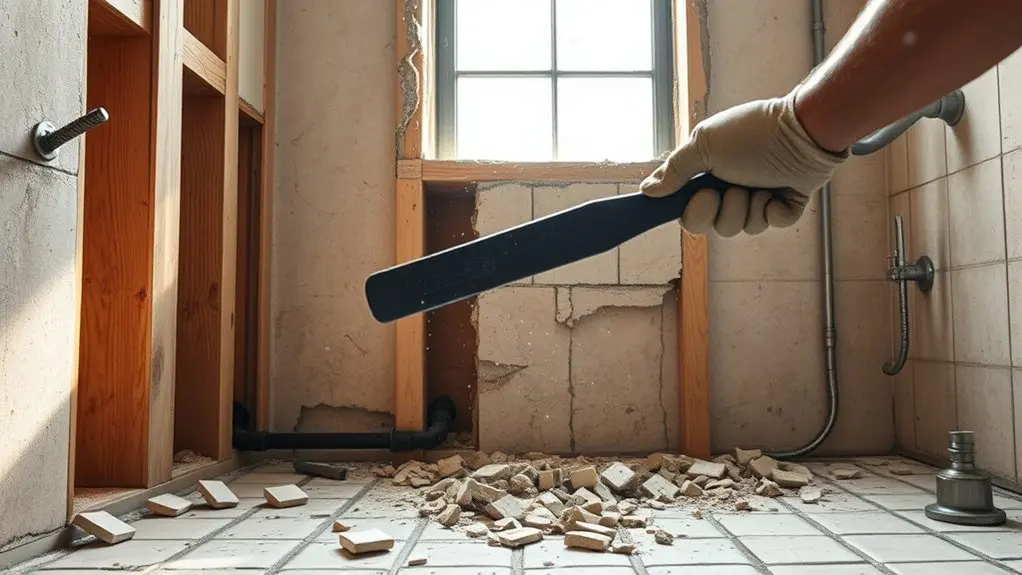
Start by completely removing the existing tiles, fixtures, and drywall to create a clean, accessible workspace. During this demo, protect surrounding areas with tarps or plywood to prevent damage and simplify cleanup.
Once cleared, thoroughly inspect the wall studs for any issues. Use a 5-ft. level to check the flatness of all studs, ensuring they’re perfectly aligned for a uniform tile installation.
Thoroughly inspect and level wall studs to ensure a perfectly flat surface for uniform tile installation.
If any studs are out of plane, sister them by attaching new studs to achieve a flat surface. Confirm that every stud contacts the top of the tub flange, as this connection provides a solid foundation essential for securing the backer board.
This preparation guarantees proper tile adhesion, preventing future tile failure and ensuring your shower wall will be durable and visually flawless.
Install Cement Board and Waterproof Shower Walls
With your studs properly aligned and securely sistered, you’re ready to install the cement board, such as Durock Next Gen. It offers a durable, moisture-resistant surface for tile application.
Use a utility knife to cut the board precisely, ensuring a moisture-resistant base. Fasten the cement board with rust-resistant screws, leaving small gaps at edges for expansion.
Before installation, apply waterproof sealant along the tub flange to prevent water penetration. After securing the boards, cover all joints with fiberglass mesh tape and embed it in thinset mortar.
This creates a seamless, watertight barrier. Finally, apply waterproof sealant over screw holes and seams to reinforce moisture protection.
This meticulous process guarantees a sturdy, waterproof wall ready for tiling.
Plan and Mark Your Tile Layout
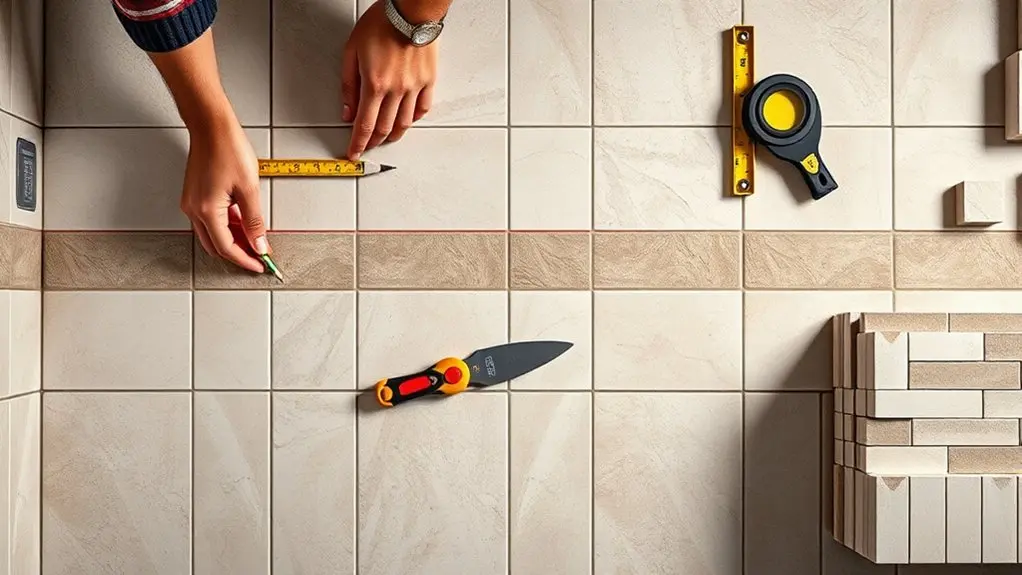
To achieve a balanced and professional tile installation, begin by measuring the wall width and calculating how many tiles you’ll need. Make sure to factor in both tile size and spacer width for an accurate fit.
Find the center point of the wall to start your tile layout, ensuring symmetry. Snap chalk lines vertically and horizontally as guides.
Install a ledger board one tile height above the tub edge to support the first row. Adjust your layout based on the tile pattern, whether offset or brick-lay, to guarantee full tiles will fit neatly along edges.
| Step | Tool/Material | Purpose |
|---|---|---|
| Measure the width | Tape measure | Calculate tiles needed |
| Mark center point | Pencil & level | Establish layout symmetry |
| Snap chalk lines | Chalk line | Guide straight tile placement |
Apply Thinset and Set Tiles
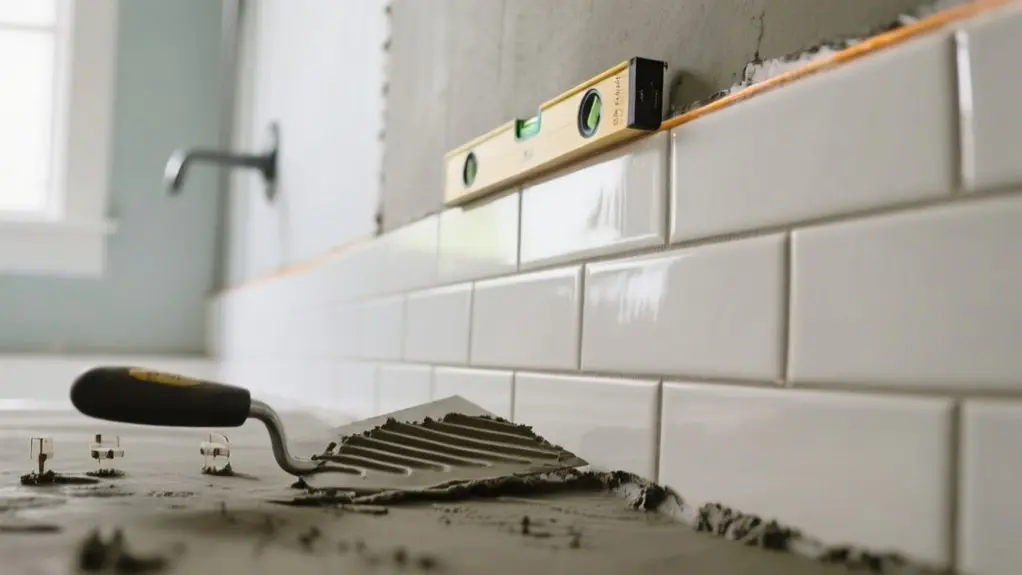
Spread thinset mortar evenly across the shower wall using the flat side of a notch trowel. This creates a solid base for your tiles to adhere securely.
Next, use the notched side of the trowel to apply a thin layer, making sure all notches run uniformly to maximize bonding.
Apply thinset with the notched trowel side, keeping all notches aligned for optimal tile adhesion.
Burn thinset mortar into the back of each tile by pressing it back and forth. Aim for at least 95% coverage in wet areas because this is essential for durability.
Position tiles carefully using tile spacers to keep grout lines consistent. Check for levelness after placing each tile.
Regularly remove a tile to inspect that the mortar fully embeds the notches. This confirms proper adhesion.
Paying attention to these details guarantees your tiles will offer lasting strength and a professional finish.
Cut and Finish Tile Edges
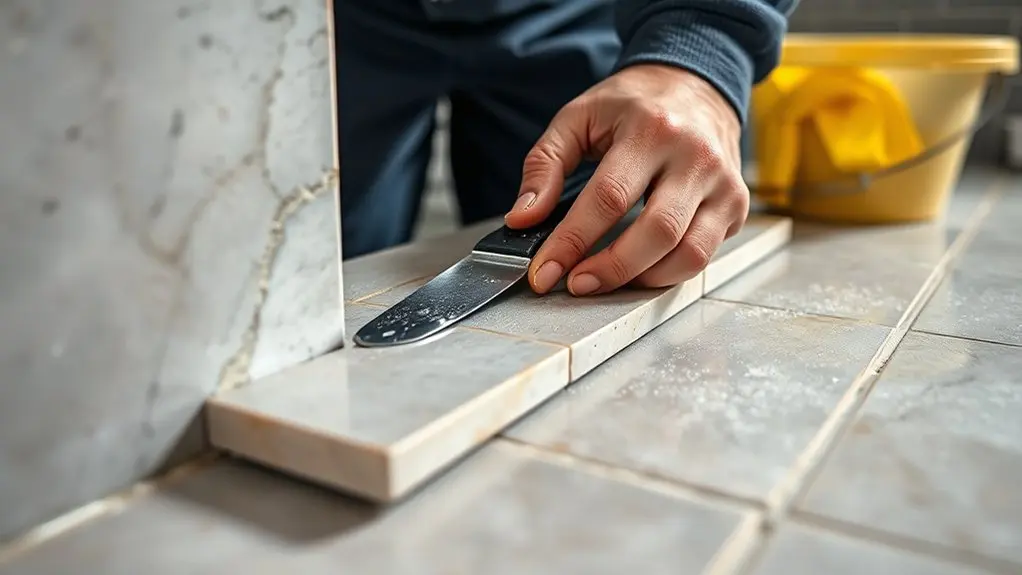
You’ll want to use a manual snap cutter for straight tile cuts. It’s simple and effective.
But when you need to tackle curves or more intricate shapes, a wet saw is your best bet. It helps ensure clean, precise edges.
If you’re working on circular openings, diamond hole saw bits are perfect. They give you accuracy around plumbing or decorative fixtures without any hassle.
To wrap things up, finish your edges neatly. Using bullnose, pencil tiles, or tile profiles can really make your work look polished and professional.
Tile Cutting Techniques
Mastering tile cutting techniques is essential for achieving clean, professional-looking shower walls. Start by measuring and marking tiles carefully to guarantee accurate cuts and reduce waste.
Use a manual tile cutter for straight cuts on ceramic or porcelain tiles, which delivers clean edges without chipping. For more intricate shapes or tougher materials, a wet saw is your best tool, allowing precise curves and corners.
When circular cutouts are needed, diamond hole saw bits create perfect openings for plumbing fixtures.
- Measure and mark tiles clearly before cutting
- Use a tile cutter for straight, chip-free edges
- Employ a wet saw for intricate shapes and tougher cuts
These techniques guarantee your tile edges stay clean and ready for flawless edge finishing later.
Edge Finishing Options
Finishing tile edges effectively transforms the overall look and durability of your shower wall. When choosing edge finishing options, consider bullnose tiles. They offer rounded edges for a smooth, professional finish at corners and tops.
Pencil tiles serve as slim borders, adding a sleek, subtle decorative touch without overwhelming your design. Tile profiles like Schluter strips protect edges while providing a modern, clean appearance.
Beveled edges introduce depth and visual interest, perfect for both traditional and contemporary styles.
Don’t overlook grout line finishing. Properly sealing grout with flexible silicone prevents water intrusion and preserves the tile’s integrity.
For a flawless outcome, verify professional installation or follow precise techniques yourself to guarantee lasting strength and a polished aesthetic throughout your shower wall.
Grout, Clean, and Seal Shower Tiles
Once your thinset has cured for 24 hours, go ahead and apply the grout using a rubber float.
Make sure every joint is completely filled. As you work, clean off any excess grout right away with a damp sponge to stop haze from forming on your tiles.
When you’re done grouting, seal all the grout lines and corners with silicone caulk.
This step helps protect against moisture and mold. Don’t forget to re-seal the grout annually to keep everything looking great and lasting longer.
Grout Application Techniques
Three essential steps guarantee a flawless grout application: filling joints completely, cleaning excess grout promptly, and sealing for durability.
After the thinset cures for 24 hours, you apply grout using a rubber float angled at 45 degrees, ensuring every joint is fully filled to avoid air pockets. Within 10-20 minutes, wipe tile surfaces with a damp sponge to remove excess grout and prevent grout haze.
To master grout application techniques, focus on these:
- Select grout type carefully: unsanded for glossy tiles, sanded for textured or wide joints.
- Allow grout to cure fully (about 48 hours) before sealing.
- Use silicone caulk on corners post-curing to seal grout and prevent water damage.
Regularly maintain grout by sealing it annually to extend its lifespan and protect your shower walls.
Cleaning And Sealing
Proper grout application sets the foundation for lasting tile durability, but maintaining that integrity requires regular cleaning and sealing. You should clean shower tiles often with mild detergent and a soft sponge to remove soap scum and mildew. Use a grout brush to scrub grout lines thoroughly.
After cleaning, let grout dry completely before applying a grout sealer. This prevents moisture penetration and extends grout life. Seal grout joints at least once a year, or more in high-moisture areas. For corners and joints, apply a high-quality silicone sealant to maintain flexibility and prevent cracks.
| Task | Tool/Material | Frequency |
|---|---|---|
| Cleaning tiles | Mild detergent, sponge | Weekly |
| Scrubbing grout | Grout brush | Monthly |
| Sealing grout | Grout sealer | Annually or more |
| Sealing joints | Silicone sealant | Annually |
Frequently Asked Questions
What Tools Are Essential for Tiling a Shower Wall?
You’ll need a notched trowel for applying adhesive evenly, matching your tile measurements.
Use a level to check your tile layout and guarantee straight rows.
A tile cutter or wet saw handles precise cutting techniques around edges.
Don’t forget tile spacers for consistent grout lines.
Waterproofing methods require specialized tools, while grout floats help apply grout options smoothly.
Proper surface preparation tools assure adhesion, and finishing touches demand patience and accuracy.
How Long Does the Entire Tiling Process Usually Take?
You should expect the tile installation timeline to span 3 to 7 days, factoring in drying time considerations like adhesive setting time and grout curing duration.
The preparation phase length, including waterproofing, adds 1 to 2 days.
Your skill level impacts efficiency and accuracy, while thorough tile layout planning prevents delays.
For smooth project completion, allow ample curing time and avoid rushing any step to guarantee a durable, professional finish.
Can I Tile Over Existing Tile in a Shower?
Yes, you can tile over existing shower tile if surface preparation is thorough.
Studies show 85% of tile failures come from poor adhesion, so properly roughen old tiles and use quality adhesive options like thinset mortar.
Consider tile removal only if damage exists.
Plan your tile layout carefully, select waterproof grout, and follow waterproofing methods strictly.
Don’t forget finishing touches for durability.
Factor in cost considerations, as tiling over saves time and money versus full removal.
What Tile Materials Are Best for Wet Environments?
For wet environments, you’ll want to weigh ceramic vs porcelain carefully.
Porcelain offers better waterproof backing and slip resistance features.
Glass tile options add style and resist mold but need proper grout types comparison for durability.
Natural stone benefits include unique color choices but require sealing and maintenance tips to prevent damage.
Always select grout that suits moisture levels.
Prioritize slip resistance and waterproof backing to guarantee lasting, safe shower walls.
How Do I Prevent Mold Growth Behind the Tiles?
To prevent mold growth behind your tiles, use mold resistance techniques like installing waterproofing membranes over cement backer boards to create a moisture barrier.
Apply sealant at seams and use grout selection tips favoring mildew-resistant grout.
Employ ventilation methods and humidity control strategies, such as exhaust fans, to reduce moisture buildup.
Follow tile installation barriers carefully, and commit to regular maintenance practices, inspecting and resealing grout and caulk to keep moisture out and mold at bay.
Conclusion
Now that you’ve mastered each step, your shower walls stand as sturdy and beautiful as the Great Wall itself, built to last and impress. By preparing thoroughly, installing waterproof layers, and meticulously setting and finishing tiles, you’ve guaranteed a flawless, professional finish.
Remember, patience and precision turn this project from a simple upgrade into a lasting masterpiece. With your skills, your shower is no longer just functional; it’s a work of art.