How To Replace Kohler Kitchen Faucet – Pro Tips
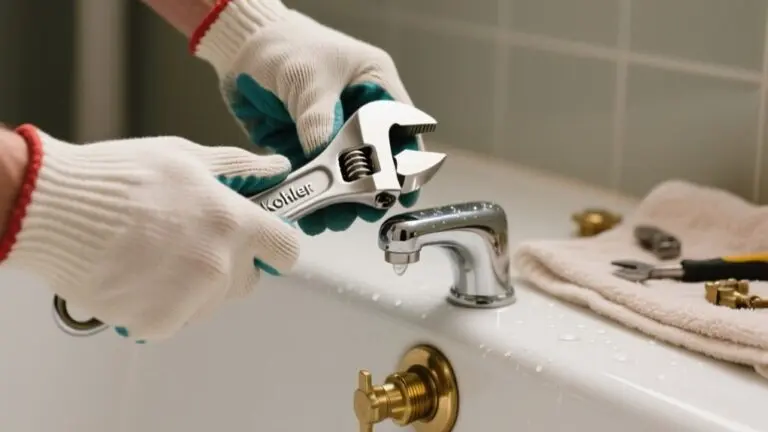
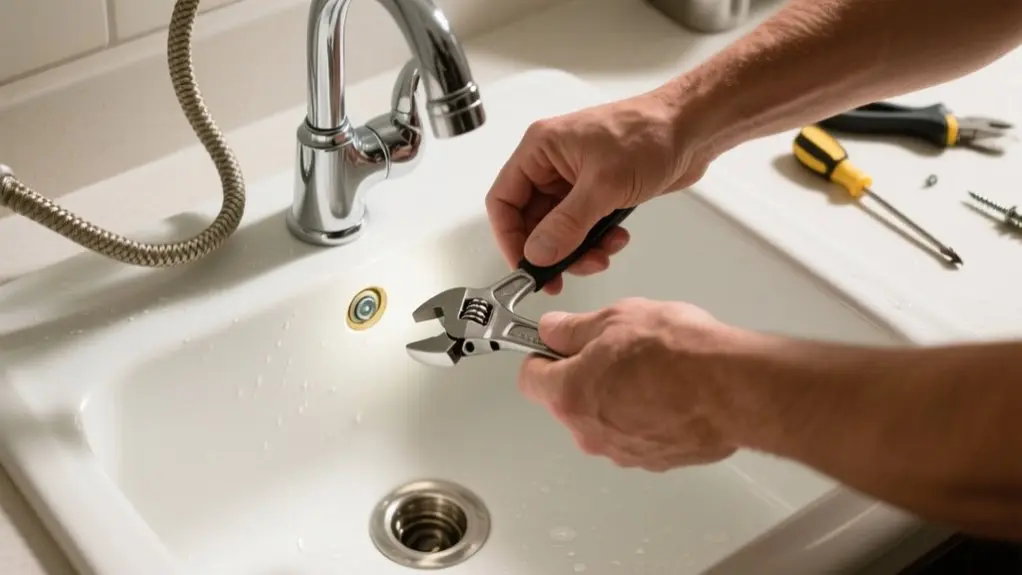
To replace your Kohler kitchen faucet, first turn off the water supply and carefully remove the handle by loosening its securing screw. Loosen the mounting nut with an adjustable wrench, then remove the old valve while noting its alignment.
Install the new valve by matching pegs and tightening the nut securely. Reassemble the handle and plug button, then test all connections for leaks and smooth operation.
Following these steps guarantees a reliable faucet. Explore further for expert troubleshooting and maintenance tips.
Turn Off Water and Remove Kohler Faucet Handle
Before you begin any work on your Kohler kitchen faucet, start by turning off the water supply to prevent leaks.
Locate the shutoff valves under the sink and close them completely.
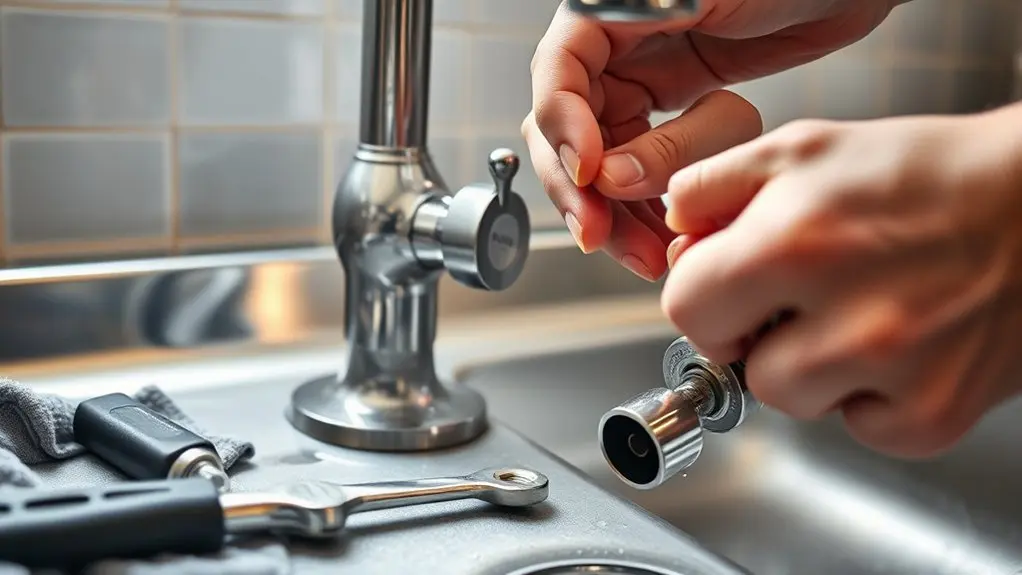
Next, remove the plug button on the faucet handle to expose the securing screw.
Use a screwdriver to carefully loosen this screw, making sure you don’t strip it.
Once the screw is removed, gently pull the handle straight off the faucet body.
Avoid twisting to prevent damage.
With the handle off, you’ll see the bonnet nut.
Unscrew the bonnet counterclockwise to access the valve and mounting nut below.
This precise approach guarantees you safely prepare your Kohler kitchen faucet for further disassembly or replacement without causing unnecessary wear or leaks.
Loosen the Mounting Nut to Get to the Valve
Grab a large adjustable wrench and turn the mounting nut counterclockwise to loosen it, making certain the water supply remains off to avoid leaks. Position the wrench securely on the nut beneath the faucet body.
You may need a firm grip and steady force, as mounting nuts can be tightly fastened. Take care not to damage surrounding components while you loosen the mounting nut.
Once it starts turning freely, continue until the nut is sufficiently loosened to allow removal. This exposes the valve assembly inside the faucet.
Maintaining control during this step prevents stripping the nut or causing damage. After loosening the mounting nut, you’re ready to access the valve for replacement.
Remove the Old Valve and Prepare for New Installation
Start by carefully removing the plug button from the faucet handle, then loosen the screw underneath to detach the handle completely.
With the handle off, use a large adjustable wrench to unscrew the bonnet counterclockwise. This will expose the valve and mounting nut.
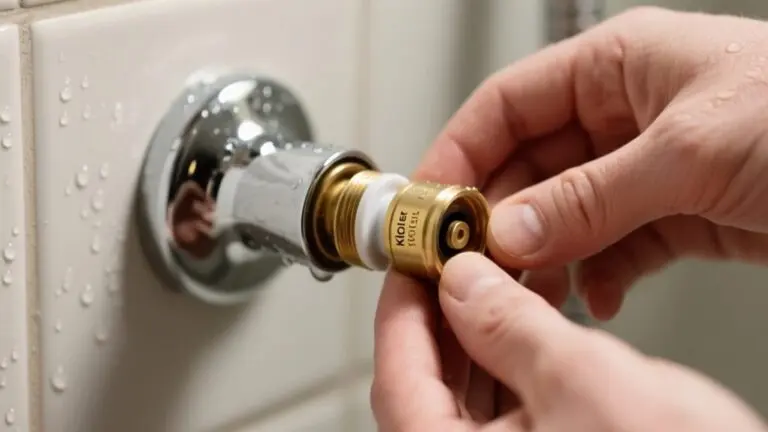
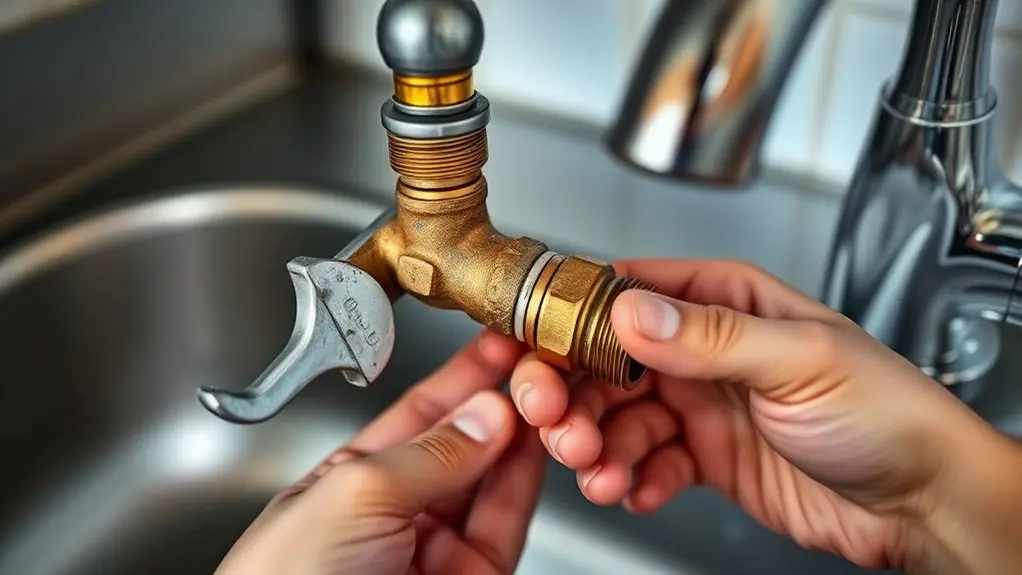
Next, loosen the mounting nut counterclockwise to remove the old valve from the valve body.
As you extract the valve, note its alignment to verify correct positioning for the new valve. Inspect the valve body thoroughly, clearing any debris or signs of wear that could affect performance.
Properly exposing the valve and preparing the valve body sets the foundation for a smooth replacement and ideal faucet function.
Make sure the valve body is clean and free of damage before proceeding.
Install the New Kohler Faucet Valve Correctly
When you’re installing the new Kohler faucet valve, start by lining up the pegs on the bottom of the valve with the matching depressions in the valve body. This helps make sure everything is positioned just right.
Also, double-check that the valve orientation matches the manufacturer’s markings—this step is really important to avoid any issues with how it works.
Next, secure the valve by tightening the mounting nut. Turn it clockwise until it’s hand tight.
Once you’ve got it there, give it another quarter to half turn to make sure it’s snug and firmly in place. That’s all there’s to it!
Valve Alignment Tips
Although installing the new Kohler faucet valve may seem straightforward, precise alignment is essential for ideal performance. Use these valve alignment tips to guarantee a proper fit:
First, align the pegs on the bottom of the valve with the corresponding depressions in the valve body. This ensures the valve seats correctly, preventing leaks.
Next, double-check the orientation matches the previous valve to maintain correct water flow direction. Only after confirming proper alignment should you proceed to tighten the mounting nut. Improper seating can cause water leakage and operational issues.
Finally, once installed, turn on the water and perform a leak check to verify the valve functions flawlessly. Applying these valve alignment tips will help you achieve a secure, leak-free Kohler faucet installation.
Securing The Mounting Nut
Secure the mounting nut by turning it clockwise until it’s hand tight, ensuring a firm fit. After that, give it an additional 1/4 to 1/2 turn to guarantee proper sealing without over-tightening.
Use a large adjustable wrench to apply even pressure, preventing damage while securing the mounting nut.
Before tightening fully, verify the valve aligns correctly with the body’s pegs and depressions for ideal function.
Once installed, recheck the mounting nut for tightness to avoid leaks or malfunction.
Feel confident knowing your faucet won’t leak. Avoid costly water damage by ensuring a tight seal. Experience smooth faucet operation with perfect alignment. Protect your investment with proper securing the mounting nut techniques.
Secure the Mounting Nut and Tighten Properly
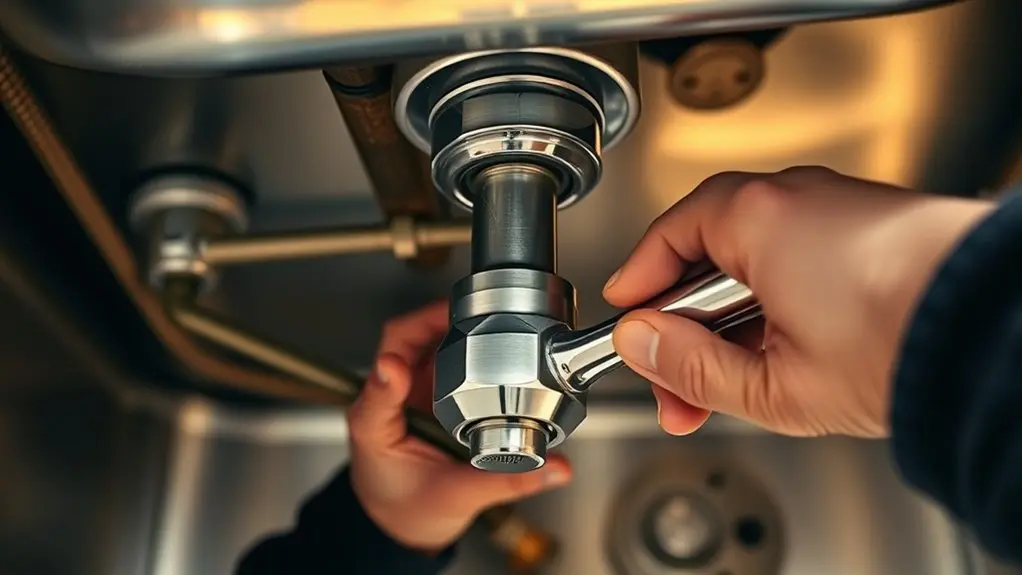
Tighten the mounting nut by turning it clockwise until it’s hand tight, ensuring the valve sits firmly in place. Then, secure the mounting nut further by tightening it an additional 1/4 to 1/2 turn with a large adjustable wrench. This prevents movement and potential leaks but avoid over-torquing to protect faucet components.
Confirm the valve’s alignment by checking the depressions and pegs for a secure fit.
Always double-check tightness after installation to maintain faucet functionality.
Test for Leaks Before Reassembling the Faucet
Before you reassemble the faucet, turn on the water supply to test for leaks at every connection point. Carefully inspect areas beneath the handle, around the valve, and near the mounting nut.
Use a dry cloth to wipe these spots before testing; it helps you detect new moisture quickly.
Wiping surfaces dry before testing reveals even the smallest leaks quickly and easily.
If you spot any leaks, stop and tighten or re-seal the affected connections immediately. Ensuring a leak-free setup now prevents costly water damage later.
Remember to:
- Check all joints meticulously
- Wipe surfaces dry before inspection
- Address leaks without delay
- Confirm every part is secure
Troubleshoot Leaks and Installation Issues
Anyone installing a Kohler kitchen faucet should double-check that the water supply is fully shut off to prevent unexpected leaks during the process.
To troubleshoot leaks effectively, align the pegs on the valve’s bottom with their depressions in the valve body when assembling. This alignment is essential for a secure fit and leak prevention.
After installing the new valve, turn the water supply back on to inspect for leaks before reinstalling the handle. If you spot leaks, re-tighten the mounting nut and verify all connections are secure and properly aligned.
Conduct a thorough leak check at this stage. Addressing issues now saves time and prevents water damage later.
This careful troubleshooting guarantees a durable, leak-free installation.
Reinstall the Handle and Plug Button Securely and Test Faucet Operation
After making sure all the connections are leak-free, go ahead and securely reinstall the handle by lining it up with the valve stem. Then, press the plug button firmly back into place.
Next, check the handle to see if it moves smoothly without any wobbling.
Finally, turn the water supply back on and test both the hot and cold settings, keeping an eye out for any leaks.
Secure Handle Reinstallation
Align the handle carefully on the faucet body to ascertain proper operation before pressing it firmly into place. Secure handle reinstallation is critical to avoid misalignment that can impair function.
After seating the handle flush against the faucet, reattach the plug button by pressing it until it clicks in securely. Double-check all components by gently tugging to ascertain nothing is loose or prone to detachment.
Remember to:
- Confirm handle alignment to prevent operational issues
- Press handle firmly for a tight, flush fit
- Snap plug button securely into place
- Verify stability with a gentle tug test
Following these steps ascertains a reliable, secure handle reinstallation that maintains faucet integrity and performance.
Verify Faucet Functionality
With the handle and plug button securely in place, the next step is to verify the faucet’s functionality.
Begin by turning on the water supply and carefully inspecting all connections for leaks.
Then, operate the handle to test both hot and cold water flow, guaranteeing smooth movement without resistance or dripping.
Confirm the plug button sits flush with the handle and doesn’t obstruct its motion.
Check that all components remain firmly secured to prevent loosening over time.
By thoroughly verifying faucet functionality in this manner, you ascertain the new Kohler kitchen faucet operates reliably and efficiently, avoiding potential issues that could arise from improper installation or loose parts.
This step finalizes your replacement process with confidence in your work.
Frequently Asked Questions
What Tools Do I Need to Replace a Kohler Kitchen Faucet?
You’ll need a large adjustable wrench to loosen the mounting nut and a screwdriver to remove the handle. A basin wrench helps reach tight spots under the sink.
Keep a towel or sponge handy to manage water spills. Use plumber’s tape to secure connections and prevent leaks when reassembling.
A flashlight is essential to illuminate dark, cramped areas, making the process smoother and more precise.
How Do I Identify the Correct Replacement Valve Model?
Finding the correct replacement valve model can feel like searching for a needle in a haystack!
Start by locating your faucet’s model number. You’ll usually find it under the fixture or in the manual.
Measure the valve’s length and diameter precisely.
Then identify the valve type, whether it’s cartridge, compression, or ball.
Check Kohler’s website or contact support with your model number to confirm compatibility.
Pay attention to port numbers and mounting style to guarantee a perfect fit.
Can I Replace the Faucet Without Removing the Sink?
Yes, you can replace the faucet without removing the sink if you have enough space and access from above.
Use a basin wrench to loosen mounting nuts in tight spots.
Verify water supply lines are accessible and disconnect them carefully.
Remove mounting hardware to improve maneuverability.
Always turn off the water supply before starting and check for leaks after installation to confirm a secure, functional faucet replacement.
How Often Should I Replace My Kitchen Faucet Valve?
You should replace your kitchen faucet valve every 5 to 10 years, depending on usage and water quality. If you notice persistent leaks, difficulty controlling water flow, or the faucet won’t shut off completely, it’s time to act.
With frequent use or hard water buildup, consider replacing it every 3 to 5 years.
Regularly inspect the valve for wear to maintain ideal performance and avoid unexpected failures.
What Should I Do if the New Valve Doesn’T Fit Properly?
If your valve won’t fit, first firmly focus on fitting factors.
Check if the pegs perfectly pair with the valve body’s depressions. Confirm you chose the correct valve model matching your Kohler faucet.
Clean the valve seat thoroughly to remove debris. Avoid over-tightening the mounting nut; loosen and realign if needed.
If issues persist, consult Kohler’s guidelines or contact customer support for precise solutions and potential replacements.
Conclusion
Congratulations, you’ve wrestled with your Kohler faucet like a seasoned plumber and lived to tell the tale. Now that the mounting nut is tighter than your patience, and the leaks are nothing but a distant memory, you can proudly claim victory over dripping chaos.
Just reinstall the handle, plug the button, and test the faucet because nothing says “home improvement hero” like a perfectly functional sink that doesn’t flood your kitchen. Cheers to leak-free living!