How To Waterproof Shower Walls – Complete Guide
To waterproof your shower walls effectively, start by installing a water-resistant cement backer board or foam wallboards with inherent waterproofing. Seal all joints and penetrations using alkali-resistant mesh tape and silicone caulking.
Apply at least two coats of liquid membrane like RedGard, ensuring full coverage and allowing drying between coats. Perform a flood test to detect leaks before tiling. Proper material choice and thorough preparation protect against moisture damage and mold. Explore essential details to master this process fully.
Why Shower Wall Waterproofing Is Essential
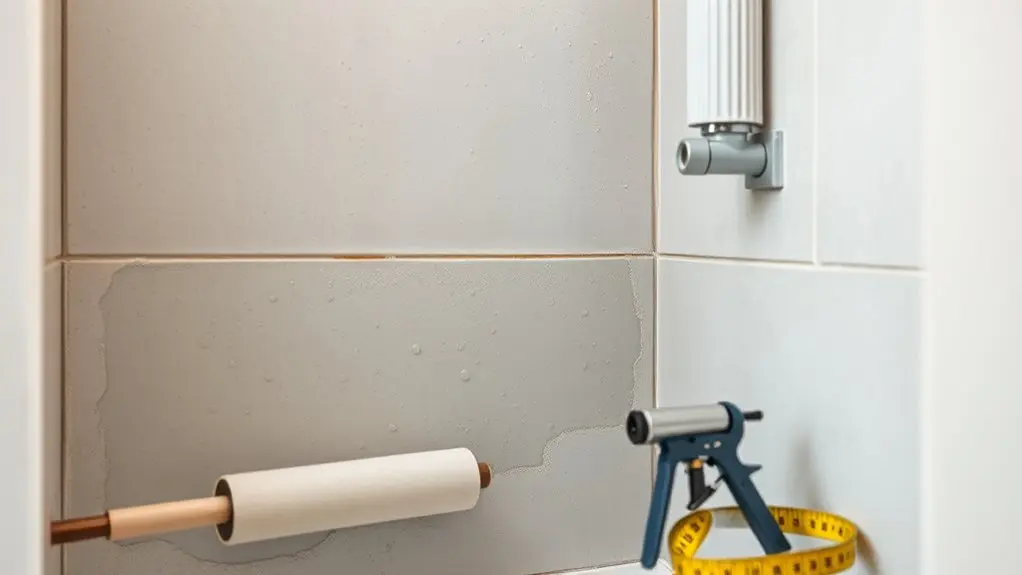
Although tiles and grout might seem waterproof, they actually allow moisture to penetrate. This makes shower wall waterproofing essential to prevent structural damage and mold growth.
You need to install a continuous waterproofing membrane over cement board because cement board is only water-resistant and permits moisture to reach the underlying structure. Without this membrane, water damage can compromise your home’s integrity.
Nearly half of shower grouts and walls harbor mold growth, which not only deteriorates materials but also degrades indoor air quality. Proper waterproofing of shower walls stops leaks early, protecting your investment and reducing costly repairs.
Top Materials for Durable Shower Wall Waterproofing
When selecting materials for shower wall waterproofing, you must prioritize durability and compatibility with your installation method to secure long-lasting protection.
Cement Backer Board offers a sturdy, water-resistant substrate but demands a continuous waterproofing system, typically a liquid membrane, applied over it to block moisture infiltration.
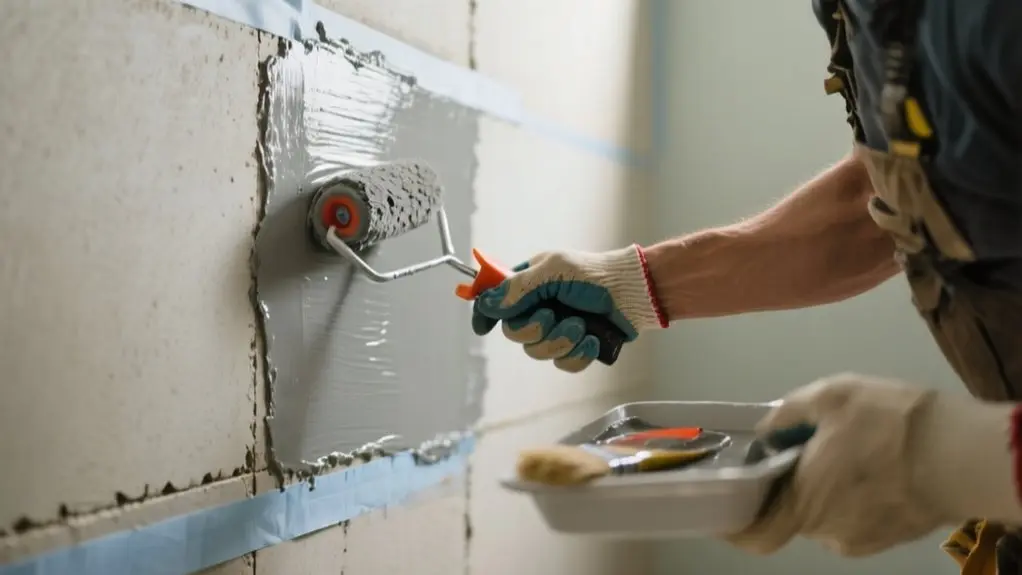
Liquid Membranes, such as RedGard, provide a flexible, seamless barrier that adapts to complex shapes and requires at least two coats for full effectiveness.
Foam Wallboards like GURU Water-Stop combine lightweight construction with inherent waterproof properties, delivering a flat, tile-ready surface that minimizes additional waterproofing layers.
Incorporating these materials with precise sealing of joints and penetrations guarantees your waterproofing system maintains integrity under constant exposure.
This safeguards your shower walls from moisture damage and structural deterioration.
Choosing the Right Waterproofing Method for Your Shower Walls
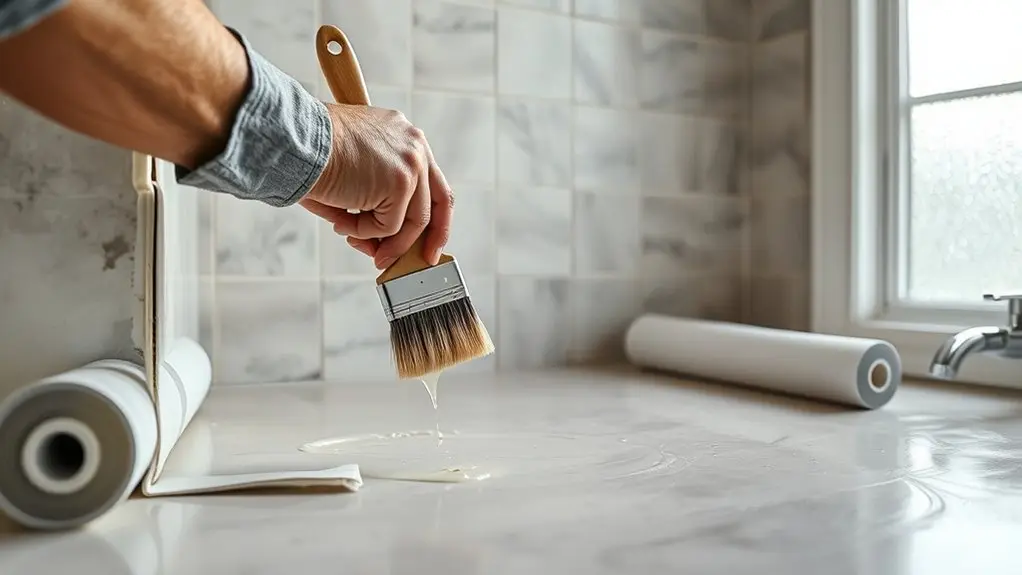
You’ll want to check out foam boards because they come with built-in waterproofing and are pretty easy to install. This can really make your workflow simpler.
When it comes to applying membranes, just be sure to pay close attention to keeping the thickness even and covering every spot without gaps. That’s key to making them work well.
Also, don’t forget to seal those critical joints since they’re the spots where water is most likely to sneak in.
Foam Board Advantages
Three key advantages make foam board an excellent choice for waterproofing your shower walls.
First, foam boards are lightweight and easy to handle, simplifying installation compared to traditional tile backer board or foam shower bases.
Second, many feature a built-in waterproof membrane, eliminating the need for extra layers and reducing complexity. This integration guarantees reliable moisture protection when seams are properly sealed with waterproofing bands and sealants.
Third, foam boards enable quick installation—you can cut them precisely with a utility knife and secure them rapidly, accelerating your project timeline.
Moreover, their flat, tile-ready surface allows immediate tiling after installation, enhancing workflow efficiency.
Membrane Application Tips
Although selecting the right waterproofing membrane depends on your shower’s design and materials, understanding the options is crucial for effective protection. You’ll choose between sheet membranes, offering a seamless barrier, and liquid waterproofing membranes, which conform to complex shapes but require precise application thickness.
For liquid membranes like RedGard, apply at least two coats to achieve adequate thickness and prevent moisture penetration. Proper joint sealing is critical. Embed waterproofing bands into sealant at panel seams and screw penetrations to maintain integrity.
Verify the wall membrane overlaps the floor membrane to promote drainage and prevent leaks. After application, inspect for pinprick holes and spot-paint as needed.
Following these membrane application tips guarantees a durable, watertight shower enclosure that resists long-term water damage.
Sealing Critical Joints
When sealing critical joints like corners and seams, you must guarantee a watertight barrier to prevent moisture infiltration that causes mold and structural damage.
Start by applying alkali-resistant mesh tape over cement board seams to reinforce these vulnerable areas.
Next, embed waterproofing membranes over the taped joints to create a continuous, durable layer. Use pre-formed corners or seam tape to simplify the process and enhance effectiveness.
At tile-wall junctions and around fixtures, apply silicone caulking carefully to maintain a watertight seal. This combination of mesh tape, waterproofing membranes, and precise caulking guarantees sealing critical joints is thorough and reliable.
Finally, conduct a flood test to verify the integrity of your waterproofing before tiling, confirming that no leaks compromise your shower walls.
How to Prepare Shower Walls Before Waterproofing
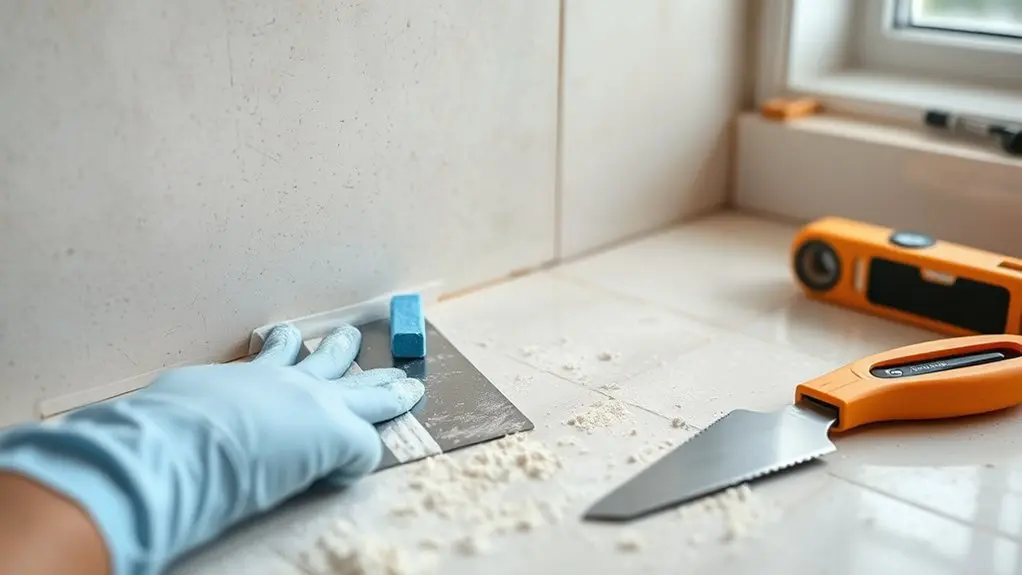
Before you start applying any waterproofing, make sure to give the shower walls a good, thorough cleaning. You’ll want to remove any old tiles or other contaminants so the waterproofing sticks properly.
Next, check that the backer board is installed correctly and up to industry standards for structural support. This step is really important to prevent any future problems.
Finally, don’t forget to pre-seal all the joints, seams, and screw holes. Use waterproofing tape or sealant for this part, as it helps create a continuous moisture barrier that keeps everything dry and protected.
Surface Cleaning And Repair
Since proper surface preparation determines the effectiveness of your waterproofing, you must thoroughly clean the shower walls to remove soap scum, mold, and mildew. Effective surface cleaning guarantees a smooth base for your waterproofing application.
Next, inspect for cracks, holes, or damaged grout, and perform necessary repairs to prevent water intrusion. Follow manufacturer instructions to allow repairs to fully cure before proceeding.
Finally, sand any rough or uneven areas to achieve a uniform surface, improving membrane adhesion. Remember, all surfaces must be completely dry before applying waterproofing products to maintain their efficacy.
- Clean walls with mild detergent and water.
- Inspect and repair cracks, holes, and grout.
- Allow repairs to cure fully.
- Sand rough surfaces and guarantee dryness.
Backer Board Installation
Install cement backer board securely using screws spaced according to manufacturer guidelines to create a stable, moisture-resistant base for your tile installation.
Cut the backer boards precisely to fit the shower walls, eliminating gaps that could allow water penetration.
Next, apply alkali-resistant seam tape over all joints and seams, embedding it firmly with thin-set mortar to block moisture infiltration.
Although cement board resists water, it’s not waterproof, so you must cover the entire surface with a continuous waterproofing membrane to guarantee a complete moisture barrier.
Finally, inspect the installation thoroughly, confirming no exposed screws or gaps remain that would compromise waterproofing.
Proper backer board installation is critical to preparing your shower walls for effective waterproofing and long-term durability.
Pre-Sealing Joints
When preparing your shower walls for waterproofing, you must pre-seal all joints and seams with a waterproofing band or sealant to block moisture infiltration effectively.
Start by applying alkali-resistant mesh tape over cement board seams to reinforce the surface and reduce flexing.
Next, cover the taped seams and screw heads with thin-set mortar to fill gaps and create a uniform base. Pay special attention to corners and edges, using dam corners to prevent water accumulation.
Finally, allow the mortar and sealant to cure fully before applying the waterproofing membrane to guarantee peak adhesion and protection.
Follow these steps precisely:
- Apply alkali-resistant mesh tape on cement board seams.
- Spread thin-set mortar over taped areas and screw heads.
- Seal corners and edges meticulously with dam corners.
- Allow full curing before installing the waterproofing membrane.
Apply Liquid Waterproof Membranes for Shower Walls Step-by-Step
Three essential preparatory steps guarantee your shower walls are ready for liquid waterproof membrane application.
First, tape cement board seams with alkali-resistant mesh tape to create a solid, flex-free surface.
Begin by taping cement board seams with alkali-resistant mesh tape for a sturdy, flexible foundation.
Next, apply a thin layer of thin-set mortar over taped seams and screw heads to confirm a smooth, gap-free substrate.
Now, select a high-quality liquid waterproofing membrane like RedGard.
Carefully apply the membrane in thin, even coats, ensuring full coverage. For effective waterproofing your shower, apply at least two coats, allowing the first to dry completely before the second.
The waterproof membrane should have a rubber-like texture once cured.
Inspect thoroughly for pinprick holes and touch up as needed.
Always follow manufacturer guidelines, noting coverage rates, typically one gallon covers about 55 sq ft, to achieve a reliable waterproof barrier.
Install Waterproof Foam Boards for Shower Walls
Choose waterproof foam boards like GURU Water-Stop Wall Board to create a durable, tile-ready surface that inherently resists moisture. When you install waterproof foam boards, you establish a robust waterproofing layer that prevents excess moisture from penetrating your shower walls.
Follow these critical steps:
- Secure each panel to studs using washers at recommended spacing to guarantee stability.
- Cover all seams with a waterproofing band embedded in sealant to maintain integrity.
- Seal every screw head with sealant or a peel-and-stick patch to block moisture infiltration.
- Pay special attention to corners and joints by applying additional sealing to uphold continuous waterproof protection.
This method eliminates the need for cement backer boards, simplifying installation while enhancing your shower’s moisture resistance.
How to Seal Shower Corners, Niches, and Benches for Waterproofing
Seal shower corners, niches, and benches meticulously to prevent moisture intrusion and maintain your waterproofing system’s integrity. Use pre-formed corners and niches designed for seamless integration with your waterproofing membrane, minimizing leak points.
Embed pre-formed corners in sealant and overlap wall bands at junctions to create watertight seals. For benches, seal all screw penetrations with waterproofing tape or sealant, ensuring no gaps allow water entry.
Embed corners in sealant and seal bench screws to ensure watertight, leak-free shower junctions.
Apply a continuous waterproofing membrane layer over niches and corners, extending it fully to the tile height to promote effective water shedding. These targeted shower waterproofing options are essential to prevent mold and mildew growth, common in these vulnerable areas.
Regular inspection and maintenance of these seals will uphold your shower’s durability and hygiene.
How to Tape and Seal Cement Board Seams Correctly
When you’re installing cement board for shower walls, properly taping and sealing the seams is essential to prevent moisture infiltration.
Start by applying alkali-resistant mesh tape over all cement board seams to guarantee a rigid surface and reduce flex.
Then, embed the tape fully with a layer of thin-set mortar, covering seams and screw heads to form a continuous waterproofing barrier.
Follow these precise steps:
- Apply alkali-resistant mesh tape firmly over all seams.
- Spread thin-set mortar thoroughly, embedding the tape without gaps.
- Allow the mortar to cure completely according to instructions before proceeding.
- Inspect for pinprick holes and spot-paint with waterproofing membrane as needed.
This method assures a durable, waterproof foundation critical for long-lasting shower wall protection.
How Many Waterproofing Coats Do You Need?
You’ll want to apply at least two coats of a liquid membrane to make sure your shower walls are fully waterproof.
Start by spreading the first coat evenly and then give it plenty of time to dry—usually up to 24 hours.
Once that’s dry, go ahead and add the second coat.
Make sure each layer is nice and uniform.
It’s a good idea to check carefully for any pinholes and fix them right away to keep the waterproof barrier intact.
Recommended Coat Layers
Applying at least two coats of liquid waterproofing membrane guarantees thorough sealing of all seams and joints on shower walls. The recommended coat layers assure maximum waterproofing integrity by providing consistent coverage.
Follow these critical steps:
- Apply the first coat evenly, adhering to manufacturer thickness guidelines.
- Allow the first coat to dry completely, usually within a couple of hours, before inspection.
- Inspect and repair any pinprick holes or imperfections to prevent leaks.
- Apply the second coat carefully. It may require up to 24 hours to cure fully, enhancing durability.
Some professionals recommend a third coat or a textured roller in high-moisture areas for added protection.
Application Techniques
Ensuring thorough coverage with liquid waterproofing membranes like RedGard requires at least two coats to effectively block water penetration.
For Waterproof Shower Walls, you must apply each coat evenly, achieving a rubber-like texture that confirms proper sealing and prevents pinprick holes that cause leaks.
Allow the first coat to dry fully, usually within a few hours, before applying the second. The second coat may take up to 24 hours to cure completely.
Pay special attention to seams and joints. Reinforce these areas with waterproof tape and thin-set mortar beneath the liquid membrane to form a continuous barrier.
Use coverage charts to estimate product needs. One gallon typically covers 55 square feet, so make sure you have enough liquid for complete application.
Proper application techniques minimize mold risks by eliminating water intrusion.
Inspecting and Testing Your Shower Wall Waterproofing for Flaws
Although thorough installation is critical, periodic inspection and testing of your shower wall waterproofing are essential to catch flaws before they cause significant damage.
To guarantee integrity, you must:
To guarantee integrity, regular inspections and tests are essential for maintaining effective waterproofing.
- Inspect for visible leaks or damp spots on walls, signaling compromised waterproofing.
- Check corners and seams for mold or mildew buildup, indicating moisture infiltration.
- Perform a flood test by blocking the drain, filling the shower base, and monitoring for leaks over 24 hours.
- Use a moisture meter to detect hidden moisture behind tiles and backer boards, identifying unseen issues.
Additionally, confirm all seals and membranes are intact with no deterioration.
This systematic approach helps you maintain effective waterproofing and prevents costly repairs.
Shower Wall Waterproofing: Budgeting for Materials and Tools
When planning your shower wall waterproofing project, you’ll need to allocate funds carefully for essential materials and tools to guarantee durability and effectiveness.
Key waterproof membranes, whether liquid like RedGard ($80/gallon) or sheet varieties ($30–$100), form the core of your budget.
Include seam tape at about $8 and application tools such as brushes or rollers near $6. If you opt for waterproof foam boards, budget $15–30 per panel, ensuring sufficient coverage.
Calculate quantities precisely to avoid waste, then add a 10–15% contingency to cover errors or adjustments.
Effective budgeting for shower wall waterproofing requires balancing quality materials and tools with cost control, ensuring a professional, leak-proof finish without overspending.
Plan accordingly to safeguard your investment and long-term performance.
Frequently Asked Questions
Can I Waterproof Shower Walls Myself Without Professional Help?
Yes, you can waterproof shower walls yourself using DIY techniques, but you need to choose the right materials like liquid membranes and alkali-resistant mesh tape.
Be mindful of cost factors such as product quality versus price.
Avoid common mistakes like skipping surface prep or applying too few coats.
Follow manufacturer instructions precisely to guarantee a continuous, effective barrier.
Proper execution prevents leaks and costly repairs, saving you money and hassle in the long run.
How Long Does Waterproofing a Shower Wall Typically Take?
Waterproofing a shower wall typically takes 1 to 2 days, depending on the shower wall materials and waterproofing techniques you choose.
Applying at least two coats of liquid membrane requires drying time of 2 to 24 hours per coat.
Using sheet membranes can save time but might increase project cost.
To speed things up, prepare seams thoroughly beforehand and follow manufacturer guidelines precisely, ensuring durability while optimizing your project timeline and budget.
What Maintenance Is Required After Waterproofing Shower Walls?
Imagine you spot a tiny crack during a regular inspection. Address it immediately.
You’ll need precise cleaning techniques using pH-neutral cleaners to prevent mold, which threatens long-term durability.
Reapply sealant application, like silicone caulking, annually around joints to maintain watertight integrity. These steps guarantee your waterproofing lasts.
Consistent upkeep, including occasional flood tests, ensures your shower walls remain impermeable and protected against moisture damage over time.
Are Waterproof Membranes Safe for All Types of Tile Adhesives?
Waterproof membranes aren’t universally safe for all tile adhesives. You need to focus on tile adhesive compatibility to avoid adhesion failure.
Different waterproofing materials require specific membrane installation techniques and adhesives, often modified thin-set mortars.
Always check the manufacturer’s guidelines and allow proper adhesive curing time after membrane installation.
Testing a small area guarantees ideal bonding and maintains waterproof integrity, preventing costly errors in your project.
Can Waterproofing Prevent Mold Growth in Existing Showers?
Think of waterproofing as a fortress guarding your shower against mold invasion.
Yes, effective waterproofing techniques are essential mold prevention strategies that block moisture infiltration, stopping mold growth in its tracks.
By applying these moisture control methods and following shower maintenance tips like sealing joints and inspecting membranes regularly, you strengthen your defenses.
This proactive approach not only curbs existing mold but also prevents future outbreaks, ensuring a healthier bathroom environment.
Conclusion
Waterproofing your shower walls means protecting your home, preserving your investment, and preventing costly damage. By selecting the right materials, preparing surfaces thoroughly, applying membranes carefully, and sealing seams accurately, you guarantee lasting durability.
Inspecting your work diligently and budgeting wisely rounds out the process. Follow these steps precisely, act methodically, and maintain consistency to achieve a professional, reliable waterproof barrier that stands up to moisture and time.