How To Replace Kohler Toilet Parts – Do It Right
To replace Kohler toilet parts correctly, first identify the faulty component by checking for leaks, noises, or poor flushing. Gather essentials like an adjustable wrench, screwdriver, and genuine Kohler replacements to guarantee proper fit.
Shut off water, empty the tank, then carefully remove and install parts following your model’s guide. Tighten fittings securely and test flushing and refilling to confirm functionality.
Maintain parts regularly for longevity. Keep going to explore detailed steps and expert troubleshooting tips.
How To Identify The Kohler Toilet Part That Needs Replacement
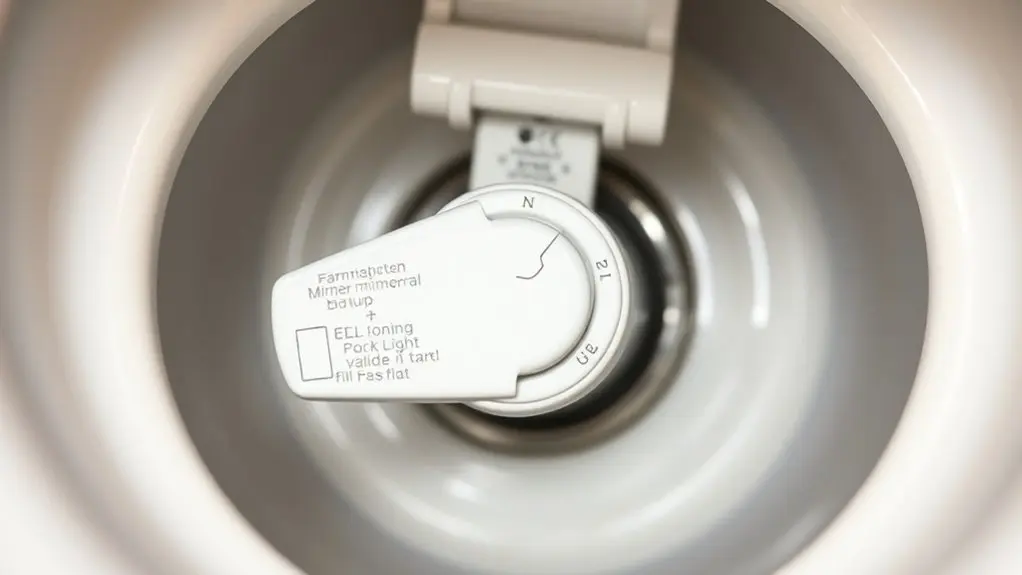
How can you quickly identify which Kohler toilet part needs replacement? Start by observing the toilet’s behavior. Listen for unusual noises, continuous running, or weak flushing.
If the toilet isn’t refilling properly or makes excessive noise during the fill cycle, check the fill valve for wear or malfunction.
If your toilet struggles to refill or sounds noisy, the fill valve may need inspection or replacement.
Inspect the flapper valve next; warping or mineral buildup often causes leaks and inefficient flushing.
Also, verify the flush lever and chain operate smoothly, since a broken lever can stop flushing entirely.
To pinpoint the exact part, locate your toilet’s model number inside the tank and consult the KOHLER parts list.
This methodical inspection helps you accurately identify the faulty component and guarantees you replace only the necessary part without guesswork.
Essential Tools And Parts For Kohler Toilet Replacement
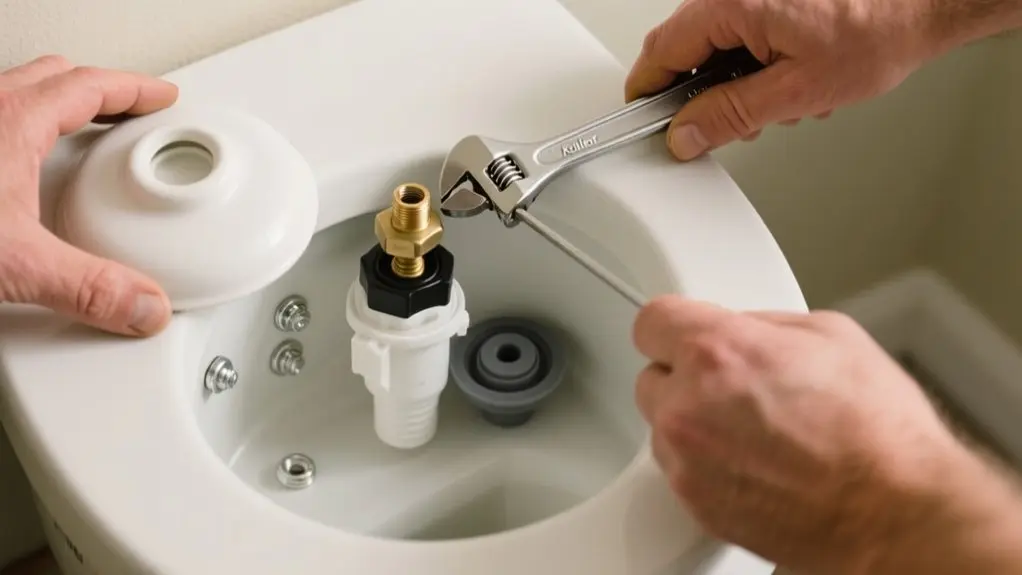
Before you start replacing any Kohler toilet parts, gather the essential tools and verify you have the correct components for your model. You’ll need an adjustable wrench and a screwdriver to remove and install parts efficiently.
Keep a plastic cup handy to manage residual water and a towel or sponge to absorb any spills.
Common replacement parts include flappers, fill valves, and flush valves, which you can purchase from the KOHLER™ Store or authorized retailers.
Always check your toilet’s model number to guarantee compatibility.
Review the specific repair manual for your model before proceeding; it offers detailed guidance tailored to your toilet’s design.
This preparation minimizes errors and streamlines the replacement process.
Remove Old Kohler Toilet Parts Step-By-Step
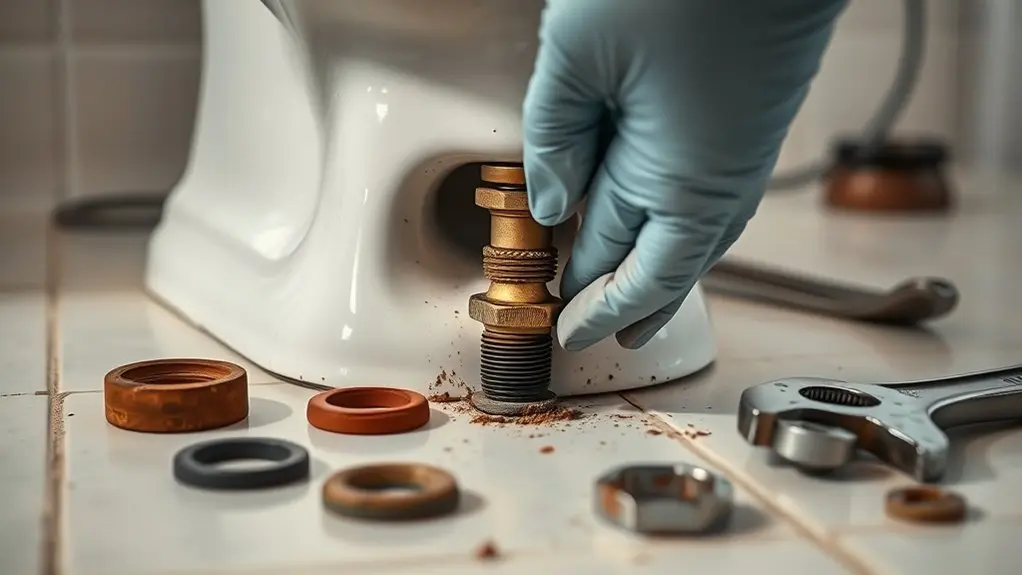
First, shut off the water supply and flush the toilet to empty the tank and bowl. This helps prevent any water spills while you work.
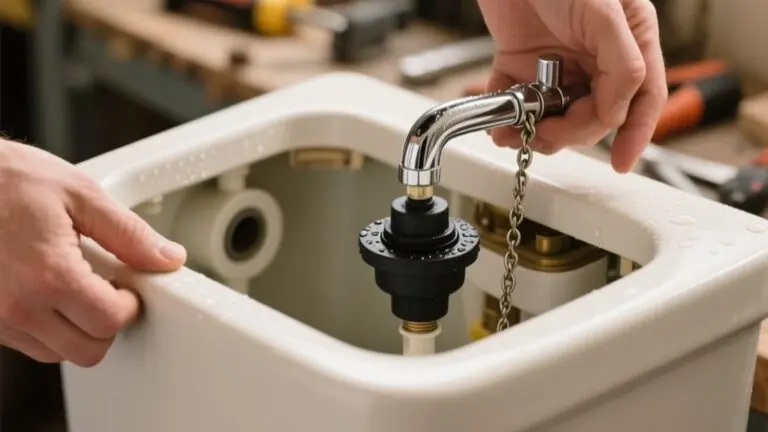
Next, take a good look inside the tank to identify the specific Kohler parts that need to be removed, like the fill valve or the flapper.
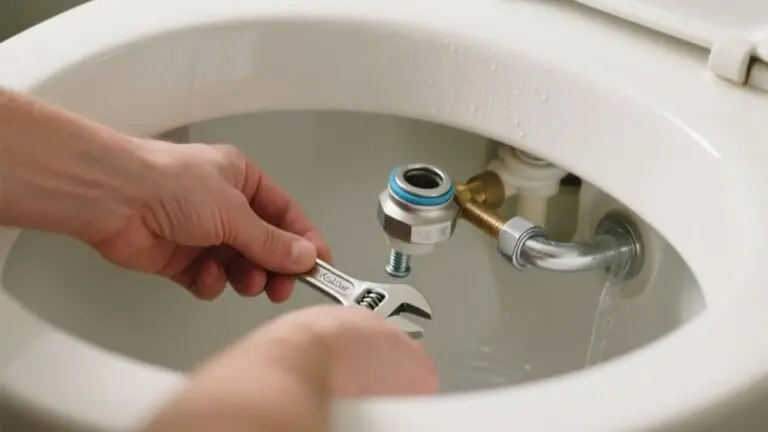
Once you know what to take out, grab some adjustable pliers and carefully detach those components. Just be gentle so you don’t damage any of the mounting surfaces.
Identify Parts To Remove
A crucial step in replacing Kohler toilet parts is accurately identifying which components to remove. Start by confirming your specific Kohler toilet model, since part types vary widely.
Then, proceed with these key actions:
- Detach the tank from the bowl by unscrewing the nuts at the tank’s base.
- Remove the fill valve and flush valve inside the tank, managing residual water with a plastic cup.
- Inspect each removed part for wear or damage to determine if replacement is necessary.
- Verify compatibility of new parts with your model before purchasing to guarantee a smooth reinstallation.
Shut Off Water
After identifying and removing the tank from the bowl, you’ll need to stop the water flow to safely replace the parts. Locate the shut-off valve behind the toilet and turn it clockwise to close it.
Next, flush the toilet completely to drain the tank; hold down the handle to guarantee all water empties. Use a wrench to disconnect the water supply line from the tank’s bottom, being mindful of any residual water in the line.
Remove the tank lid to access the internal components. This precise shut-off process prevents water spills and prepares the toilet for safe part removal.
Completing these steps carefully ensures you can proceed without risk of leaks or water damage during your Kohler toilet parts replacement.
Safely Detach Old Components
Start by verifying the water supply is off and the tank is as empty as possible, using a plastic cup to remove any residual water. This prevents spills and makes component removal easier.
Follow these steps to safely detach old Kohler parts:
- Flush the toilet to drain most water, then scoop out remaining water with a cup.
- If needed, carefully detach the tank from the bowl by unscrewing the mounting bolts.
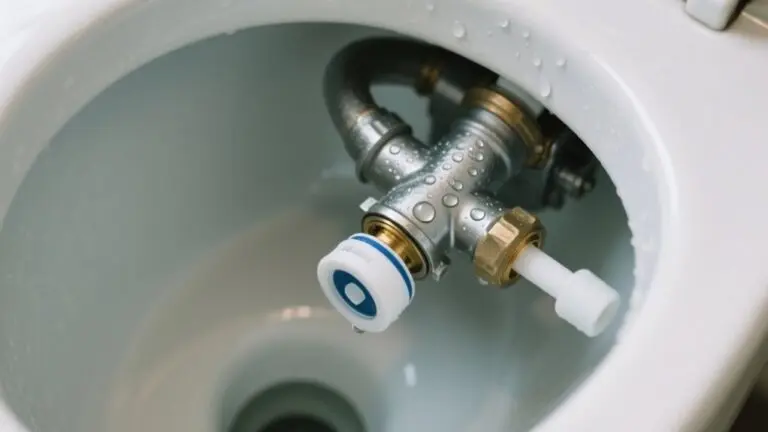
- Unscrew and disconnect old components like the fill valve and flapper, avoiding damage to surrounding fixtures.
- Note the orientation of each part and keep small components such as washers and nuts organized for smooth reassembly.
This precise approach guarantees a clean removal, setting you up for a proper installation of new parts.
Installing New Kohler Toilet Parts Made Easy
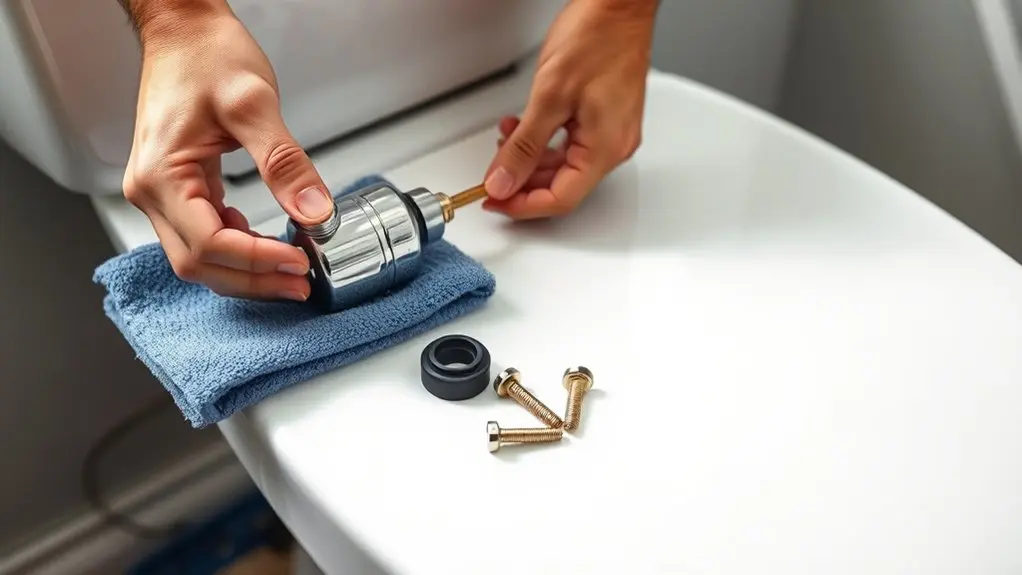
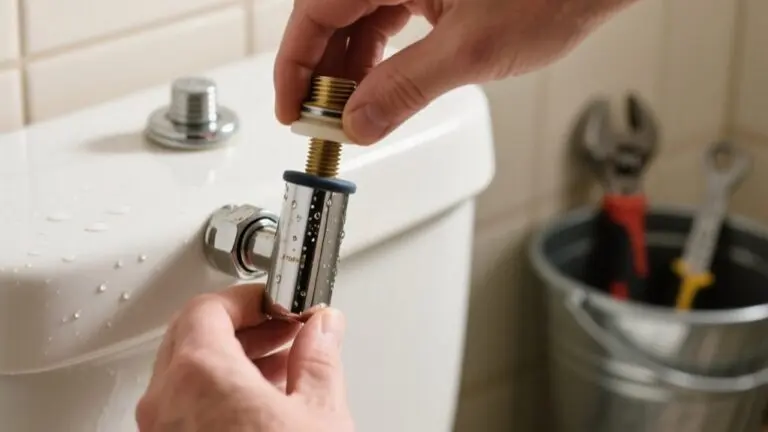
Many Kohler toilet parts can be replaced quickly using just a wrench and screwdriver, provided you follow the correct steps.
Replacing many Kohler toilet parts is simple with just a wrench and screwdriver when you follow the right steps.
Begin by turning off the water supply and draining the tank to prevent leaks and spills.
Consult your specific Kohler model’s installation guide to identify any unique assembly requirements.
Position the new part, whether a flapper, fill valve, or flush valve, correctly, and tighten all fittings securely but avoid overtightening to prevent damage.
Use your wrench for nuts and screwdrivers for clamps or screws, confirming a snug fit.
After installation, restore water flow and flush the toilet once to verify proper operation.
Check all connections carefully for leaks, making adjustments as needed.
Following these precise steps guarantees a reliable, efficient replacement of your Kohler toilet parts.
How To Test Your Kohler Toilet After Replacement
After you’ve replaced your Kohler toilet parts, the first thing to do is perform a flush test. This helps you check that everything is working properly and that waste is clearing out as it should.
While the toilet is flushing, listen carefully for any unusual sounds—these could be a sign that something isn’t quite right.
Also, keep an eye on the water level in the tank to make sure it refills correctly after the flush.
Once that’s done, take a close look around the base of the toilet. If you notice any leaks, it might mean there’s an issue with the seal or gasket that needs to be fixed.
Taking these steps will help ensure your new parts are installed correctly and your toilet runs smoothly.
Proper Flush Functionality
Initiate a flush to verify that your Kohler toilet’s fill valve is operating correctly and the tank refills promptly. This test confirms the replacement parts function as intended, maintaining flush efficiency.
Follow these steps:
- Listen closely during the flush cycle for abnormal noises. These can indicate improper installation or faulty components.
- Confirm the water level in the tank reaches the designated fill line within minutes after flushing. This signals proper refill operation.
- Observe the flapper and chain mechanism to guarantee smooth movement without binding or sticking. This is essential for effective flushing and sealing.
- Inspect all connections for leaks that may affect flush performance and require adjustment or repair.
Performing these checks safeguards your Kohler toilet flushes reliably after part replacement.
Leak Detection Methods
Although your Kohler toilet may seem to function normally after part replacement, verifying the absence of leaks is essential to guarantee long-term performance. Start by adding a few drops of food coloring to the tank water; wait 15-30 minutes, then check if the color appears in the bowl. If it does, you have a leak.
Next, inspect connections at the fill valve and flapper, ensuring all screws and fittings are tight. Listen carefully for hissing or running water sounds that suggest leaks not visible to the eye.
Also, examine the base for water pooling, which may indicate wax ring or flange bolt issues requiring attention.
Regularly monitor water levels and perform maintenance to detect leaks early and prevent damage.
Troubleshooting Common Kohler Toilet Parts Issues
Common issues with Kohler toilet parts, such as continuous running, excessive noise, and poor refilling, often result from simple mechanical faults that you can address with targeted troubleshooting.
To fix these problems, follow these steps:
- Adjust the fill valve to stop continuous running. Check if the flapper is worn or misaligned.
- Flush the fill valve or replace it if you hear excessive noise during operation.
- Inspect and adjust the float level to guarantee the tank refills properly after flushing.
- Perform regular maintenance on these parts to prevent recurring faults and extend the toilet’s lifespan.
Where To Find Genuine Kohler Parts
When you need to replace Kohler toilet parts, sourcing genuine components is essential to confirm proper fit and function. Start by visiting authorized KOHLER™ retailers or the official KOHLER™ website to ensure quality and compatibility.
Use the KOHLER™ Store locator tool to find nearby suppliers stocking the exact parts you require. If you’re unsure about the correct replacement, Kohler Assist provides expert support to help identify parts for your specific toilet model.
Take advantage of KOHLER™’s diverse collections to find parts matching your toilet’s design and function precisely. Always verify part numbers and descriptions before purchasing to avoid counterfeit or incompatible items.
Following these steps guarantees your replacement parts perform reliably and maintain your toilet’s efficiency.
Frequently Asked Questions
How Long Does a Typical Kohler Toilet Part Replacement Take?
A typical Kohler toilet part replacement takes between 10 and 30 minutes. Simple parts like flappers or fill valves usually require about 10 to 15 minutes, while more complex components may take longer.
You can handle most replacements yourself using basic tools.
Just remember to turn off the water supply and flush the toilet beforehand to avoid spills. Planning and following clear instructions will help you finish the job efficiently and correctly.
Can I Use Universal Parts Instead of Genuine Kohler Parts?
You technically can use universal parts, but it’s not recommended.
Universal parts often don’t match Kohler’s precise specifications, which can lead to poor performance or leaks.
Using them might also void your toilet’s warranty.
To guarantee durability and proper function, stick with genuine Kohler parts designed for your specific model.
If you’re unsure, consult Kohler’s customer support or authorized retailers to find the right replacement parts and avoid compatibility issues.
What Safety Precautions Should I Take During Replacement?
Think of replacing toilet parts like defusing a small bomb. One wrong move causes chaos. Always turn off the water supply first to avoid flooding.
Wear goggles and gloves to protect yourself from sharp edges and chemicals. Keep tools and parts within reach to maintain control.
If your toilet has electrical features, double-check insulation. Follow manufacturer instructions precisely to guarantee safety and correct installation. This prevents injury and keeps your toilet working well.
How Often Should Kohler Toilet Parts Be Replaced?
You should replace Kohler toilet parts like flappers, fill valves, and flush valves every 3 to 5 years, depending on usage and water quality.
Inspect parts every 6 to 12 months to catch wear early.
If the toilet runs continuously or makes unusual noise, replace parts immediately.
Regular maintenance prevents leaks and costly water bills.
Integrate replacements into your seasonal home care routine for peak toilet performance and longevity.
Will Replacing Parts Affect My Toilet’s Warranty?
Think of your toilet’s warranty as a safety net woven with specific threads. Replacing parts won’t snap this net if you use genuine KOHLER components and keep your receipts.
However, using non-KOHLER parts or having unauthorized repairs can fray or break the warranty’s protection.
Always follow KOHLER’s guidelines precisely and document every step to guarantee your toilet’s warranty remains intact and your investment stays secure.
Conclusion
Replacing Kohler toilet parts doesn’t have to feel like steering through a maze in the dark. With the right tools and clear steps, you’ll cut through the confusion like a sharp blade.
Trust your hands, follow each instruction precisely, and you’ll breathe new life into your toilet. Soon, your Kohler will flush smoothly, humming a reliable tune. Proof that with patience and care, even the trickiest repairs become manageable victories.