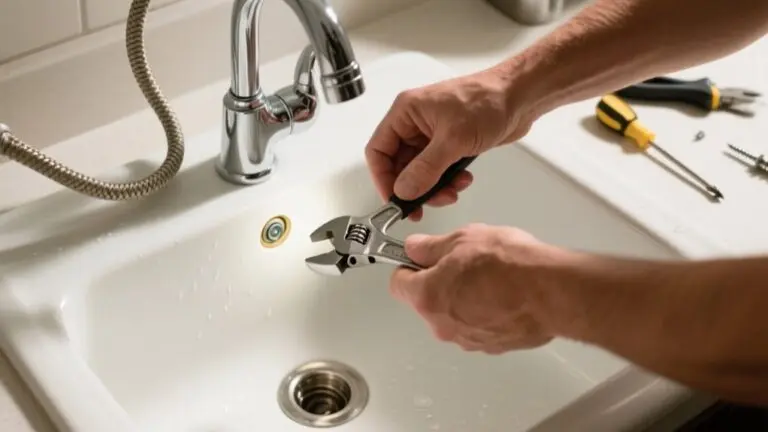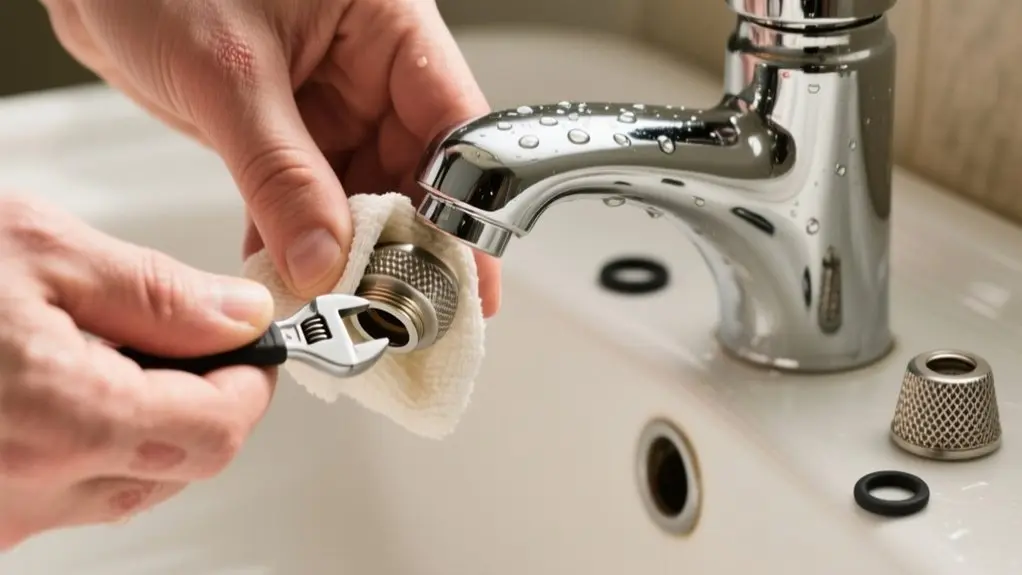
How To Replace Kohler Faucet Aerator – Simple Steps
To replace your Kohler faucet aerator, first turn off the water supply and gather an adjustable wrench or aerator key. Identify the aerator type, whether it’s threaded, keyed, or recessed, then carefully remove it using the appropriate tool.
Soak and clean the aerator, or inspect and replace it if damaged. Finally, install the new aerator, tighten it securely, and test for leaks and proper water flow.
Follow these steps to guarantee smooth installation and peak performance.
Turn Off Water and Gather Removal Tools
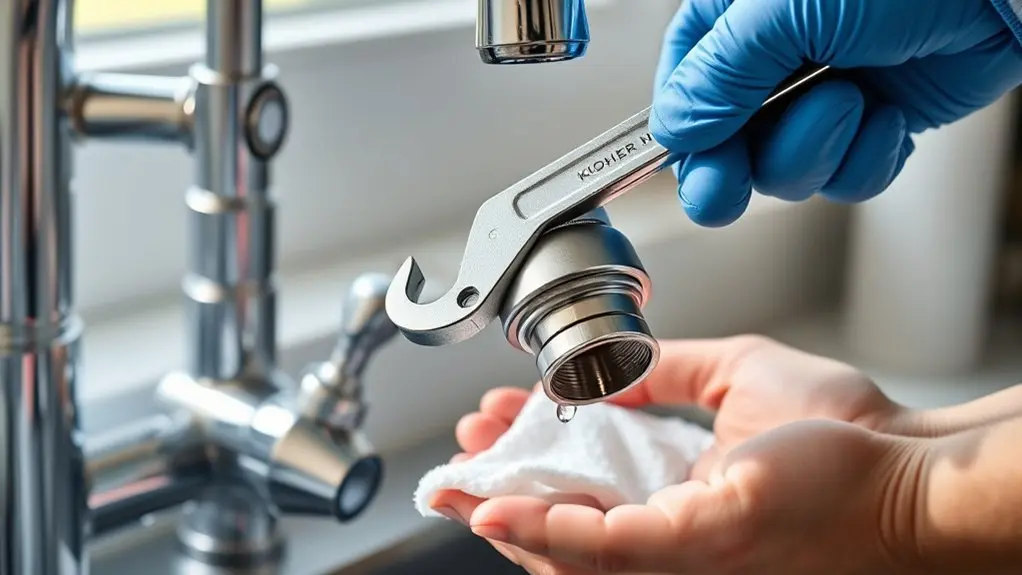
Begin by turning off the water supply to your Kohler faucet to prevent any leaks during the aerator removal. Locate the shutoff valves under the sink and fully close them to stop water flow.
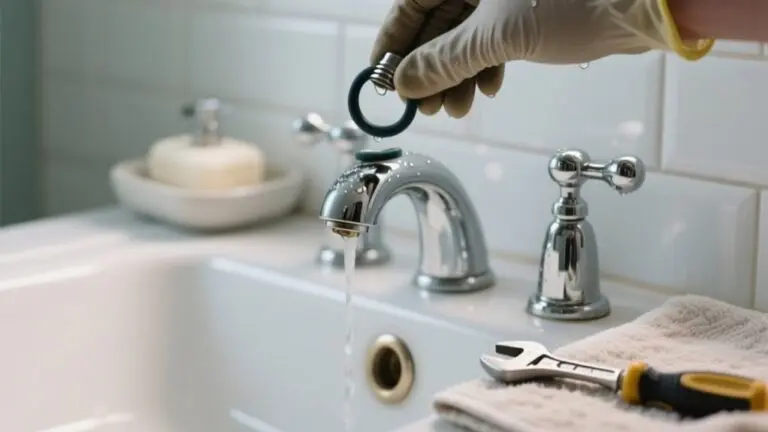
Next, gather removal tools tailored to your aerator type; these may include an adjustable wrench or a specific aerator key. Knowing your aerator type, whether threaded, keyed, or recessed, helps you select the right tool and removal method. This reduces the risk of damage.
Choose the right tools for your aerator type to ensure safe, damage-free removal.
Keep a soft cloth or towel nearby to catch any residual water when you remove the aerator. Wearing gloves can improve your grip and protect your hands during this process.
Taking these preparatory steps guarantees a smooth, damage-free aerator removal.
Identify Your Kohler Faucet Aerator Type
How can you quickly determine which type of Kohler faucet aerator you have? First, visually inspect the aerator.
Threaded aerators show visible threads around the edges, making them easy to identify.
If the aerator’s exterior is smooth with no threads, you’re likely dealing with a keyed aerator, which requires a special key tool for removal.
Another distinct type is the stream breaker aerator, recessed within an oval-shaped spout opening, demanding specialized tools.
Properly identifying your Kohler aerator type is essential to select the correct removal method and tools, preventing damage.
Using a selection tool tailored for Kohler faucets can streamline this process by matching your faucet model to its specific aerator type, whether for kitchen, bathroom, or roman tub faucets.
Remove Your Kohler Aerator Safely

Once you’ve identified the type of Kohler aerator on your faucet, you can proceed to remove it safely. First, always turn off the water supply to avoid leaks.
Before removing your Kohler aerator, identify its type and turn off the water supply to prevent leaks.
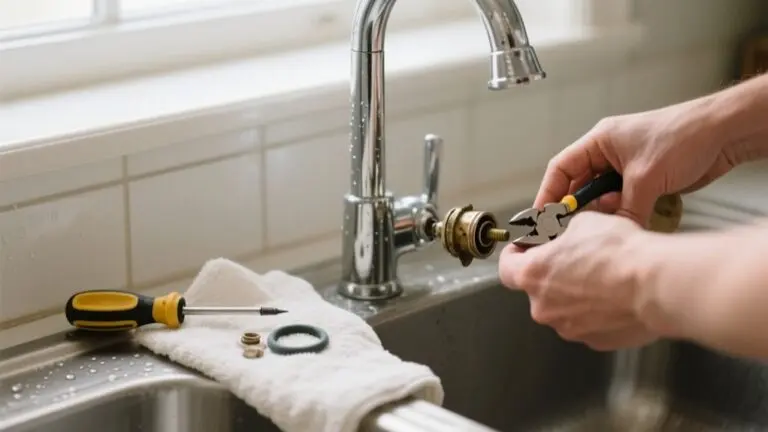
Use an adjustable wrench to grip and turn threaded aerators counterclockwise. For keyed aerators, use the specific key tool designed to prevent damage. If the aerator is recessed, a specialized tool may be necessary.
Follow these steps to remove your aerator effectively:
- Turn off the water supply to prevent accidental leaks.
- Use the correct tool, wrench or key, to avoid damaging parts.
- Gently apply steady pressure to remove the aerator without force.
This careful approach guarantees safe removal and protects your faucet’s integrity.
Clean and Inspect Your Kohler Faucet Aerator
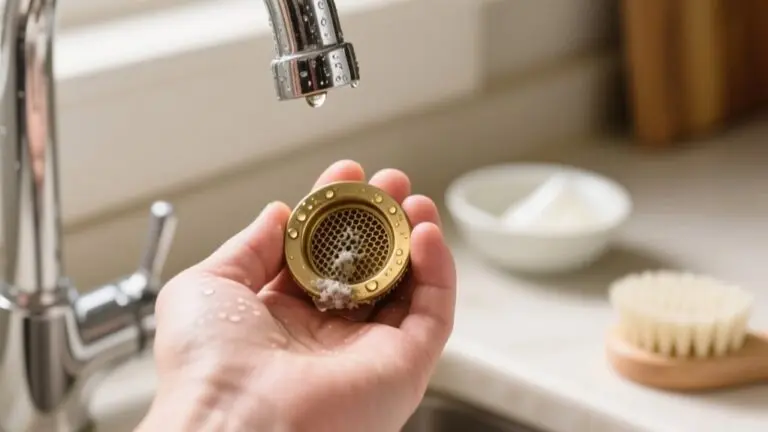
Regularly cleaning and inspecting your Kohler faucet aerator guarantees consistent water flow and prevents clogging from sediment buildup. Soak the aerator in vinegar for at least an hour to dissolve mineral deposits, then use a soft brush to clean any remaining debris.
Afterward, rinse it thoroughly before reinstalling. While cleaning, check the aerator for cracks or wear that could reduce water pressure. Replace it if you find any damage.
| Step | Action |
|---|---|
| 1 | Soak aerator in vinegar (≥ 1 hr) |
| 2 | Scrub gently with a soft brush |
| 3 | Inspect for damage or wear |
| 4 | Rinse thoroughly with water |
These steps help you clean and inspect your faucet aerator effectively, ensuring peak performance.
Install and Test Your New Kohler Faucet Aerator
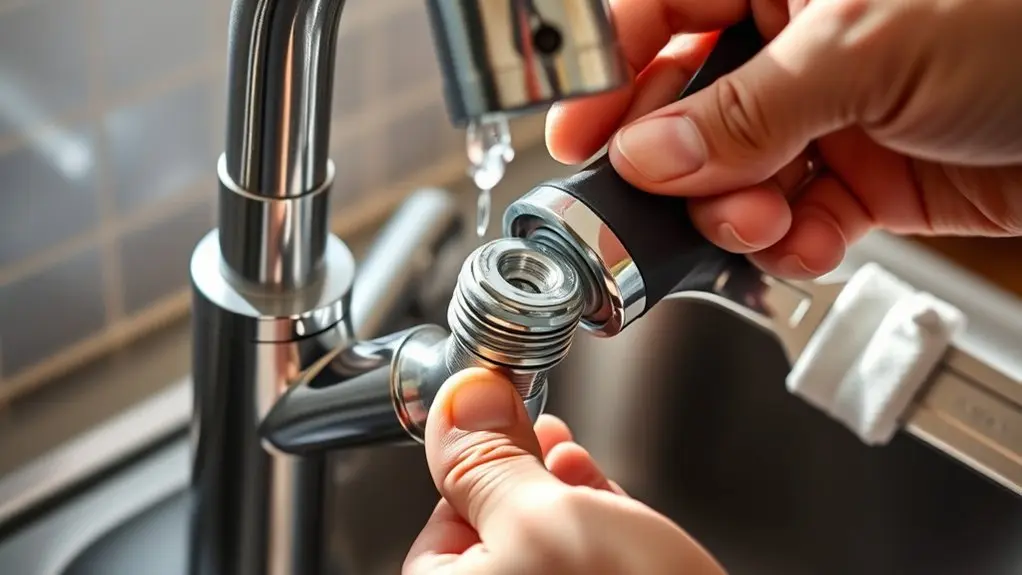
Start by cleaning the threads on your faucet spout to confirm a secure fit for the new Kohler aerator.
Next, carefully align and hand-tighten the aerator onto the spout. Use an adjustable wrench to snug it further, but avoid overtightening to prevent damage.
Once installed, turn on the water supply and check for leaks around the aerator connection.
Finally, test the water flow to verify the aerator functions correctly, delivering the expected spray pattern and flow rate.
Follow these steps to install and test your new Kohler aerator:
- Align and hand-tighten the aerator carefully.
- Secure it snugly with an adjustable wrench.
- Test for leaks and verify water flow performance.
This confirms a proper seal and ideal faucet function.
Frequently Asked Questions
How Often Should I Replace My Kohler Faucet Aerator?
You should replace your Kohler faucet aerator once a year to maintain ideal water flow and efficiency.
Cleaning it every six months helps prevent sediment buildup, but replacement guarantees consistent pressure and avoids clogs.
Using Neoperl aerators assures performance similar to the original.
Keep an eye on water flow; if it diminishes considerably, replacing the aerator sooner can save water and prevent plumbing issues.
Can I Use a Universal Aerator With My Kohler Faucet?
You can use a universal aerator with your Kohler faucet, but it’s not preferable.
Universal aerators often don’t match Kohler’s specific design, which can cause fit and performance issues.
Kohler aerators include sediment filters and precise flow control that universal ones lack.
To guarantee maximum water efficiency and prevent clogging, it’s best to use OEM aerators designed specifically for your Kohler model.
What if My Faucet Aerator Is Stuck and Won’T Unscrew?
If your faucet aerator is stuck like a stubborn lid on a jar, start by soaking it in vinegar to dissolve mineral buildup.
Use an adjustable wrench for better grip, making sure to avoid slipping.
If it won’t budge, try heating the area with a hairdryer to expand the metal.
For tough cases, specialized extraction tools or professional help from Kohler support can save the day without damaging your faucet.
Are Kohler Aerator Replacements Covered Under Warranty?
Yes, Kohler aerator replacements are typically covered under the manufacturer’s warranty, but coverage depends on your specific faucet model and purchase terms.
You should check your warranty documentation or contact Kohler customer support to confirm.
Keep your proof of purchase handy, as it’s required for warranty claims.
Can a Clogged Aerator Affect Water Pressure or Quality?
Can you imagine your faucet’s water pressure dropping without warning? Yes, a clogged aerator can seriously reduce water flow and pressure, making your faucet less efficient.
Mineral deposits and sediment build up inside, which not only lowers pressure but also degrades water quality.
If you’re hearing strange noises or noticing weak flow, it’s time to clean or replace the aerator to restore peak performance and prevent plumbing issues.
Conclusion
Replacing your Kohler faucet aerator is like giving your faucet a fresh breath of life. By turning off the water, identifying the aerator, and carefully removing it, you guarantee a smooth process.
Cleaning or swapping in a new aerator restores ideal flow and efficiency. With these simple steps, you’ll have your faucet running like a well-oiled machine, delivering water with precision and ease every time you turn the handle.