How To Repair A Governor On A Kohler Engine – Easy Guide
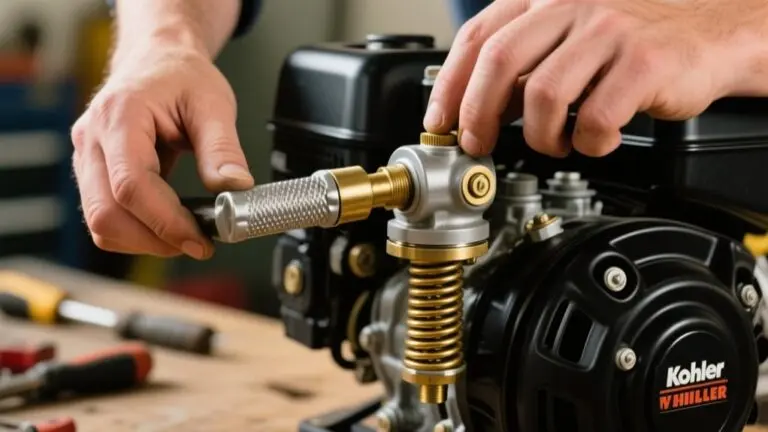
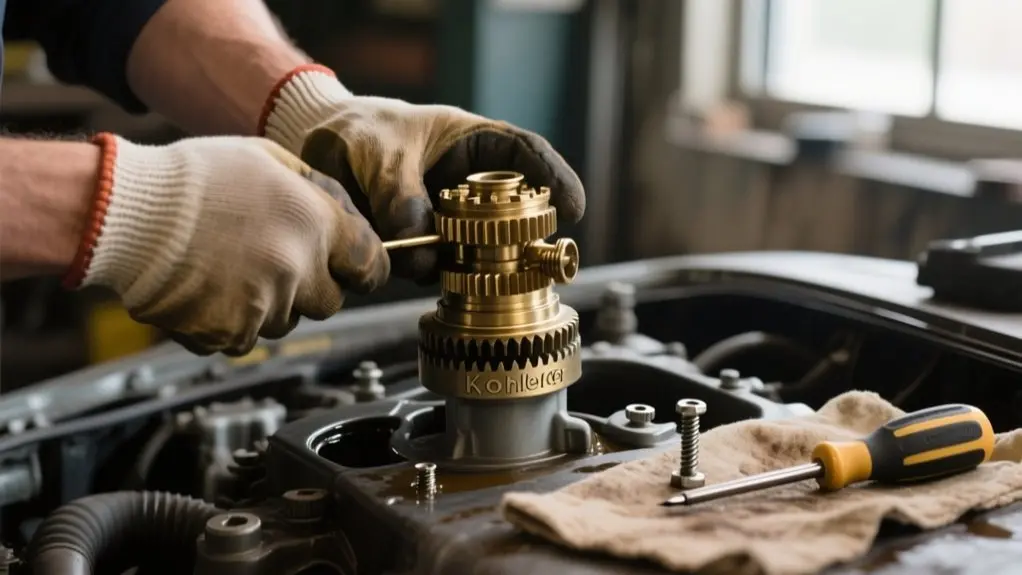
To repair the governor on your Kohler engine, first disconnect the spark plug wire and remove the air filter for safety. Loosen the governor arm’s clamping bolt, then secure the governor cross shaft with pliers or vice-grips.
Pull the governor arm to full throttle and tighten the bolt. Adjust the spring tension carefully to set your RPM near 3,950 for ideal performance.
After adjustments, test the engine for smooth operation under load. Following these steps guarantees accurate control, and you can explore further details for precise tuning.
Gather the Right Tools for Governor Repair
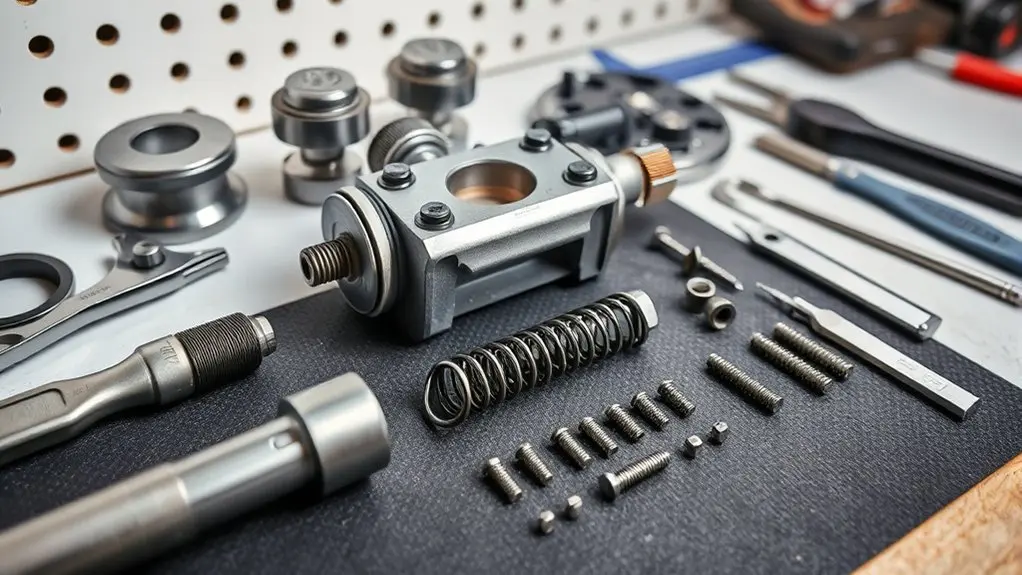
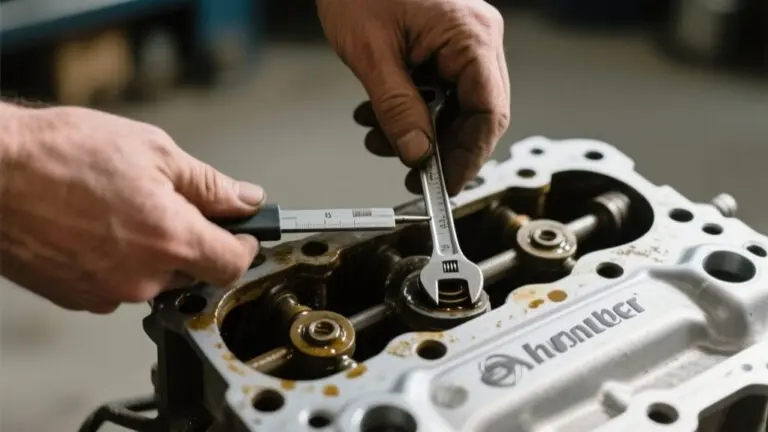
Before you begin adjusting the governor on your Kohler engine, make certain you’ve gathered all the necessary tools to avoid disruptions during the process. You’ll need two 7/16 inch wrenches to loosen and tighten the governor arm and clamping bolt precisely.
A small pair of vice-grips is essential to securely grip the shaft connected to the governor arm, helping you make accurate adjustments. Needlenose pliers are also useful for controlling the governor cross shaft during fine rotational tweaks.
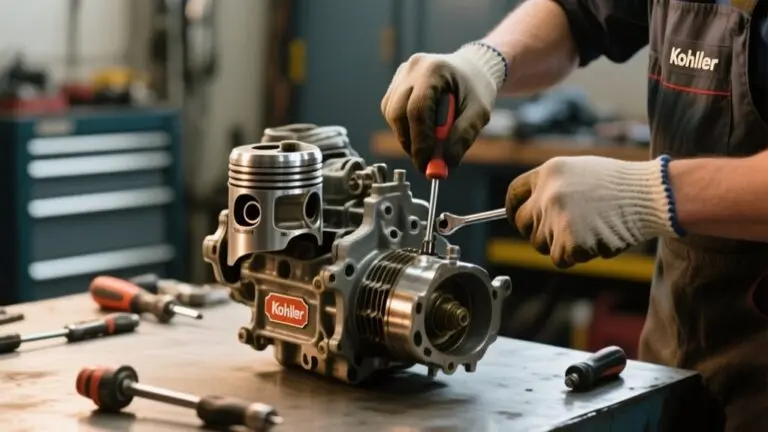
Having the right screwdrivers will ease removing components without damaging them, which is important when you need to repair your small engine efficiently. Preparing these tools beforehand guarantees a smooth workflow and prevents unnecessary delays when working on your governor repair.
Prepare Engine: Disconnect Spark Plug & Remove Air Filter
Start by carefully pulling the spark plug wire’s rubber boot to disconnect it and prevent accidental engine starts. It’s important to be gentle here, so you don’t damage the wire.
Next, grab a screwdriver and loosen the screws holding the air filter to the carburetor. Once those are off, go ahead and remove the air filter. Take a good look at it to see if there’s any dirt or damage that needs attention.
As you work, try to keep your workspace clean and organized. This way, you won’t lose any small parts.
And before you move on, make sure to double-check all the electrical connections just to be safe.
Spark Plug Disconnection
Two essential steps prepare your Kohler engine for governor repairs: disconnecting the spark plug wire and removing the air filter.
Start by firmly pulling the black rubber boot off the spark plug to disconnect the wire. This prevents accidental engine start-up while you’re moving the spring or adjusting the governor.
Always make sure the engine is cool before you begin to avoid burns. Disconnecting the spark plug is vital for safety, as it cuts power to the engine, allowing you to work confidently on the governor without risk.
With the spark plug wire safely off, you can proceed to remove the air filter, giving you clear access to the governor assembly for precise adjustments and repairs.
Air Filter Removal
With the spark plug wire safely disconnected to prevent accidental starts, you can now focus on removing the air filter. On your Kohler one-cylinder engine, locate the air filter housing near the bottom of the governor.
Using a screwdriver, carefully loosen the screws securing the air filter cover. Remove the cover and then take out the air filter element. Since many Cub Cadet models use a similar setup, this step is straightforward.
Inspect the filter for debris or clogs that could hinder engine performance. Removing the air filter provides better access to the governor and carburetor, essential for your repair.
Make sure your workspace is well-lit so you can clearly see all parts, and keep tools organized to avoid losing any small components during this process.
Safety Precautions
Before you begin any adjustments or repairs on your Kohler engine, always disconnect the spark plug wire by firmly pulling the black rubber boot. This step prevents accidental engine starts, keeping you safe throughout the process.
Next, remove the air filter by loosening the necessary screws to access the throttle fly mechanism and governor arm. While doing this, inspect the air filter for debris or damage to guarantee peak engine performance.
Follow these key safety precautions:
- Perform repairs in a well-ventilated area to avoid inhaling harmful engine fumes.
- Wear safety goggles and gloves to protect your eyes and hands from debris or sharp parts.
- Handle all components carefully to prevent injury and guarantee proper reassembly.
These steps set a safe foundation for your governor repair.
Loosen Governor Arm for Adjustment
Start by verifying the engine is off and the spark plug wire is disconnected to prevent accidental starting.
Next, use an open-end wrench to carefully loosen the clamping bolt on the L-shaped governor arm. This allows the arm to move freely during adjustment.
Before proceeding, check that the linkage between the governor arm and carburetor moves without restriction.
Once loosened, clamp the governor cross shaft securely with needle-nose pliers or vice-grips to hold it in place.
While pulling the governor arm to the wide-open position, tighten the clamping bolt firmly.
This guarantees the throttle operates correctly after adjustment.
Taking these careful steps will prepare the governor arm for precise tuning without causing damage or misalignment.
Secure and Adjust the Governor Cross Shaft
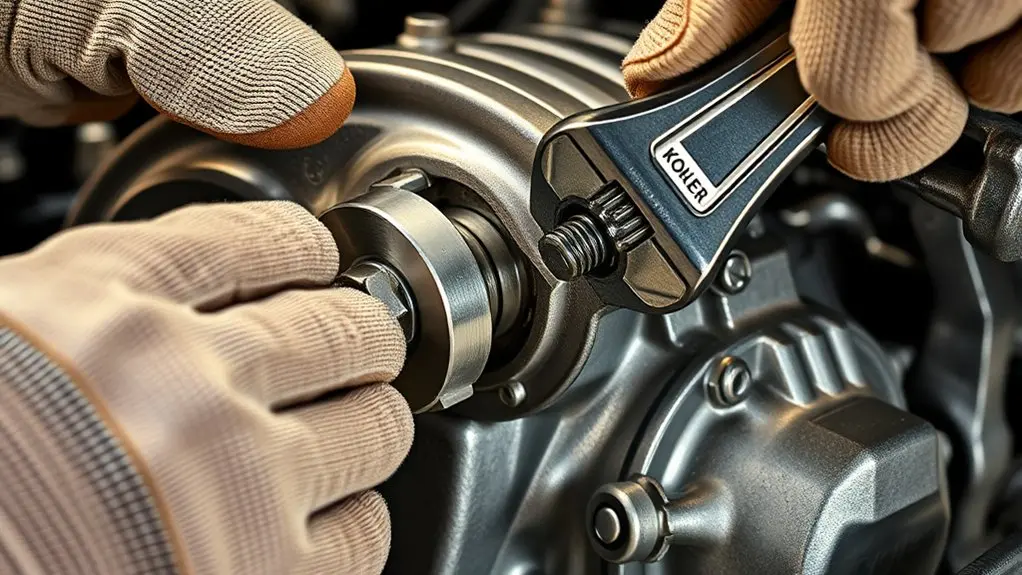
First, grab some vice-grips and clamp the governor cross shaft securely before you try to remove or adjust it.
Next, rotate the shaft counter-clockwise until it stops—that’s how you set it to the proper position.
After that, pull the governor arm all the way back, and then tighten the clamping bolt to lock everything in place.
Easy as that!
Cross Shaft Removal
To remove the governor cross shaft, you’ll want to verify the engine is off and the spark plug wire is disconnected for safety. This prevents accidental starts while you work.
Next, use needlenose pliers to grip the cross shaft firmly, offering better leverage for removal or adjustment.
Follow these key steps to proceed smoothly:
- Confirm the linkage between the governor arm and carburetor moves freely without any obstructions.
- Loosen the nut on the L-shaped governor arm carefully.
- Pull the governor arm back to set the carburetor to the wide-open position.
Once the cross shaft is removed or adjusted, re-tighten the nut firmly to maintain stable engine performance. This guarantees your Kohler engine runs reliably after the repair.
Shaft Adjustment Technique
Secure the governor cross shaft firmly with vice-grips to keep it from moving while you work.
Next, rotate the shaft counter-clockwise until it stops; this sets it properly for adjustment.
Then, pull the governor arm fully back to open the carburetor wide for accurate throttle control.
Once positioned, tighten the clamping bolt on the governor arm firmly to lock the cross shaft securely.
After tightening, double-check the linkage between the governor arm and carburetor to confirm it moves freely without binding.
This step is essential to avoid operational issues later.
Following these precise adjustments guarantees your governor functions smoothly, maintaining proper engine speed and performance.
Take your time to verify each step for a successful repair.
Set Carburetor to Wide-Open Throttle
Loosen the clamping bolt on the governor arm to give yourself easier access and allow the arm to move freely. This step is vital for accurately setting the carburetor to wide-open throttle.
Loosen the governor arm’s clamping bolt to enable free movement for precise carburetor adjustment.
Next, follow these steps:
- Use needlenose pliers to grasp the governor cross shaft and rotate it counter-clockwise until it stops, fully extending the linkage.
- Pull the governor arm back to position the carburetor at its wide-open throttle setting.
- Tighten the clamping bolt securely to lock the governor arm in place.
After locking it down, check that the linkage moves freely without binding.
Finally, test the engine to confirm smooth operation at wide-open throttle before moving on to other adjustments.
Adjust Spring Tension to Set RPM
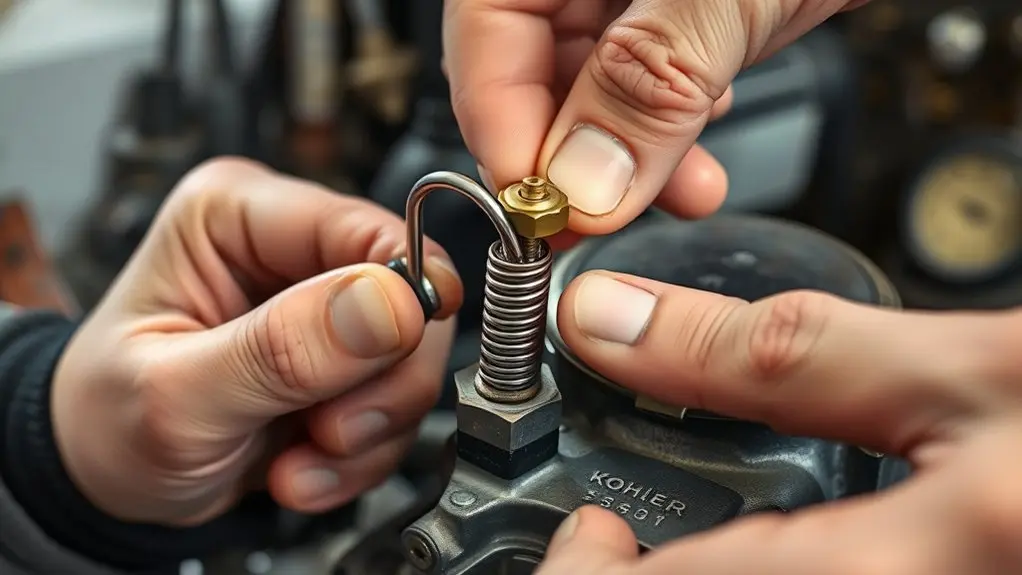
Fine-tune the governor arm’s spring tension to control your engine’s RPM precisely. Increasing tension or lowering the spring to a more aggressive hole boosts RPM. Raising the spring reduces it.
Aim for about 3,950 RPM to meet pulling rules and avoid disqualification. Adjust gently and check RPM often, since slight overages matter.
| Adjustment Action | Effect on RPM | Governor Arm Position |
|---|---|---|
| Increase spring tension | Raises RPM | Lower hole (more tension) |
| Decrease spring tension | Lowers RPM | Higher hole (less tension) |
| Maintain current tension | Keeps RPM steady | Current hole position |
Follow these steps carefully to set your engine’s speed within safe, legal limits.
Test Engine After Governor Adjustment
Once you’ve adjusted the governor spring tension, replace the air filter and reconnect the spark plug wire to prepare the engine for testing.
Start the engine and let it warm up for about five minutes so the performance stabilizes.
Then, observe how it runs under different loads to verify the RPMs stay consistent and the operation is smooth.
Follow these steps to test effectively:
- Run the engine at idle and full throttle to check RPM stability.
- Apply varying loads, noting any stalling or surging.
- If issues arise, remove the air filter for inspection and adjust the governor as needed.
Keep testing until the engine runs smoothly. For persistent problems, consult a qualified technician.
Adjust Linkage Spring and Final RPM Settings
Check the linkage spring connecting the throttle to the governor arm, as its position directly impacts your engine’s RPM performance.
To increase RPM, move the spring downward in its holes to add tension; to decrease RPM, reverse this adjustment.
Adjust the spring position downward to increase RPM, or upward to decrease it for optimal engine control.
Make sure the spring moves freely without binding, ensuring smooth throttle response. After each adjustment, start the engine and monitor the RPM closely.
Aim for a maximum RPM around 3,950 to comply with pulling regulations and avoid disqualification.
If the RPM is too high or low, tweak the spring tension accordingly until you reach the desired setting.
Taking these careful, incremental steps will help you fine-tune the governor for reliable, consistent engine performance.
Frequently Asked Questions
What Causes a Governor to Fail on a Kohler Engine?
A governor on your Kohler engine can fail mainly because of worn internal parts like the governor spring losing tension. Dirt and debris can clog the mechanism, stopping smooth movement and causing unstable RPMs.
You might also have loose or corroded connections between the governor arm and throttle, disrupting control. Damaged gears or shafts prevent proper speed regulation.
Neglecting maintenance, like air filter cleaning, can indirectly cause governor issues by affecting engine airflow.
Can a Damaged Governor Affect Fuel Efficiency?
Yes, a damaged governor can definitely affect your fuel efficiency. When it fails to regulate the throttle properly, your engine might run at higher RPMs than necessary, wasting fuel.
It can also cause the engine to bog down under load, making it work harder and consume more fuel.
How Do I Know if the Governor Is Properly Calibrated?
Imagine your engine’s RPM as a steady heartbeat.
You’ll know the governor is properly calibrated when your engine runs smoothly without surging or stalling, even as the workload increases.
Watch the throttle linkage move freely without sticking, and confirm the max RPM hits close to 3,950.
After any tweak, test again to verify consistent, smooth performance.
This steady rhythm tells you the governor is just right.
Are Kohler Engine Governors Universal Across Models?
No, Kohler engine governors aren’t universal across models. Each model may have different governor designs, parts, and adjustment methods. You can’t assume a governor fits or works correctly on another model without checking compatibility.
Always consult your specific engine’s manual to confirm you get the right components and follow the proper procedures.
Using universal parts without verification can lead to poor performance or damage. So, double-check before making any replacements or repairs.
Can I Replace the Governor Without Professional Help?
You can replace the governor on your Kohler engine without professional help, but it’s not a walk in the park.
While it’s doable with basic tools and patience, you’ll need a solid grasp of the throttle and governor linkages to avoid mistakes.
Carefully remove parts like the air filter and spark plug wire to prevent damage.
After installation, double-check RPM settings to guarantee your engine runs smoothly and safely.
Conclusion
Now that you’ve gently tuned your Kohler engine’s governor, it’s time to enjoy the smooth hum of reliable power. By carefully adjusting each component, you’ve given your engine a fresh lease on life, helping it run more efficiently and confidently.
Remember, a little patience and precision go a long way in keeping things running just right. With these steps, you’re well-equipped to tackle future tweaks and keep your engine in top shape.