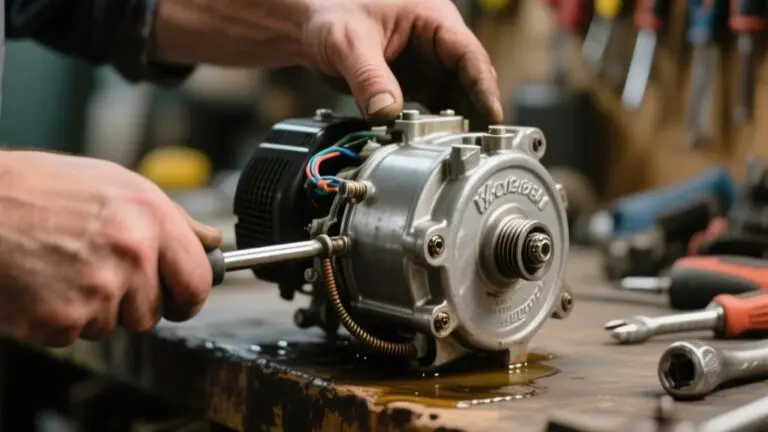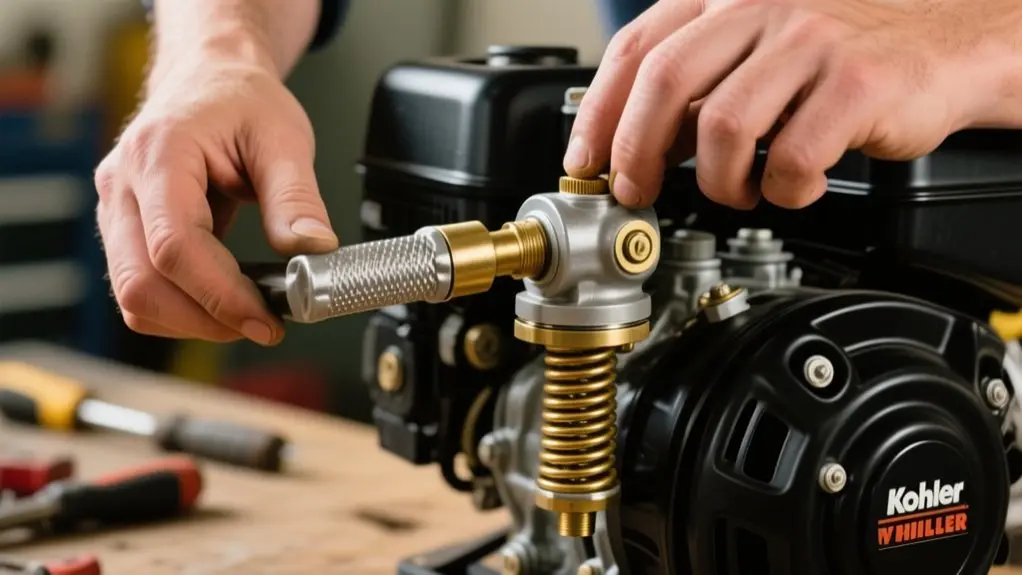
How To Adjust A Kohler Engine Governor – Simple Steps
To adjust your Kohler engine governor, start by gathering two 7/16 inch wrenches and vice-grips. Check the governor linkage for smooth, free movement without binding.
Position the governor arm fully open by holding the shaft with vice-grips and turning counter-clockwise, then tighten the clamp bolt. Adjust the spring tension to set the RPM close to 3,950 by moving the spring down to increase speed or up to decrease it.
Keep the linkage tight and test the engine for smooth response to get ideal control. More steps can guide you through troubleshooting and maintenance.
What Tools You’ll Need to Adjust Your Kohler Governor
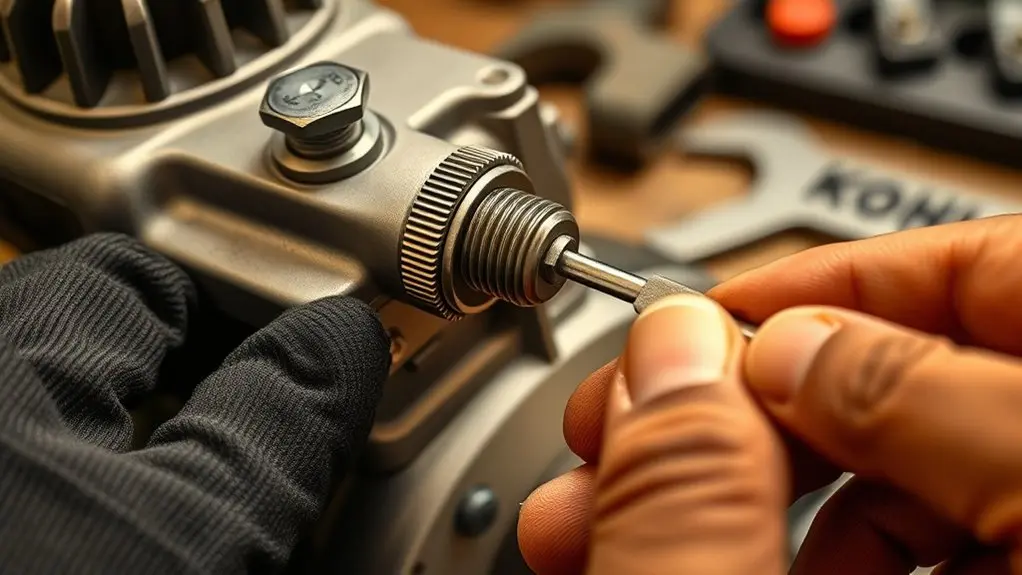
You’ll often find that having the right tools on hand makes adjusting your Kohler engine governor much easier. To get started, make certain you have two 7/16 inch wrenches handy; these are essential for loosening and securing bolts around the governor arm.
You’ll also need a small pair of vice-grips to firmly grip the shaft during the adjustment process. Make certain your workspace is organized so you can quickly access these tools when needed, avoiding interruptions.
Using the correct tools not only speeds up your work but guarantees you can precisely set the RPM on the governor arm. Preparing everything beforehand keeps the adjustment smooth and efficient, leaving you confident in your Kohler engine’s performance.
Checking Governor Linkage Movement
First, make sure the linkage between the governor arm and the carburetor moves freely without any binding. You want to be able to move it smoothly, no sticking or resistance.
Next, take a look at the throttle connection. Give it a gentle test to confirm it operates smoothly, especially when the engine is off.
Doing these checks helps ensure the governor can properly control the carburetor’s opening, keeping everything running just right.
Linkage Free Movement
Because the governor linkage directly controls engine speed, guaranteeing it moves freely is critical before making any adjustments.
Start by turning the engine off, then manually move the throttle linkage between the governor arm and carburetor. It should move smoothly without any binding or stiffness.
Check for any mechanical interference or worn components that might restrict movement. Pay close attention to the spring attachment point on the governor arm, as its position affects sensitivity and RPM response.
If you notice resistance or sticking, address the issue before adjusting the governor.
Regularly inspecting linkage free movement prevents premature wear and helps maintain consistent engine performance.
Taking these steps guarantees your Kohler engine governor operates as intended and reduces the need for frequent adjustments.
Throttle Connection Check
After confirming the governor linkage moves freely without binding, the next step is to check the throttle connection. Start by verifying the linkage between the governor arm and carburetor moves freely, guaranteeing proper throttle response.
With the engine off, manually inspect the throttle components for any mechanical binding that could restrict movement. Check the spring attachment on the governor arm; its position affects governor sensitivity. Kohler recommends placing the spring in the third hole from the bottom as a standard.
To adjust, hold the carburetor fully open while making sure the governor arm moves smoothly without slack. This guarantees the linkage operates correctly, allowing the governor to control engine speed precisely.
Proper throttle connection is essential for smooth engine performance and accurate governor function.
Setting the Governor Arm and Carburetor Wide Open
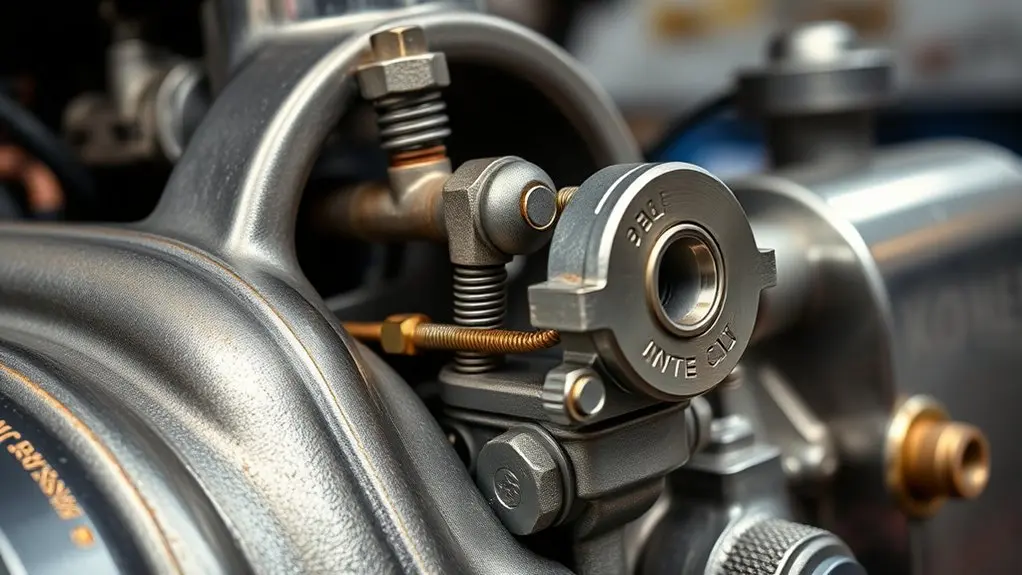
First, you want to make sure that the governor arm moves freely before you loosen its clamping bolt.
Once that’s checked, go ahead and position the governor arm fully open so it aligns the carburetor for maximum throttle.
After that, hold the arm wide open and tighten the bolt to secure it in place.
Easy as that!
Governor Arm Positioning
When setting the governor arm and carburetor to the wide-open position, make certain the linkage between them moves freely without binding.
Start by loosening the clamping bolt on the governor arm so you can adjust it easily.
Then, use vice-grips to hold the shaft going through the governor arm and turn it counter-clockwise until it stops.
Hold the governor arm or carburetor at full open, then tighten the clamping bolt to lock the arm in place. This positioning guarantees proper linkage and peak engine RPM control.
Key steps to follow:
- Loosen the governor arm clamping bolt for smooth adjustment
- Secure the shaft with vice-grips and turn until it stops
- Tighten the clamping bolt while holding the arm fully open
Carburetor Wide Opening
Although it might seem straightforward, setting the governor arm and carburetor to the wide-open position requires careful attention to confirm the linkage moves freely and the engine performs at its best.
Start by loosening the clamping bolt on the governor arm to allow easy adjustment.
Check that the linkage between the governor arm and carburetor moves without binding.
Next, clamp a pair of vice-grips onto the shaft running through the governor arm. Turn the vice-grips counter-clockwise until the shaft stops moving, positioning the governor arm fully open.
Hold the arm in this wide-open position, then tighten the clamping bolt securely to lock the setting.
Properly adjusting the governor arm and carburetor confirms your engine responds well under varying loads and runs efficiently at all times.
Loosening and Securing the Governor Shaft Clamp
Start by loosening the clamping bolt on the governor arm using a 7/16 inch wrench to access the shaft for adjustment.
Make sure you have two 7/16 inch wrenches and a small pair of vice-grips ready.
Next, secure the shaft by clamping it firmly with the vice-grips to prevent movement during adjustment.
Turn the vice-grips counter-clockwise until the shaft is locked in place. This step is essential for precise governor linkage adjustments.
Remember to use the wrench to loosen the clamping bolt carefully, clamp the shaft tightly with vice-grips to avoid slipping, and rotate the vice-grips until the shaft stops moving.
Once secured, you’re set to proceed with the governor adjustments confidently.
Adjusting Spring Tension to Set RPM
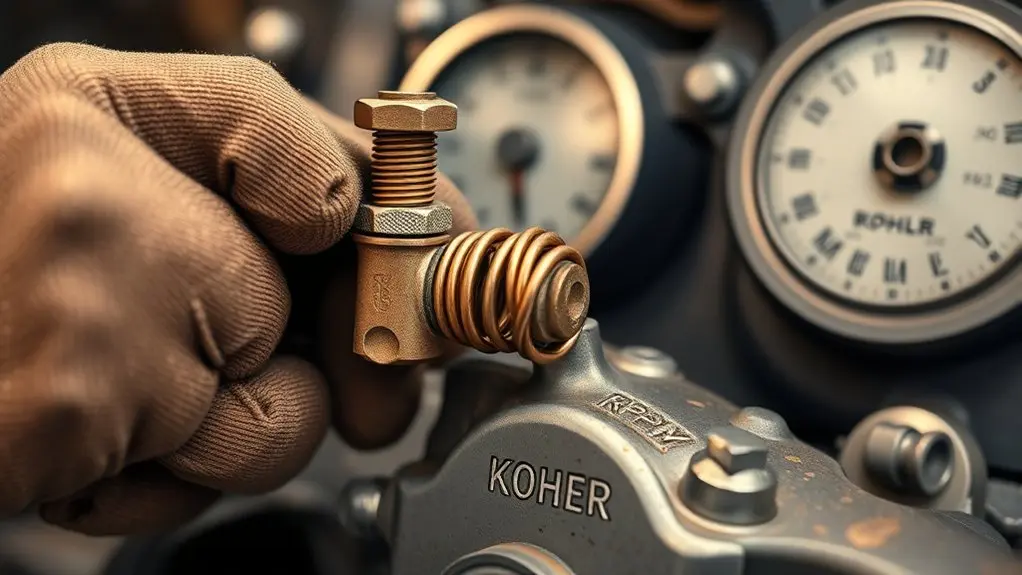
Adjust the spring tension on the governor arm to control your engine’s RPM effectively. To raise the RPM, increase the spring tension by moving the spring downward in its mounting holes or tightening it.
To lower RPM, do the opposite: loosen the spring tension or shift the spring upward. Aim for a secure RPM setting around 3,950, which provides a safe margin below the typical 4,000 RPM limit. This helps guarantee your engine runs smoothly without risking disqualification during pulls.
After making adjustments, always monitor your RPM closely since these controls are manual and can shift over time.
Regular checks keep your engine performing well and help maintain the desired speed consistently.
How to Keep Your RPMs Safe and Legal
When you want to keep your RPMs safe and legal, you need to maintain a careful balance just below the 4,000 RPM limit, typically around 3,950.
Exceeding this even slightly risks disqualification from pulling events.
To stay compliant, monitor your RPMs closely and adjust the spring tension on the governor arm as needed.
Here’s what to focus on:
- Set spring tension precisely to control RPM without overshooting.
- Always allow a margin for error when tuning to avoid accidental spikes.
- Follow local pulling regulations to guarantee your setup meets all safety and fairness standards.
Troubleshooting Slow RPM and Linkage Issues
Maintaining safe and legal RPMs depends heavily on how well your governor linkage functions. First, check the throttle linkage with the engine off to guarantee it moves freely without binding. Mechanical restrictions here often cause slow RPM response under load.
Proper governor linkage function is crucial for safe RPMs and prevents slow throttle response under load.
Inspect the governor spring position. If it’s in the third hole from the bottom, try moving it up one hole to boost sensitivity and engine response. Look for signs of wear or binding in all throttle components and linkage parts.
Adjust the linkage to remove slack, making sure the throttle fully opens the carburetor.
Regularly monitor spring attachment distances and governor sensitivity to keep RPM performance consistent. These simple checks and adjustments help you troubleshoot and fix slow RPM and linkage issues effectively.
Maintaining Your Kohler Governor for Consistent Performance
Anyone working with a Kohler engine knows that keeping the governor in top shape is key to consistent performance.
To maintain smooth operation, you need to regularly inspect and adjust the governor components. Focus on these essential tasks:
Check the governor linkage for wear or binding to guarantee it moves freely.
Verify the governor spring is correctly positioned, with the left end in the 3rd hole and the right end in the 2nd hole to maintain proper responsiveness.
Keep the governor arm and carburetor clean and free of debris to prevent slow engine response.
Also, monitor spring tension and replace any worn parts promptly.
Routine maintenance like this guarantees your Kohler governor stays reliable and sensitive, giving you steady engine performance every time.
Frequently Asked Questions
What Symptoms Indicate a Failing Kohler Governor?
You’ll notice a failing Kohler governor when your engine responds slowly, especially under load or climbing hills. The RPMs won’t stay consistent, running fine on flat ground but struggling on inclines.
If the throttle components bind or the governor linkages are loose or missing, your engine won’t perform well.
When power dips despite proper spring settings, it’s a clear sign the governor needs your immediate attention to avoid further issues.
Can I Adjust the Governor Without Removing the Engine Cover?
You don’t have to take off the engine cover to adjust the governor. It’s like fixing a watch without opening the case. As long as you can reach the governor arm and linkage, you’re good to go.
Just make sure the engine is off and cold.
Loosen the clamping bolt carefully and check that the throttle linkage moves freely. Using the right tools, you can make precise adjustments safely and easily.
How Often Should I Service the Governor Linkage?
You should service the governor linkage at least every 25 operating hours or at the start of each season to keep your engine running smoothly.
If you notice any drop in responsiveness or RPM fluctuations under load, service it right away.
Always clean and lubricate the linkage during servicing to guarantee free movement.
Check your engine’s manual for specific intervals, as they can vary depending on your Kohler model and usage conditions.
Is Governor Adjustment Different for Electric Start Models?
Adjusting the governor on electric start Kohler engines isn’t rocket science. It’s pretty similar to manual start models. You’ll still tweak spring tension and linkage settings the same way.
Just watch out for the extra wiring and starter parts. You don’t want to accidentally mess those up. Also, space might be tighter, so take your time.
Keep the governor arm and carburetor linkage moving freely, and you’ll have smooth RPM control every time.
What Safety Precautions Are Necessary During Governor Adjustment?
You need to wear safety goggles and gloves to protect yourself from debris and injury.
Always make sure the engine is off and cool before starting. Disconnect the ignition system or battery so it can’t start unexpectedly.
Keep a fire extinguisher nearby just in case.
Finally, stick to the recommended RPM limits to avoid damage or disqualification if you’re operating under specific rules.
Safety first!
Conclusion
Adjusting your Kohler engine governor might seem tricky, but with patience and the right steps, you’ll master it quickly. Remember, “measure twice, cut once.” Taking your time to check each adjustment guarantees smooth engine performance and longevity.
Keep your governor clean, properly tensioned, and regularly maintained to avoid issues. Follow these simple steps, and you’ll keep your engine running safely and efficiently, saving time and money in the long run.