How To Fix A Leaking Shower – Full Guide
To fix a leaking shower, first identify the leak source by inspecting the showerhead, seals, and plumbing connections. Turn off the water supply safely before removing fixtures, then replace worn rubber washers and seals.
Use proper tools and sealing tape to tighten fittings securely. After repairs, test for leaks and monitor water pressure to guarantee a watertight seal.
If leaks persist or damage appears, professional help is advisable. Keep following for detailed steps on effective leak prevention and repair.
How To Identify The Leak Source In Your Shower
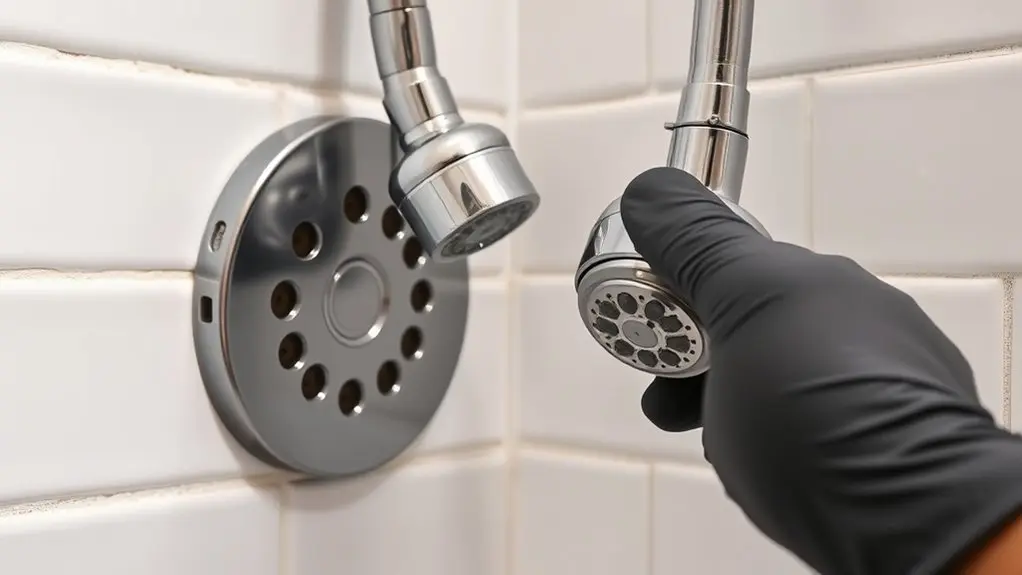
Where exactly is your shower leaking? Start by inspecting the showerhead for cracks or loose fittings, as these often cause leaks and can be tightened or sealed.
Check rubber seals and washers around the faucet and showerhead; worn-out parts lead to water seepage.
Run the shower and observe if water drips from the shower arm or faucet handle to pinpoint the leak’s origin.
Look for water pooling around the shower base or floor, which may indicate issues with the shower pan or grout. You may need to wait a few minutes after you use the shower to spot slow leaks.
Finally, examine plumbing connections behind the wall or under the sink for moisture or corrosion indicating leaks in supply lines.
Tools Needed For Shower Leak Repair
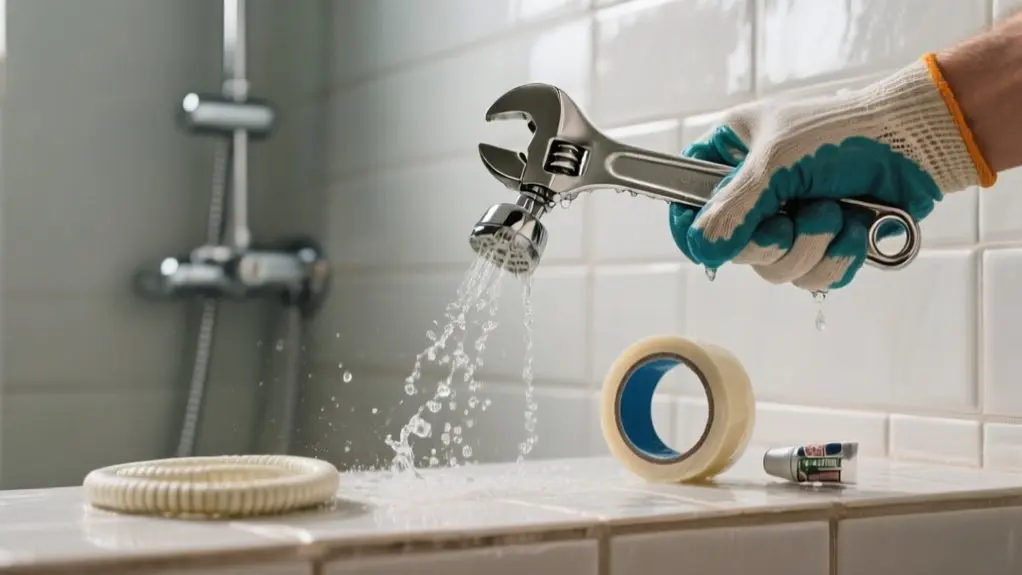
Successful shower leak repair relies on having the right tools at hand. Essential items in your plumbing toolkits include screwdrivers for removing shower heads and faucets, pliers to grip and turn fasteners, and an adjustable wrench for tightening various nuts and joints.
Effective shower leak repair starts with having screwdrivers, pliers, and an adjustable wrench ready.
These tools address common leak causes like loose fittings and worn components. Moreover, rubber washers are critical for replacing aged seals to prevent drips, while high-quality sealing tape guarantees watertight pipe connections.
Following these shower maintenance tips helps you tackle leaks efficiently without unnecessary delays. Equipping yourself with these precise tools guarantees you can quickly identify and fix issues, minimizing water damage and prolonging the life of your shower fixtures.
Always choose durable, compatible materials to achieve lasting repairs.
How To Safely Turn Off Your Shower’s Water Supply
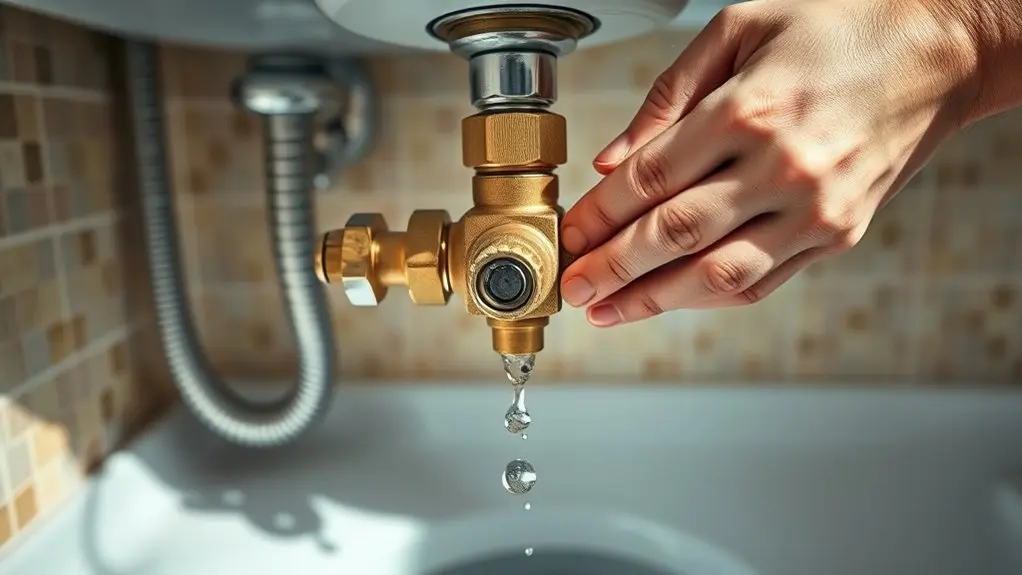
First, find the main water shut-off valve. It’s usually near your water meter or where the main line comes into your home.
Turn it clockwise to stop the water flow.
If your shower has its own shut-off valve—maybe behind an access panel or under the sink—go ahead and turn that clockwise too.
Finally, give your shower faucet a quick test to make sure the water is completely off before you start any repairs.
Locate Main Water Valve
You’ll typically find the main water valve in one of three common areas: the basement, a crawl space, or outside near your home’s foundation. Proper water valve maintenance starts with knowing these valve location tips to quickly access the shut-off point during repairs.
Common valve types include a round wheel or a lever; turning clockwise stops the flow. If your valve is outside, it might be inside a meter pit box requiring a special key. Sometimes, especially in older homes, check near the water heater or at the water line entry.
- Verify valve function by shutting it off and running a faucet to confirm no water flows.
- Identify valve type to prepare appropriate tools.
- Mark the valve location for future quick access.
Shut Off Shower Valve
Begin by locating the shower’s shut-off valve to safely stop the water supply before repairs. Shower valve types vary, but dedicated shut-off valves are typically behind the shower access panel or near plumbing lines.
Use a wrench or pliers to turn the valve clockwise until fully closed, halting water flow. If you can’t find this valve, turn off the main water supply for the house to avoid leaks.
Common valve issues include corrosion or stuck handles, which may require DIY valve replacement.
Always test the shower after shutting off the valve to confirm no water flows. This step guarantees you work safely and effectively when fixing leaks or performing maintenance on your shower system.
Verify Water Supply Off
To verify that the water supply to your shower is fully off, locate the main shut-off valve for your home. It’s typically found in basements, crawl spaces, or near the water meter. Turn it clockwise to stop the water flow.
For more targeted control, identify water valve types such as localized shut-offs under sinks or behind shower walls. Turn those clockwise as well.
Here are some troubleshooting tips to guarantee success: run the shower after turning off the valves to confirm no water flows.
Avoid common mistakes like assuming the valve position without testing.
When you’re ready to restore the water supply after repairs, do it gradually and check carefully for leaks. Following this process prevents water damage and ensures your shower repair goes safely and smoothly.
Removing Your Showerhead And Faucet To Check Leaks
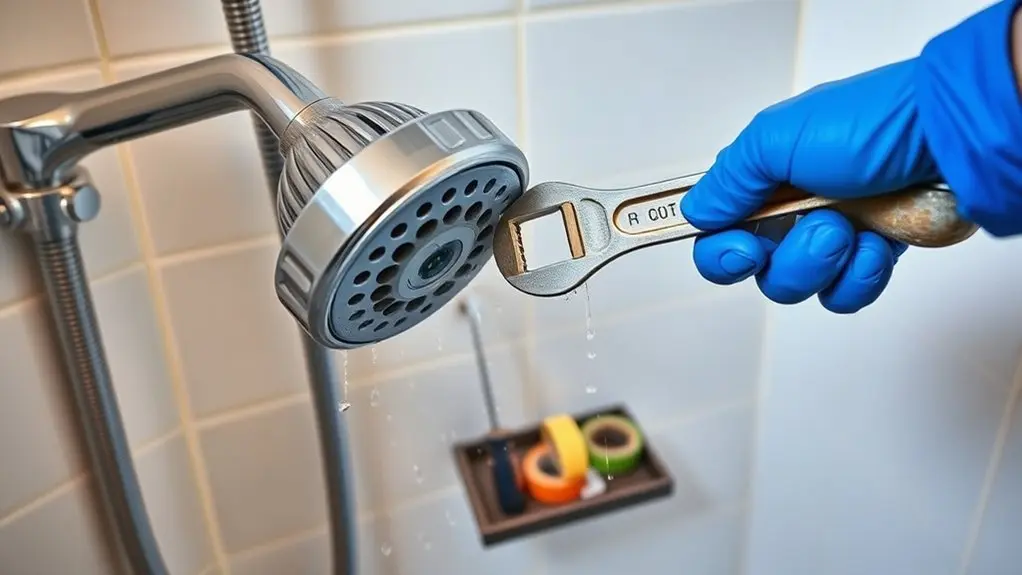
Before removing the showerhead or faucet, make certain the water supply is turned off to prevent any leaks during inspection.
Identify your showerhead type, fixed or handheld, and use a screwdriver or pliers to carefully unscrew it from the shower pipe, avoiding damage to the threads.
For faucets, consider the material, like brass, chrome, or plastic, as this affects handling.
Gently remove the faucet to access internal components. Conduct a thorough leak detection by inspecting rubber washers and seals for wear or damage, which are common leak sources.
Clean the shower pipe threads with a cloth before reattaching parts to guarantee a tight seal.
After reinstalling, turn the water supply back on and observe all connections for any dripping to confirm successful leak detection and repair.
How To Replace Worn Seals And Washers
Once you’ve removed the shower handle and trim to inspect for leaks, the next step is replacing worn seals and washers that no longer provide a watertight fit. These components degrade over time. It’s a common cause of leaks across various shower fixture types.
First, turn off the water supply. Then carefully extract old seals or washers with pliers, avoiding damage to pipes or fixtures. Choose replacements that match the original size and material, typically rubber washers for reliable sealing.
Turn off the water, then carefully remove old seals and select matching replacements to ensure a proper fit.
When reinstalling, verify components fit snugly to prevent future leaks.
Remember these seal maintenance tips: regularly inspect seals for cracks or hardening. Use compatible washers for your specific shower fixture type. Avoid overtightening to preserve seal integrity.
After reassembly, restore water flow and check for leaks before finalizing.
Safely Tighten Loose Shower Connections
First, start by locating any loose connections. You can do this by gently wiggling each joint to see if there’s any movement.
Before you tighten anything, make sure the water supply is turned off—this helps prevent any accidental leaks.
When you’re ready to tighten, grab an adjustable wrench and carefully snug up the fittings.
Just be careful not to apply too much force, as that could cause damage.
Identify Loose Connections
To identify loose connections causing your shower leak, start by shutting off the main water supply to avoid further damage. This step is critical in effective shower maintenance tips and prevents worsening common shower issues.
Next, inspect all visible joints around the shower head, faucet, and pipes for looseness or wear.
Focus on these key areas:
- Check nuts and fittings with your hands or a tool for any play or looseness.
- Examine rubber washers or O-rings at connection points for damage; replace as needed.
- Verify no over-tightening signs to avoid thread damage.
After securing connections snugly, turn the water back on and monitor for leaks.
These DIY plumbing advice steps help guarantee a reliable fix without causing additional problems.
Use Proper Tools
Three essential tools will help you safely tighten loose shower connections without damaging fittings, with an adjustable wrench being the most important. Select the correct wrench type to match the size of your connection fittings, preventing slippage or stripping.
Apply steady pressure using proper tightening techniques. Never force the wrench to avoid cracking fittings. Always turn off the water supply before you start, then test for leaks by gradually restoring water flow after tightening.
| Tool | Purpose | Tip |
|---|---|---|
| Adjustable Wrench | Tighten various fittings | Match size to avoid slipping |
| Pipe Wrench | Grip round pipes securely | Use steady pressure |
| Slip-Joint Pliers | Adjust smaller nuts or bolts | Avoid over-tightening |
Use these tools carefully to maintain secure, leak-free connections.
Apply Waterproof Sealant To Prevent Shower Leaks
Although leaks can come from different spots, applying waterproof sealant around the shower’s joints and seams creates a water-tight barrier that stops water from escaping.
To ensure the best adhesion, make sure all surfaces are clean and dry before you start.
Clean and dry all surfaces thoroughly to achieve optimal sealant adhesion before beginning your waterproofing project.
Use a high-quality, mold-resistant sealant made for wet areas to increase durability. Apply it evenly with a caulking gun and smooth it out to avoid any gaps.
Be sure to follow the curing times carefully before exposing the area to moisture.
Here are some shower maintenance tips for lasting results:
- Master sealant application by keeping consistent pressure and angle
- Choose waterproofing products that are highly rated for resistance and longevity
- Check the sealant regularly and reapply quickly if you notice wear or damage
This method maximizes leak prevention and helps keep your shower waterproof longer.
Testing Your Shower For Leaks After Repairs
Once you’ve finished your repairs, go ahead and turn the water supply back on.
Take a close look at all the fixtures and joints to see if you spot any visible leaks.
Next, run the shower and keep an eye on the water pressure.
If you notice anything unusual, it might mean there are hidden problems that need attention.
A handy trick is to wrap a cloth around the connections.
This way, you can catch any moisture and make sure your repairs hold up when the water is running like normal.
Visual Leak Inspection
Once you finish repairs, turn on the shower and carefully observe for any visible drips or pooling water. These indicate leaks that need further attention.
Wipe down all connections and seals with a dry cloth, then watch for moisture buildup. Addressing drainage issues early prevents larger problems.
Focus your visual leak inspection on these key areas:
Check showerhead maintenance by ensuring no water escapes around fittings.
Inspect walls and floors for dampness or water stains signaling hidden leaks.
Conduct thorough plumbing inspections around joints and valves to confirm effective sealing.
This hands-on approach helps you catch leaks missed during repairs. It maintains your shower’s integrity and prevents costly water damage.
Water Pressure Testing
When you complete repairs, testing water pressure helps confirm your shower’s integrity and detect hidden leaks.
Begin by selecting an appropriate pressure gauge designed for residential plumbing, guaranteeing accuracy within the 40 to 60 psi range typical for showers.
Attach the gauge to the shower’s water supply line and run water for several minutes, monitoring pressure stability. Low pressure causes often indicate unresolved leaks or blockages requiring further troubleshooting.
After shutting off the shower, observe connections and seals for delayed leaks that may not appear during flow.
Document pressure readings and any moisture signs to aid professional assessments if problems persist.
This systematic water pressure troubleshooting guarantees your repairs hold, preventing future damage and maintaining efficient water flow.
When To Clean Shower Pipes To Prevent Shower Leaks?
Although shower pipes often go unnoticed, you should inspect and clean them at least twice a year to prevent mineral buildup and blockages that cause leaks.
Following consistent shower maintenance tips guarantees mineral buildup prevention and extends pipe lifespan. Use a descaling agent or vinegar during cleanings to dissolve scale effectively.
Consistent maintenance with descaling agents or vinegar prevents mineral buildup and prolongs your shower pipe’s life.
Pay close attention to early leak signs like water stains or dampness near fixtures.
Key cleaning frequency recommendations include:
- Schedule biannual inspections and cleanings to avoid blockages
- Monitor water pressure, maintaining 40-60 psi to reduce pipe stress
- Consider a water softener if you have hard water to minimize mineral deposits
Adhering to these practices helps you maintain a leak-free shower system and reduces costly repairs.
When Should You Call A Professional For Shower Leak Repairs?
How do you know if a shower leak requires professional repair? If the leak persists after replacing seals and tightening connections, it’s time to call a professional.
Visible water damage on walls or ceilings signals signs of deterioration affecting structural integrity, needing expert evaluation. A sudden rise in water bills without explanation often indicates hidden leaks that require professional leak detection.
Complex repairs like broken pipes or water heater issues exceed typical leak prevention tips and demand specialized skills.
Also, if multiple fixtures leak simultaneously, this points to systemic plumbing problems beyond DIY fixes.
Incorporate a plumbing maintenance schedule to catch early issues, but don’t hesitate to seek professional help when problems escalate beyond routine care and basic repairs.
Frequently Asked Questions
Can Hard Water Cause Shower Leaks Over Time?
Yes, hard water can cause shower leaks over time by accelerating wear on your shower fixtures.
The minerals in hard water build up, creating pressure on seals and joints, which leads to cracks and leaks.
To prevent this, you should prioritize regular plumbing maintenance, including descaling your fixtures.
Installing a water softener also helps reduce mineral buildup, prolonging the lifespan of your shower components and minimizing leak risks effectively.
What Type of Plumber’s Tape Is Best for Shower Repairs?
Think of plumber’s tape types as the unsung heroes sealing your shower’s fortress. For shower repairs, PTFE tape, or Teflon tape, stands out for its moisture resistance and durability.
Use 1/2-inch wide tape, wrapping threads clockwise for a tight seal.
Avoid sticky tapes that can’t handle wet conditions. Common mistakes include applying tape on dirty or wet threads.
Always clean and dry surfaces first to guarantee a leak-proof installation.
How Often Should Shower Seals Be Replaced Proactively?
You should replace shower seals proactively every 5 to 10 years to maintain ideal seal lifespan. Regular proactive maintenance helps prevent leaks and costly damage.
Watch for common signs like cracks, hardening, or discoloration, which indicate seals are deteriorating sooner than expected. Inspect seals every six months, especially in hard water areas, to catch wear early.
Using high-quality rubber washers also extends seal lifespan and reduces replacement frequency.
Are There Eco-Friendly Sealant Options for Shower Leaks?
Yes, you can choose eco-friendly materials as green alternatives for sealing shower leaks.
These sealants often use plant-based resins or water-based formulas, reducing VOC emissions and supporting sustainable practices.
Brands like EcoSeal offer durable, biodegradable options made from silicone or polyurethane that provide effective waterproofing.
Can a Leaking Shower Increase My Water Bill Significantly?
Yes, a leaking shower can increase your water bill considerably, increase water damage risk, and increase repair costs.
Early leak detection saves money, prevents water damage, and improves shower maintenance efficiency.
Even small drips waste thousands of gallons yearly, raising your bill by up to 20%.
Conclusion
To fix your leaking shower, start by identifying the leak source, then gather the right tools. Turn off your water supply safely, remove fixtures, and replace worn seals and washers.
Apply waterproof sealant carefully and test your shower thoroughly. Clean pipes regularly to prevent future leaks.
Know when to call a professional to avoid bigger issues. Follow these steps precisely, act promptly, and maintain your shower efficiently for lasting results.