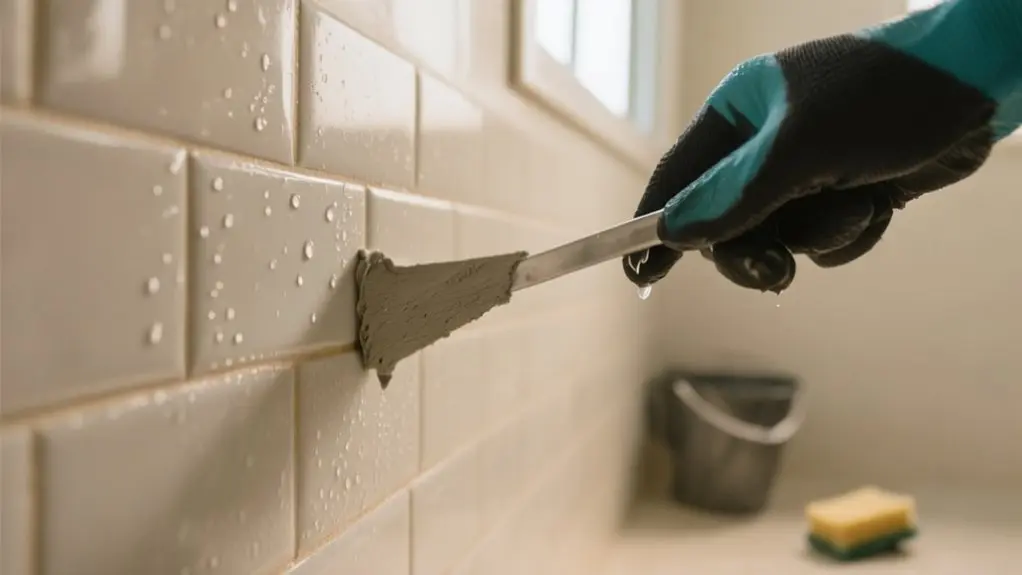
How Long Does It Take To Grout A Shower – Quick Facts
You’ll spend about three hours mixing and applying grout to your shower tiles, including wiping away excess. However, for grout to fully cure and gain durability, you need to wait 24 to 72 hours before exposing it to water.
Factors like humidity, temperature, grout type, and tile material affect drying times, so patience is key for lasting results. Understanding these details guarantees your shower grout stands the test of time and performance.
How Long Does It Take To Grout A Shower?
How long does it take to grout a shower? The grouting process itself typically takes about three hours, including mixing the grout and wiping down the tiles to leave minimal haze.
However, grout drying and cure times extend well beyond that. You’ll need to wait 24 hours before the grout reaches full hardness and avoid showering during this period to prevent damage.
Sanded and unsanded grouts can take up to 72 hours to fully cure, while epoxy grout cures faster, usually within 24 hours.
Environmental factors like humidity and temperature also impact these cure times, so adjust your expectations accordingly.
After curing, seal the grout between 2 to 4 days to protect it from water absorption and prolong its durability.
Why You Need To Wait After Tiling Before Grouting
Although it’s tempting to grout immediately after tiling, you need to wait 1 to 2 full days to let the adhesive properly set. This waiting period is vital because it prevents tile movement when you apply grout, helping grout to fully bond with the tiles.
Wait 1 to 2 days after tiling to ensure adhesive sets and grout bonds securely.
If you skip this step, tiles can shift, leading to uneven surfaces and a compromised seal. Waiting guarantees the adhesive cures completely, maintaining tile alignment and the overall integrity of your shower installation.
By respecting this curing time, you safeguard the longevity and durability of your grout lines and avoid costly repairs later.
In short, the waiting period isn’t just a delay. It’s essential for a professional, long-lasting finish that performs well over time.
What Happens During The Shower Grouting Process?
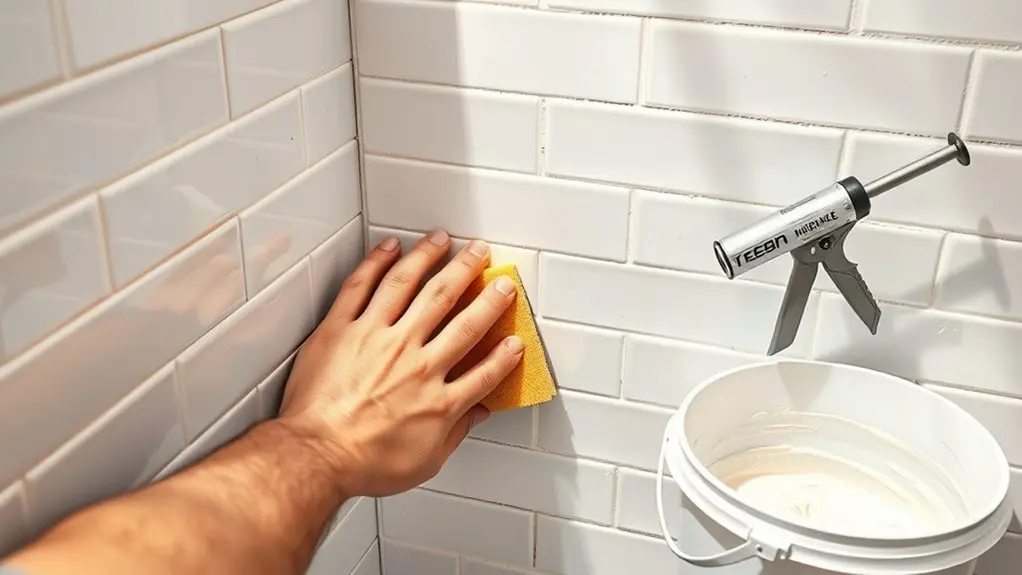
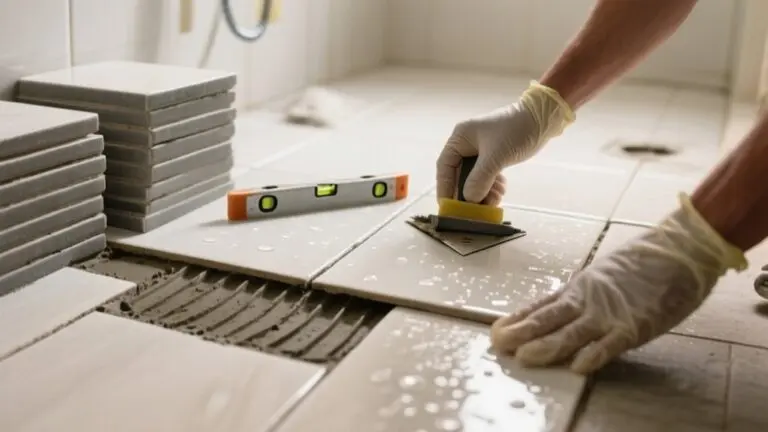
First, you’ll mix the grout and then carefully apply it between the tiles. This part usually takes about three hours.
Once that’s done, you’ll do water wipe-downs to get rid of any excess grout. After that, there’s a final wet wipe to clear away any leftover haze.
Cleaning properly during and after grouting is really important to make sure you end up with a smooth, durable finish.
Grouting Steps Overview
The grouting process involves several key steps that guarantee a durable and water-resistant shower surface.
First, you must wait 1-2 days after tiling to confirm the adhesive sets and tiles stay put.
Then, mix and apply the grout carefully, filling all gaps between tiles. This step usually takes about three hours, including initial cleanings to remove excess grout.
After application, the grout needs to fully cure, typically 24 to 72 hours, before any water exposure to prevent damage and moisture absorption.
Once cured, sealing the grout protects it further.
Finally, applying silicone around tile edges is essential to block water seepage and maintain grout integrity.
Following these steps guarantees a long-lasting, waterproof shower finish.
Post-Grouting Cleaning
Once the grout is applied and begins to set, it’s time for post-grouting cleaning, a step that guarantees your shower tiles look sharp and the grout lines remain clear.
During this phase, you’ll perform a final wet wipe to remove any grout haze that lingers on the tile surfaces.
Be sure to allow water to aid in softening the grout residues, making them easier to clean without damaging the lines. This careful attention assures the grout cures properly and enhances both the durability and appearance of your installation.
Rushing this step can compromise quality, so take your time to execute post-grouting cleaning thoroughly.
Ultimately, it’s this precision that secures long-lasting, attractive shower tiles you’ll be proud of.
Does Tile Type Affect Grouting Time?
Although grout drying times depend largely on the material used, the type of tile you choose can influence how quickly the grout sets. Porous tile types absorb moisture faster, helping grout to dry sooner.
Cement-based grout generally needs about 24 hours to dry to the touch and up to 72 hours for a full cure, regardless of tile type.
Cement-based grout typically dries to the touch in 24 hours and fully cures within 72 hours.
However, non-porous tiles like glass or polished porcelain tend to hold moisture longer, which can extend the drying process.
Moreover, thicker grout lines, often affected by tile size and layout, take more time to dry than thinner ones.
Keep in mind, epoxy grout cures chemically and becomes water-resistant within 24 hours, making it less affected by tile type when you want a quicker turnaround.
How Grout Types Affect Drying And Curing
When you choose grout for your shower, understanding how different types affect drying and curing times helps you plan your project efficiently.
Cement-based grout typically dries to the touch in 24 hours but needs 48 to 72 hours to fully cure.
Sanded and unsanded grouts require up to 72 hours curing time and must be sealed afterward to prevent moisture damage.
Epoxy grout stands out because it cures through a chemical reaction, becoming water-resistant within 24 hours, which allows faster shower use.
Keep in mind, epoxy grout is more durable and less porous, making it ideal for wet environments.
Knowing these differences guarantees you pick the right grout and schedule your shower use accordingly, avoiding premature exposure that can compromise the grout’s integrity.
Environmental Factors That Affect Grout Drying
You’ll notice that temperature plays a key role in how quickly grout dries. Warmer conditions speed it up, while cold slows it down.
Humidity can also extend drying times considerably by keeping moisture in the grout longer.
Temperature Impact
Since temperature plays an essential role in grout drying, you’ll notice that higher heat speeds up the curing process, while cooler conditions slow it down. The temperature impact directly affects the hours to cure, with warmer environments reducing the drying time considerably.
If the temperature is low, expect the grout to take longer to set, potentially extending your project timeline. Remember, maintaining a consistent, moderate temperature helps achieve ideal curing without compromising grout strength.
While temperature is important, also monitor other factors like grout thickness and ventilation to guarantee even drying.
Humidity Effects
Temperature isn’t the only environmental factor that influences grout drying times; humidity plays a significant role as well. High humidity levels slow down the grout’s drying and cure process, often extending beyond the typical 72 hours needed for full hardness.
If you expose cement-based grout to water too soon in humid conditions, you risk flaking or peeling. To counteract this, guarantee proper ventilation to promote drying and prevent moisture buildup.
Keep in mind that thicker grout lines also require more time to cure when humidity is high.
How Long Should You Wait Before Sealing Grout?
Although grout hardens within 24 hours, you should wait 2 to 4 days before sealing it to confirm full curing and maximum moisture resistance.
Sealing the grout too soon can trap moisture, compromising its strength and durability.
Waiting guarantees the grout fully hardens and can effectively resist water penetration. Unsealed grout absorbs water, leading to cracks, stains, and potential damage behind tiles.
By sealing the grout after the proper wait, you protect both its appearance and the shower’s structural integrity.
Always check your grout manufacturer’s instructions, as sealing times may vary between products.
Following these guidelines will help you achieve long-lasting, moisture-resistant grout that maintains your shower’s quality and prevents costly repairs.
How To Speed Up Grout Drying Without Sacrificing Quality
Waiting the proper amount of time before sealing grout guarantees its durability, but sometimes you need to speed up the drying process without compromising quality. To do this, facilitate good air circulation by using fans or dehumidifiers to enhance moisture evaporation.
Maintain the room temperature above 60°F, as warmth helps grout cure properly and reduces drying time. Avoid excessive water when cleaning tiles after grouting since it can cause longer drying and weaken the grout.
Consider using rapid-setting grout types, which dry faster without sacrificing strength.
Also, monitor humidity levels; lower humidity accelerates drying and helps grout cure properly.
These steps help you speed up grout drying efficiently without causing damage or compromising its long-term performance.
Why Patience Matters For Durable Shower Grout
When you take the time to grout properly, which often takes around three hours, you assure a professional finish with minimal haze.
Rushing through this process compromises both appearance and durability, risking premature grout failure.
After application, you need to wait at least 24 to 72 hours for the grout to properly dry and cure.
This waiting period is essential for the grout to fully bond, withstand moisture, and maintain its strength over time.
Experienced installers and community feedback agree that patience during these hours guarantees a resilient shower grout that lasts.
Skipping or shortening these steps undermines the installation’s integrity, making patience not just a virtue but a necessity for durable shower grout.
Frequently Asked Questions
Can I Grout a Shower Myself or Should I Hire a Professional?
You can grout a shower yourself if you follow DIY grout tips carefully, like mixing properly and wiping excess grout before it dries.
However, if you’re unsure or want a flawless, long-lasting finish, hiring a professional is wise.
Professional grout benefits include expertise that prevents cracking or flaking, saving you from costly repairs later.
Choose based on your confidence level and the project’s complexity to guarantee quality results.
What Tools Are Essential for Grouting a Shower Properly?
You’ll need a grout float and a mixing bucket to handle different grout types confidently, ensuring smooth application techniques.
A sponge helps remove haze and clean edges, while a utility knife trims excess grout for neat lines.
Don’t forget a grout sealer applicator to protect your work after curing.
Using a level keeps tiles aligned, and safety gear protects you from dust and chemicals, making your shower grout job both precise and durable.
How Do I Clean Grout Lines After Grouting a Shower?
To clean grout lines after grouting a shower, use grout cleaning techniques like wiping with a damp sponge immediately to remove excess grout.
After it dries, apply effective cleaning products such as a mild grout cleaner or a vinegar-water solution.
Scrub gently with a soft brush to remove haze and stains.
Regular maintenance prevents mold and keeps grout looking fresh.
Always guarantee proper ventilation to help the grout dry thoroughly.
Is It Safe to Use the Shower Immediately After Grout Curing?
You shouldn’t use the shower immediately after grout curing. Full curing takes 48 to 72 hours for cement-based grout.
Shower safety depends on respecting this curing time to prevent weakening or damage.
While epoxy grout resists water within 24 hours, it still needs time before heavy use.
Always follow the manufacturer’s guidelines to guarantee your grout sets properly and your shower stays leak-free and durable over time.
How Often Should Shower Grout Be Replaced or Repaired?
You should replace or repair your shower grout every 5 to 10 years to prevent damage.
Following grout maintenance tips, like regular cleaning and sealing, helps extend its life.
Keep an eye on cracks or discoloration, as these signs mean it’s time for shower repair.
High humidity and poor ventilation can speed up deterioration, so timely shower repair frequency is essential to avoid costly water damage and keep your shower in great shape.
Conclusion
Grouting your shower takes patience, but it’s worth it. For example, one homeowner rushed sealing grout after just 12 hours, leading to discoloration and cracks. By waiting the recommended 72 hours, you guarantee strong, lasting results.
Remember, factors like tile type and environment affect drying time, so don’t cut corners. Taking your time means your shower stays beautiful and durable for years to come. Quality beats speed every time.