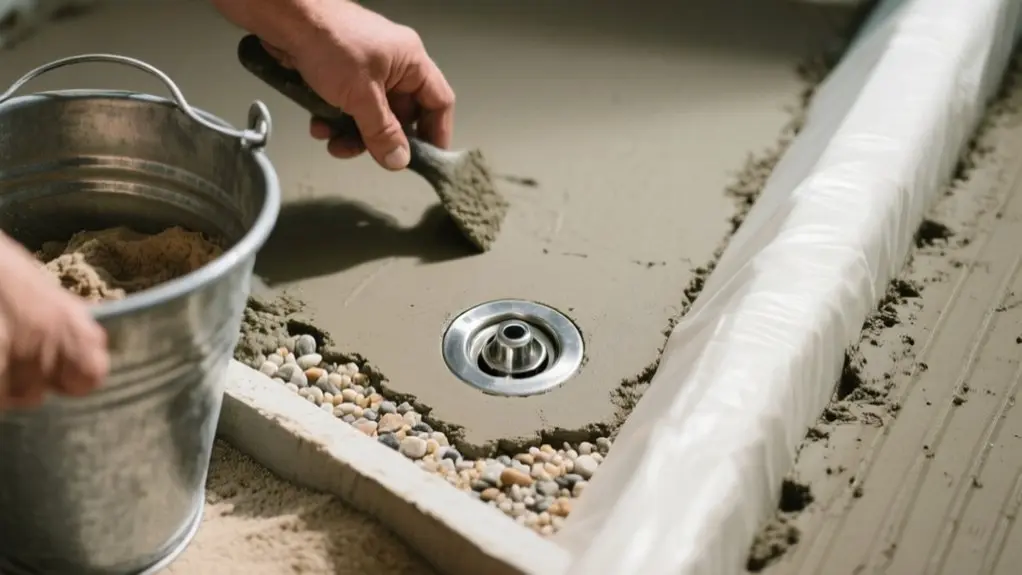
What Mortar To Use For Shower Pan – Simple Breakdown
You should use a strong mortar mix with a ratio of about 1 part Portland cement to 4 or 5 parts sand to guarantee durability and proper drainage in your shower pan. Aim for a firm, slightly damp consistency that holds its shape without being too wet to prevent cracking.
Reinforce with wire mesh, cure it properly, and install waterproofing beneath for leak protection. Keep these essentials in mind, and you’ll be well-prepared to create a long-lasting shower pan.
Why Proper Mortar Mix Matters for Your Shower Pan
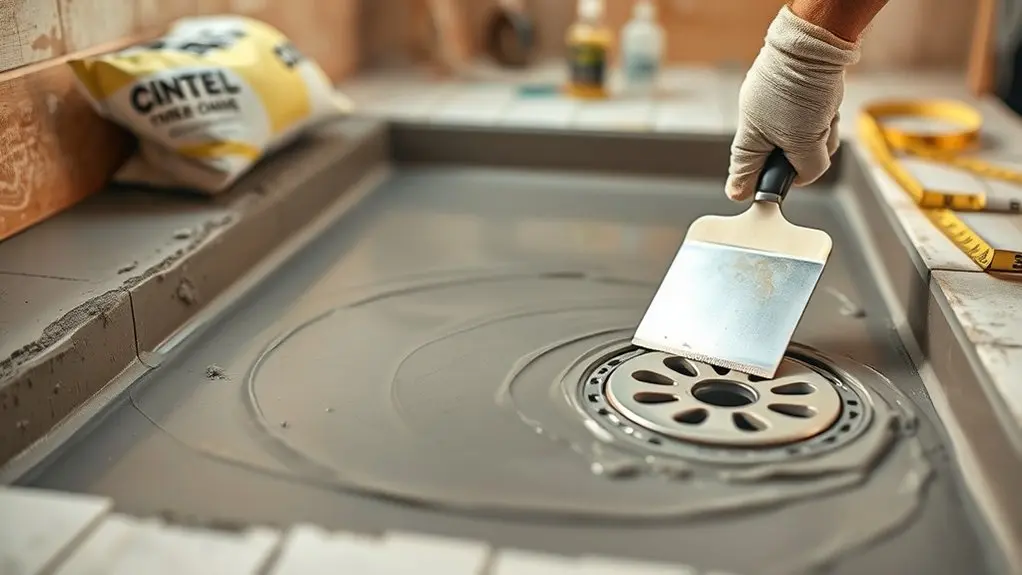
Although it might seem straightforward, choosing the right mortar mix for your shower pan is critical because it directly affects the pan’s strength, durability, and drainage efficiency.
You’ll want a dry pack mortar mix, typically 1 part Portland cement to 4-5 parts sand. This provides the firm, damp consistency needed to hold shape and form the proper slope for effective drainage.
Use a dry pack mortar mix with 1 part Portland cement to 4-5 parts sand for firm, slope-ready consistency.
Avoid mixes that are too wet, as they weaken the structure and increase cracking risk. Consistency during mixing guarantees the mortar bonds well with the waterproofing membrane beneath the shower pan, preventing water damage and mold.
Moreover, adhering to recommended curing time is vital to achieve full strength and long-lasting performance.
Following these guidelines guarantees your shower pan supports tile installation and maintains proper drainage efficiently.
Best Mix Ratios for Shower Pan Mortar
Three common mix ratios for shower pan mortar offer reliable strength and workability: 1 part Portland cement to 4-5 parts sand, 4 parts washed plaster sand to 1 part cement, and a simpler 2:1 sand-to-cement ratio.
These mortar mix options provide the best results when you prepare a dry pack with a damp consistency that holds shape when squeezed. This is essential for establishing proper floor slopes.
Start by mixing dry sand and cement thoroughly before adding water, avoiding over-saturation to maintain the mortar’s strength and stability. Achieving this balance guarantees your shower pan base supports tile and water drainage effectively.
Finally, don’t forget proper curing. It solidifies the mortar bed, preventing cracks and leaks and giving your shower pan long-lasting durability.
DIY vs. Pre-Mixed Mortar: What’s Best for Your Shower Pan?
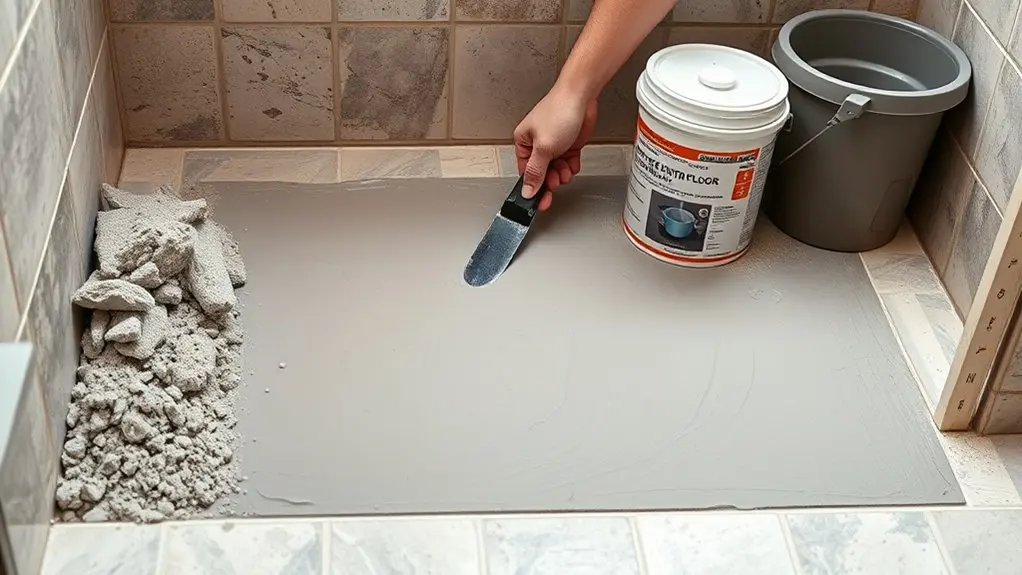
When deciding between DIY mortar mix and pre-mixed options for your shower pan, you’ll need to weigh factors like cost, convenience, and control over the mix. DIY lets you mix the mortar using custom mixing ratios like 4 parts sand to 1 part Portland cement, saving money and tailoring consistency.
Pre-mixed options such as Tile Crete offer convenience and consistent quality but come at a higher price. Both choices affect long-term durability, so quality materials matter.
| Criteria | DIY Mix | Pre-Mixed Options |
|---|---|---|
| Cost Considerations | More economical | Higher upfront cost |
| Control Over Mix | Full control on mixing ratios | Fixed, consistent mix |
| Convenience | Requires effort and tools | Ready to use |
| Customization | High | Limited |
| Long-Term Durability | Depends on mix quality | Generally reliable |
Achieving the Right Mortar Consistency
You’ll want to aim for a damp, packable mortar that holds its shape without dripping or crumbling when squeezed.
To test the consistency, try forming a ball—if it stays intact, your moisture level is just right.
Just be careful not to add too much water; the mix should feel like slightly damp soil for the best strength and stability.
Ideal Moisture Level
Although achieving the right moisture level might seem tricky, you can get it just right by aiming for a mix that’s damp enough to hold its shape like slightly moist soil but won’t drip water when squeezed.
Start by thoroughly mixing your dry mortar mix, typically 1 part Portland cement to 4-5 parts sand, to guarantee even distribution.
Gradually add water while mixing, keeping the consistency dry but pack mortar-ready. Avoid over-saturating, as too much water weakens the shower pan’s strength.
To test the moisture level, form a ball with the mortar mix; it should hold its shape without crumbling or falling apart.
Achieving this ideal moisture level assures your mortar packs tightly and creates a durable, reliable base for your shower pan installation.
Consistency Testing Methods
Mastering the right moisture level sets the stage for testing mortar consistency effectively. Start by lightly showering your dry mortar mix with water to guarantee even moisture distribution, preventing water from pooling or over-saturating the mix.
Next, perform consistency testing by forming a ball with the mortar. It should be firm enough to hold its shape without crumbling but still easily packable and pliable for application.
If the ball crumbles, add a little more water; if it drips or releases excess moisture, mix in additional dry mortar. The ideal consistency resembles slightly damp soil, moist enough for shaping but not wet enough to lose form.
This method guarantees your mortar mix achieves the perfect balance for durability and workability in your shower pan installation.
Applying Mortar on the Shower Pan: Step-by-Step
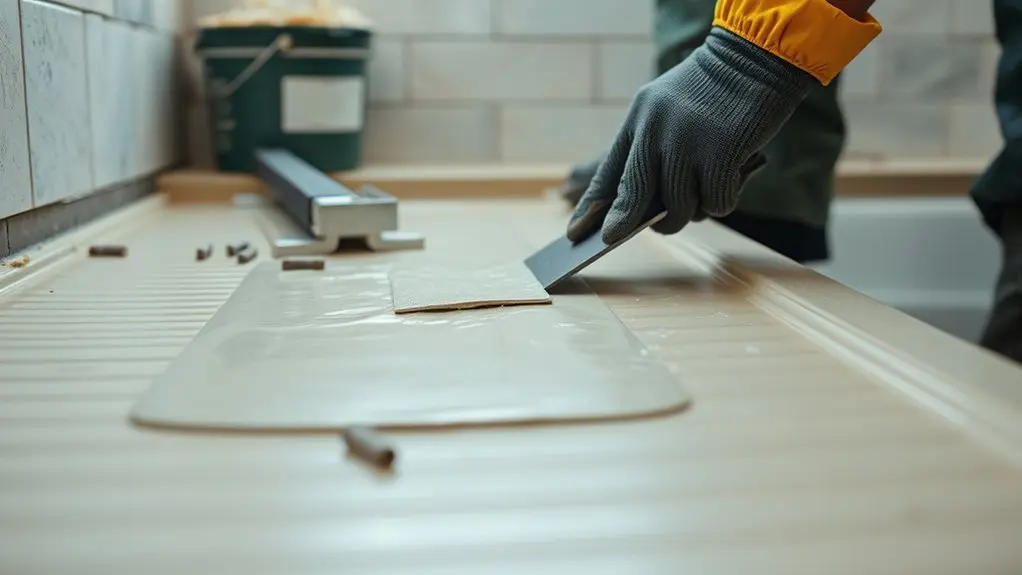
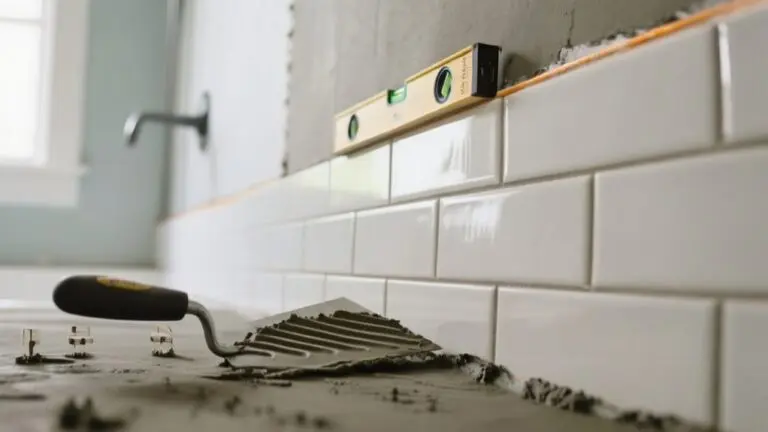
Before applying mortar on the shower pan, mix a dry pack mortar using one part Portland cement to four or five parts sand. Aim for a damp consistency that holds shape without dripping.
Spread the mortar evenly across the shower pan, carefully creating a slope of 1/4 inch per foot toward the drain to guarantee proper water flow. Use a flat tool to compact and smooth the surface, maintaining a consistent slope throughout.
After application, allow the mortar to cure for at least 72 hours. Mist it lightly with water several times daily to prevent cracks.
Once cured, confirm the surface is smooth and ready for the next phase: installing the waterproofing membrane and tile installation, which rely on this properly prepared mortar base.
Waterproofing Your Shower Pan Mortar
Waterproofing your shower pan mortar is critical to protect against mold and water damage. Start by installing a waterproof membrane, like a PVC or CPE liner, beneath the mortar bed. Confirm the liner extends up the shower walls and seals tightly around the drain assembly to prevent leaks.
When setting your mortar, use a polymer-modified thinset for enhanced adhesion and flexibility in wet environments.
It’s essential to create a sloped surface, 1/4 inch per foot, on your shower pan to direct water efficiently toward the drain, avoiding pooling.
Creating a 1/4 inch per foot slope ensures water flows smoothly to the drain, preventing pooling.
This precise slope combined with a durable waterproof membrane keeps water exposure away from the subfloor.
Regularly inspect the membrane’s integrity to maintain long-term waterproofing and confirm your shower pan stays dry and mold-free.
How to Cure Your Mortar for Long-Lasting Strength
After guaranteeing your shower pan mortar is properly waterproofed and sloped, the next step is to focus on curing the mortar correctly to achieve long-lasting strength.
To do this, keep the mortar for your shower bed damp by applying light water several times daily for at least 72 hours. This prevents premature drying, which can cause cracks and weak spots.
Cover the entire mortar surface with plastic sheeting to retain moisture and create a stable curing environment. Maintain a consistent temperature between 50°F and 90°F throughout the curing process.
Always follow the manufacturers instructions for curing times and conditions.
Allow the mortar to fully set for at least 24 hours before applying tiles or additional layers to guarantee maximum strength and durability.
Building a Durable Shower Pan Curb
When building a durable shower pan curb, you’ll want to start by stacking 2x4s securely to both the floor and walls. This creates a solid frame that supports the structure.
Next, install expanded wire mesh over the shower curb to reinforce the mortar and prevent cracking. Extend the waterproofing membrane 8 to 10 inches up the curb, sealing edges near the drain with silicone.
Apply a mortar mix over the mesh, building a sloped surface that’s 1 inch thick on top and ½ inch on the sides. This slope directs water toward the drain.
| Step | Material | Purpose |
|---|---|---|
| Stack 2x4s | Wood | Stable frame |
| Attach wire mesh | Expanded wire mesh | Mortar adhesion |
| Extend membrane | Waterproofing membrane | Moisture barrier |
| Seal drain | Silicone sealant | Prevent leaks |
| Apply mortar mix | Mortar | Sloped surface for drainage |
Frequently Asked Questions
Can I Use Mortar for Shower Pans With Radiant Floor Heating?
Yes, you can use mortar for shower pans with radiant heat, but you need the right mortar types.
Choose a dry pack mortar to guarantee proper floor leveling and tile adhesion while maintaining heating efficiency. This prevents moisture control issues that wet mixes cause, protecting your radiant system.
During shower installation, apply mortar evenly to create the correct slope toward the drain.
This supports both the heating elements and your tile surface effectively.
How Long Does Mortar Take to Fully Waterproof in a Shower Pan?
It takes up to 28 days for mortar to fully waterproof in a shower pan. During installation, you’ll need to follow proper mortar drying times and moisture control measures to avoid grout compatibility issues.
Focus on substrate preparation tips like guaranteeing a proper slope and a clean surface.
After curing, apply sealing techniques and waterproofing membranes to enhance protection.
These waterproofing methods ensure durability and effectively prevent water damage.
Is Epoxy Mortar Safe for Natural Stone Tiles in Shower Pans?
Yes, epoxy mortar is safe for natural stone tiles in shower pans if you consider natural stone compatibility carefully.
Its advantages include superior waterproofing and excellent tile adhesion, which are essential for shower pan installation.
You’ll want to test the stone first, especially sensitive types like marble.
Follow tile adhesion tips and maintenance recommendations closely to avoid discoloration.
Keep cost considerations in mind, as epoxy can be pricier and trickier to apply than traditional mortars.
What Tools Are Best for Mixing Polymer-Modified Thinset Mortar?
You’ll want a mixing paddle attached to a drill for even mixing and proper mortar consistency.
Use a 5-gallon bucket for enough space, and a margin trowel to scrape down the sides. This prevents clumps and guarantees thorough blending.
Follow safety precautions like wearing gloves and a mask. Avoid common mistakes like overwatering.
After mixing for 5-10 minutes, let it rest before remixing.
Clean tools promptly to keep them in good shape.
Can Rapid-Setting Mortar Be Used on Uneven Shower Pan Substrates?
Yes, you can use rapid-setting mortar on uneven shower pan substrates, but only if you master shower pan preparation and substrate leveling techniques first.
You’ll need to fill and compact low spots carefully before mortar application to guarantee proper drainage.
Keep curing time factors in mind. This mortar sets quickly, so work efficiently.
Don’t forget a moisture barrier and waterproofing solutions to protect your tile installation.
Following these steps guarantees a durable, leak-free shower pan.
Conclusion
Choosing the right mortar mix for your shower pan is vital. Did you know that 60% of shower leaks are caused by improper mortar application? By using the correct mix ratio and ensuring proper waterproofing, you’ll create a durable, leak-proof base.
Remember to apply mortar evenly, cure it thoroughly, and build a solid curb for lasting results. With these practical steps, your shower pan will stand strong and keep water where it belongs.