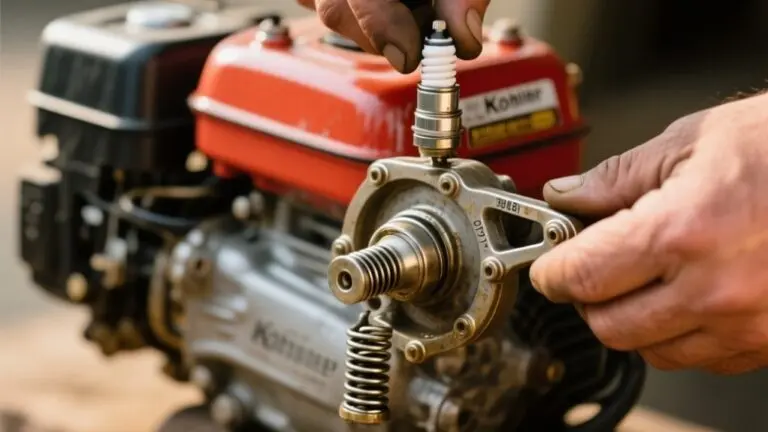
How To Test Kohler Starter – Complete Guide
To test your Kohler starter, first check the battery voltage. It should be about 12.7 V at rest and stay above 10.8 V during cranking. Verify all wiring connections are secure and conduct continuity tests on the starter solenoid and motor.
The solenoid should click and show near-zero resistance when activated. You can bypass the solenoid using a jumper wire to isolate issues. Inspect brushes and the commutator for wear, ensuring smooth movement and no damage.
Continue to explore detailed diagnostics and fixes for common starter problems.
Check Kohler Starter Battery Voltage and Wiring
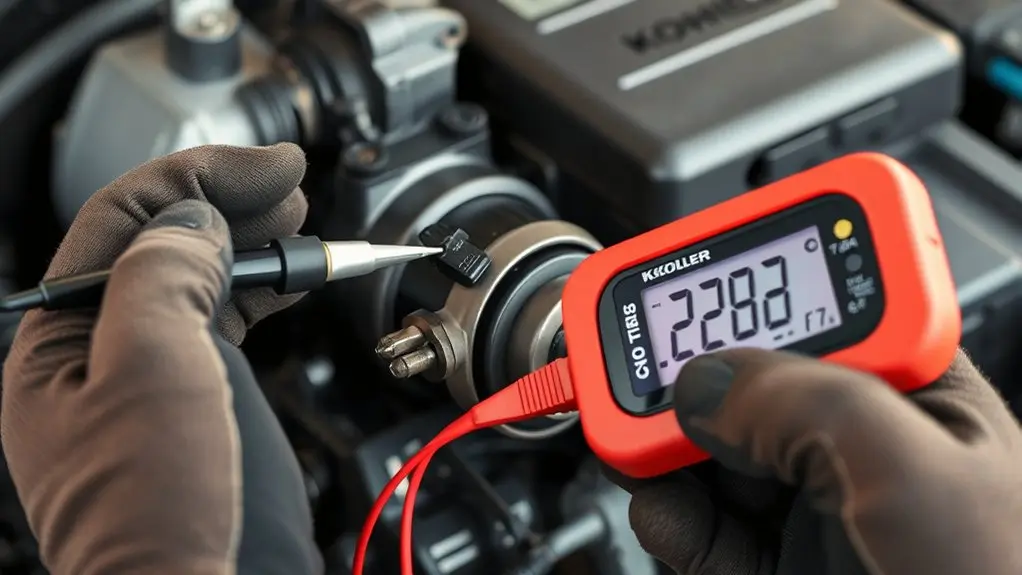
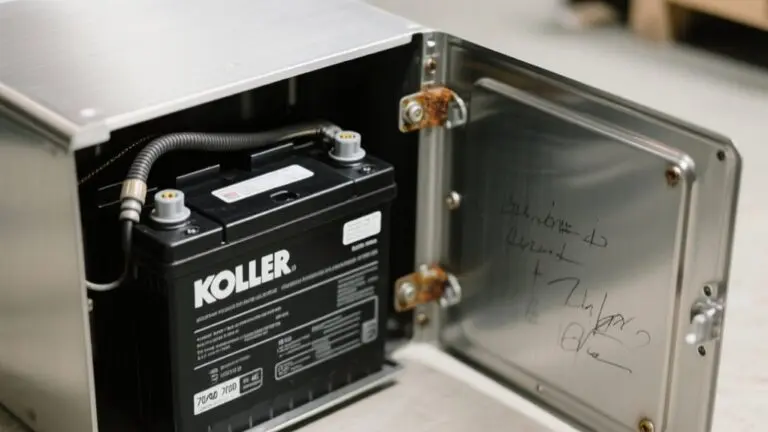
Before testing the Kohler starter, you should measure the battery voltage at rest, which must be around 12.7 VDC to confirm it’s fully charged. If the voltage is lower, recharge the battery before proceeding.
When starting the engine, monitor the voltage drop; a reading near 10.8 VDC indicates the battery is under strain.
Monitor voltage drop during engine start; around 10.8 VDC signals the battery is under significant strain.
Next, verify all wiring connections are secure and correctly configured: the S/G wire must supply 12V to the battery, Field connects to Field, and Armature attaches to the bottom spade.
Check for voltage at the Field post during operation; no voltage suggests wiring faults or starter issues.
If you’ve been testing multiple days in a row or managing a new account, confirm these steps are methodically followed to avoid misdiagnosis.
Test Kohler Starter Solenoid and Motor Continuity
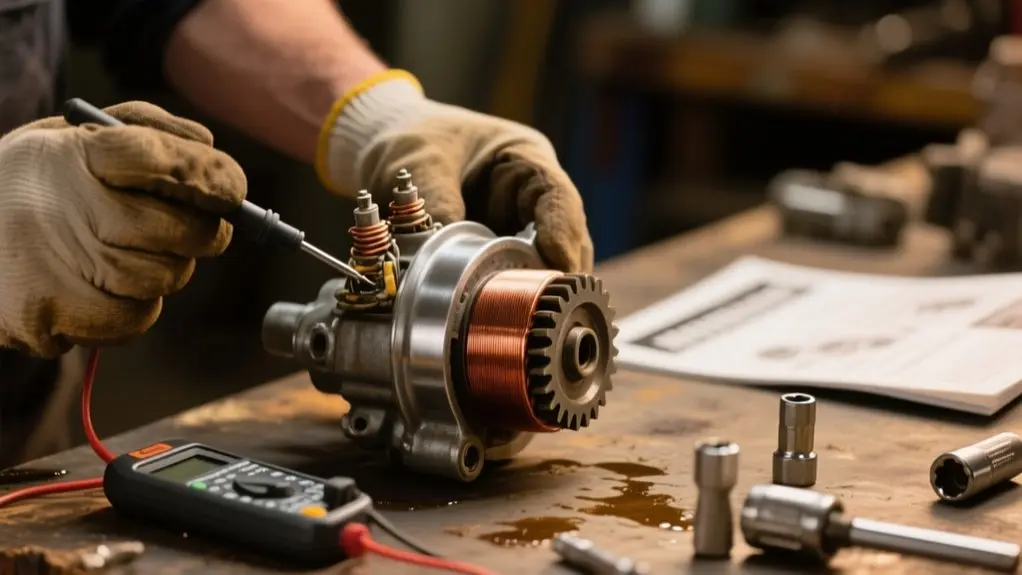
Begin testing the Kohler starter solenoid by disconnecting it from the system to verify accurate readings and safety. Connect your multimeter to the solenoid terminals and check for continuity. A zero-ohm reading when activated confirms proper function.
Listen for a distinct click when turning the ignition key. This click signals solenoid engagement. For the starter motor, measure resistance between the armature and brushes. Less than 1 ohm indicates a healthy motor.
If the solenoid doesn’t engage, verify the battery delivers at least 12 volts.
| Component | Test Procedure |
|---|---|
| Solenoid | Continuity check with multimeter |
| Solenoid Activation | Listen for click on ignition turn |
| Battery Voltage | Verify ≥12 volts |
| Motor Armature | Resistance <1 ohm |
| Safety | Disconnect before testing |
How to Bypass the Solenoid to Test the Starter
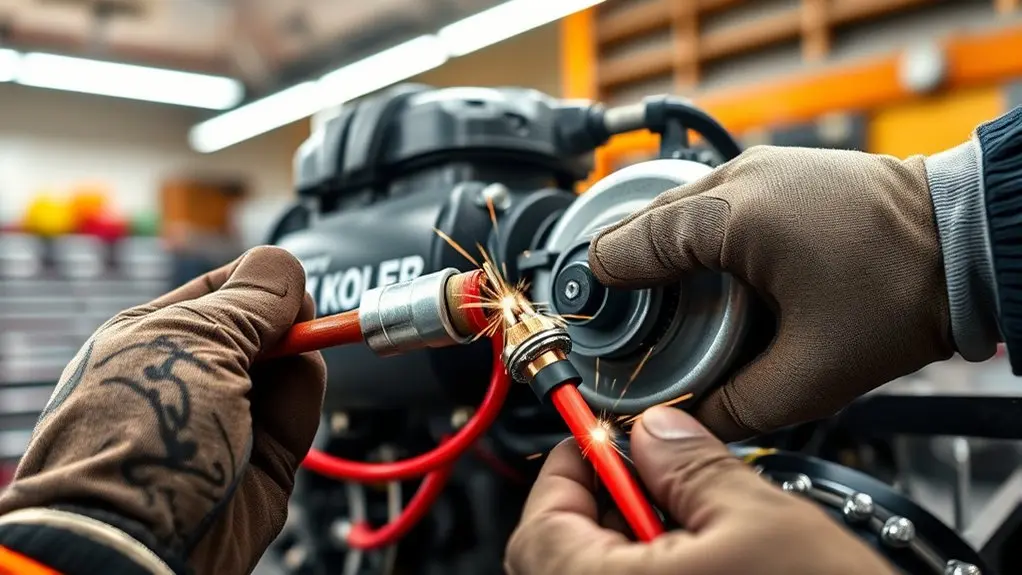
Before you go ahead and bypass the solenoid to test the starter, make sure to disconnect the battery first. This step is really important to keep things safe.
Next, grab a jumper wire and connect the positive battery terminal directly to the starter’s positive terminal. This way, you’re bypassing the solenoid completely.
Now, watch to see if the starter spins. If it does, then the problem is likely with the solenoid. If it doesn’t, the starter itself might be the issue.
Solenoid Bypass Procedure
To bypass the solenoid and test the starter accurately, you’ll first disconnect the battery to guarantee safety.
Locate the solenoid on the starter assembly and prepare a jumper wire.
Connect the battery’s positive terminal directly to the starter motor’s terminal using the jumper wire. At the same time, ground the solenoid terminal to eliminate it as a variable.
Listen carefully for a click or observe the starter engaging; this confirms the starter motor itself is likely functioning.
If the starter fails to engage during this test, it indicates a potential issue with the starter motor requiring further inspection or replacement.
After testing, always reconnect the battery and check solenoid and wiring connections to rule out electrical faults before concluding the starter is defective.
Safety Precautions Overview
Although bypassing the solenoid simplifies testing the Kohler starter, you must prioritize safety to prevent electrical hazards. First, disconnect the battery to eliminate risks of electric shocks and short circuits.
Wear insulated gloves and safety goggles throughout the procedure to protect yourself from accidental contact with live components.
Use a jumper wire to connect the battery terminal directly to the starter motor terminal, applying power safely and directly.
Listen for a clicking sound, which indicates the starter relay is functioning; no sound signals a possible starter or electrical fault.
After testing, carefully reconnect all electrical connections, ensuring the solenoid operates normally before restarting the engine.
Following these steps methodically reduces injury risk and preserves your Kohler starter’s integrity during testing.
Inspect Kohler Starter Brushes and Commutator for Wear
The starter brushes and commutator form the critical contact points in your Kohler starter’s electrical system. Inspecting them carefully guarantees reliable operation.
Check that brushes are not more than 50% worn to maintain effective contact. Also, examine the commutator for cleanliness, removing any buildup. Look for pitting or scoring that can impair function.
Confirm brushes move freely in their holders to prevent inconsistent electrical contact.
| Inspection Point | What to Look For |
|---|---|
| Brush Wear | Less than 50% worn |
| Brush Movement | Smooth, unrestricted in holders |
| Commutator Surface | Clean, no buildup |
| Commutator Condition | No pitting or scoring |
Early detection here prevents starter failure and costly repairs.
Check Starter Motor Voltage With a Multimeter
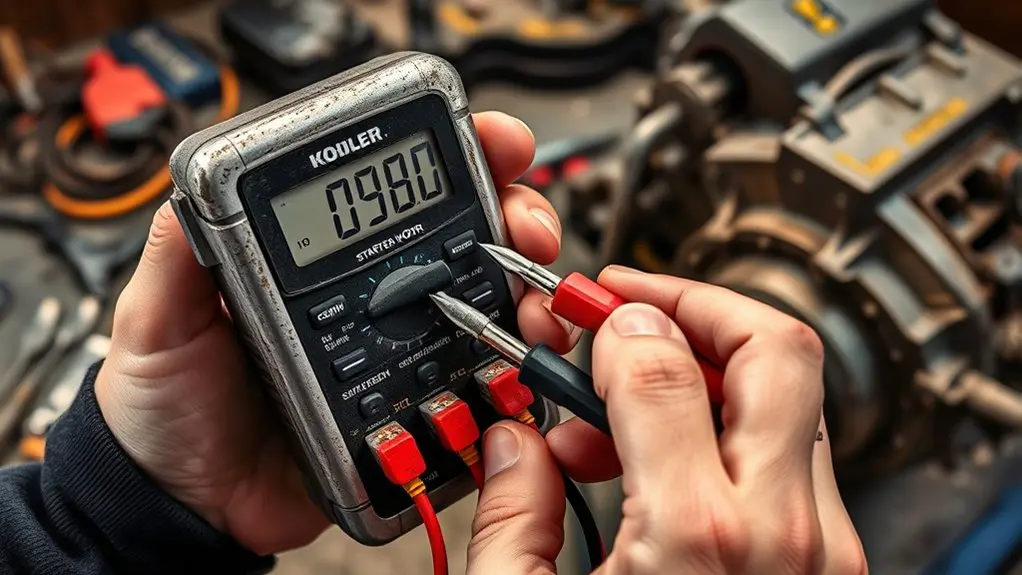
Measuring starter motor voltage with a multimeter requires connecting the positive lead to the starter’s positive terminal and the negative lead to a reliable ground on the engine or frame.
First, verify the battery is fully charged, ideally at a minimum of 12.6 VDC at rest, to guarantee accurate measurements.
Turn the ignition key to the “start” position and observe the voltage reading. If it falls below 10.5 VDC, suspect issues with the battery or wiring.
While the engine runs, the voltage should stabilize between 12.5 and 14 VDC, confirming proper starter and charging system function.
Significant voltage drops during cranking or readings outside these ranges mean you should inspect electrical connections, wiring integrity, and the starter motor condition itself.
Identify and Fix Common Kohler Starter Problems
You’ll usually notice starter problems when you hear clicking sounds but the engine doesn’t turn over, or maybe the starter spins without actually engaging.
Sometimes, you might even hear grinding noises when you try to start up.
A good place to start troubleshooting is by checking the voltage output. Make sure it stays above 10.8 VDC.
Also, double-check all the wiring connections to confirm they’re secure and correct.
After that, take a look at the starter motor brushes. Testing continuity from the field post to ground can help you find any electrical issues that might be causing the problem.
Starter Malfunction Symptoms
Identifying starter malfunction symptoms quickly can save you from extensive repairs and downtime. When diagnosing Kohler starters, focus on these key indicators:
- Clicking noises without engine turnover, signaling a starter engagement issue.
- Grinding sounds during startup, which may reveal internal starter or engine damage.
- Starter spinning freely without engaging the engine, pointing to mechanical faults inside the starter.
- Presence of smoke or burning odors near the starter, demanding immediate attention to avoid severe damage.
Additionally, intermittent starting problems often indicate erratic electrical connections or failing components.
While electrical troubleshooting goes in the next section, you should also monitor voltage drops during cranking. A significant drop below 12 V can confirm starter or battery faults.
Recognizing these symptoms early enables precise, timely interventions.
Troubleshooting Electrical Issues
Although starter issues can stem from mechanical problems, electrical faults are often the root cause and require systematic troubleshooting. Begin by testing battery voltage with a multimeter; resting voltage should read 12.7 VDC, running between 12.5 and 14 VDC.
Listen for clicking or grinding sounds, signaling internal starter or electrical faults. Check continuity on starter connections and grounds to confirm wiring integrity. Inspect generator brushes and test the field coil; no continuity between the field post and ground indicates generator failure.
Use a known good battery to eliminate weak battery influence and isolate starter issues.
| Symptom | Diagnostic Step |
|---|---|
| Low voltage | Measure battery resting/running voltage |
| Clicking noises | Inspect starter solenoid and wiring |
| No continuity | Test starter connections and grounds |
| Generator failure | Check brush condition and field coil continuity |
Frequently Asked Questions
What Type of Oil Is Best for Kohler Engine Starters?
You should use SAE 30 oil for Kohler engine starters in warmer conditions and 10W-30 in colder climates to guarantee proper lubrication.
Opt for high-quality, detergent-based oils meeting API service classifications to protect internal components and maintain starter efficiency.
Synthetic oils are beneficial, offering superior flow and protection at low temperatures.
Always follow your engine’s manual for specific oil recommendations and change intervals to maintain peak starter performance and longevity.
How Often Should I Service My Kohler Starter?
You should service your Kohler starter at least once a year to keep it running smoothly.
If you use your equipment a lot, consider servicing it more often.
Check it visually every few months to spot any corrosion or loose connections early.
Also, test the load and voltage output every 50 to 100 hours of use.
Make sure to replace worn parts like brushes or solenoids every 3 to 5 years.
This helps ensure reliable starts and extends the life of your starter.
Can Extreme Weather Affect Kohler Starter Performance?
Yes, extreme weather can affect your Kohler starter’s performance. Cold temperatures thicken battery fluid, which reduces current flow and causes slower engagement.
Heat damages electrical components, increasing the risk of overheating and failure.
High humidity leads to moisture buildup, promoting corrosion on connections that impairs starter function.
Sudden temperature changes stress components and increase wear.
To keep your starter reliable, make sure to regularly inspect and service it, especially when facing extreme weather conditions.
Are Kohler Starters Compatible With All Engine Models?
No, Kohler starters aren’t compatible with all engine models. You must match your engine’s model and serial numbers precisely. Using the wrong starter can cause misalignment and poor ignition.
To verify compatibility, use Kohler’s official parts lookup tools and select OEM-quality starters designed for your specific engine. This guarantees reliable performance and prevents potential damage.
What Safety Precautions Should I Take When Testing Starters?
You should always disconnect the battery before testing to avoid shocks or accidental engine starts.
Wear insulated gloves and safety glasses to protect yourself from sparks or debris.
Make sure your workspace is well-ventilated and free of flammable materials. Use a multimeter for accurate voltage and continuity checks without damaging components.
Finally, follow the manufacturer’s guidelines closely to guarantee you meet all safety and procedural requirements during testing.
Conclusion
Now that you’ve methodically tested your Kohler starter, from battery voltage to brushes, you’re well on your way to ensuring smooth starts ahead. Think of these steps as a gentle tune-up, preventing unwelcome surprises down the road.
By carefully inspecting and addressing each component, you’re extending the life of your starter and keeping your engine ready to perform when you need it most. Stay precise, stay proactive, and your Kohler starter will thank you with reliable service.