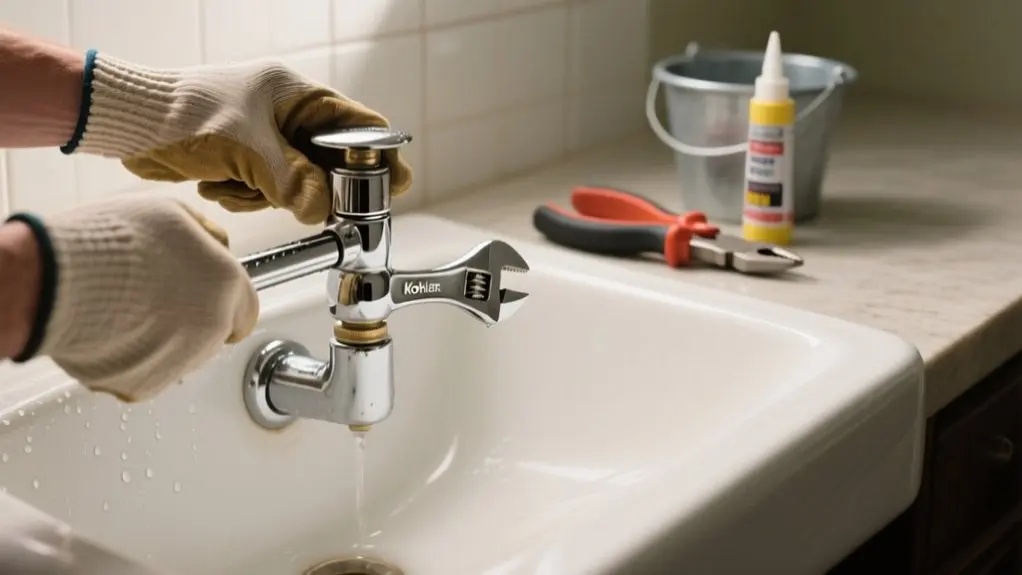
How To Remove Kohler Bathroom Sink Drain – Complete Guide
To remove your Kohler bathroom sink drain, first gather tools like gloves, pliers, and a bucket. Then clear the workspace and turn off the water.
Loosen the locking nut under the sink with adjustable pliers, catching any water that spills. Detach the drain assembly carefully, loosening the set screw on the lever arm if needed.
Clean and inspect parts for damage before reinstalling or replacing the drain. Follow these steps and you’ll master each essential detail for a smooth process.
Gather Tools and Prepare Your Workspace
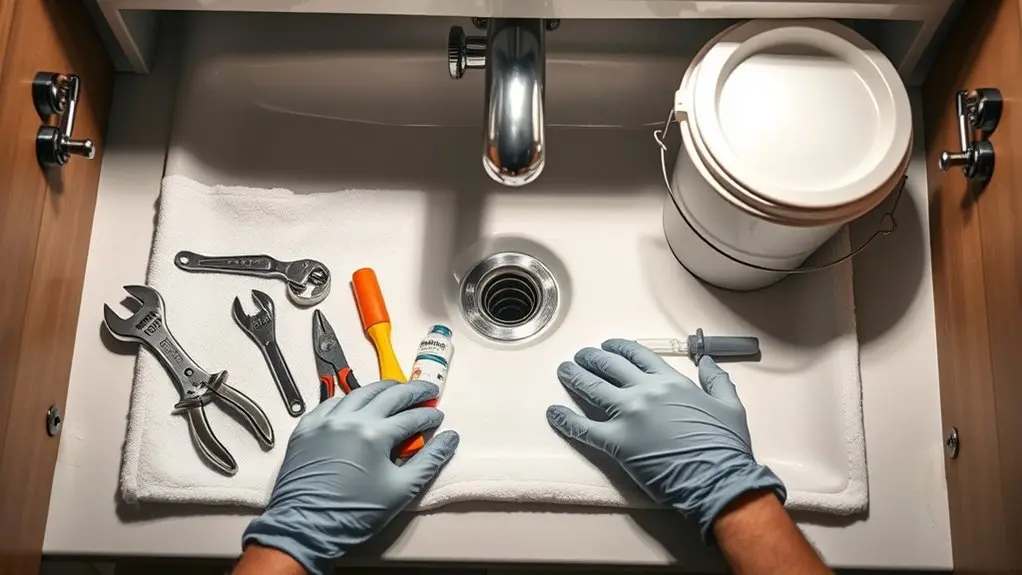
Before you begin removing the Kohler bathroom sink drain, gather essential tools such as rubber gloves, safety glasses, a cup-style plunger, adjustable pliers, a bucket, and a hair snake or hand auger.
Clear your workspace by removing all items from the sink area and laying towels on counters or floors to catch water spills.
Turn off the water supply to avoid leaks or flooding during the process. Confirm proper ventilation by opening windows or using a fan, especially if cleaning agents are involved.
Familiarize yourself with the sink drain assembly components: tailpiece, P-trap, and mounting hardware.
This preparation not only streamlines the removal but also makes maintenance less frequent and more manageable. It reduces the risk of damage or complications during your repair.
Loosen and Remove the Kohler Sink Drain Locking Nut
When you’re ready to remove the Kohler sink drain locking nut, place a basin or bucket underneath to catch any water or debris that may spill out.
Put on rubber gloves and safety glasses for protection.
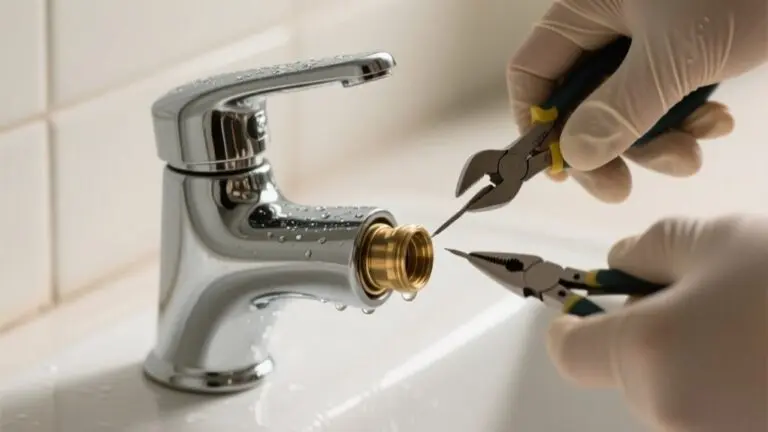
Use adjustable pliers or a pipe wrench to grip the locking nut firmly.
Turn it counter-clockwise to break the seal, which may be stubborn due to accumulated soap scum, grime, or corrosion.
If the nut resists, apply a penetrating lubricant spray and let it sit for several minutes before trying again.
Once loosened, continue turning the locking nut by hand until it’s fully removed.
This step clears the way for disassembling the drain without damaging components or causing leaks.
Detach the Kohler Sink Drain Assembly
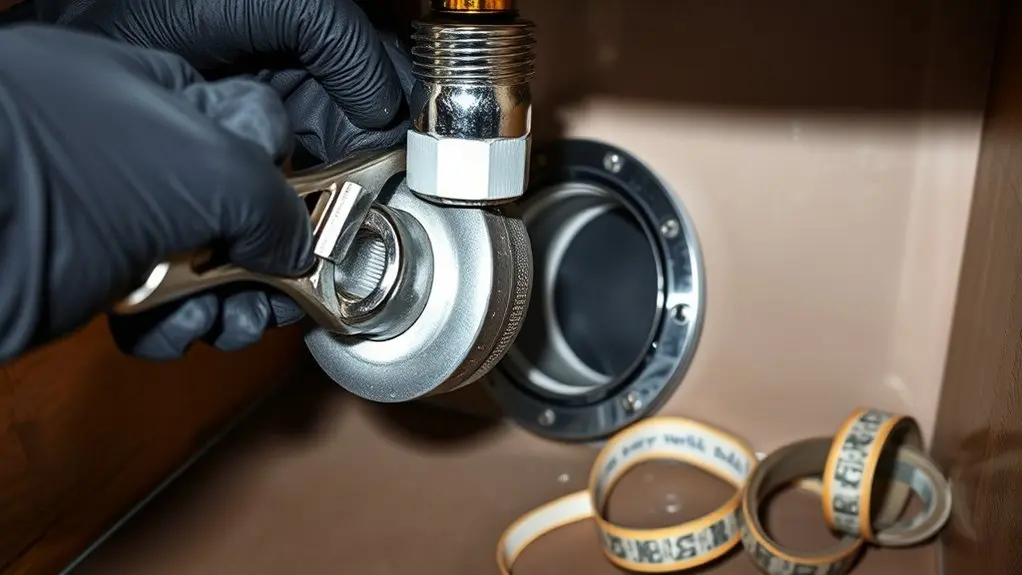
Although the sink is already drained, place a bucket underneath to catch any residual water as you loosen the locknut securing the drain assembly with adjustable pliers. Turn the locknut counterclockwise carefully to avoid damaging the sink.
Next, unscrew the tailpiece from the drain body, which may require additional turning of the locknut to fully disconnect.
Unscrew the tailpiece from the drain body, possibly needing extra locknut turns to fully detach.
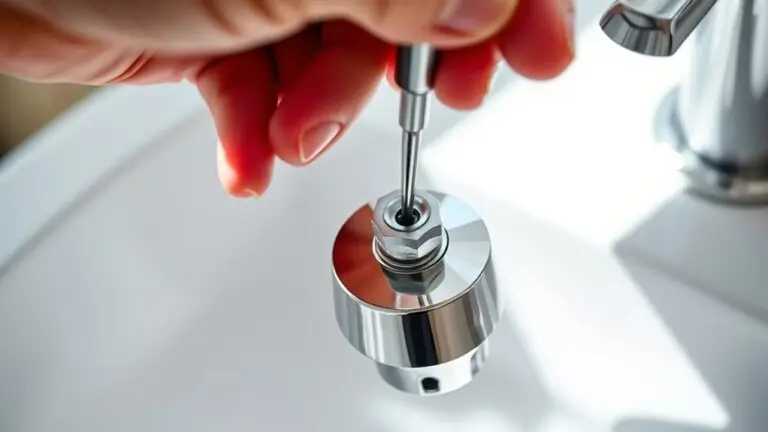
Then, remove the pop-up assembly by loosening the set screw on the lever arm; this allows you to pull the entire mechanism out smoothly.
Be mindful of soap build-up around the drain components, as it can cause resistance during removal. Detaching these parts carefully guarantees you avoid damage and makes subsequent cleaning or replacement easier.
Once detached, you’re ready to proceed with inspection or installation.
Clean and Inspect Drain Components Before Replacement
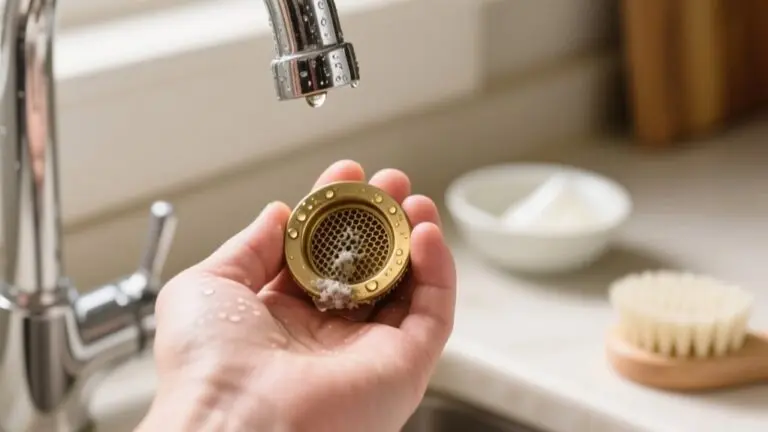
Thoroughly clean every drain component to eliminate hair, soap residue, and mineral deposits that could impair function.
Use a hair snake or auger to clear stubborn clogs in the drain line, guaranteeing unobstructed flow.
Inspect the P-trap and tailpiece carefully for signs of leaks, corrosion, or cracks, as damaged parts can cause future plumbing issues.
Examine the sink strainer for blockages that may restrict drainage or cause water pooling around the sink basin.
Wearing rubber gloves and safety glasses during this process protects you from debris and contaminants.
Removing all soap buildup guarantees a reliable seal and proper drainage once the components are reinstalled or replaced.
This thorough cleaning and inspection set a solid foundation for a successful drain replacement.
Reinstall or Replace Your Kohler Bathroom Sink Drain
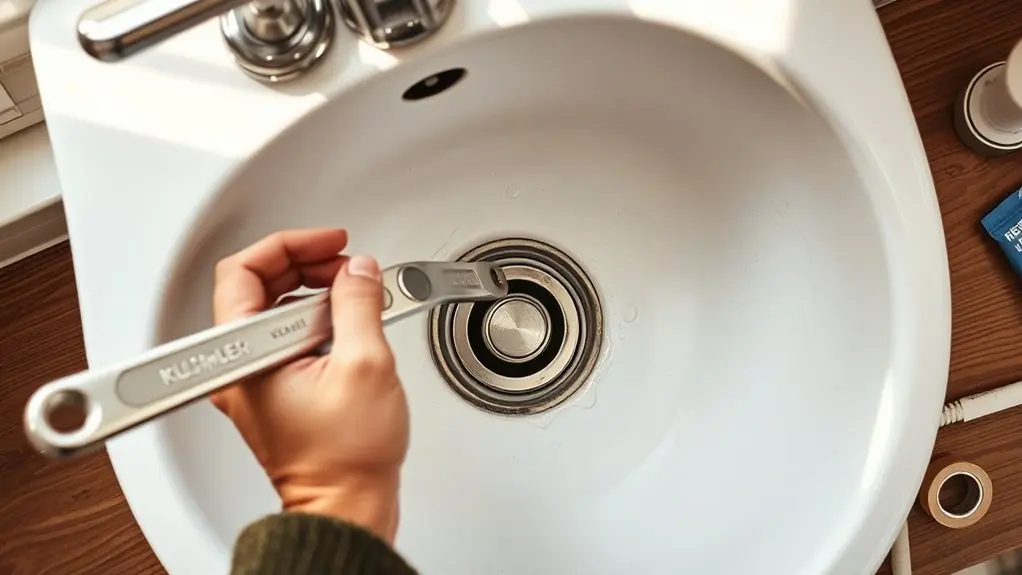
You’ll need a few essential tools to reinstall or replace your Kohler bathroom sink drain, including an adjustable wrench, plumber’s putty, and a bucket to catch any water.
Begin by removing the old drain assembly. Unscrew the drain locknut beneath the sink while catching residual water in your bucket.
Clean the sink area thoroughly to guarantee a proper seal.
Next, apply a bead of plumber’s putty around the lip of the new drain and insert it into the sink. From underneath, tighten the drain locknut securely, firm but not overly tight to prevent damaging the sink.
Finally, run water through the sink and check for leaks. If you notice any, adjust the locknut accordingly to maintain a watertight seal.
Frequently Asked Questions
Can I Remove a Kohler Sink Drain Without Shutting off Water Supply?
Yes, you can remove a Kohler sink drain without shutting off the water supply since the drain assembly disconnects separately from water lines.
Make sure to place a bucket or towel to catch any residual water.
Use adjustable pliers or a wrench to unscrew fittings carefully.
Be cautious when detaching the P-trap, as it may hold water.
This approach prevents unnecessary water shutoff while allowing efficient drain removal.
What Tools Do I Need Besides Adjustable Pliers?
Besides adjustable pliers, you’ll need a bucket to catch water and debris, rubber gloves to protect your hands, and safety glasses to shield your eyes.
A cup-style plunger helps loosen stubborn clogs, while a hair snake or drain auger clears hair and grime from the drain pipe after removal.
These tools make the process cleaner, safer, and more efficient.
How Do I Fix a Leaking Kohler Sink Drain After Reinstalling?
To fix a leaking Kohler sink drain after reinstalling, first tighten all connections, including the drain assembly nut and washer.
Apply plumber’s tape on threaded parts for a better seal.
Check the tailpiece alignment to avoid gaps.
Inspect rubber gaskets and washers; replace any damaged ones.
Finally, run water and watch for leaks.
If you notice any dampness, address it immediately by retightening or resealing connections to guarantee a watertight fit.
Are There Specific Lubricants Recommended for Stuck Kohler Drains?
Use silicone-based lubricants for stuck Kohler drains because they protect rubber and plastic parts.
Avoid petroleum-based products since they can cause damage over time.
Apply penetrating oil like WD-40 sparingly to loosen rusted parts, then clean thoroughly.
Consider graphite powder for pivot points to improve movement.
Always work in a well-ventilated area to reduce fume exposure.
These choices keep your drain functional without risking component damage.
How Often Should I Replace My Kohler Bathroom Sink Drain?
You should replace your Kohler bathroom sink drain every 5 to 10 years to prevent clogs and wear.
Inspect it regularly for leaks, corrosion, or rust. These signs mean it’s time for a replacement.
If clogs persist despite maintenance, consider upgrading to a more efficient model.
Always follow the manufacturer’s guidelines for your specific drain to guarantee peak performance and longevity.
Conclusion
Now that you’ve carefully loosened the locking nut and detached the drain assembly, imagine the smooth, clear pathway beneath your sink. With clean, inspected components in hand, you’re ready to reinstall or replace the Kohler drain confidently.
This precise process guarantees a secure fit and leak-free function, giving your bathroom sink a fresh start. Stay methodical, keep your workspace organized, and you’ll have your drain working perfectly in no time.