How To Paint Shower Tile – Quick Guide
To paint your shower tile, start by thoroughly cleaning and sanding the surface to guarantee strong paint adhesion. Use painter’s tape to protect edges and fixtures.
Choose a durable epoxy paint designed for wet areas, and apply a tile-specific primer before rolling on your base coat in thin, even layers. After drying and curing, seal with a water-resistant sealant for lasting protection.
Keep maintenance gentle to preserve your finish. Keep going to discover detailed steps and expert tips.
How to Clean and Prep Your Shower Tiles for Painting
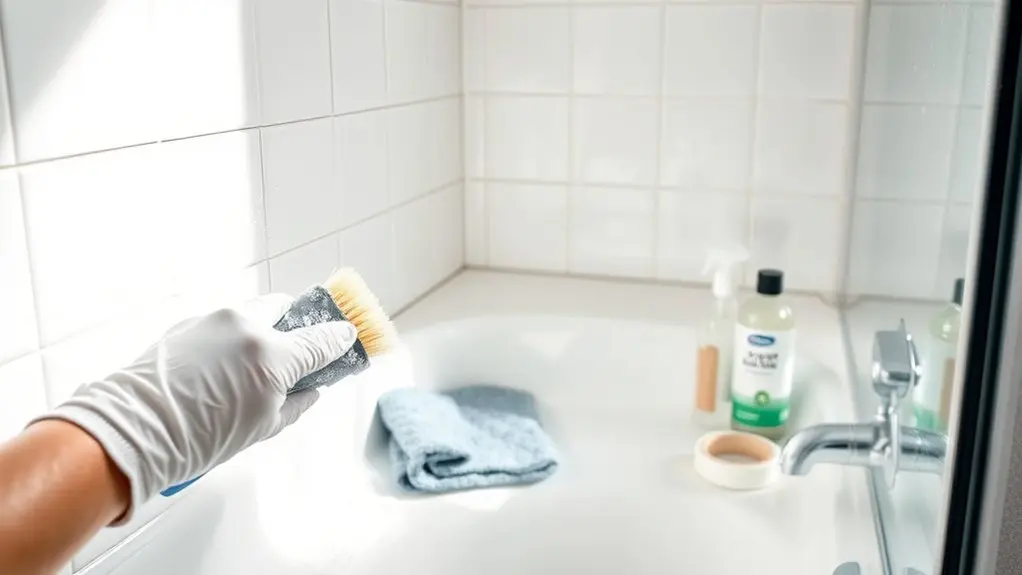
Start by thoroughly scrubbing your shower tiles with a powerful cleaner to remove soap scum, mildew, and grime. This clean surface is essential for the paint to properly adhere.
After cleaning, inspect the tiles for any nicks or scrapes. Use a putty knife to fill these imperfections with suitable caulking or epoxy, then let it dry completely.
Once dry, sand the tiles lightly to create a rough texture that encourages better paint adhesion.
Before painting, apply painter’s tape along tile edges and fixtures to protect them and guarantee clean lines.
Finally, allow the tiles to dry fully after sanding. This careful preparation guarantees the paint will stick well and provide a smooth, lasting finish on your shower tiles.
Which Paint Works Best for Shower Tiles and Why
Once your shower tiles are clean, repaired, and prepped, choosing the right paint is the next step to guarantee a durable and attractive finish.
Epoxy paint works best for shower tiles because it’s highly durable and moisture-resistant, making sure the paint adheres well and withstands constant exposure to water and humidity.
Epoxy paint ensures lasting durability and moisture resistance, perfect for shower tiles exposed to constant water and humidity.
Unlike latex paint, which may wear down quickly in wet environments, epoxy paint maintains its integrity over time.
Keep in mind, epoxy paint often has limited color options, so pick a shade that fits your style while meeting performance needs.
Also, make certain proper ventilation during application to manage strong fumes.
Selecting epoxy paint helps you achieve a lasting, water-resistant coating that keeps your shower tiles looking fresh and protected.
How to Prime and Paint Base Coats on Shower Tiles
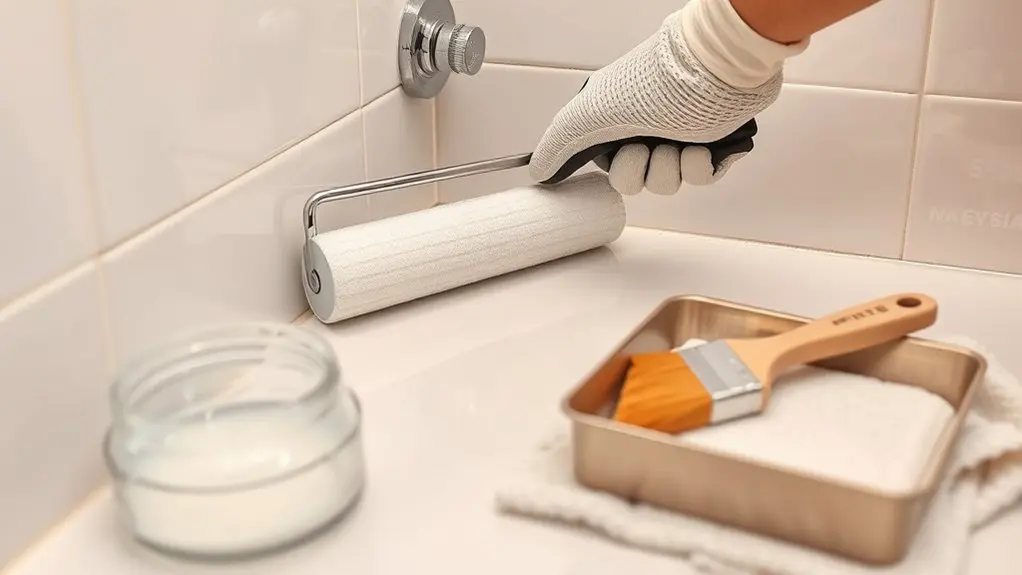
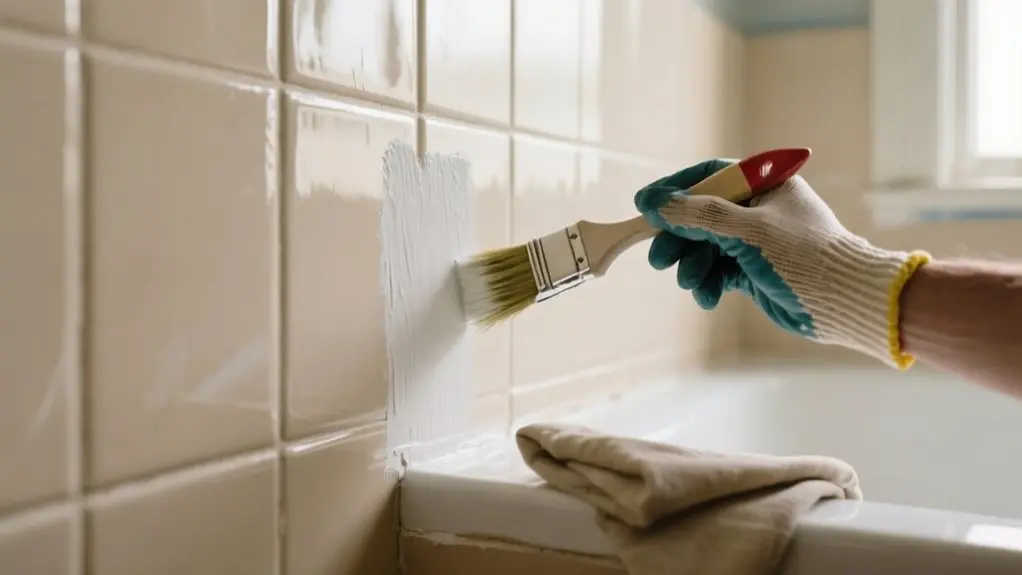
Start by applying a primer that’s made specifically for tile—this helps the paint stick properly.
You’ll want to pick a high-quality epoxy or latex base coat because these are great for moisture resistance.
When you’re ready to paint, use a foam roller for the flat areas and a brush to get those edges just right.
Make sure you apply both evenly so everything looks smooth and professional.
Oh, and don’t forget to follow the drying times!
Usually, it takes at least 24 hours to dry completely, which really helps with durability.
Primer Application Tips
Although painting shower tiles might seem straightforward, applying the right primer is vital to confirm the paint adheres properly and lasts longer. Use a high-quality primer designed for tiles to enhance adhesion.
Apply it carefully with a paintbrush on edges and grout lines, then use a foam roller for larger surfaces to guarantee an even coat. Let the primer dry completely, usually 1-2 hours, before moving on.
Proper ventilation is critical, especially with epoxy primers, to avoid harsh fumes. Some primers combine base coats, saving time while assuring compatibility.
| Step | Tool Used | Key Tip |
|---|---|---|
| Apply Primer Edges | Paintbrush | Cover grout lines well |
| Apply Primer Large | Foam Roller | Smooth, even coverage |
| Dry Time | N/A | Follow manufacturer |
| Ventilation | N/A | Confirm proper airflow |
| Primer Type | Tile-specific | Use high-quality primer |
Base Coat Selection
When preparing to paint your shower tiles, selecting the right base coat is essential for lasting results. Proper base coat selection guarantees your ceramic tile surface resists moisture and maintains adhesion.
Follow these steps for effective base coat application:
- Clean and prime the ceramic tile thoroughly to enhance adhesion and durability.
- Choose a high-quality primer designed specifically for tile surfaces.
- Use an epoxy-based paint for the base coat, as it offers superior resistance to humidity compared to latex paint.
- Apply the base coat evenly with a foam roller, adhering to the manufacturer’s instructions for drying times.
For convenience, consider a combined primer and base coat product to streamline your process and increase durability.
Drying Time Importance
After selecting and applying the right base coat for your shower tiles, you need to focus on drying times to guarantee each layer adheres properly and performs well.
Proper drying time starts with allowing the primer to dry for at least 1-2 hours before you apply the base coat.
When you apply the base coat, use thin, even layers. This speeds up drying time and prevents peeling or bubbling.
Follow the manufacturer’s recommended drying time, usually between 6 to 24 hours.
Once applied, let the base coat cure for at least 24 hours before moving on to the top coat.
Maintaining good ventilation during drying helps solvents evaporate faster, ensuring a durable finish that withstands moisture.
Prioritize drying time to achieve a professional, long-lasting shower tile paint job.
How to Seal and Protect Painted Shower Tiles
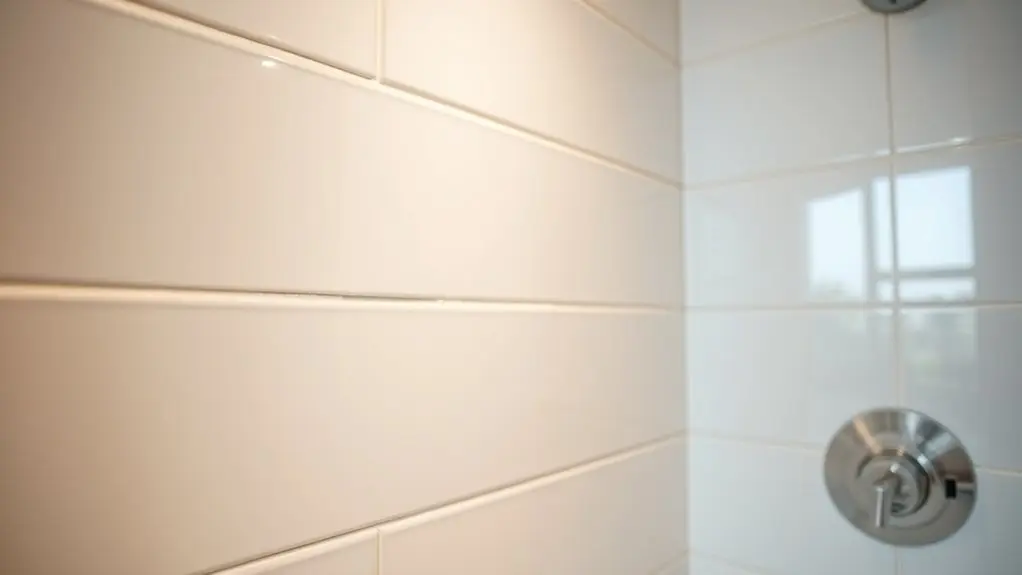
To guarantee your painted shower tiles remain durable and moisture-resistant, you’ll need to apply a high-quality, water-resistant top coat once the paint has fully cured. This sealant will protect the surface from water damage and wear.
Follow these steps to properly seal and protect your painted shower tiles:
- Wait at least 24 hours after painting to let the paint cure fully before applying the sealant.
- Use a water-resistant sealant specifically designed for tile surfaces.
- Apply the sealant evenly with a brush or roller, covering all painted areas thoroughly.
- Reapply the protective sealant every 1 to 2 years, or as the manufacturer recommends, to maintain protection and durability.
This method guarantees your paint stays intact and resists moisture over time.
Tips to Maintain Your Painted Shower Tiles for Longevity
Although painted shower tiles can transform your bathroom’s look, maintaining their appearance and durability requires consistent care. To maintain your tiles, clean them regularly with a gentle, non-abrasive cleaner. Avoid harsh chemicals and scrubbing pads because they can damage the paint.
Keep your bathroom well-ventilated to reduce humidity, which breaks down paint over time. Every 1–2 years, apply a fresh coat of topcoat to protect against moisture and mildew. This will help enhance the longevity of your tiles.
Inspect your tiles frequently for chips or scratches. Promptly repair them using touch-up paint to prevent further damage.
Benefits of Painting Your Shower Tiles Instead of Replacing
You can totally upgrade your shower tiles without breaking the bank by painting them instead of replacing.
It’s a smart way to save both money and time. Painting usually takes just a few days, so you avoid the long, drawn-out process of removing old tiles and installing new ones.
And the best part? You skip all the mess and hassle that comes with demolition.
It makes the whole renovation way more straightforward and less stressful.
Cost-Effective Shower Upgrade
While a full tile replacement can quickly become expensive and time-consuming, painting your shower tiles offers a budget-friendly alternative that refreshes your bathroom’s look without the hassle.
This cost-effective method lets you transform your space with minimal expense and effort. Here’s why painting is a smart choice:
- Supplies cost between $75 to $100, far less than replacing tiles.
- The process is DIY-friendly, requiring no special tools or demolition.
- Epoxy paint resists moisture and humidity, extending tile life.
- A quality top coat protects against mold, mildew, and daily wear.
Time-Saving Renovation Solution
Because painting shower tiles requires far less time than a full replacement, you can complete the renovation in just a few days instead of weeks.
When you choose to paint your shower tile, you save significant time on demolition, installation, and grout work.
Using high-quality epoxy paint guarantees the surface withstands moisture and humidity, which is essential for durability in a shower environment.
Proper preparation and applying a top coat extend the lifespan of the paint, keeping your tiles looking fresh for years.
This time-saving solution not only accelerates your bathroom upgrade but also minimizes disruption.
Avoids Demolition Hassles
Saving time on your bathroom upgrade also means avoiding the extensive demolition that comes with tile replacement. When you choose to paint your shower tiles, you sidestep costly and disruptive demolition work. This approach lets you avoid mess, noise, and the need for specialized tools.
Here’s why painting is a smart alternative:
- You avoid high expenses. Painting costs far less than full tile replacement.
- You skip the complex prep and equipment required for demolition.
- You prevent dust, debris, and structural damage risks inside your home.
- You speed up the process, finishing in days rather than weeks.
Frequently Asked Questions
Can I Paint Over Mold or Mildew on Shower Tiles?
You shouldn’t paint over mold or mildew on shower tiles. First, you need proper mold treatment to prevent damage and guarantee paint adhesion.
Start by thoroughly cleaning the tiles with a specialized cleaner to remove all mold and mildew.
Next, focus on tile preparation. Dry the surface completely and use a primer suitable for moist environments.
Only after these steps can you apply paint designed for high-moisture areas to avoid peeling or bubbling.
How Long Does the Paint Take to Fully Cure Before Shower Use?
You’ll want to allow a cure time of at least 24 hours before using the shower, but for ideal paint durability, waiting 72 hours is best.
Epoxy paints especially need the full cure time to harden properly.
Make certain your bathroom is well-ventilated during this period to avoid extending drying times.
Following the manufacturer’s guidelines guarantees your paint lasts longer and withstands moisture without peeling or damage.
Will Painted Tiles Withstand Daily Exposure to Hot Water?
Think of painted tiles as soldiers in a daily battle against hot water. They can withstand it well if you guarantee strong paint adhesion through thorough surface prep and use durable epoxy paint. This boosts tile durability considerably.
Adding a quality top coat seals the deal, protecting tiles from moisture and wear.
Keep up gentle maintenance to extend their lifespan, but remember, you might need to refresh the paint every few years for ideal protection.
Can I Change the Paint Color Later Without Removing Old Paint?
Yes, you can change the paint color later without removing old paint, but you need to guarantee paint durability by properly preparing the surface.
Clean and lightly sand the existing paint, then apply a high-quality primer designed for tile.
Choose moisture-resistant paint with good adhesion to maintain durability.
This method allows you to explore different color options while keeping the underlying surface intact, guaranteeing a long-lasting, fresh finish in your shower.
Is It Safe to Use Painted Tiles in a Steam Shower?
Imagine steam swirling around glossy tiles you painted yourself. For steam shower safety, know painted tiles can peel or degrade if not done right.
You’ll want epoxy paint for tile paint durability since it handles moisture better. Prep the surface thoroughly—clean and prime—to help paint stick.
Keep ventilation strong to reduce humidity, and be ready for regular touch-ups. This method keeps your painted tiles looking fresh and safe longer.
Conclusion
Painting your shower tiles is like giving your bathroom a fresh coat of confidence without the mess of a full remodel. By properly cleaning, choosing the right paint, priming, and sealing, you create a durable and attractive surface that lasts.
With regular maintenance, your painted tiles will stay vibrant and protected. This cost-effective method saves time and money, making your shower look brand new without the hassle of tearing out old tiles.