How To Install Kohler Rubicon Shower Faucet – Pro Tips
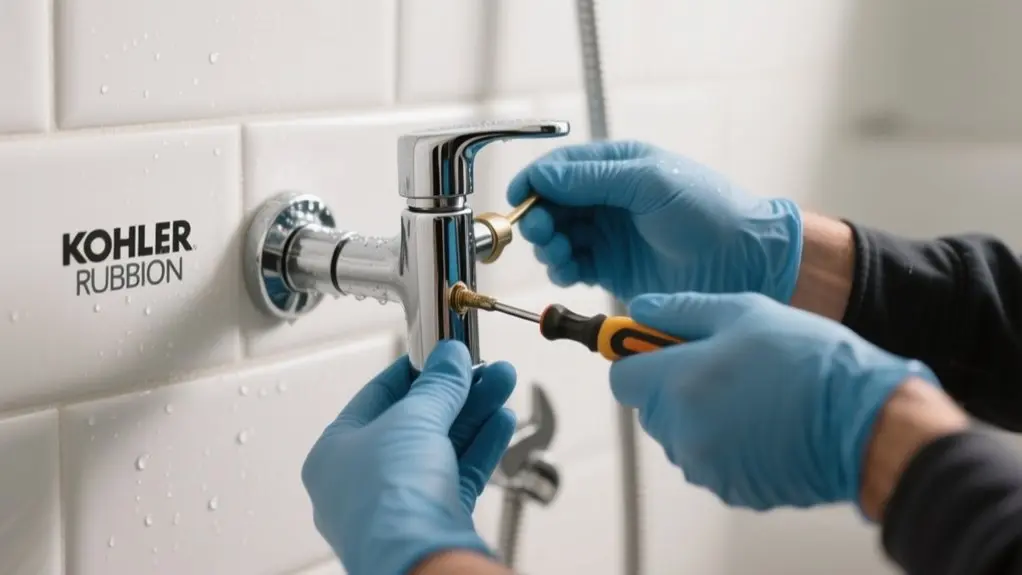
To install your Kohler Rubicon shower faucet, first turn off the main water supply and remove the old faucet carefully. Next, mount the Rite-Temp valve, making certain it’s level and correctly oriented for balanced pressure.
Securely attach the faucet, bath spout, and multifunction showerhead using plumber’s tape on threaded connections. Test for leaks by slowly turning the water back on and check smooth handle operation.
Follow these precise steps, and you’ll guarantee a durable, leak-free installation that performs flawlessly. More detailed guidance is available to optimize your process.
Turn Off Water Supply and Remove Old Faucet
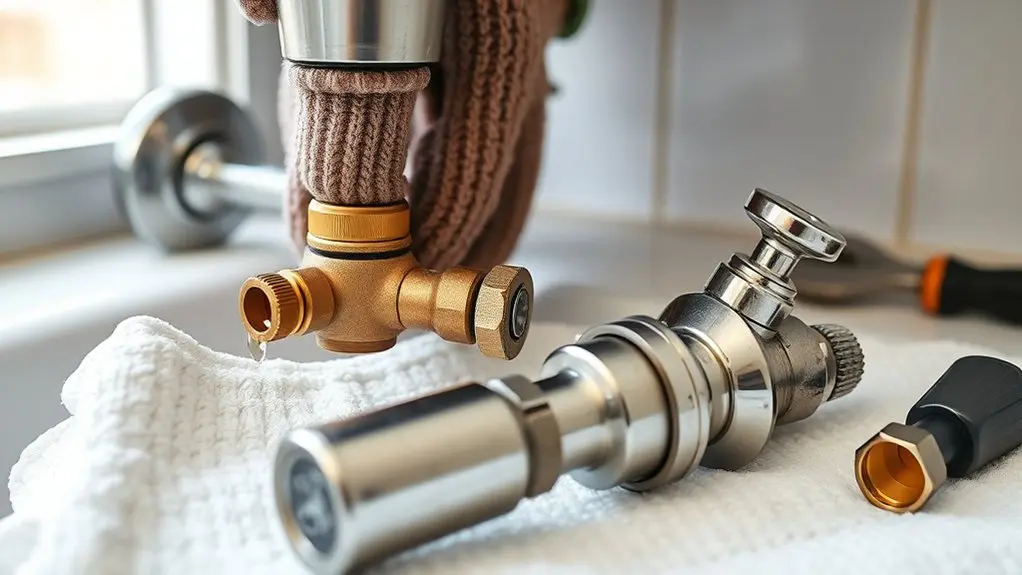
Before you begin installing the Kohler Rubicon shower faucet, make certain you turn off the main water supply to prevent leaks or water damage.
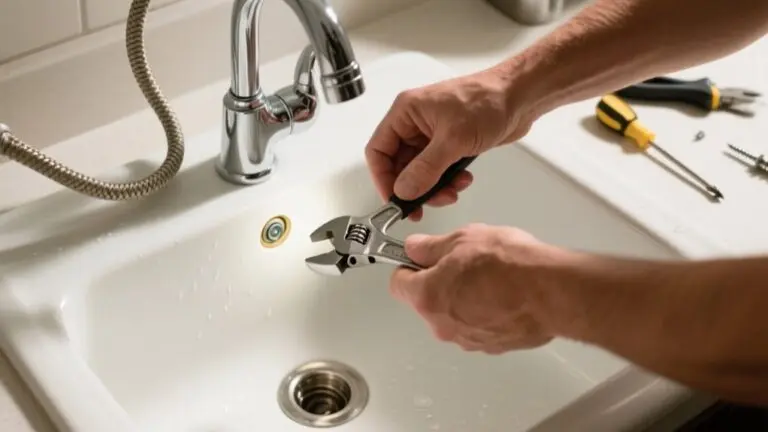
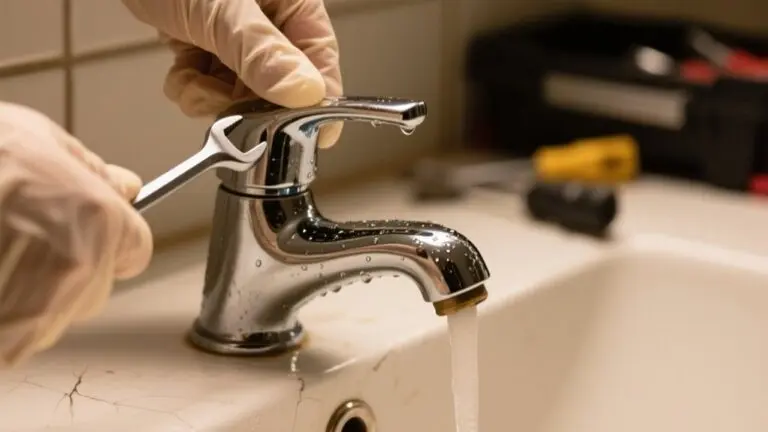
Once the water is off, use a wrench or pliers to loosen the nuts securing the old faucet to the plumbing.
With the water off, carefully loosen the nuts holding the old faucet to safely remove it.
Carefully disconnect the old unit, preserving any mounting hardware you might need for the Kohler Co. replacement.
Take time to clear debris or buildup around the installation area to guarantee a secure, flush fit for the new faucet.
After removal, test the water supply to confirm it’s fully shut off before proceeding.
These precise steps set the foundation for a smooth, professional installation of your Kohler Rubicon shower faucet.
Install the Rite-Temp Valve for Balanced Water Pressure
With the old faucet removed and the water supply confirmed off, you can proceed to install the Rite-Temp pressure-balancing valve.
Start by verifying the valve’s orientation per the manufacturer’s instructions to guarantee balanced water pressure.
Then, mount the valve securely to the wall framing, making sure it’s plumb and level for proper functionality.
Finally, connect the hot and cold water supply lines to their designated inlets, tightening each fitting to prevent leaks.
- Confirm valve orientation matches instructions to maintain pressure balance.
- Use provided hardware to attach valve plumb and level to framing.
- Connect hot and cold lines securely, then restore water and test for consistent temperature and pressure.
This precise installation guarantees reliable, balanced water flow during shower use.
Mount the Kohler Rubicon Bath Spout and Faucet Set
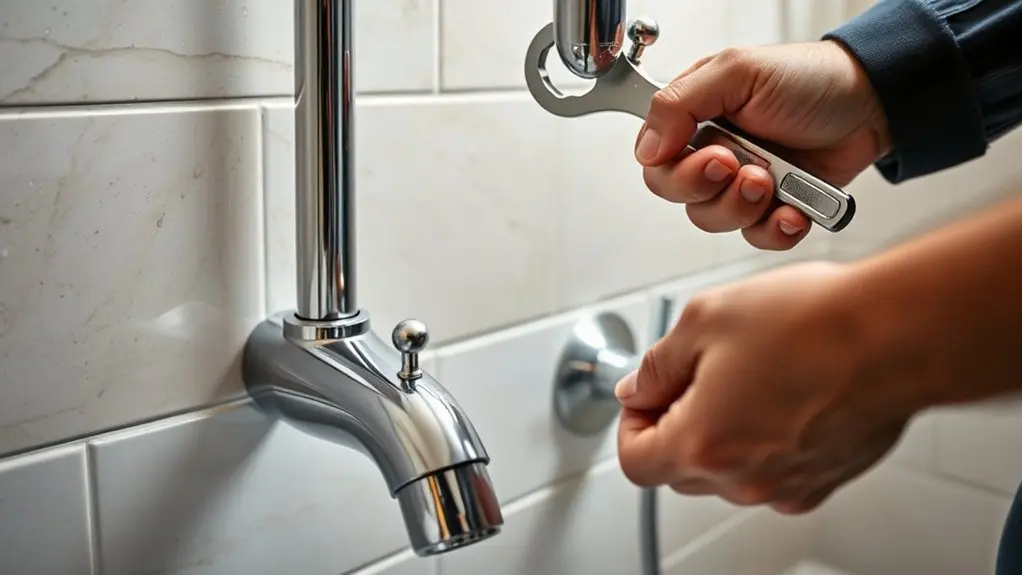
Secure the bath spout firmly to the wall’s spout connection, making certain of a tight fit to prevent leaks.
Next, install the faucet body according to the manufacturer’s instructions, making sure to integrate the included Rite-Temp pressure-balancing valve.
This valve is critical for maintaining consistent water temperature under varying pressure conditions.
The valve ensures steady water temperature despite fluctuations in pressure.
Position the single lever handle on top of the faucet body and tighten it securely to guarantee smooth operation and user-friendly control.
Before finalizing, verify that all components—bath spout, faucet body, and handle—sit flush against the wall and align properly.
This guarantees a streamlined appearance and simplifies cleaning.
Proper alignment also prevents stress on connections, reducing the risk of damage or leaks over time.
Attach the Multifunction Showerhead and Single Lever Handle
Start by securely attaching the multifunction showerhead to the shower arm. Make sure to use plumber’s tape around the threads to prevent any leaks.
Once that’s done, move on to the single lever handle.
Position it onto the valve stem, then fasten it with the screws provided. This will keep everything stable and in place.
Before you finish up, double-check that all the connections are tight.
Finally, test the system to make sure everything is working properly.
Showerhead Attachment Steps
Attach the multifunction showerhead by aligning its threaded connection with the shower arm, making certain the rubber gasket is properly seated to prevent leaks. Hand-tighten the showerhead securely, avoiding over-tightening to prevent damage.
Next, slide the single lever handle onto the valve stem and fasten it with the provided set screw using a suitable screwdriver.
Follow these steps:
- Confirm gasket placement inside the showerhead connection to guarantee a watertight seal.
- Secure the showerhead by turning it clockwise until firmly in place, but don’t overtighten.
- After installing the handle, test its movement for smooth control of water flow and temperature.
Finally, inspect all connections for leaks, tightening any loose fittings as needed for a secure, leak-free installation.
Lever Handle Installation
Begin by fitting the multifunction showerhead onto the shower arm, making certain the rubber washer is correctly seated to form a watertight seal.
Tighten the showerhead securely to prevent leaks, but avoid over-tightening, which can damage the washer or threads.
Next, position the single lever handle onto the valve stem, aligning it accurately with the splines to guarantee proper operation.
Once aligned, fasten the handle using the provided set screw, tightening it carefully to avoid stripping or damaging the components.
After installation, test the handle’s function and the showerhead’s spray settings.
Confirm that the lever moves smoothly without resistance and that water flows correctly without leaks.
This precise installation assures reliable performance and prevents future maintenance issues.
Ensuring Secure Connections
Although proper alignment is essential, assuring secure connections requires additional steps to prevent leaks and maintain ideal function.
When attaching the multifunction showerhead and single lever handle, follow these precise actions:
- Apply plumber’s tape to the threaded arm before aligning and tightening the multifunction showerhead with the provided wrench, assuring a tight, leak-proof fit.
- Verify the valve cartridge is correctly positioned and secured before installing the single lever handle to guarantee smooth operation and accurate temperature control.
- Align the single lever handle precisely with the valve, then inspect all connections thoroughly by running water briefly, checking for leaks or irregularities.
These steps assure your Kohler Rubicon shower faucet operates reliably with durable, secure connections.
Apply Plumbing Tape and Use Tools to Secure Connections
Before you start putting the faucet connections together, make sure to wrap plumbing tape tightly around the threads. This helps create a secure, leak-proof seal.
When it’s time to tighten the fittings, grab an adjustable wrench and use it carefully. You want them snug enough to hold, but don’t overtighten or you might damage the finish.
Getting the tape on just right and using the tools properly are key steps for a durable, leak-free installation.
Proper Tape Application
When applying plumbing tape, make certain you use high-quality Teflon tape and wrap it tightly around the faucet’s threaded connections in a clockwise direction. This guarantees a watertight seal and prevents leaks.
Before wrapping, clean the threads thoroughly to remove debris or old tape that might compromise the seal. Follow these steps for proper tape application:
- Overlap each layer slightly to guarantee the tape adheres well and won’t unravel during installation.
- Wrap the tape evenly and cover all exposed threads without excess bulk.
- After taping, hand-tighten the connections first before using tools to avoid damaging fittings.
Proper tape application is critical for leak-free performance and a durable Kohler Rubicon shower faucet installation.
Securing Plumbing Connections
Since secure plumbing connections are essential for a leak-free Kohler Rubicon shower faucet, you’ll need to apply plumbing tape correctly and use the right tools to tighten fittings.
First, inspect all pipe threads to ascertain they’re clean and undamaged.
Wrap two to three layers of Teflon tape clockwise around the threads to create a tight, leak-resistant seal. Avoid over-layering, which can hinder proper fitting.
Use an adjustable wrench or pliers to firmly tighten the connections, taking care not to over-torque and damage the fittings.
Once secured, gradually turn on the water supply and carefully inspect all joints for leaks.
Address any seepage immediately to maintain the integrity of your installation and guarantee long-term performance of your Kohler Rubicon shower faucet.
Test Your Kohler Rubicon Faucet for Leaks and Functionality
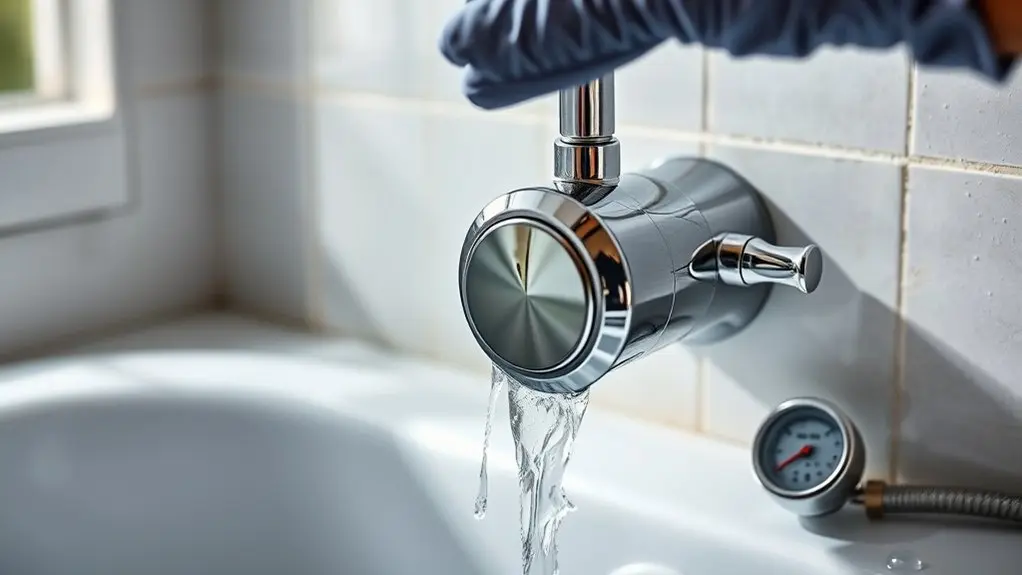
Start by turning on the water supply and carefully inspecting all connections and the valve area of your Kohler Rubicon faucet for any visible leaks.
Next, operate the single lever handle to ascertain smooth movement and confirm it controls both hot and cold water as designed.
Then, test the multifunction showerhead by cycling through each setting to validate steady water flow and proper function.
- Check the bath spout for drips or continuous flow when off, signaling leaks.
- Run both shower and shower simultaneously to assess pressure balance and avoid fluctuations.
- Confirm smooth lever operation and effective temperature control.
Completing these checks assures your faucet functions reliably and leak-free before finalizing installation.
Clean Up and Final Tips for Kohler Rubicon Faucet Installation
After confirming your Kohler Rubicon faucet operates without leaks and the lever handle functions smoothly, focus on cleaning up the work area. Remove any debris or excess plumbing sealant from the faucet and surrounding surfaces to maintain a pristine finish.
Run both the showerhead and bath spout again to verify the Rite-Temp pressure-balancing valve works correctly. Use a soft cloth with a mild cleaner to wipe down all exposed components, taking advantage of the faucet’s streamlined design for easy maintenance.
Keep the installation manual accessible for future reference on maintenance procedures and warranty details.
Finally, schedule regular inspections of the single lever handle and other components to guarantee consistent smooth operation and extend the product’s longevity.
Frequently Asked Questions
What Tools Are Recommended for Installing the Kohler Rubicon Faucet?
You’ll need a basin wrench to tighten or loosen faucet nuts in tight spots, and a level to guarantee proper alignment.
A screwdriver set is essential for securing handles and mounting brackets.
Pliers help adjust water supply lines for a secure seal, while a utility knife lets you trim excess material or seals during installation.
Having these tools ready makes the process smoother and guarantees a precise, leak-free fit.
Can I Install the Faucet Without Professional Plumbing Experience?
Yes, you can install the Kohler Rubicon faucet without professional plumbing experience. The system includes a Rite-Temp pressure-balancing valve that simplifies the process, and the single lever handle design minimizes complexity.
Make sure you follow the detailed technical specifications and use recommended tools precisely.
Reviewing maintenance guides beforehand will help you troubleshoot effectively. Accuracy in measurements and careful execution are key to a successful, leak-free installation.
How Do I Adjust the Water Temperature After Installation?
To adjust your water temperature, start by loosening the screw on the temperature limit stop located on the Rite-Temp valve behind the faucet.
Turn it clockwise to lower or counterclockwise to raise the max temperature. Tighten the screw securely afterward.
Always test the water flow to verify it matches your preference.
If it’s off, double-check that hot and cold supplies are correctly connected before tweaking further.
What Maintenance Is Required to Keep the Faucet Functioning Well?
You’ll need to regularly clean the multifunction showerhead to prevent mineral buildup and maintain water flow.
Lubricate the single lever handle’s mechanism with silicone-based lubricant to guarantee smooth operation.
Check the bath spout and faucet for leaks and fix them promptly to save water.
Use Kohler-approved non-abrasive cleaners to protect the finish.
Finally, maintain the Rite-Temp pressure-balancing valve to ensure steady temperature and pressure during use.
Are Replacement Parts for the Kohler Rubicon Faucet Readily Available?
Yes, replacement parts for the Kohler Rubicon faucet are readily available.
You can find them through authorized retailers or directly on Kohler’s official website, ensuring compatibility with your model.
If you’re unsure which part you need, Kohler’s customer support is ready to help via phone or email.
To locate nearby stores carrying these parts, use Kohler’s store locator. They also provide detailed technical resources to assist you in choosing the right components.
Conclusion
Now that you’ve installed your Kohler Rubicon shower faucet, remember: precision is your best friend. By turning off the water, securing all connections tightly with plumbing tape, and testing for leaks, you’ve guaranteed a smooth, balanced flow every time.
Like a well-oiled machine, your faucet will perform flawlessly, no drips, no fuss. Keep these pro tips in mind, and your shower will be a reliable oasis for years to come.