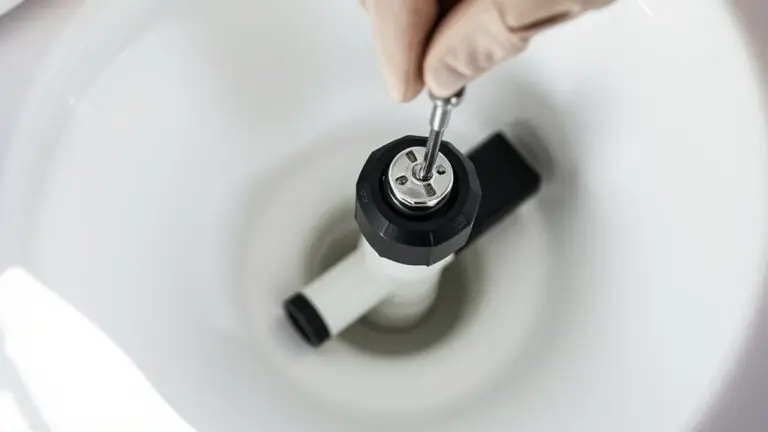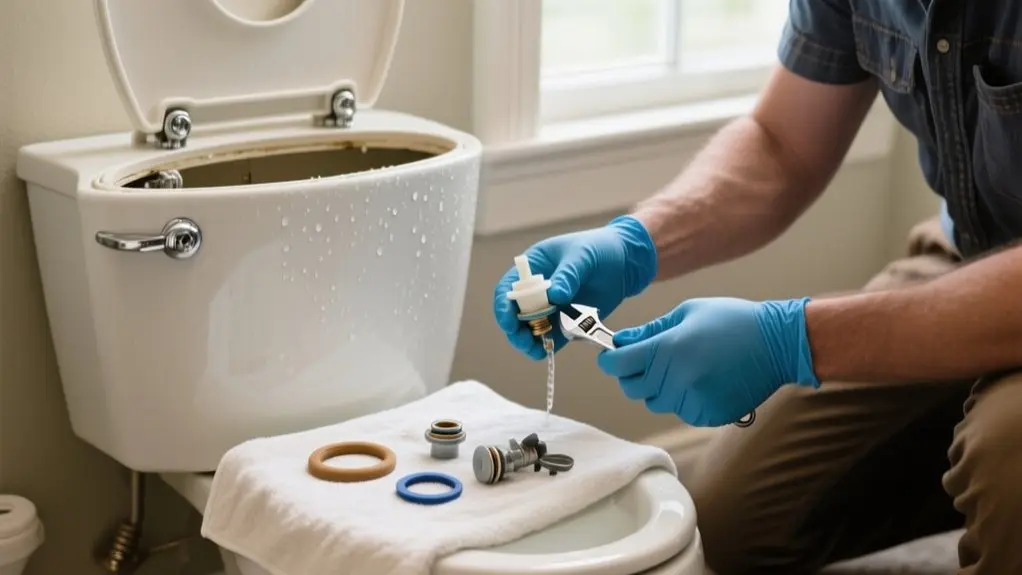
How To Fix Leaking Kohler Toilet – Step-by-Step Guide
To fix a leaking Kohler toilet, first turn off the water supply and empty the tank. Check the flapper for wear. Replace it if it leaks by removing the lift chain and swapping flappers.
Adjust or replace the fill valve if water overflows or you hear hissing. Set the water level about one inch below the overflow pipe. Make certain the trip lever chain has 1-2 links of slack to prevent binding.
Follow these steps for effective repair, with more detailed solutions available.
How To Identify The Cause Of A Kohler Toilet Leak (Flapper, Fill Valve, And More)
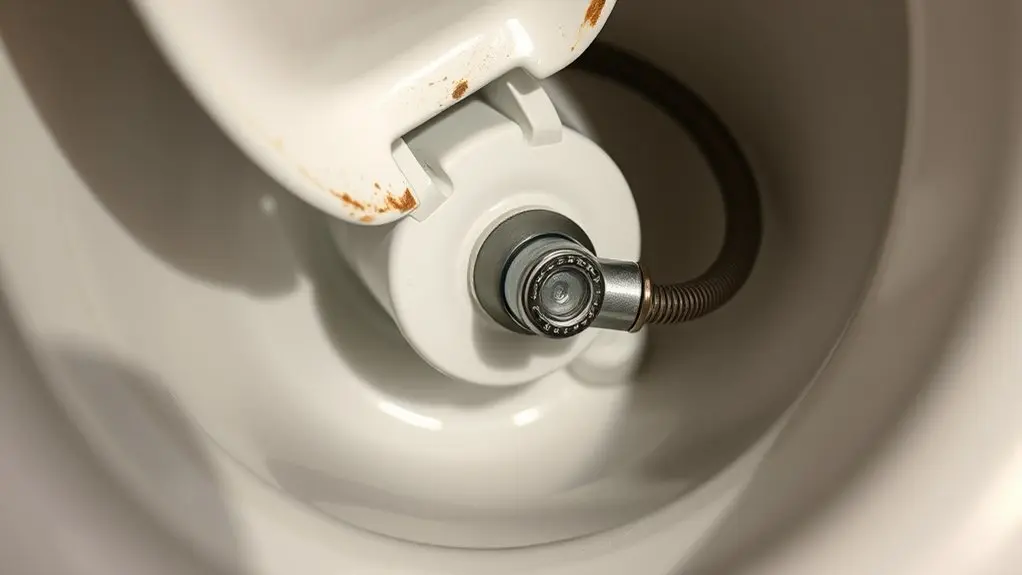
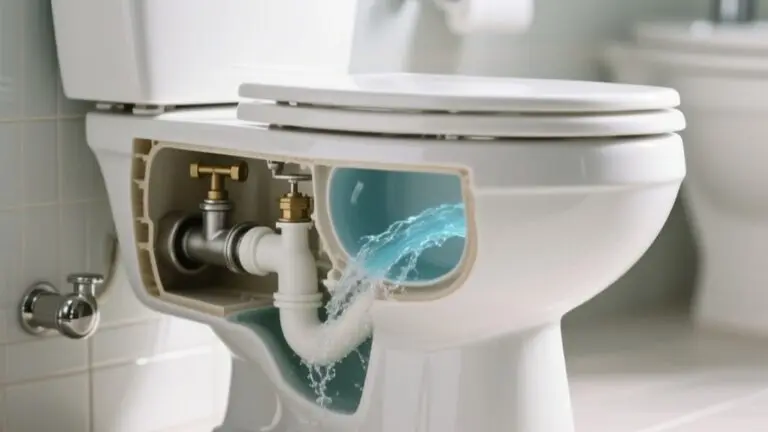
Leaks in Kohler toilets often stem from specific components like the flapper or fill valve, so pinpointing the exact cause is crucial for an effective fix.
Start by inspecting the flapper for wear or damage; a worn flapper allows water to continuously escape from the tank into the bowl, causing constant running.
Next, check the tank water level. If water overflows into the flush valve overflow tube, the fill valve may need adjustment to lower the water level.
Debris under the fill valve cap can also cause malfunction, so clean it regularly.
Watch for ripples in the bowl, which indicate fill valve or trip lever issues.
Confirm the trip lever chain has 1-2 links of slack to prevent binding and maintain proper function.
How To Replace The Kohler Toilet Flapper, Step By Step
First, turn off the water supply and flush the toilet to empty the tank.
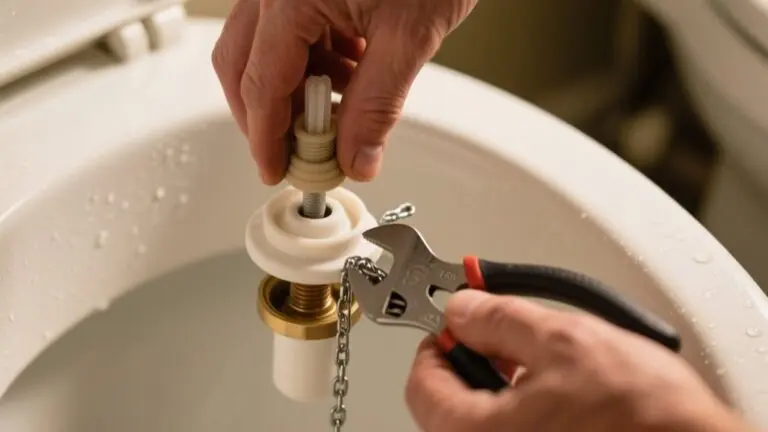
Once that’s done, disconnect the lift chain and remove the old flapper from the flush valve pegs.
After that, go ahead and install the new flapper securely onto the pegs.
Then, reconnect the lift chain, making sure to leave a little slack so it can move smoothly.
Finally, if needed, adjust the chain length, turn the water supply back on, and test the flapper to make sure it seals properly and stops any leaks.
Flapper Removal Steps
Before replacing the Kohler toilet flapper, make certain you shut off the water supply and completely empty the tank by flushing the toilet.
With the tank empty, locate the flapper attached to the overflow tube inside the tank.
Unhook the flapper from the flush lever arm, then carefully remove it from the pegs on the overflow tube. This detaches the old flapper, allowing you to inspect or measure it accurately.
Knowing your Kohler toilet model is essential to make sure you get the correct replacement flapper that fits precisely.
Handling the flapper removal step carefully prevents damage to the flush lever or overflow tube, maintaining the integrity of the water supply system.
Once removed, you’re ready to proceed with installing the new flapper designed for your specific toilet model.
Installing New Flapper
With the old flapper removed, the next step is to prepare the flush valve area by cleaning it thoroughly. This guarantees a tight seal for your new Kohler flapper.
Carefully hook the new flapper onto the flush valve, making sure it sits evenly to prevent leaks. Attach the lift chain, leaving 1-2 links of slack to allow smooth operation.
Once installed, turn the water supply back on and let the tank refill completely. Watch the flush and refill cycles closely to confirm there are no leaks or malfunctions.
Feel confident knowing the flush valve is sealed properly.
Experience a quieter, leak-free tank operation.
Save water and reduce your utility bills.
Avoid the frustration of repeated repairs.
Restore your toilet’s reliability with a precise fix.
Adjusting Flapper Chain
Although the water supply should be off, you’ll need to remove the tank lid to access the flapper chain mechanism in your Kohler toilet.
For one-piece toilets, locate the chain connecting the flush lever to the flapper.
Verify the chain has 1-2 links of slack; too tight, and it keeps the flapper open, causing leaks. Adjust the chain length by shifting it to a different lever attachment point or using a chain link tool.
After adjustment, flush the toilet to confirm the flapper seats fully and stops water flow into the bowl.
Regularly inspect the chain and flapper for wear or damage, especially in one-piece toilets, replacing parts as necessary to maintain effective sealing and prevent continuous leaks.
How To Adjust Or Replace The Kohler Toilet Fill Valve
If your Kohler toilet’s water level is off or the fill valve leaks, you’ll need to adjust or replace the valve to restore proper function.
Start by locating the adjustment screw on top of the valve; turn it clockwise to lower or counterclockwise to raise the water level.
If the valve leaks or malfunctions, shut off the water supply and drain the tank before replacing it with Kohler-specific parts for a precise fit.
Verify the trip lever chain has 1-2 links of slack to avoid binding.
Regularly flush the fill valve to clear debris and prevent future leaks.
- Precise adjustment screw control
- Step-by-step valve replacement
- Kohler-specific parts guarantee
- Smooth trip lever chain operation
- Maintenance extends valve lifespan
How To Set The Correct Water Level In Your Kohler Toilet
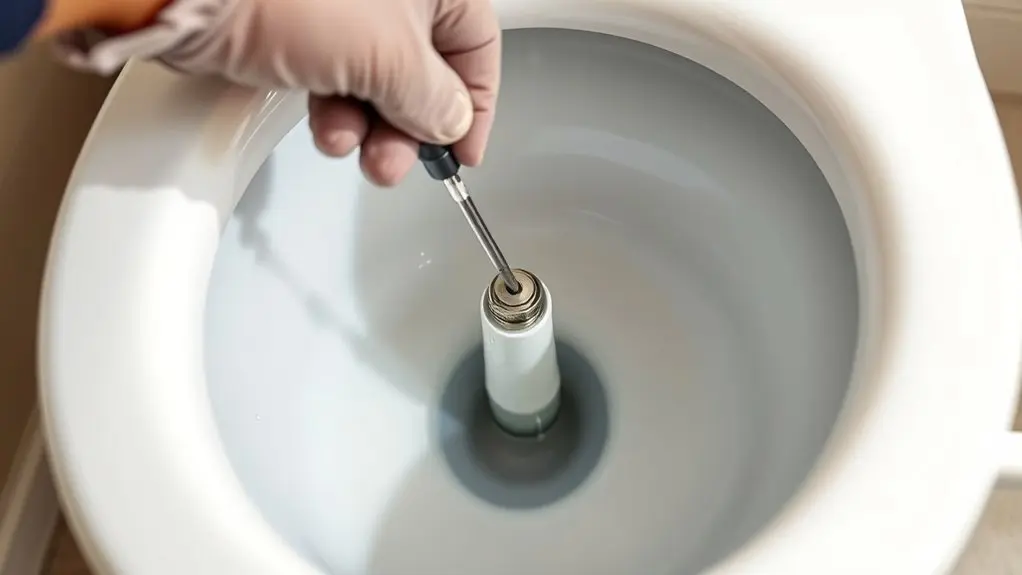
After adjusting or replacing the fill valve, setting the correct water level in your Kohler toilet guarantees top performance and prevents leaks. Locate the float adjustment clip on the fill valve and raise or lower it so the water level sits about 1 inch below the overflow tube’s top.
If your model has a float arm adjustment screw, turn it clockwise to raise or counterclockwise to lower the water level. Flush the toilet after adjusting to confirm proper refill and watch for overflow or leaks.
Always consult your Kohler model’s guide for exact water level specs. Regular checks and adjustments can prevent running water and extend component life.
| Step | Action | Expected Outcome |
|---|---|---|
| Locate float clip | Find on fill valve | Access for adjustment |
| Adjust float | Raise/lower clip or turn screw | Set water ~1 inch below tube |
| Flush toilet | Trigger refill | Verify correct water level |
| Monitor overflow | Check overflow tube | No leaks or continuous running |
| Refer manufacturer | Check model’s guide | Confirm recommended settings |
Cleaning And Maintaining The Kohler Toilet Fill Valve For Long-Term Fixes
When you want to guarantee your Kohler toilet fill valve functions reliably over time, regular cleaning and maintenance are essential.
Start by shutting off the water supply and flushing the toilet to empty the tank. Use a plastic cup to remove sediment from the valve assembly.
Check for debris under the fill valve cap, as this can block proper operation and cause leaks.
Adjust the float to maintain the correct water level, preventing overflow.
Perform a quarterly flush of the fill valve using model-specific tutorials to prevent mineral buildup and guarantee peak performance.
- Prevent costly leaks wasting up to 200 gallons daily
- Avoid unexpected toilet malfunctions
- Extend your Kohler toilet’s lifespan
- Maintain water efficiency and reduce bills
- Guarantee quiet, smooth valve operation
Fixing Common Running Noises In Your Kohler Toilet
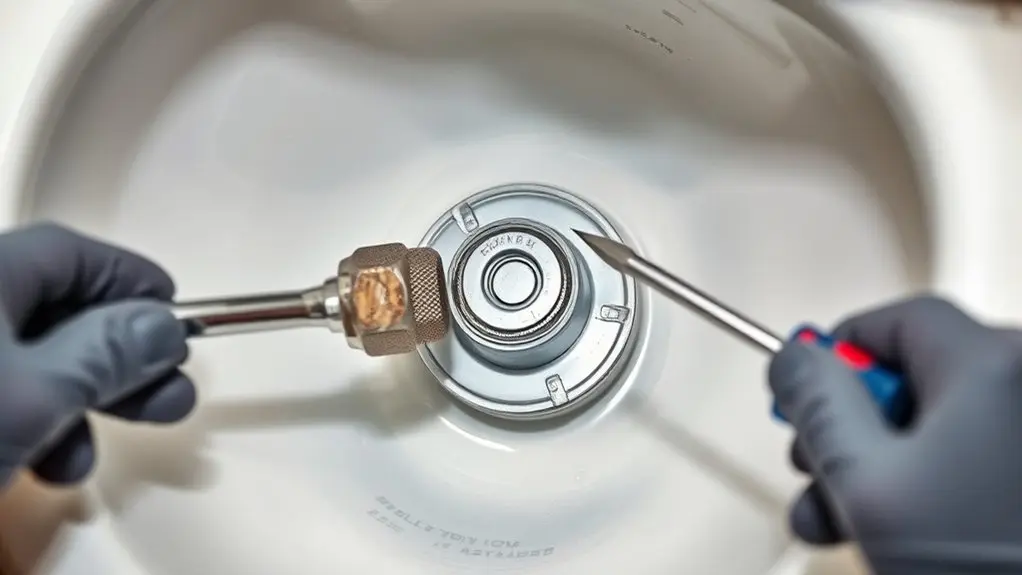
First, you’ll want to pinpoint where that running noise is coming from by listening carefully to the tank components of your Kohler toilet.
Usually, the usual suspects are a faulty fill valve, a trip lever chain that’s either too tight or too loose, or water spilling over into the flush valve tube.
The good news? Often, you can fix these issues quickly by just adjusting the chain slack or lowering the water level, and you won’t even need to replace any parts.
Identifying Running Noise
If your Kohler toilet keeps making running noises, start by listening closely to identify the source. Pay attention to subtle sounds like a ripple in the bowl. This often signals water leaking from the tank.
Remove the tank lid and observe the water level. Overflow into the flush valve overflow pipe means the water level is too high. Inspect the fill valve for debris under the cap, which can cause faulty operation.
Finally, check the trip lever chain. It should have 1-2 links of slack to avoid binding.
- Hear a continuous ripple?
- Notice water overflowing inside the tank?
- Detect a faint hissing near the fill valve?
- Feel the trip lever chain binding?
- See sediment buildup on the fill valve?
Identifying these signs helps you target the exact issue efficiently.
Common Causes Explained
Recognizing the specific sounds and behaviors inside your Kohler toilet tank guides you toward pinpointing common causes of running noises.
A binding trip lever arm often prevents the flapper from sealing, causing constant water flow.
Debris trapped under the fill valve cap disrupts water flow, resulting in continuous filling sounds.
If the water level is set too high, excess water overflows into the flush valve, creating a persistent hissing noise.
Sediment buildup in the fill valve can produce loud filling sounds or weak flushing streams.
To address these, verify the trip lever chain has 1-2 links of slack, which helps the flapper close properly and promotes efficient flushing.
These precise adjustments help identify and explain common running issues in your Kohler toilet.
Quick Fix Techniques
Frequently, the quickest way to silence a running Kohler toilet involves inspecting the trip lever arm for any binding that keeps it from resetting properly.
Next, check the fill valve for debris trapped under its cap, as this often causes continuous water flow.
Adjust the tank water level to guarantee it stays within the manufacturer’s recommended range, preventing overflow into the flush valve.
If problems persist, replacing the fill valve may be necessary due to sediment damage.
Regular maintenance, such as flushing the fill valve with a plastic cup, helps avoid future issues.
- Frustrated by constant running noises?
- Tired of water waste increasing bills?
- Annoyed by a faulty flush mechanism?
- Concerned about potential damage over time?
- Ready for a simple, effective fix?
When To Call Kohler Support Or Replace Parts Yourself
Many common issues, like constant running water or abnormal filling sounds, often point to a faulty fill valve or trip lever. These are components you can usually troubleshoot and replace on your own.
Start by verifying the tank’s water level and adjusting it to prevent overflow.
Begin by checking and adjusting the tank’s water level to avoid overflow issues.
Use OEM parts matching your Kohler model to guarantee compatibility and avoid further damage.
However, if you encounter major leaks or persistent problems despite your repairs, it’s time to call Kohler support. They offer expert guidance, additional troubleshooting steps, and warranty information.
Attempt repairs first, but don’t hesitate to seek professional assistance if issues persist or escalate. This approach balances cost-efficiency with effective resolution, ensuring your Kohler toilet functions reliably.
Frequently Asked Questions
What Tools Do I Need to Fix a Leaking Kohler Toilet?
You’ll need an adjustable wrench to tighten or loosen fittings, plus flathead and Phillips screwdrivers to remove covers and screws.
Keep a towel or sponge handy to absorb excess water.
Depending on the leak, have a replacement flapper or fill valve ready that matches your Kohler model number.
A plastic cup helps flush the fill valve during cleaning.
These tools guarantee you can diagnose and fix leaks efficiently and safely.
How Can I Prevent Future Leaks in My Kohler Toilet?
Imagine your Kohler toilet leaks because the flapper wore out unnoticed. To prevent future leaks, regularly inspect and replace the flapper every 3-5 years.
Keep the tank water level below the overflow tube and maintain proper slack in the trip lever chain.
Flush the fill valve and clean the tank every 6-12 months to avoid debris buildup.
These steps guarantee reliable performance and prevent costly water waste.
Are Kohler Toilet Parts Universally Compatible With Other Brands?
No, Kohler toilet parts aren’t universally compatible with other brands. You’ll find that Kohler designs their components specifically for their models, so fitting them into different brands can cause malfunctions or leaks.
While some universal parts might work, it’s best to use Kohler’s OEM parts to guarantee proper fit and function.
This approach helps maintain your toilet’s performance and prevents issues caused by mismatched components.
How Long Does a Typical Kohler Toilet Repair Take?
A typical Kohler toilet repair usually takes you between 10 and 30 minutes.
Simple fixes like adjusting the trip lever or replacing a fill valve are on the shorter end.
More involved repairs, such as changing the wax ring or addressing overflow issues, might take up to an hour.
Your experience level plays a role, too. Beginners may need extra time, so keep essential parts handy to speed things up.
Can Hard Water Cause Leaks in Kohler Toilets?
Can hard water cause leaks in Kohler toilets? Yes, it can. Hard water leads to mineral buildup that can obstruct the fill valve and damage seals, causing leaks.
You’ll want to regularly inspect and clean components like the flapper and fill valve to prevent corrosion and sediment accumulation.
If you live in a hard water area, installing a water softener might be your best bet to extend your toilet’s lifespan and avoid costly repairs.
Conclusion
Leaks from Kohler toilets account for nearly 30% of household water waste, making timely fixes essential. By identifying issues like a worn flapper or misadjusted fill valve, you can save both water and money.
Follow each step carefully to guarantee a precise repair and maintain peak performance. Regular maintenance prevents common problems, but don’t hesitate to contact Kohler support if needed.
Staying proactive keeps your toilet efficient and your water bill lower.