How To Fix Kohler Kitchen Faucet – Easy Guide
To fix your Kohler kitchen faucet, first turn off the water supply and gather a hex wrench and lubricant. Remove the handle by prying off the plug and loosening the screw underneath.
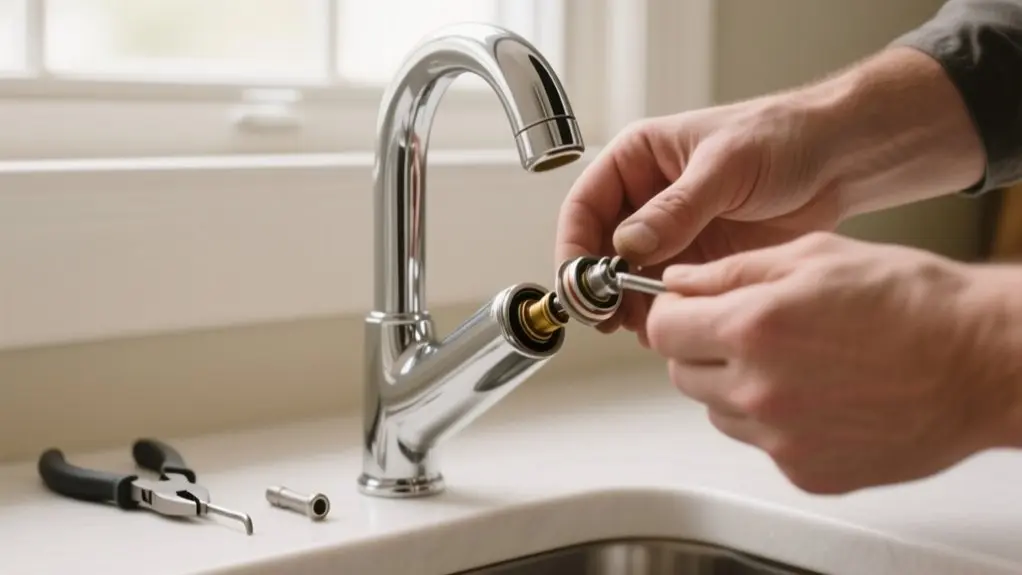
Unscrew the bonnet to expose the valve, then inspect and replace worn seals and O-rings with silicone lubricant. Reassemble the faucet, ensuring all parts align properly, and test for leaks.
Following these steps will help you restore your faucet’s function smoothly and efficiently. Further guidance covers troubleshooting common issues.
Turn Off Water and Gather Tools for Your Kohler Faucet
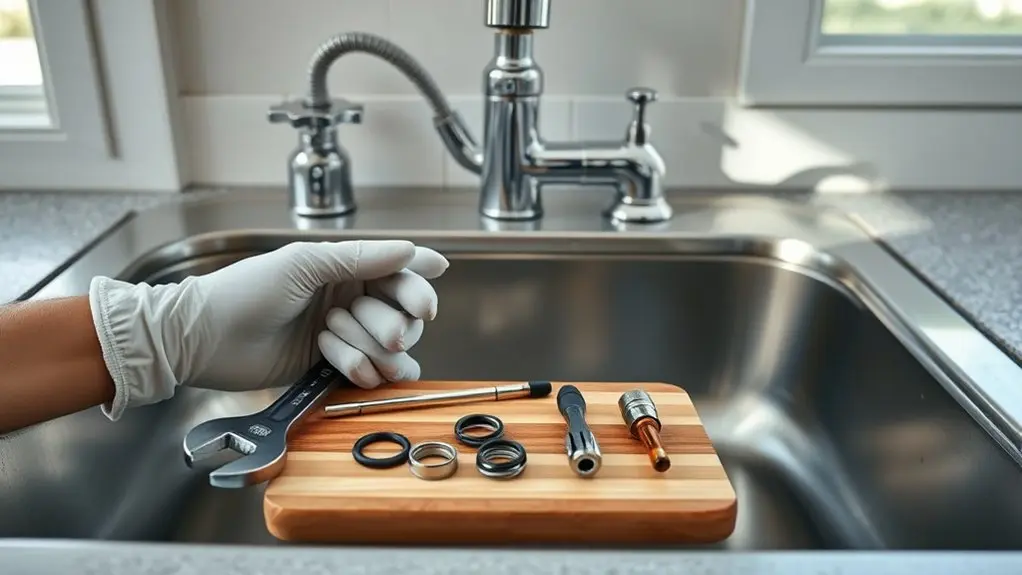
Before you begin repairing your Kohler kitchen faucet, turn off the water supply to stop any flow and prevent leaks. Locate the shutoff valves under your sink and close them firmly.
Next, gather the necessary tools: a hex wrench to loosen screws and a silicone-based lubricant to maintain seal integrity after repair.
Set up a well-lit workspace to clearly see all faucet components and reduce errors.
Prepare a container to catch any residual water that might drain when you disassemble parts.
Familiarize yourself with key components like the handle, bonnet, and internal seals.
Understanding these parts now will streamline your repair process and help you work efficiently without unnecessary interruptions or confusion.
Remove the Handle From Your Kohler Faucet
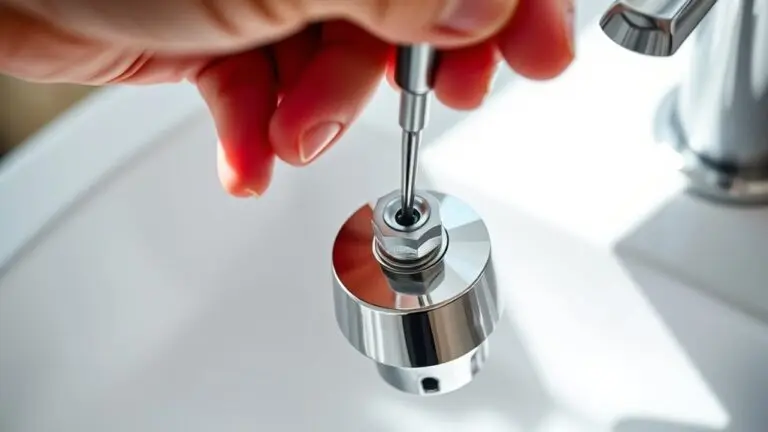
First, find the small plug on the back of the handle. Carefully pry it off so you can get to the screw underneath.
Then, grab a hex wrench to loosen and remove that screw.
Once the screw is out, gently pull the handle away from the faucet. Make sure to keep all the parts organized—they’ll come in handy when you put everything back together.
Before moving on, take a moment to check the internal components for any damage.
Locate Handle Plug
To remove the handle from your Kohler faucet, start by locating the handle plug, a small circular button on the back of the handle that hides the screw underneath. You’ll need to carefully pry this plug off without damaging the finish.
Follow these steps:
- Identify the handle plug on the handle’s backside; it’s small and circular.
- Use a flathead screwdriver or a similar tool to gently lift the plug off.
- Once removed, you’ll see the hex screw securing the handle to the faucet.
After you expose the screw, you’ll be ready to loosen it for handle removal.
Keep all parts organized to guarantee smooth reassembly later. This step is important for safely and efficiently accessing the fastening mechanism.
Remove Handle Screw
One key step in removing your Kohler faucet handle involves loosening the concealed screw beneath the handle plug.
Begin by locating the plug button on the back of the handle. Carefully pry out this plug using a small tool, exposing the screw underneath.
Set the plug aside safely for reassembly.
Next, use a hex wrench to loosen the screw, applying steady pressure to avoid damaging the handle. Once loosened, the handle will no longer be secured to the faucet body.
Be sure to keep all parts organized as you work.
After this step, you’ll be ready to proceed with removing the handle itself.
Checking for wear or damage at this point helps identify additional repair needs before full disassembly.
Detach Handle Carefully
Carefully lift the handle straight up once the screw is removed to prevent damaging internal components or seals. Before lifting, locate the plug button on the back of the handle and remove it to access the screw underneath. Use a hex wrench to loosen and remove this screw.
Follow these steps to detach the handle safely:
- Remove the plug button to expose the screw.
- Loosen and remove the screw with a hex wrench.
- Lift the handle straight up without tilting or twisting.
Keep all screws and components organized for smooth reassembly.
After removal, inspect the valve and surrounding areas for wear or damage. Handling the process with precision guarantees the faucet remains intact and functional for repair or maintenance.
Expose the Valve and Remove the Bonnet
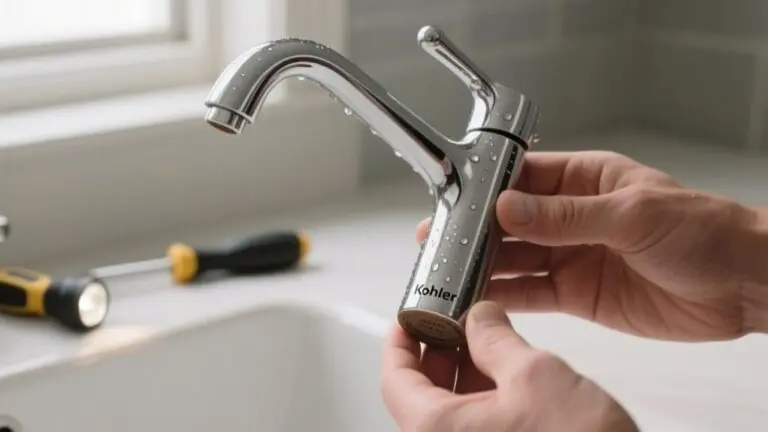
Although it might seem straightforward, you’ll want to twist the bonnet counterclockwise to detach it from the faucet body safely. Support the faucet firmly to avoid any damage as you remove the bonnet.
Once detached, you’ll have clear access to the valve and mounting nut inside. Take this opportunity to inspect these components carefully for signs of wear, corrosion, or damage that might affect faucet performance.
Identifying these issues early helps you plan necessary repairs.
When you finish your work, make sure you realign the bonnet and other parts precisely during reassembly, securing them tightly. This step guarantees ideal functionality and prevents leaks.
Handling this process methodically will make your Kohler kitchen faucet repairs more efficient and effective.
Replace Seals and O-Rings With Lubricant
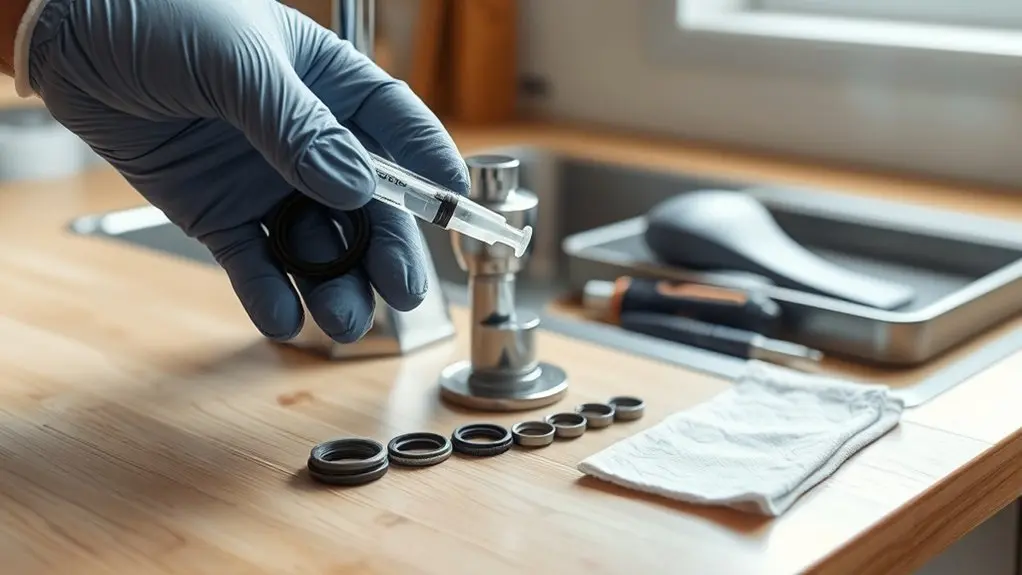
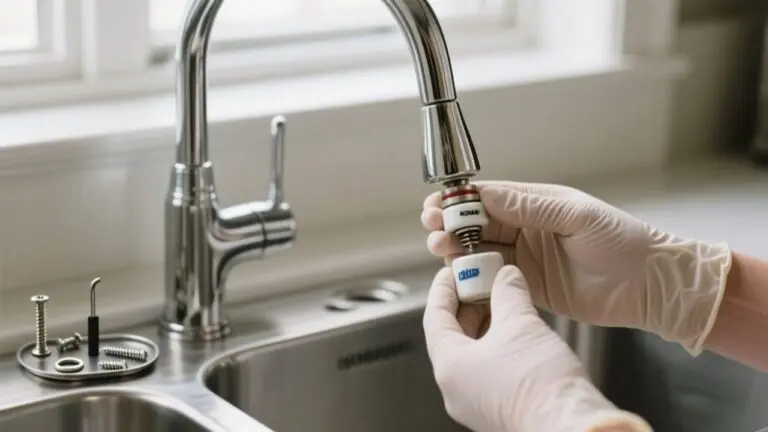
Start by turning off the water supply and gathering essential tools like a hex wrench and silicone-based lubricant. Next, remove the spout by pulling it straight up to access the seals and o-rings. Follow these steps:
- Inspect the black o-rings and white plastic bearings for wear or damage, removing any debris or buildup.
- Replace worn seals and o-rings with new ones, making certain all surfaces are clean and dry.
- Generously apply silicone-based lubricant to the new seals and o-rings to reduce friction and extend their lifespan.
Applying lubricant guarantees smooth operation and prevents premature wear.
Handle components carefully to avoid damage during replacement. This precise approach prepares your Kohler faucet for reassembly and reliable performance.
Reassemble Your Kohler Faucet and Test for Leaks
Once you’ve replaced the seals and confirmed all parts are clean, align the spout with the faucet body and slide it firmly into place. Twist the bonnet clockwise to reattach it, making sure it’s snug but not over-tightened to avoid damage.
Next, position the handle over the faucet and tighten the securing screw beneath using a hex wrench. Replace the plug button to cover the screw access, restoring a clean appearance.
Position the handle and secure it with a hex wrench, then replace the plug button for a neat finish.
After reassembly, turn the water supply back on slowly. Check carefully around the spout and handle for leaks by running the faucet through its range of motion.
Address any signs of leakage immediately to guarantee a proper, watertight fit before finishing your repair.
Troubleshoot Common Kohler Faucet Problems
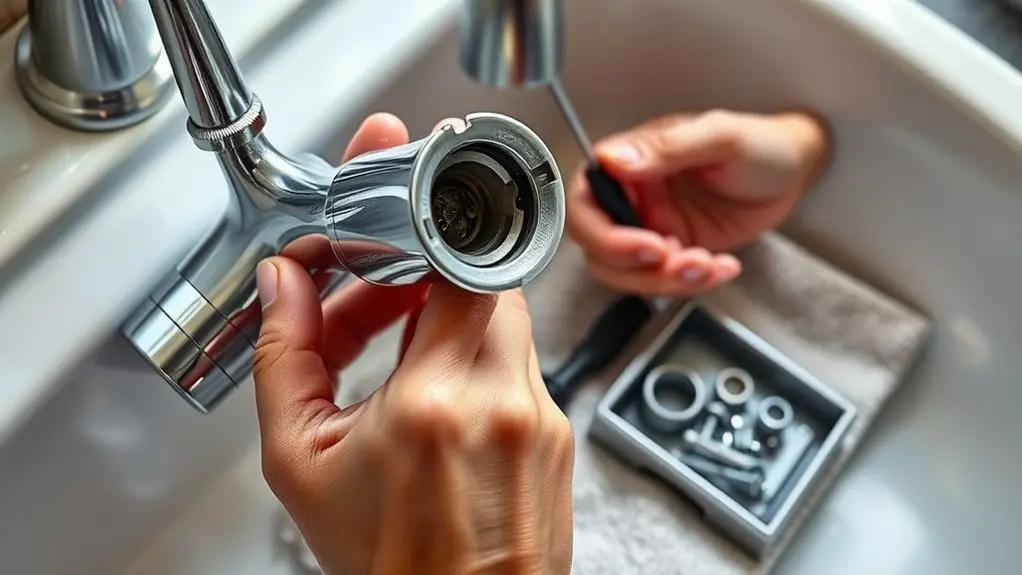
After reassembling your Kohler faucet and confirming it’s leak-free, you might still encounter issues that affect performance. Troubleshoot these common problems efficiently:
- Low water pressure: Remove and clean the aerator first. If that doesn’t help, check supply lines for blockages and clear them as needed.
- Faucet won’t turn on: Disassemble the faucet and inspect the cartridge and handle. Replace any faulty parts to restore function.
- Dripping or hard-to-turn handle: Inspect O-rings and seals for wear; replace if necessary. Apply silicone lubricant to internal components to reduce friction and stop dripping sounds.
Addressing these issues systematically guarantees your Kohler faucet operates smoothly without leaks or functional problems.
Frequently Asked Questions
What Type of Silicone Lubricant Is Safe for Kohler Faucets?
You should use a non-toxic, silicone-based lubricant designed specifically for plumbing applications to guarantee safety with Kohler faucets.
Avoid petroleum-based lubricants, as they can damage rubber and plastic components.
Choose a lubricant compatible with both materials to protect seals and O-rings effectively.
Applying a generous amount on new seals improves durability and faucet performance.
Always check Kohler’s manufacturer guidelines or warranty to confirm compatibility with your faucet model before use.
How Often Should I Replace Kohler Faucet Seals and O-Rings?
You should replace Kohler faucet seals and O-rings every 5 to 10 years, or sooner if you notice leaks, dripping, or reduced water flow.
Inspect them every 1 to 2 years for wear like cracking or hardening.
If you have hard water, check and replace seals more frequently.
Regular maintenance guarantees peak performance and prevents damage. This helps extend your faucet’s lifespan and keeps it running efficiently.
Can I Use a Universal Hex Wrench for All Kohler Faucet Models?
You can’t rely on a universal hex wrench for all Kohler faucet models. While many use standard sizes, some require proprietary wrenches to avoid damaging screws.
Always check your faucet’s manual or specs to find the exact size. Having a set of hex wrenches guarantees you use the right tool.
If unsure, contact Kohler support or visit their website for guidance before starting repairs.
What Should I Do if My Kohler Faucet Handle Feels Loose?
If your Kohler faucet handle feels loose, first remove the plug button at the back of the handle. Use a hex wrench to tighten the underlying screw securely.
If it remains loose, inspect seals and o-rings for wear and replace them as needed.
Also, check the bonnet for proper tightness.
After adjustments, test the handle’s stability before reassembling everything to guarantee a secure fix.
Are Kohler Faucet Parts Covered Under Warranty?
Of course, Kohler faucet parts are covered under warranty unless you installed it upside down, forgot to maintain it, or lost your receipt.
Seriously, Kohler offers a limited lifetime warranty on material and workmanship defects for original homeowners.
Damage from misuse or poor upkeep isn’t covered.
Just keep your original purchase receipt handy and check specific parts’ warranty durations, as some finishes and seals have shorter coverage.
Always review your regional warranty details for exact terms.
Conclusion
Fixing your Kohler kitchen faucet doesn’t have to be complicated. By turning off the water, removing the handle, and replacing worn seals and O-rings with lubricant, you can solve most common issues quickly.
Why spend money on a plumber when a few simple steps can restore your faucet’s performance? Follow this guide, and you’ll have your Kohler faucet working smoothly in no time. It’s practical, efficient, and hassle-free.