How To Fix Shower Faucet Diverter – Step-by-Step Guide
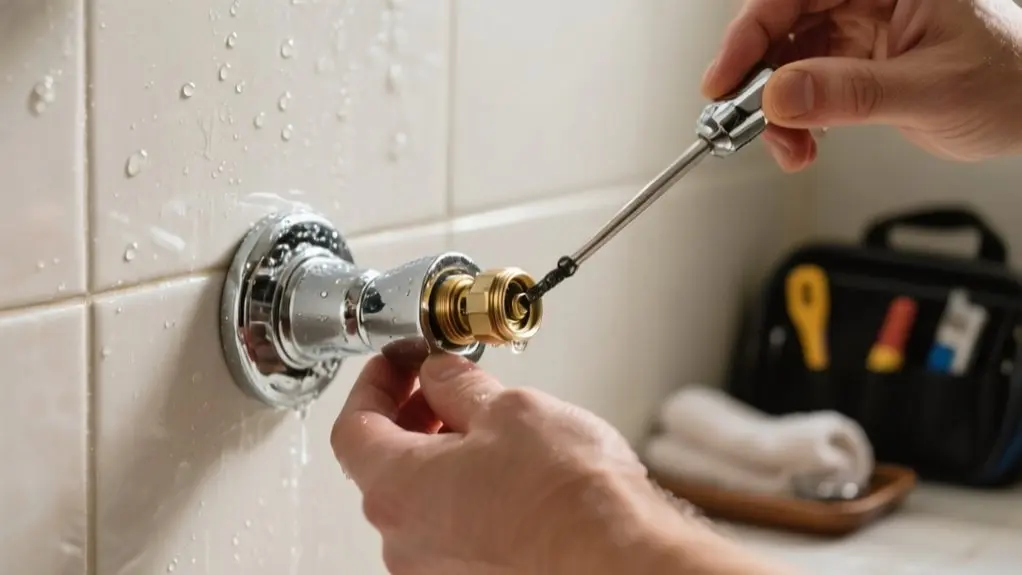
To fix your shower faucet diverter, first turn off the water supply and drain the faucet. Remove the diverter handle and escutcheon plate, then use pliers to extract the old diverter assembly.
Inspect for wear or corrosion, replace worn washers or O-rings, and install the new diverter by threading it carefully and tightening gently. Reconnect water, check for leaks, and verify proper water flow to the shower head.
Follow these steps closely, and you’ll quickly address common diverter issues and maintain peak function.
Signs Your Shower Faucet Diverter Is Broken
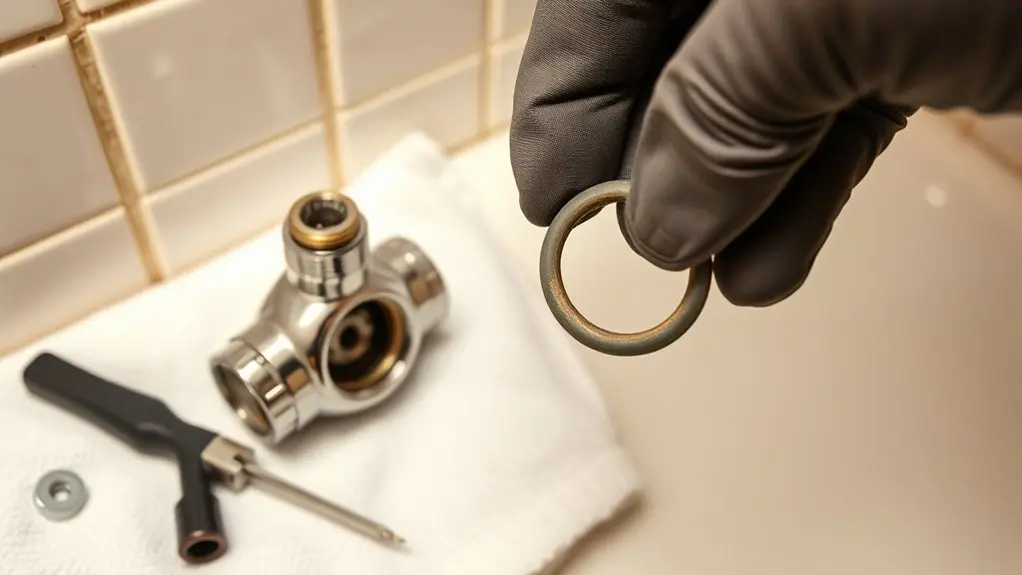
How can you tell if your shower faucet diverter is broken? Watch for water leaking from the bathtub spout instead of the shower head when you activate the diverter. That’s a clear sign of diverter malfunctions.
If leakage persists after engaging the diverter, it usually means the rubber stopper is worn or there’s an internal issue causing a poor seal. You might also notice weak water pressure or inconsistent flow during your shower, which often points to problems with the diverter’s operation.
Persistent leakage or weak water flow often indicates a worn rubber stopper or internal diverter issues.
Corrosion on the diverter stem or a weakened spring can contribute to these malfunctions by disrupting proper water flow.
Regularly checking for these signs helps you address issues early, preventing water wastage and maintaining an efficient shower experience.
Tools and Parts for Shower Faucet Diverter Repair
Noticing water leakage or weak pressure from your shower faucet diverter signals it’s time to make repairs. For effective tools and parts for shower faucet diverter repair, gather common tools like an adjustable wrench, groove-joint pliers, and a screwdriver.
Replacement O-rings or washers are essential to restore proper sealing. Keep duct tape handy to temporarily secure the diverter handle during the process. Plumber’s tape is also useful for sealing threaded connections.
Visit plumbing supply stores to find specific replacement parts or kits tailored to your faucet model. Always review the installation instructions carefully to guarantee compatibility and correct assembly.
Moreover, use a rag to catch small components during disassembly to prevent them from falling into the drain. This preparation streamlines your repair and prevents further issues.
How to Remove Your Old Shower Diverter
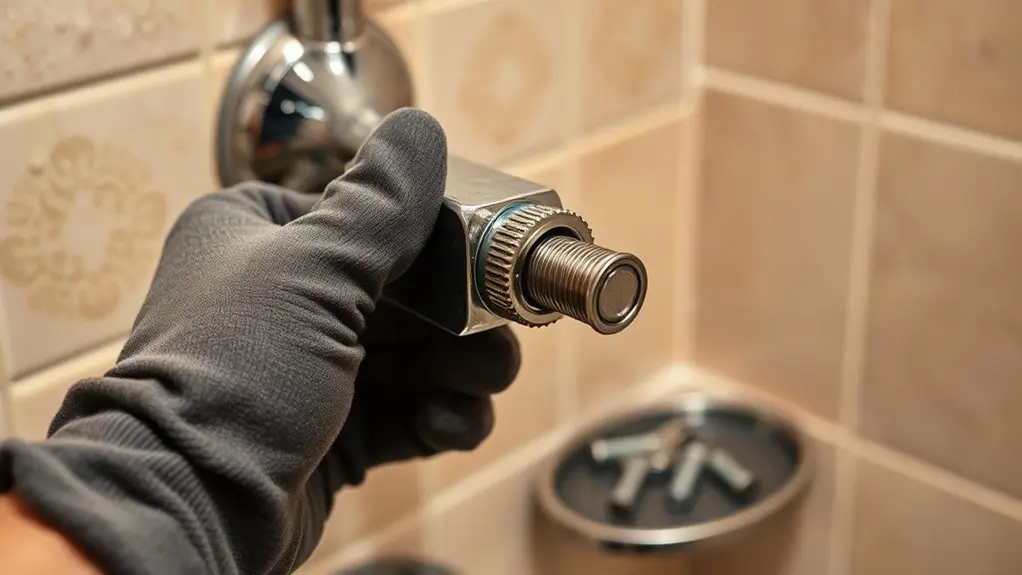
First, make sure to turn off the water supply and drain the faucet to prevent any spills.
Once that’s done, you can go ahead and remove the diverter handle and the escutcheon plate—usually, a screwdriver or an Allen wrench will do the trick.
After that, grab some pliers or a wrench and carefully pull out the diverter assembly from the faucet.
Easy enough, right?
Turn Off Water
Before removing your old shower diverter, turn off the water supply to prevent leaks or flooding. Locate the main shutoff valve for your bathroom or entire house and close it completely.
Next, open the shower faucet to drain any remaining water from the lines. This step guarantees a dry workspace and reduces the risk of water spilling during removal.
Once the water stops flowing, you’re ready to proceed safely. Turning off the water supply is vital to avoid damage and maintain control throughout the repair.
Keep in mind, if you skip this step, residual pressure may cause unexpected leaks or flooding when loosening the diverter components later in the process.
Always confirm the water is fully off before continuing.
Remove Diverter Handle
Once you’ve turned off the water supply, remove the screw securing the diverter handle using a screwdriver. This screw is usually located on the top or side.
To remove the diverter handle properly, follow these steps:
- Locate and unscrew the securing screw with a screwdriver.
- Gently pull the handle off the diverter stem; wiggle it if it feels stuck.
- If the handle resists removal, use a handle puller tool to avoid damage.
- After removal, inspect the diverter stem and surrounding area for wear or damage before proceeding.
Extract Diverter Assembly
Shutting off the water supply prevents leaks as you remove the diverter assembly.
First, use a screwdriver to take off the handle and escutcheon plate, revealing the diverter unit.
Next, use groove-joint pliers or an adjustable wrench to carefully extract the diverter assembly by unscrewing it from the faucet. Handle this step cautiously to avoid damaging surrounding components.
Once removed, inspect the diverter thoroughly, focusing on rubber parts for wear or damage. These rubber parts often cause leaks and should be replaced if compromised.
Keep all small components organized to guarantee smooth reassembly later.
Extracting the diverter assembly correctly sets the stage for effective repair or replacement, restoring proper shower function with minimal hassle.
How to Install a New Shower Faucet Diverter
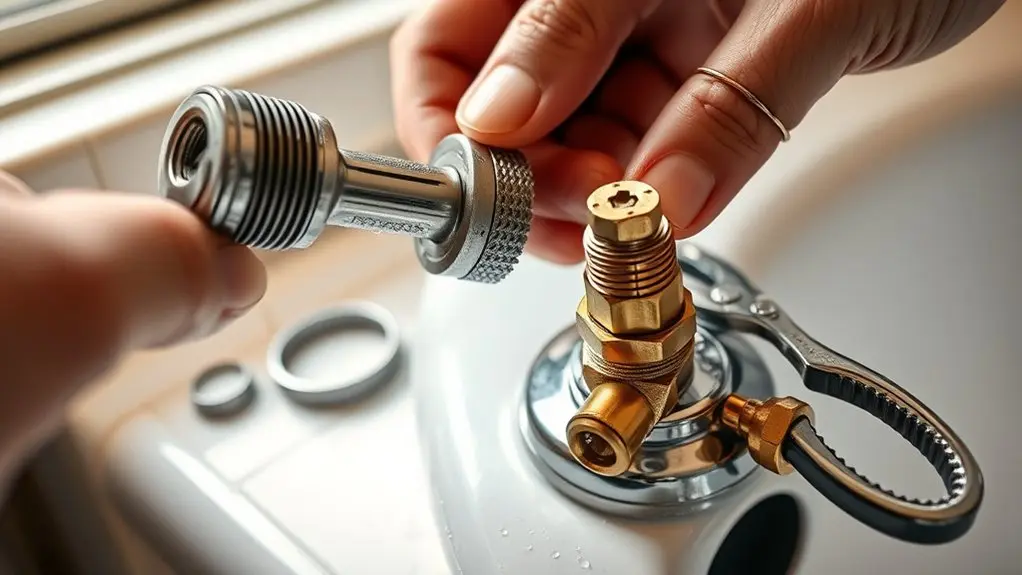
When you install a new shower faucet diverter, start by turning off the water supply to prevent leaks. Proper installation guarantees water flows correctly to the shower head.
Follow these steps:
- Align the new diverter with the faucet assembly threads to avoid cross-threading.
- Use a wrench to tighten the diverter gently; avoid overtightening to prevent damage.
- Reconnect the water supply and turn on the faucet to check for leaks.
- Confirm the diverter directs water properly by verifying flow to the shower head.
This straightforward approach ensures a secure fit and proper function, setting the stage for testing and adjustments.
Testing and Adjusting the Diverter for Proper Flow
Although installing the diverter is essential, testing its operation assures your shower functions correctly. Start by activating the shower and observing water flow from the showerhead.
If water leaks from the bathtub spout, the diverter needs testing and adjusting. Check the diverter’s position to confirm it fully redirects flow. Use a wrench to gently tighten if loose, but avoid overtightening.
Inspect for corrosion or wear that may affect pressure.
| Issue | Cause | Action |
|---|---|---|
| Water leaks spout | Faulty rubber seal | Replace or adjust diverter |
| Low water pressure | Corrosion | Inspect and clean or replace |
| Loose diverter | Improper installation | Tighten carefully |
| Flow not redirecting | Misalignment | Reposition diverter |
| Intermittent flow | Wear and tear | Test and adjust or replace |
Maintenance Tips to Extend Your Diverter’s Life
Making sure your diverter operates smoothly goes beyond initial adjustments and testing. Applying regular maintenance tips can greatly extend its life and prevent costly repairs. So, follow these practical steps:
Ensuring your diverter works smoothly requires ongoing care beyond just initial setup and testing.
- Clean the diverter regularly to remove mineral buildup that impairs function and longevity.
- Inspect and replace worn rubber washers and O-rings to maintain a tight seal and avoid leaks.
- Use the diverter gently; avoid forcing it to prevent premature wear and mechanical failure.
- After use, leave the diverter closed for a few seconds to drain residual water, reducing corrosion risk.
Additionally, schedule routine maintenance checks annually to catch minor issues early. Incorporating these maintenance tips will make sure your diverter remains reliable and efficient over time.
Frequently Asked Questions
Can a Shower Diverter Be Repaired Without Shutting off Water Supply?
You can’t effectively perform diverter maintenance without shutting off the water supply. Leaving it on risks water damage, uncontrolled pressure, and injury from sudden bursts.
For precise repairs, you need a controlled environment, which only happens when the water is off. Skipping this step makes it harder to replace or adjust components correctly and increases the chance of damaging the diverter further.
Always turn off the water before starting maintenance.
How Do I Identify the Diverter Type for My Faucet Model?
Think of your diverter mechanism like a lock’s unique key. To identify it, start by checking your faucet handle style. Single handles often hide the diverter inside.
Look for a pin knob on the tub spout; it signals a standard diverter.
If you’re unsure, find manufacturer markings or model numbers on the faucet body. Then compare them online or in manuals.
Snap a photo to consult a professional if needed.
What Causes a Shower Diverter to Fail Prematurely?
Your shower diverter fails prematurely mainly due to poor diverter maintenance. Frequent use without inspecting or replacing worn rubber seals and gaskets leads to leaks.
Corrosion from moisture and minerals damages metal parts, while improper installation causes cross-threading and leaks. Pressure fluctuations stress the mechanism, accelerating wear.
Neglecting regular cleaning allows sediment build-up, reducing performance. Staying on top of maintenance helps extend your diverter’s lifespan and prevents early failure.
Are There Eco-Friendly Diverter Options Available?
Yes, you can find eco-friendly diverter options made from materials like recycled metals and plastics.
These diverters reduce water waste by efficiently controlling flow and maintaining pressure. They often limit flow to 1.5 gallons per minute or less.
When you choose WaterSense-labeled models, you guarantee compliance with EPA efficiency standards.
Installing these not only conserves water but may also qualify you for local rebates, making them a practical, sustainable choice.
Can a Faulty Diverter Affect Water Heater Performance?
Yes, a faulty diverter can affect your water heater’s performance.
Poor diverter maintenance leads to inconsistent water flow and leaks, which cause your heater to work harder to maintain temperature. This increases energy consumption and can reduce hot water availability.
Ensuring regular diverter maintenance helps maintain proper water pressure and sealing, improving efficiency and extending your water heater’s lifespan while preventing unnecessary wear and energy waste.
Conclusion
By following these steps, you’ll gently guide your shower faucet diverter back to reliable performance, avoiding the frustration of unexpected leaks or weak water flow. Regular upkeep guarantees it stays in top shape, sparing you from more complicated repairs down the line.
Remember, a little attention now saves you from the inconvenience of a major overhaul later, keeping your shower experience smooth and hassle-free.