How To Adjust Glass Shower Door Pivot Hinge – Do It Right
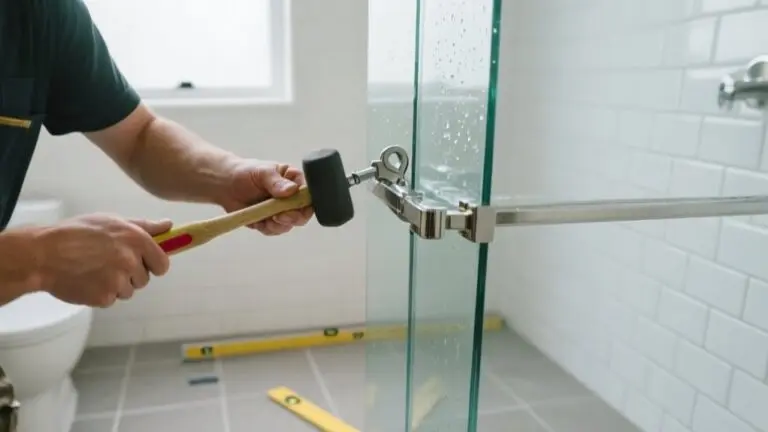
To properly adjust your glass shower door pivot hinge, first identify the top and bottom hinges. Use Allen wrenches and a Phillips screwdriver to access the adjustment screws.
Turn the bottom hinge screw clockwise to raise the door, or counterclockwise to lower it. Adjust the top hinge for vertical and lateral alignment.
Always wear safety gear and work with a helper to stabilize the door. Check with a level to confirm plumb alignment.
Fine-tune tension and clearance for smooth operation and leak prevention. You’ll find precise adjustment tips and troubleshooting steps ahead.
Identify Your Shower Door Pivot Hinge and Components
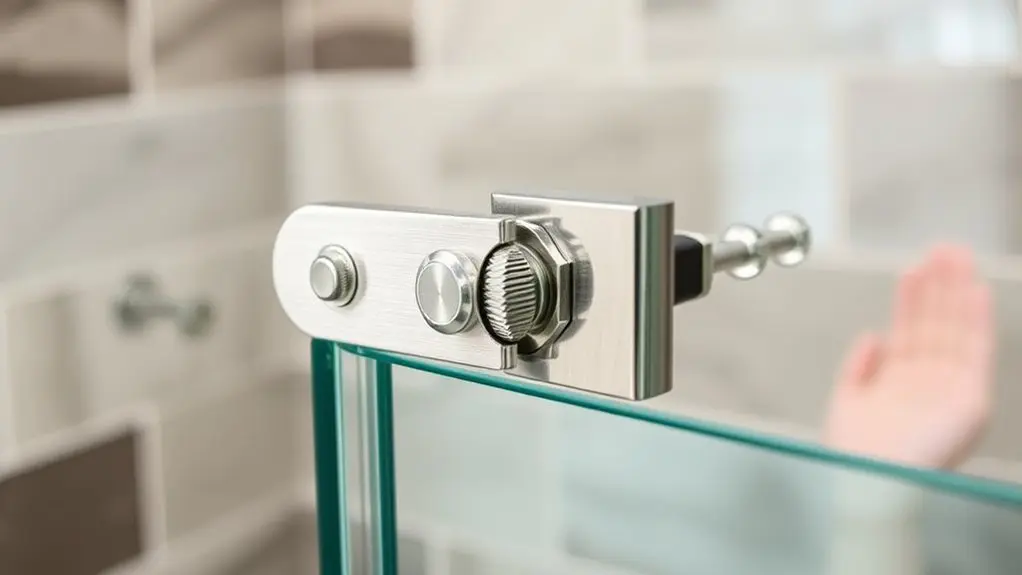
To properly adjust your glass shower door pivot hinge, you first need to identify the two primary components: the top hinge, which controls the door’s height and position, and the bottom hinge, which anchors the door and manages its swing.
Understanding your door type—hinged, pivot, or sliding—is essential for applying the correct adjustment techniques.
The top pivot hinge allows vertical and lateral adjustments through specific screws, while the bottom pivot hinge stabilizes the door during operation.
Regular inspection of these pivot hinges is critical to detect wear or misalignment that could cause leaks or operational issues.
Familiarize yourself with the pivot hinge assembly, including adjustment screws, so you can perform precise maintenance and troubleshooting effectively.
This knowledge guarantees your glass shower door functions smoothly and safely.
What Tools You’ll Need for Pivot Hinge Adjustment
You’ll want to have a set of Allen wrenches handy to adjust the pivot hinge screws just right.
A Phillips head screwdriver comes in useful too, especially for taking off any protective caps.
An adjustable wrench is great for dealing with larger nuts that might be in the way.
And don’t forget a level—it’s key to making sure your door stays perfectly vertical once you’ve made your adjustments.
Oh, and using a soft cloth is a smart move to keep the glass safe from scratches while you work.
Essential Adjustment Tools
Five essential tools guarantee accurate adjustment of your glass shower door pivot hinge.
First, a set of hex keys (Allen wrenches) allows precise manipulation of the set screws, controlling alignment and tension.
Next, a Phillips head screwdriver is necessary for removing and replacing hinge caps or covers during the process.
Use an adjustable wrench for tightening larger nuts found on heavy-duty pivot hinges, ensuring secure fittings.
A level is indispensable for verifying the door’s vertical and horizontal alignment after adjustments, maintaining proper function.
Finally, keep a soft cloth ready to protect the glass surface from scratches while working.
These essential adjustment tools form the foundation for a precise, professional hinge adjustment, preventing damage and ensuring smooth operation.
Tool Usage Tips
Properly adjusting a glass shower door pivot hinge demands the right tools and careful technique. Following essential tool usage tips guarantees you handle the shower door’s components precisely, preventing damage and assuring correct alignment.
Key tools include hex keys (Allen wrenches) for turning set screws and fine-tuning height adjustments. A Phillips head screwdriver removes caps and accesses hinge screws securely. You’ll also need an adjustable wrench to tighten larger nuts on heavy-duty hinge systems.
Use a level to verify the door’s vertical alignment after adjustments. This ensures it swings smoothly and seals properly.
Protect the glass surface by placing a soft cloth beneath tools during work to avoid scratches.
Applying these tool usage tips will help you achieve professional results with your shower door’s pivot hinge adjustment.
Safety Precautions Before Adjusting Your Shower Door
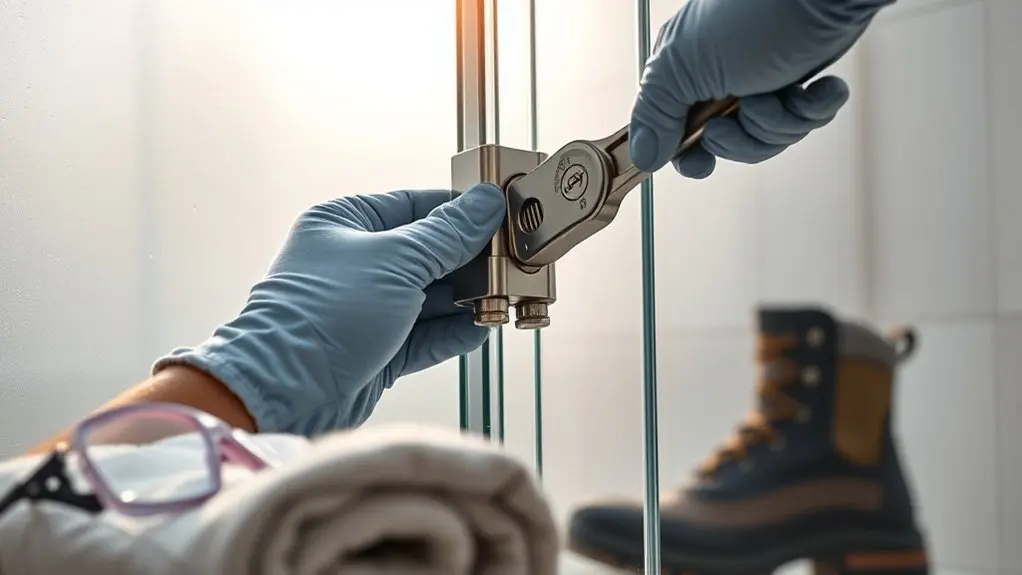
Before adjusting your glass shower door pivot hinge, guarantee you wear safety glasses and gloves to protect against potential glass shards. These safety precautions are essential to prevent injury during the process.
Always work with a helper to stabilize the door, preventing unexpected swings that could cause damage or harm. Clear the area around the shower by removing mats, rugs, and any products to eliminate tripping hazards and guarantee an unobstructed workspace.
Handle all glass components with care, as improper handling can lead to breakage or personal injury.
Prioritizing these safety precautions guarantees a controlled environment, allowing you to adjust the pivot hinge efficiently and securely without risking accidents or damage.
Common Shower Door Pivot Hinge Problems and How to Diagnose Them
How can you tell if your shower door’s pivot hinge needs adjustment? Diagnosing issues early guarantees smooth operation and prevents water leaks in your shower enclosure.
Pay attention to these common problems:
Scraping noises indicate the door needs raising via the top pivot adjustment.
Scraping sounds mean it’s time to raise the door using the top pivot adjustment.
Gaps between the door and frame signal the top hinge requires inward alignment.
Door rubbing against the header suggests lowering or lateral adjustments are necessary.
Additionally, erratic swinging often points to tension problems in the bottom hinge, which you’ll want to stabilize.
By accurately identifying these symptoms, you can target the exact pivot hinge adjustments needed to restore proper function and maintain the integrity of your shower enclosure.
Avoid ignoring these signs to prolong door lifespan and avoid costly repairs.
Finding Pivot Hinge Adjustment Screws
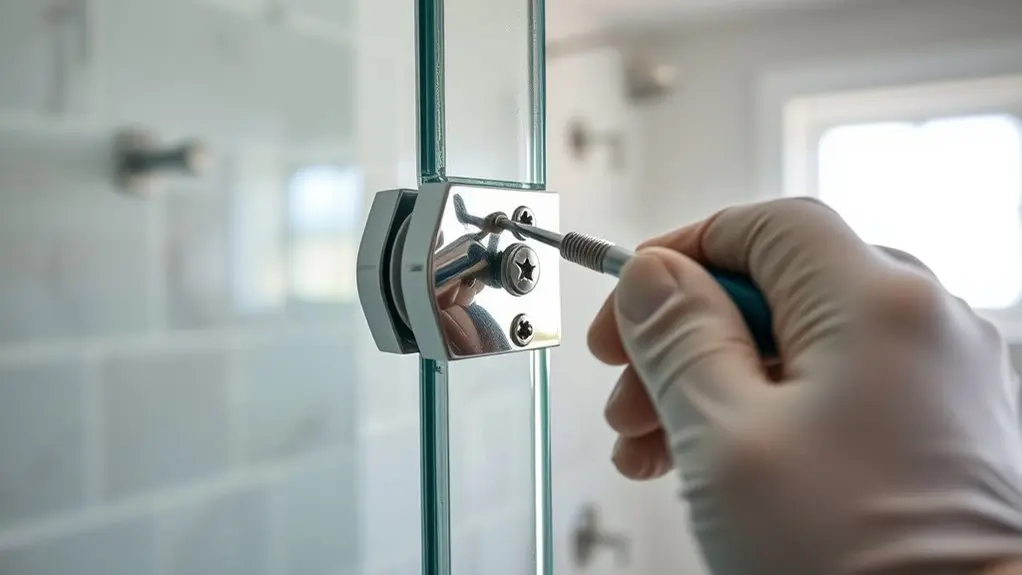
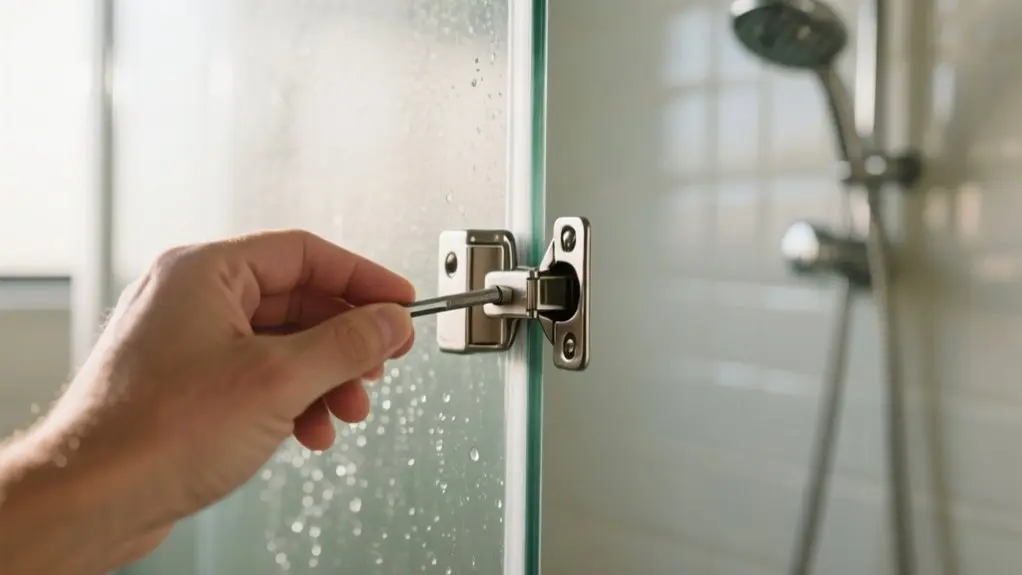
You’ll find the pivot hinge adjustment screws at both the top and bottom of the hinge. They’re usually hidden under removable caps, so you’ll need to pop those off first. A flathead screwdriver works great for removing the caps and revealing the screws underneath.
Once you’ve got them exposed, you’ll typically need a hex key to make the precise adjustments.
It’s important to know which screw controls the height and which one adjusts the lateral movement—that way, you can get everything aligned just right.
Locating Pivot Hinge Screws
Two primary pivot hinge screws are essential for adjusting your glass shower door’s alignment and height. You’ll find these screws on the top and bottom pivot hinges, each serving a distinct function.
The top pivot hinge screw adjusts the door’s height, while the bottom screw controls the door’s swing and alignment.
To locate the pivot hinge screws effectively, use a flashlight to illuminate the hinge area, improving visibility. Identify the set screw on the top hinge designed for height adjustments.
Then, check the bottom hinge for the screw that manages door swing.
Make sure you have the correct size Allen wrench, as it’s typically required to turn these screws.
Regular inspection and adjustment of pivot hinge screws maintain door alignment and prevent leaks.
Identifying Adjustment Mechanisms
After locating the pivot hinge screws on the top and bottom hinges, focus on identifying which screws adjust specific door movements.
The top hinge typically houses adjustment screws that control the door’s height and its inward or outward tilt.
The bottom hinge features screws that regulate the door’s swing and secure it firmly to the frame.
Use an Allen wrench to turn these adjustment screws, clockwise to raise or tighten, counterclockwise to lower or loosen.
After each adjustment, check for gaps between the door and frame; these gaps indicate misalignment needing correction.
Regular inspection and fine-tuning of the adjustment screws guarantee smooth door operation and prolong hinge lifespan.
Understanding these mechanisms is essential for precise, effective glass shower door adjustment.
Adjust the Top Shower Door Pivot Hinge
Adjusting the top shower door pivot hinge involves fine-tuning the height and the door’s inward or outward position to guarantee smooth operation.
Start by using an Allen wrench to turn the adjustment screws on the top shower door pivot hinge. This lets you raise or lower the door for ideal alignment.
If the door sticks or scrapes, turn the top pivot screw clockwise to raise it.
Keep these points in mind:
- Check for gaps or misalignment regularly to prevent leaks or malfunction.
- Ascertain the door swings freely and closes completely after adjustment.
- Fine-tune the inward/outward positioning to avoid frame contact.
Proper adjustment of the top shower door pivot hinge guarantees the door operates smoothly without scraping or binding.
Adjust the Bottom Shower Door Pivot Hinge
When you fine-tune the bottom shower door pivot hinge, you control the door’s vertical alignment and swing tension, which are essential for smooth operation.
To adjust the bottom shower door pivot hinge, locate the adjustment screw on the hinge. Using a hex key, turn it clockwise to raise the glass shower door or counterclockwise to lower it.
Locate the hinge adjustment screw and use a hex key to raise or lower the shower door.
This precise adjustment guarantees the door swings freely without scraping the floor or frame. After each turn, test the door swings to confirm proper alignment and tension. If the door doesn’t close fully, revisit the hinge tension.
Regular maintenance prevents wear and helps you avoid damaging the pivot hinge or door frame, preserving the functionality and lifespan of your glass shower door.
Testing Door Movement and Adjustments
Fine-tuning the bottom pivot hinge sets the stage for accurate testing of your glass shower door’s movement.
Now, systematically evaluate the door’s operation to verify proper alignment and function. Open and close the shower door slowly, listening for any scraping or binding that signals misalignment.
Then, check the gaps and seal to confirm even spacing and closure integrity. Use a level to verify the door is plumb, adjusting pivot screws as needed.
Focus on these key assessments:
- Observe swing smoothness and listen for friction noises indicating binding.
- Inspect top and bottom gaps for uniform spacing and proper sealing.
- Confirm the door closes securely to prevent water leakage.
Repeat these tests after each adjustment until the shower door operates flawlessly.
Keep Your Hinges Working Smoothly
Because hinges bear the door’s weight and govern its movement, you need to inspect them regularly for wear and alignment issues.
Focus on both the top and bottom pivot hinges of your shower door.
Use an Allen wrench to adjust the set screws on the top hinge, correcting height and alignment precisely.
Examine the bottom pivot for looseness or wear, as it anchors the door and controls its swing.
Lubricate all hinge components periodically with silicone spray to minimize friction and guarantee smooth operation.
After adjustments, verify that the shower door swings freely without scraping or rubbing, which signals further tuning is necessary.
Maintaining these hinges properly preserves your shower door’s functionality and extends its service life.
Frequently Asked Questions
Can Pivot Hinges Be Replaced Without Removing the Entire Door?
Yes, you can replace pivot hinges without removing the entire door by using precise replacement techniques.
Typically, you’ll unscrew the existing hinge while supporting the door securely to prevent damage or injury.
Then, align and install the new hinge in place, making minor adjustments with the built-in screws.
Always follow the manufacturer’s guidelines for your specific model to guarantee proper fit and function.
This approach saves time and maintains door stability throughout the process.
How Often Should Shower Door Pivot Hinges Be Lubricated?
Like clockwork, you should maintain a consistent lubrication frequency of every 6 to 12 months for your shower door pivot hinges. This schedule guarantees the hinges operate smoothly and resist rust.
Use a silicone-based lubricant because it’s water-resistant and won’t attract dirt.
Regular lubrication reduces friction, extends hinge lifespan, and prevents wear.
Always inspect for corrosion during lubrication and wipe away excess to keep your door moving flawlessly.
Are There Specific Brands of Pivot Hinges That Last Longer?
Yes, when you do a brand comparison, CR Laurence and Blum stand out for durable stainless steel pivot hinges. Kohler’s lifetime warranty shows their hinges’ long-term reliability.
Deltana’s solid brass hinges resist corrosion, ideal for humid spaces.
You should also look for hinges with polymer bushings to reduce wear and friction, guaranteeing smoother, longer-lasting performance.
Choosing these brands guarantees you get pivot hinges built to last, maintaining your shower door’s alignment and function.
Can Water Damage Affect the Pivot Hinge Mechanism?
Water exposure is the silent enemy that can corrode and weaken your pivot hinge mechanism. When moisture seeps in, it causes metal parts to rust and seals to fail, compromising hinge alignment and function.
You’ll notice swelling in surrounding materials, which throws the door off balance.
To keep your shower door operating smoothly, inspect regularly and use water-resistant components. Preventing water damage is key to maintaining hinge longevity and performance.
What to Do if the Door Still Leaks After Hinge Adjustment?
If the door still leaks after hinge adjustment, focus on leak prevention by inspecting seals for wear or damage and replacing them if needed.
Check door alignment carefully to eliminate gaps.
Tighten all pivot hinge screws securely to confirm proper sealing.
Apply a high-quality silicone sealant along the door edges for added waterproofing.
Maintain components regularly to prevent future leaks and assure your shower door’s peak performance and durability.
Conclusion
Now that you’ve finely tuned your shower door pivot hinges, your door should swing as smoothly as a well-oiled machine. Remember, precise adjustments prevent leaks and misalignment, ensuring long-lasting performance.
Stay vigilant for any signs of wear and lubricate regularly to keep everything in top shape. With these steps, you’re not just fixing a door—you’re engineering a seamless entry to your shower, built to withstand everyday use with ease and reliability.