How To Install A Frameless Shower Door – The Right Way
To install a frameless shower door the right way, start by measuring your shower opening precisely and checking walls for level and plumb. Mark hardware positions carefully, then drill slowly using the right bits to avoid tile damage.
Secure fixed glass panels with support and use suction cups for safety. Mount the door, adjust hinges for perfect alignment, and install seals and handles to prevent leaks.
Test the door’s operation thoroughly to guarantee smooth swing and tight sealing. Keep following these steps to master the full installation process.
Plan and Prepare Your Bathroom for Installation
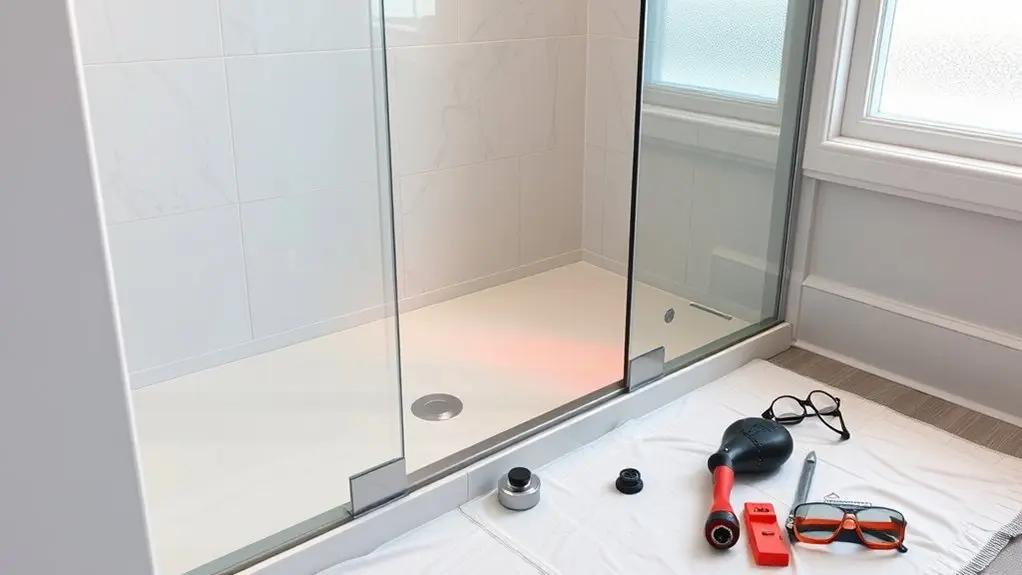
Before you install your frameless shower door, start by thoroughly evaluating your bathroom setup. First, identify your shower type, whether it’s walk-in, alcove, or corner, to plan the appropriate door and panel layout.
Next, measure the opening’s width and height at several points to guarantee accuracy and allow space for seals. Check that the walls are plumb and floors level since uneven surfaces can cause fitting issues and leaks.
Plan the door swing carefully, making sure it won’t block other fixtures or restrict access.
Furthermore, inspect walls for hidden plumbing or electrical lines before drilling to prevent damage.
Taking these precise steps in your preparation guarantees a smooth, secure installation and a perfectly functioning frameless shower door.
Measure and Mark Hardware Positions Accurately
Start by measuring the shower opening width at three different points to confirm accuracy, as walls often aren’t perfectly straight.
Next, measure the height from the curb or floor to your desired glass height, factoring in seals or sweeps for a watertight fit.
Use a level to check that everything is plumb and level before you mark hardware positions.
Mark these positions clearly on both the walls and glass with a pencil or masking tape to confirm accuracy when you drill.
Remember to allow proper gaps at the sides, top, and bottom to accommodate seals and sweeps.
Taking these careful, accurate measurements and markings helps confirm your frameless shower door will fit perfectly and maintain a watertight seal.
Drill Safely Into Tile or Masonry
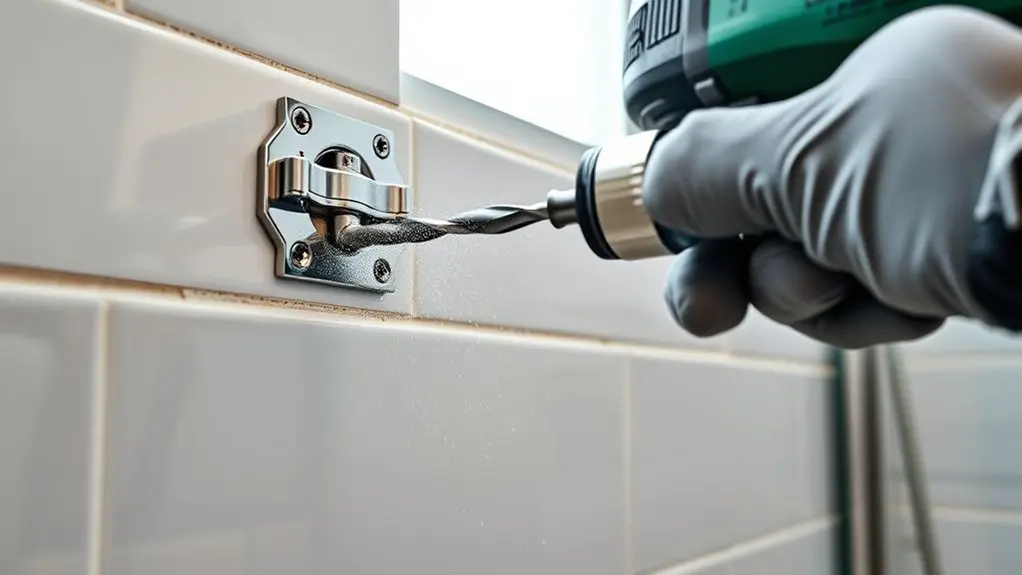
Although drilling into tile or masonry requires extra care, using the right tools and techniques will help you create clean, precise holes without damaging your shower walls.
First, mark hole centers on masking tape to improve visibility and accuracy.
Choose drill bits designed for tile or masonry, like diamond-tipped ones, to prevent damage.
Start drilling slowly to maintain control and avoid the bit wandering off the mark.
Apply gentle pressure throughout. Too much force risks cracking the tile.
After drilling, clean out dust from the holes thoroughly before inserting anchors.
This step is essential to guarantee a secure fit for your hardware.
Following these steps carefully will make drilling into tile or masonry safe and effective for your frameless shower door installation.
Install Fixed Glass Panels With Proper Support
You’ll want to support the fixed glass panel properly by using setting blocks or shims. This helps keep it stable and lined up perfectly with the seals.
Before you lift the panel, take some time to clean the shower curb thoroughly. It’s also a good idea to use suction cup lifters to handle the glass safely.
Once you have the panel in place, check that it’s perfectly plumb using a level.
After that, secure it firmly by following the manufacturer’s guidelines.
Supporting Glass Panels
Properly supporting fixed glass panels is essential to ensuring your frameless shower door remains stable and leak-free. When you install frameless tempered glass panels, use setting blocks or shims at the bottom edge to keep them level and secure.
Always handle the panels upright and use suction cup lifters for safe positioning. Before fastening, focus on checking wall studs or blocking to anchor support hardware like brackets or clamps firmly. This prevents movement and helps prevent water leaks.
Confirm the panels are plumb, and that seals or sweeps fit tightly to avoid gaps.
While many tasks require precision, remember that supporting glass panels correctly often calls for professional installation to guarantee durability, maintain safety, and protect your investment from water damage.
Ensuring Panel Alignment
When installing fixed glass panels, ensuring precise alignment is critical to their stability and long-term performance. To achieve proper panel alignment, you need to follow these essential steps:
- Use suction cup lifters for a secure grip when positioning large glass panels. This helps prevent slips and damage.
- Support panels with setting blocks or shims to maintain height and stability. Doing this reduces stress on the glass.
- Anchor the bottom edge into structural studs or 2×6 wood blocking. Make sure there are slight edge gaps for seals to prevent water leakage.
After positioning, always check for plumb and level with a level tool to guarantee proper alignment.
This careful approach prevents misalignment, enhances durability, and protects against water leakage. It ensures your frameless shower door functions flawlessly over time.
Mount and Adjust the Frameless Shower Door
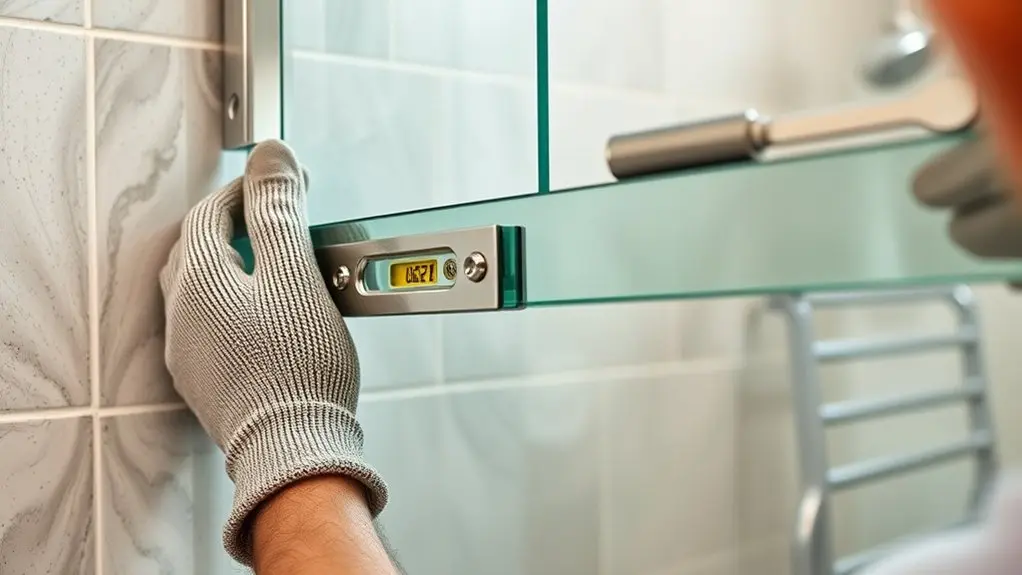
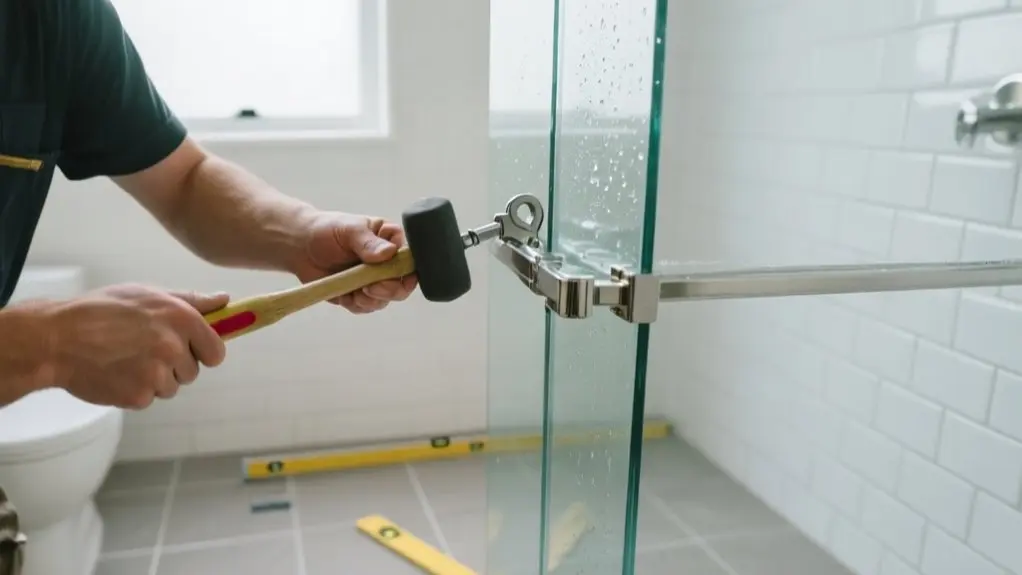
First, line up the hinge plates exactly over the drilled holes. This ensures the door will swing smoothly without any hiccups.
Next, carefully mount the glass door onto the hinges. It’s a good idea to use protective pads during this step to avoid any damage to the glass.
After that, take a moment to adjust the hinge tension and door swing. This way, you’ll get perfect alignment and the door will open and close effortlessly.
Align Hinges Precisely
Position the hinge plates accurately over the pre-drilled wall holes and attach them loosely to prevent misalignment during the installation.
To align hinges precisely, you need to match the hinge cutouts on the shower door with the hinge plates carefully. This guarantees the glass edges fit seamlessly and the door functions properly.
Next, secure the glass within the hinge clamps using hinge pins or screws, placing protective gaskets correctly to avoid damage.
Remember to check the alignment before tightening screws to maintain perfect positioning.
Avoid over-tightening hardware to prevent stress on the glass.
And confirm that the hinge plates hold the glass securely for safe, durable installation.
Adjust Door Swing
After securing the hinges and confirming they hold the glass firmly, you’ll focus on adjusting the door swing for ideal operation. Make sure the hinges are securely mounted to structural studs or 2×6 blocking to support the door’s weight.
Next, adjust door swing direction to avoid obstructions and check that the door is plumb and aligned with fixed panels. Use a level and tweak hinge tension if necessary to maintain smooth door movement and a secure close without excessive force.
Test the door multiple times to confirm proper operation.
| Step | Action |
|---|---|
| Structural Support | Secure hinges to studs/blocking |
| Alignment | Confirm door is plumb and aligned |
| Door Movement | Adjust hinge tension as needed |
Install Handles, Seals, Sweeps, and Apply Silicone
Secure the handles by inserting their components through the pre-drilled holes in the glass. Then tighten them with gaskets to guarantee a snug fit that prevents water leaks.
Insert handle parts through glass holes and tighten with gaskets for a secure, leak-proof fit.
Next, install vertical seals by cutting them to length and pressing them firmly onto glass edges to form a watertight barrier. Measure and trim bottom sweeps so they lightly touch the curb or floor, stopping water from escaping.
Follow these steps to complete the waterproofing:
- Mask surfaces carefully before you apply silicone for clean lines.
- Seal all joints between fixed glass panels and the shower curb with silicone.
- Smooth the silicone bead and remove masking tape before it skins over to confirm a neat finish.
This confirms your frameless shower door is secure and leak-proof.
Test Operation and Troubleshoot Common Issues
Open and close your frameless shower door several times to verify it operates smoothly without any grinding or scraping sounds. This test operation helps identify misalignment early.
Check all hardware screws for snugness, tightening them just enough to secure the door without stressing the glass. If the door doesn’t close properly or sticks, adjust hinges carefully to realign the door with adjacent panels and seals.
Assess the vertical plumb of the panels, confirming deviations don’t exceed 1/4 inch over 72 inches, as misalignment here can cause functionality issues.
Finally, run the shower for a few minutes to check for leaks around seams and door edges. Address any leaks promptly to maintain a watertight seal and guarantee long-term performance.
Frequently Asked Questions
What Type of Glass Is Safest for Frameless Shower Doors?
Tempered glass is the safest option for your frameless shower door, meeting strict safety standards that protect against injury.
You’ll find thickness options typically between 3/8-inch and 1/2-inch, with thicker glass offering added strength.
Proper installation benefits durability and reduces stress points. You can choose from various design styles without compromising safety.
Don’t forget regular maintenance tips like cleaning and crack inspections to keep your door secure and looking great.
How Do I Maintain the Glass to Prevent Water Stains?
Like a knight polishing armor, you need to protect your glass daily. Use water repellents and gentle cleaning tools to keep hard water stains at bay.
Stick to a maintenance schedule: wipe down after each shower and apply glass coatings every six months.
This daily care prevents mineral buildup, ensuring your shower door stays crystal clear without scratches or stubborn stains.
Consistency is your best defense against water spots.
Can I Install a Frameless Door on an Uneven Shower Base?
You can install a frameless door on an uneven shower base, but expect some installation challenges.
Use leveling techniques like shims or adjustable hinges to make up for irregularities.
Carefully check door measurements and glass thickness to ensure a proper fit and stability.
Also, consider shower base options that allow slight adjustments.
If the unevenness is significant, it’s a good idea to get professional help.
This will help ensure a secure, water-tight installation and prevent future problems.
What Are Common Causes of Leaks Despite Proper Sealing?
Leaks can be a slippery slope, even if you think your seals are perfect. Common causes include installation errors like misaligned hinges or improper drain placement, which affect water pressure and flow.
Using the wrong sealant types or neglecting maintenance tips leads to wear and tear, causing gaps.
Effective leak detection means checking for subtle gaps and ensuring the floor slopes correctly toward the drain.
Staying proactive keeps leaks at bay.
How Long Does a Typical Frameless Shower Door Installation Take?
A typical installation timeline for a frameless shower door takes about 2 to 5 hours, depending on door measurements and material selection.
You’ll need precise tools like a drill, level, and silicone gun to avoid common challenges like misalignment or leaks.
If you’re unsure, getting professional help can speed things up and guarantee quality.
Proper prep and accurate measurements are key to a smooth, efficient installation process.
Conclusion
Now that you’ve mastered installing your frameless shower door, you’re well-equipped to bring both modern elegance and timeless functionality to your bathroom. Like a knight preparing armor before battle, your careful planning and precise work guarantee a flawless finish.
Remember, attention to detail during each step prevents future issues. With your new door in place, enjoy the sleek look and smooth operation you’ve created. Your bathroom just leveled up to the next era of style and convenience.