How To Test Kohler Ignition Coil With Multimeter – Pro Tips
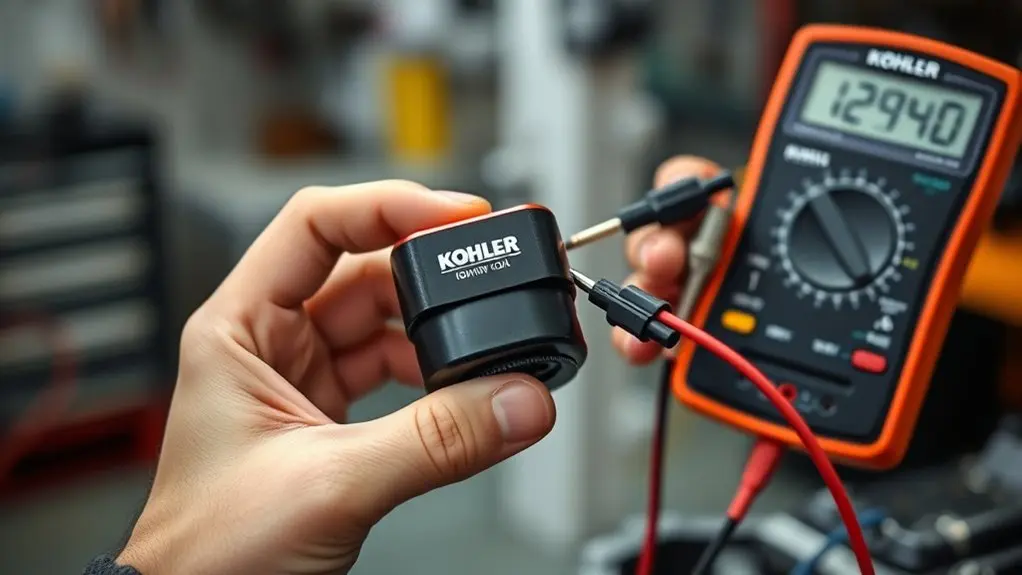
To test your Kohler ignition coil with a multimeter, first turn off the engine and disconnect the coil. Set your multimeter to measure resistance (ohms) and check the primary coil between its terminals. You should expect about 0.5 to 2 ohms.
Next, measure the secondary coil from the spark plug terminal to ground. The values should range between 4,000 to 7,000 ohms. Watch out for infinite or zero resistance because that signals failure.
Proper testing guarantees engine reliability. Keep exploring for detailed steps and troubleshooting tips.
Why and When to Test Your Kohler Ignition Coil
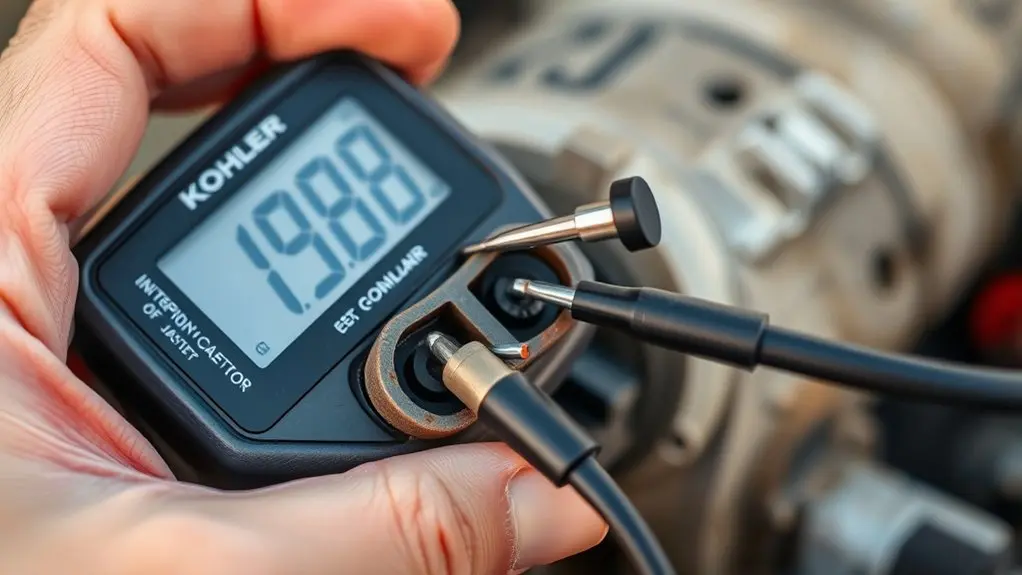
Although your Kohler ignition coil often operates reliably, you should test it whenever the engine misfires, struggles to start, or performs inconsistently. Testing verifies the coil delivers the strong spark essential for proper combustion, preventing poor fuel efficiency, increased emissions, and engine damage.
If your engine has been exposed to moisture, heat, or physical damage, conducting a coil test becomes even more critical. Regular testing during routine maintenance or when troubleshooting persistent electrical issues helps maintain peak engine performance.
When you open a new account for maintenance records, documenting coil tests aids in tracking component health over time.
Setting Up Your Multimeter for Kohler Coil Testing
Before testing your Kohler ignition coil, you’ll need to set up your multimeter correctly to guarantee accurate resistance readings. Start by turning off and disconnecting the coil from the motorcycle. Make sure to follow safety precautions to prevent electrical hazards.
Set your multimeter to the ohms (Ω) setting, which is essential for measuring resistance and checking coil insulation integrity. Connect the black lead to the common (COM) port and the red lead to the resistance (Ω) port.
If your multimeter offers a calibration function, zero it out to eliminate measurement errors. It’s a good idea to verify proper calibration by testing a known resistor or test circuit before you proceed.
These steps help ensure precise readings and allow you to accurately evaluate your Kohler ignition coil’s condition without risking damage or false results.
Checking Primary Coil Resistance on Kohler Ignition Coils
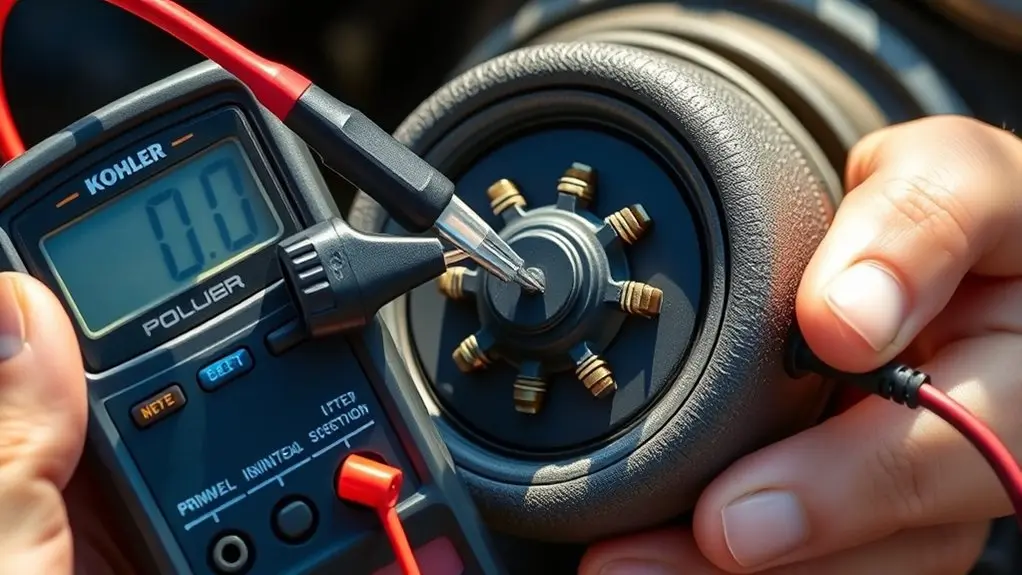
Once your multimeter is properly set up, you can measure the primary coil resistance on your Kohler ignition coil.
First, disconnect the coil from the spark plug and other electrical components to avoid inaccurate readings.
Set the multimeter to the ohmmeter (Ω) setting, then connect the leads to the coil’s primary terminals. These are usually the smaller wires or connection points.
Make sure there’s no coil grounding interfering with the test.
Check the electrical connections for corrosion or damage that might affect the resistance reading.
A typical primary coil resistance ranges from 0.5 to 2 ohms. It’s always a good idea to refer to your manufacturer’s specs for exact values.
If your reading shows infinite resistance or zero, that usually means there’s a break or short in the coil insulation.
In that case, the coil likely needs to be replaced.
Measuring Secondary Coil Resistance and Spotting Faulty Coils
When you measure the secondary coil resistance on a Kohler ignition coil, set your multimeter to the high ohms range and connect the probes between the spark plug terminal and the coil’s ground.
Make sure to disconnect the spark plug wire to avoid resistance interference from the spark plug gap.
Always disconnect the spark plug wire to prevent false resistance readings from the spark plug gap.
A typical healthy coil shows resistance between 4,000 and 7,000 ohms. Readings outside this range indicate a faulty coil.
Faulty coils often have infinite or very low resistance, which messes with the coil wiring and leads to weak or no spark.
This affects ignition timing and engine performance.
Always check your results against the manufacturer’s specs for your specific Kohler model. That way, you can pinpoint issues accurately and keep your engine running smoothly.
Testing Tips and Troubleshooting for Kohler Ignition Coils
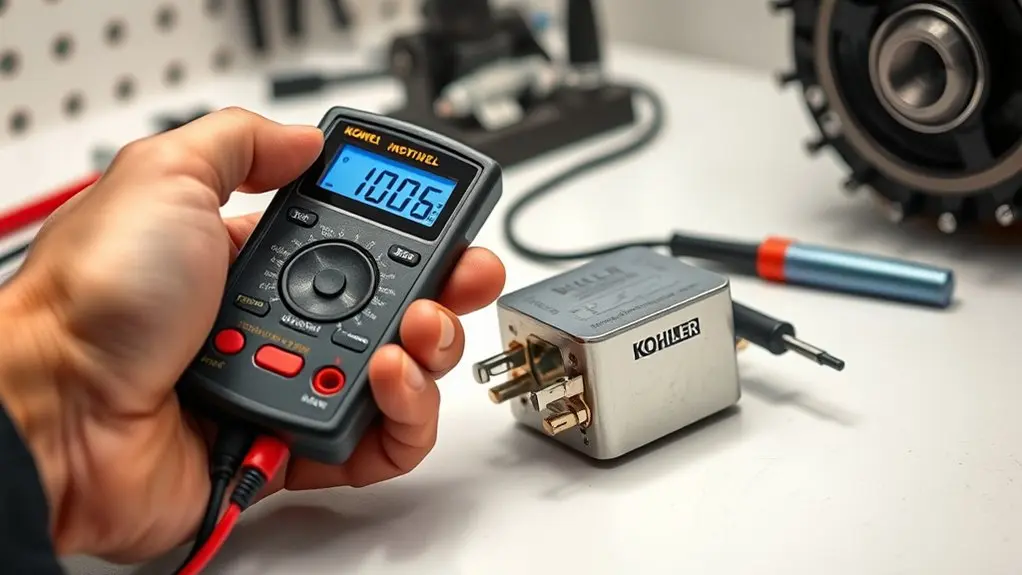
Although testing a Kohler ignition coil may seem straightforward, following specific tips guarantees accurate diagnostics and prevents misinterpretation of results. Always disconnect the coil from the engine before testing to avoid false readings caused by the ignition system.
Use your multimeter set to measure resistance; a healthy coil shows 0.3 to 2 ohms on the primary and 6,000 to 10,000 ohms on the secondary.
Check continuity to detect open circuits or broken windings. If readings deviate markedly or show infinite resistance, the coil likely needs replacement.
Remember, coil maintenance includes inspecting ignition timing and addressing spark plug issues, as these can mimic coil failure symptoms.
Proper troubleshooting ensures you isolate the actual problem, preventing unnecessary coil replacements and maintaining engine performance.
Frequently Asked Questions
Can a Faulty Ignition Coil Cause Engine Misfires?
Yes, a faulty ignition coil can cause engine misfires by delivering weak or inconsistent sparks.
When you troubleshoot, start with a spark plug inspection to verify proper firing.
Also, perform a fuel system check to rule out fuel delivery issues.
Don’t overlook oil level monitoring, as low oil can affect engine performance.
Combining these steps helps you pinpoint if the ignition coil is the root cause of misfires and prevents unnecessary part replacements.
How Often Should I Replace My Kohler Ignition Coil?
Picture your engine running smoothly, but after 500 to 1,000 hours, it starts faltering. That’s when you should seriously consider coil replacement intervals. Kohler ignition coil lifespan typically falls within this range.
For peak performance, follow maintenance tips like regular inspections and resistance testing. Replace the coil immediately if you notice cracks, misfires, or electrical failures. Staying proactive ensures your engine stays powerful and reliable without unexpected breakdowns.
Are Kohler Ignition Coils Compatible With Other Brands?
Kohler ignition coils often lack brand compatibility with other engines due to unique electrical specs. When considering coil replacement intervals, you should match voltage and resistance precisely to avoid performance issues.
Weather impact can also affect coil durability, so using a Kohler-specific coil guarantees reliable ignition under varying conditions.
Always verify specs before substituting parts to maintain peak engine function and prevent electrical mismatches that could cause failure or reduced lifespan. It’s really important to get this right, as using the wrong coil can lead to headaches down the line.
What Tools Besides a Multimeter Can Test Ignition Coils?
Surely, spark plug sparks signify success! Moreover, besides your multimeter, you’ll want a coil tester to precisely probe the coil’s health.
A voltage probe is invaluable. It measures output voltage under real conditions to confirm proper function.
Furthermore, a spark tester can visually verify if the coil generates a sufficient spark.
These tools provide targeted, technical insights, ensuring your ignition coil’s reliability without guesswork.
Can Extreme Weather Damage My Kohler Ignition Coil?
Yes, extreme weather can damage your Kohler ignition coil despite its weather resistance. High heat degrades coil durability by breaking down insulation.
Meanwhile, freezing temperatures cause internal contraction or cracks. Moisture infiltration leads to corrosion and grounding faults.
UV exposure weakens outer insulation. Sudden temperature changes create thermal stress, accelerating wear.
All these environmental factors reduce your coil’s lifespan and reliability.
Conclusion
Testing your Kohler ignition coil with a multimeter is like tuning a finely crafted instrument. You want to make sure every component plays its part perfectly.
By accurately measuring primary and secondary resistance, you can pinpoint faults before they cause engine failure. Just follow the setup and testing steps carefully, and use the troubleshooting tips to keep things running smoothly.
Regular coil checks help keep your engine reliable and prevent costly downtime. That way, you can work confidently and efficiently every time.