How To Install A Kohler Toilet – Beginner’s Guide
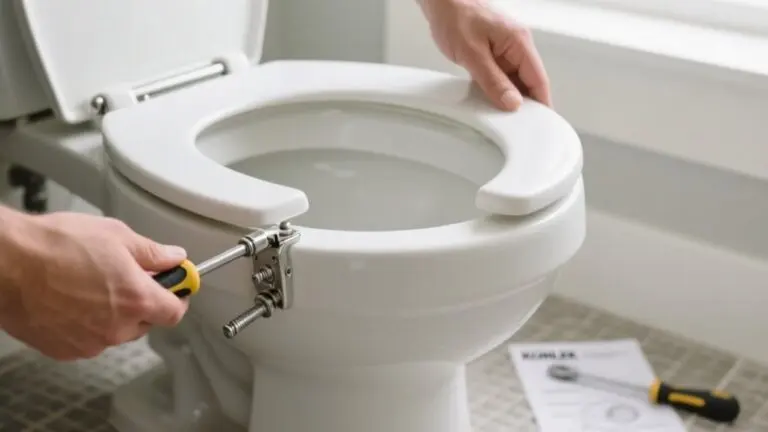
To install a Kohler toilet, first gather all the necessary tools and materials. Then, turn off the water supply and carefully remove the old toilet. Make sure to clean and inspect the flange, removing any old wax and ensuring it’s level.
Next, choose the correct wax ring or rubber gasket based on your flange height. Position the new toilet accurately, and secure the bolts without over-tightening. Connect the water supply tightly to avoid leaks.
Once everything is connected, test for leaks and make sure the toilet is stable. Following these precise steps will help you get a dependable installation. Up next, we’ll cover style choices and troubleshooting tips.
Gather Tools and Materials for KOHLER Toilet Installation
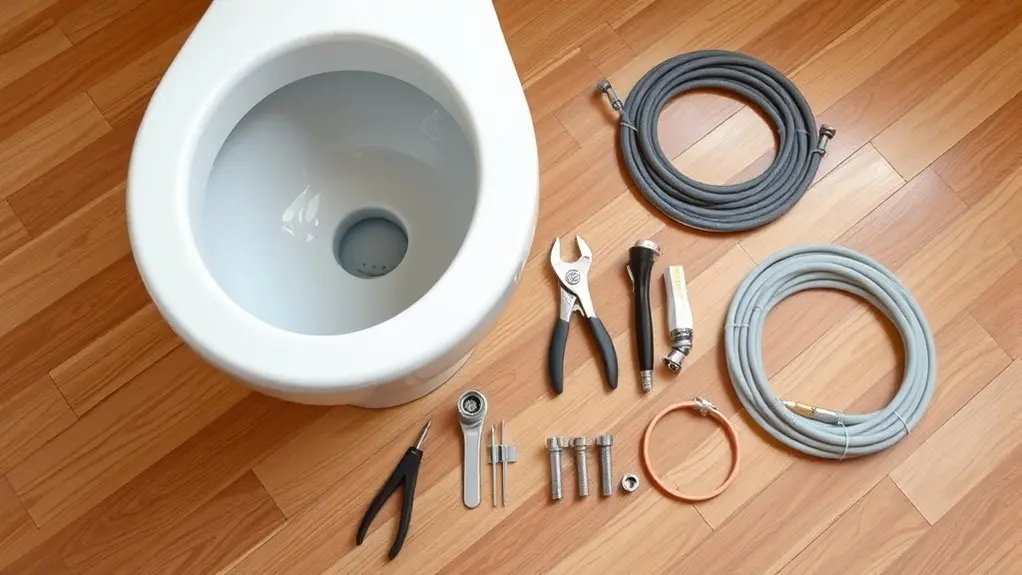
Before you begin installing your KOHLER toilet, gather all the necessary tools and materials to guarantee a smooth process. Start by choosing the right adjustable wrench, putty knife, bucket, and towels. These tools are essential for precise handling and cleanup during installation.
Gather essential tools like an adjustable wrench, putty knife, bucket, and towels for a smooth KOHLER toilet installation.
Purchase a new wax ring or rubber gasket to ensure a watertight seal between the toilet base and floor flange. Collect all KOHLER components, including the toilet, seat, mounting bolts, and seat anchor kit. This way, you can avoid interruptions during the installation.
Be sure to consult your product manual for any model-specific tools or accessories that might be required.
Finally, organize your tools and materials in a clean, accessible workspace. Choosing the right tools and components upfront minimizes errors and helps streamline your KOHLER toilet installation. You’ll end up with professional-quality results.
Turn Off Water and Remove Old KOHLER Toilet Safely
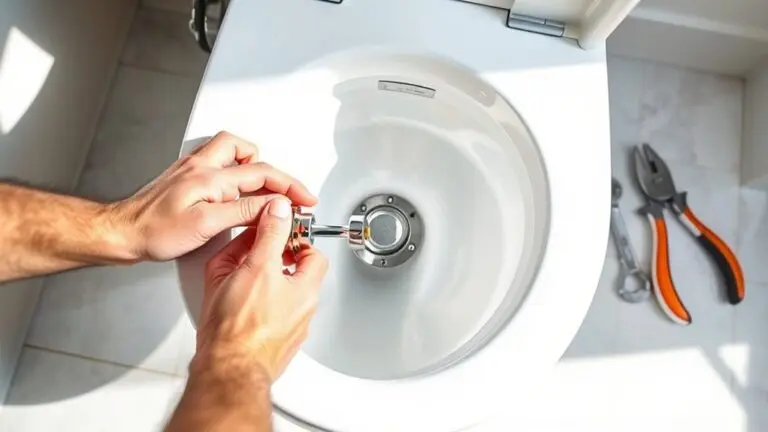
Once you turn off the water supply valve near the toilet base, flush to drain the tank and bowl completely. Use a sponge to soak up any leftover water, so you don’t make a mess during removal. Disconnect the water supply line with an adjustable wrench. It’s a good idea to have towels or a bucket ready just in case of spills.
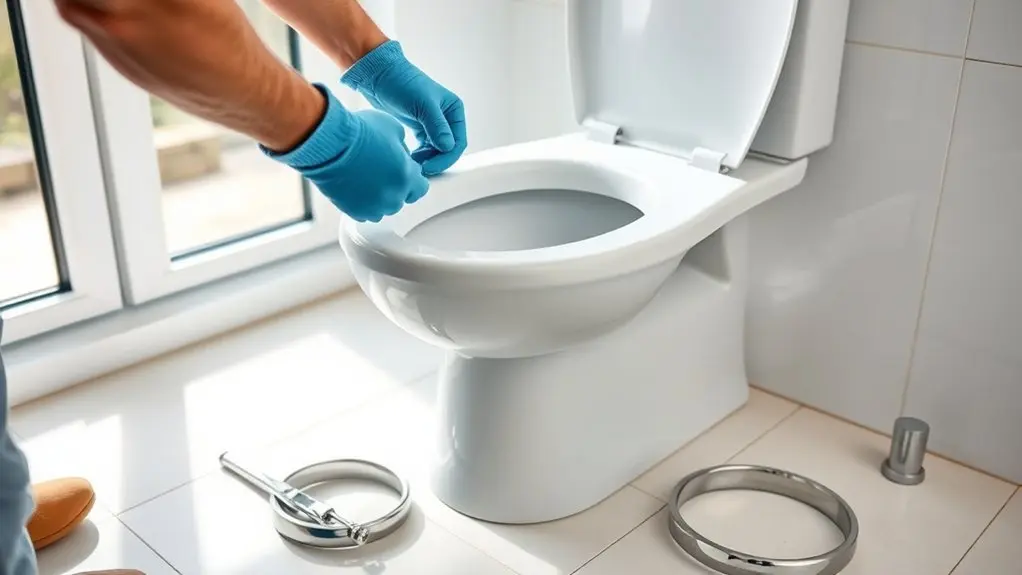
Next, remove the seat and lid, then unscrew the mounting bolts. Lift the toilet carefully, tilting it as needed, and set it on a protective surface to avoid damage. Make sure your bathroom is well-ventilated while you work to prevent moisture buildup.
Before reconnecting the new toilet, adjust the water pressure to optimize performance and reduce leaks. Also, take time to clean the toilet bowl thoroughly for hygiene and to ensure a good seal during installation.
| Step | Tool Needed | Key Tip |
|---|---|---|
| Turn off water valve | None | Confirm complete shutoff |
| Drain tank and bowl | None | Flush thoroughly |
| Disconnect supply line | Adjustable wrench | Prepare for minor leaks |
| Remove seat and bolts | Wrench/socket set | Store bolts safely |
| Lift and set aside toilet | Protective surface | Use bathroom ventilation |
Clean and Prepare KOHLER Toilet Flange and Drain Area
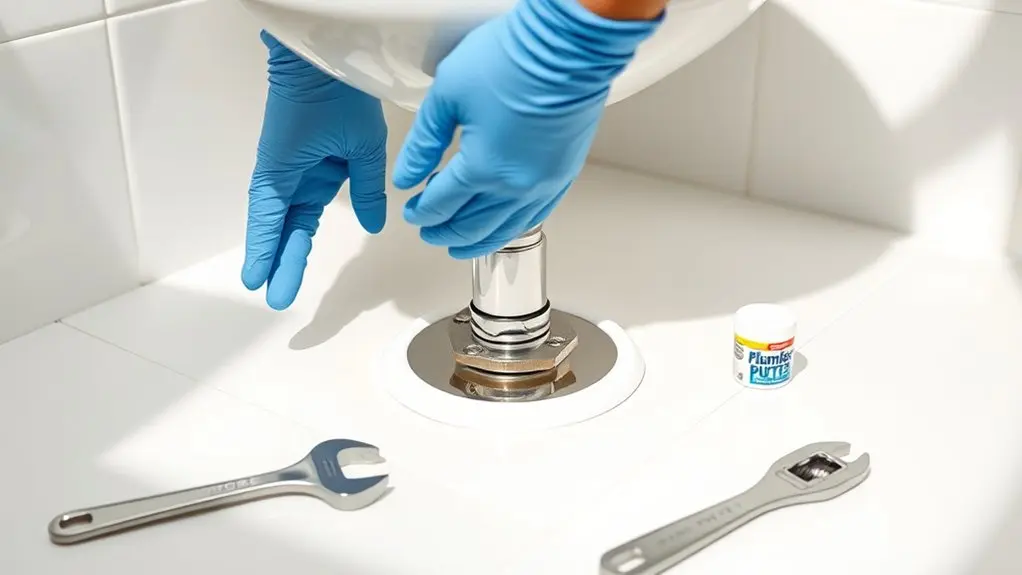
Start by thoroughly removing all the old wax residue from the toilet flange using a putty knife. This helps ensure you have a clean, smooth surface to work with.
Once that’s done, take a close look at the flange for any cracks, warping, or looseness. These issues can affect the seal or stability.
If you spot any damage, it’s a good idea to repair or replace the flange before moving on with the installation.
Remove Old Wax Residue
Although it may seem tedious, removing old wax residue from the toilet flange and drain area is essential to guarantee a proper seal and prevent leaks.
Start wax removal by using a putty knife to carefully scrape away all remnants from the flange surface and drain opening.
Thorough debris clearing is critical to eliminate any leftover wax or dirt that could compromise the seal.
After clearing, clean the area with a damp cloth to remove dust and residual particles.
While you focus on wax removal, perform a quick flange inspection to spot obvious damage or cracks, but save detailed assessment for the next step.
Finally, make certain the flange and drain area are completely dry and free of obstructions before proceeding with the new wax ring installation.
Inspect Flange Condition
Before installing your KOHLER toilet, carefully inspect the flange for cracks, corrosion, or damage that could compromise the seal or stability. Take a close look at the flange material to make sure it’s durable and free from corrosion. You want to confirm the flange height is between ¼ to ½ inch above the finished floor for the best seal.
Make sure to remove all debris and old wax residue using a putty knife. This will give you a clean surface to work with.
| Inspection Aspect | Action Required |
|---|---|
| Flange Material | Verify integrity and suitability |
| Flange Height | Confirm ¼ to ½ inch above floor |
| Flange Corrosion | Identify and address any corrosion |
| Cleanliness | Remove debris and wax remnants |
Doing this precise inspection helps ensure a secure, leak-free KOHLER toilet installation.
Choose the Right Wax Ring or Gasket for Your KOHLER Toilet
When installing your KOHLER toilet, choosing the correct wax ring or rubber gasket is essential to guarantee a watertight seal and prevent leaks. Make sure to select a seal that’s compatible with your toilet bowl model. This helps maintain ideal water pressure and ensures the flush mechanism works properly.
Wax rings offer a traditional, reliable seal but are single-use. On the other hand, rubber gaskets are reusable and easier to position. Think about the flange height too: standard wax rings suit 0 to 1/4 inch flanges, while higher flanges need wax rings with a flange or extended rubber gaskets.
Some wax rings come with a plastic horn that directs waste efficiently, which helps enhance the seal. So, always match the seal type to your KOHLER toilet model specifications.
Also, be sure to account for flange height to choose the proper seal thickness. This will support consistent water pressure and flush efficiency.
Position and Secure the New KOHLER Toilet Correctly
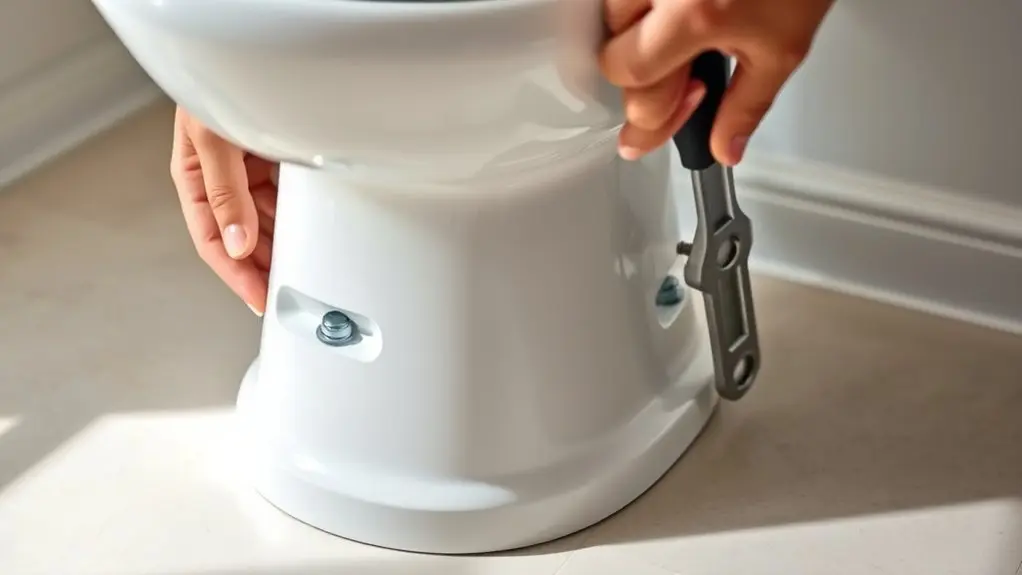
You’ll start by aligning the toilet base precisely over the flange. Make sure the mounting bolts pass through without any resistance.
Then, tighten the bolts gradually in a crisscross pattern. This helps secure the toilet evenly and prevents cracking the porcelain.
Finally, check the toilet’s stability by gently rocking it. It should stay firm and not wobble at all.
Align Toilet Base Precisely
Although it requires careful attention, aligning the toilet base precisely is essential for a secure installation and a reliable seal. Start by ensuring flange alignment. Center the toilet base over the flange by measuring equal distances from surrounding walls or fixtures.
Next, gently place the toilet onto the wax ring, aligning bolt holes with flange bolts. Apply slight pressure to seat the toilet evenly and prevent rocking.
Use a level to confirm the toilet base is level, checking both front to back and side to side. Proper bolt positioning is critical, so make sure the bolt holes line up perfectly before you proceed.
This precise positioning sets the foundation for a stable toilet and helps prevent leaks.
Key points to focus on:
- Accurate flange alignment
- Consistent toilet base leveling
- Correct bolt positioning before tightening
Tighten Mounting Bolts Securely
Before tightening the mounting bolts, confirm the toilet sits evenly on the flange to prevent any wobbling. Uneven positioning can cause toilet wobbling and stress on components.
Proceed with bolt tightening gradually, turning each bolt in small increments to distribute pressure evenly.
Use a wrench to snug the bolts securely but avoid over-tightening. Over-tightening risks cracking the porcelain or damaging the wax ring seal.
After initial tightening, verify the toilet remains level and stable.
If wobbling persists, readjust before final tightening. Secure the bolts firmly without forcing them to maintain integrity.
Finally, place the provided bolt caps to cover the mounting bolts, ensuring a professional finish.
Proper bolt tightening ensures the toilet’s stability and longevity while preventing damage during installation. It’s worth taking your time here to get it just right.
Connect KOHLER Toilet Water Supply and Test for Leaks
How do you guarantee a secure connection between your KOHLER toilet and the water supply? First, turn off the water supply valve and flush the toilet to drain the tank.
Next, connect the supply line firmly to the fill valve, tightening it with an adjustable wrench to prevent leaks.
Gradually restore water pressure by turning the supply valve back on, allowing the tank to fill completely.
Perform leak detection by inspecting the connection points and the toilet base carefully.
Finally, flush the toilet to verify the fill valve operates correctly without leaks.
Remember to confirm the supply line connection is tight but avoid over-tightening.
Also, keep an eye on water pressure as the tank refills to catch any irregularities.
Make sure to check all joints carefully for any signs of water leakage.
Choose KOHLER Toilet Styles That Fit Your Bathroom
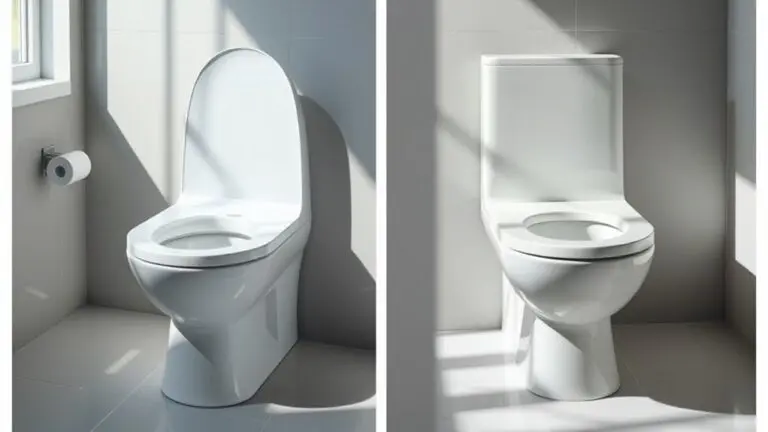
When selecting a KOHLER toilet, you’ll want to take into account the style that best complements your bathroom’s existing design. KOHLER offers diverse toilet bowl styles: traditional, contemporary, and transitional. Each one is tailored to specific bathroom aesthetics.
Traditional models feature classic, timeless lines, which are ideal for vintage or classic decor.
Contemporary toilets have sleek, minimalist shapes that enhance modern and urban settings.
Transitional styles blend traditional and modern elements, making sure they fit well with a wide range of spaces.
Choosing the right KOHLER style helps your bathroom maintain aesthetic harmony and a cohesive design flow.
So, it’s a good idea to prioritize the toilet bowl style that aligns precisely with your bathroom’s decor.
This way, you maximize both visual appeal and functional integration within your space.
Select Size, Efficiency, and Smart KOHLER Toilet Features
Selecting the right KOHLER toilet involves evaluating size, water efficiency, and advanced features to guarantee peak performance and suitability for your bathroom. Start by confirming toilet sizing, focusing on the rough-in measurement, typically 12 inches, to ensure a proper fit.
Choosing a KOHLER toilet means assessing size, water efficiency, and features for optimal bathroom performance.
Prioritize water efficiency by choosing WaterSense-labeled models or those with dual-flush options, which reduce consumption by up to 20%. Incorporate smart features like touchless flushing, heated seats, and integrated bidets to elevate comfort and hygiene.
Additional options include night lights, self-cleaning bowls, and app controls for modern convenience. Consider these factors carefully to optimize your bathroom’s functionality and sustainability.
- Verify rough-in measurement for proper toilet sizing
- Choose WaterSense or dual-flush toilets for water efficiency
- Select smart features that enhance hygiene and user comfort
Fix Common KOHLER Toilet Installation Problems
Although installing a KOHLER toilet might seem straightforward, common issues like loose mounting bolts, persistent leaks, and rocking bases often come up if parts aren’t secured or sealed properly.
To fix a loose toilet, tighten or replace the mounting bolts, but be careful not to over-tighten and crack the porcelain.
Leaks around the base usually mean the wax ring is faulty. Replacing it will help restore a proper seal.
If the toilet rocks, you can stabilize the base using wax or rubber washers.
When it comes to flushing, check the trapways and vent pipes. Make sure there’s proper water pressure and venting to avoid clogs and keep your toilet cleaning efficiently.
Follow these steps, and your KOHLER toilet will stay secure, leak-free, and work reliably every time.
Frequently Asked Questions
How Do I Dispose of My Old Toilet Properly?
For proper toilet removal, first disconnect the water supply and separate the tank and bowl.
Use disposal methods like scheduling bulk waste pickup with your local sanitation or dropping off the toilet at a recycling center that accepts porcelain.
You can also explore recycling options or donate gently used toilets to refurbishing organizations.
Always follow local regulations to avoid fines and environmental hazards.
Preparing the toilet by cleaning and drying it guarantees safe, compliant disposal.
Taking these steps makes the whole process easier and better for the environment.
What Tools Do I Need for Maintenance After Installation?
Think of your toilet as a finely tuned machine that needs common cleaning and occasional TLC. You’ll want a sturdy toilet brush and a mild cleaner for daily upkeep. Don’t forget to wear rubber gloves for protection while you clean.
It’s also a good idea to keep basic replacement parts like flappers and bolts handy. If you ever need to troubleshoot a leak, a wrench and a flashlight will come in super useful. These tools help you maintain your Kohler toilet’s performance and prevent costly repairs.
Keeping everything running smoothly and hygienically is easier when you have the right tools on hand. It just makes sense to be prepared!
Can I Install a KOHLER Toilet on Uneven Flooring?
You can install a Kohler toilet on uneven flooring, but you need to address floor leveling first to make sure it’s stable. Use shims or a floor leveling compound to create a flat surface.
Check the flange carefully and repair it if it’s damaged or misaligned. This step is important for a proper fit.
Apply sealant around the base to prevent leaks and make sure the wax ring or gasket is secure. Proper leveling and sealing are key to a durable, leak-free installation.
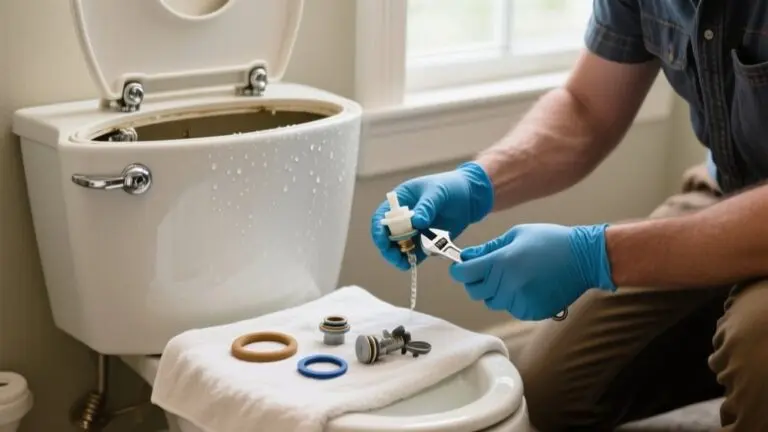
How Do I Adjust the Water Level in a KOHLER Tank?
To adjust the water level in your Kohler tank, first turn off the water supply.
Locate the fill valve and identify the adjustment screw or clip controlling the float.
Turning the adjustment screw clockwise lowers the water level; counterclockwise raises it.
Aim for the water level about one inch below the overflow tube to optimize the flush mechanism.
After adjusting the tank, flush to check the new water level.
You can fine-tune it as needed from there.
What Warranty Coverage Comes With KOHLER Toilets?
Kohler warranty policy typically offers limited warranty coverage details for one to five years, covering defects in materials and workmanship.
The toilet warranty terms vary by model and purchase date, so you should review specific documentation carefully.
Keep in mind, damages from misuse, installation errors, or normal wear aren’t covered.
Some models offer extended warranties on parts like flushing mechanisms if registered promptly.
For precise claims, just contact Kohler customer service or visit their website.
They’ll help you figure out what’s covered and how to proceed.
Conclusion
Installing your KOHLER toilet might seem like a delicate dance, but with the right tools and careful steps, it’s a smooth performance. By preparing properly, choosing suitable parts, and securing connections tightly, you’ll avoid those little hiccups that often trip up beginners.
Just take it one step at a time and you’ll be fine. Embrace the process confidently. Soon, you’ll enjoy a flawlessly functioning bathroom centerpiece that blends efficiency and style.
Every flush will feel like a quietly impressive achievement.