How To Install Kohler Toilet Seat – The Right Way
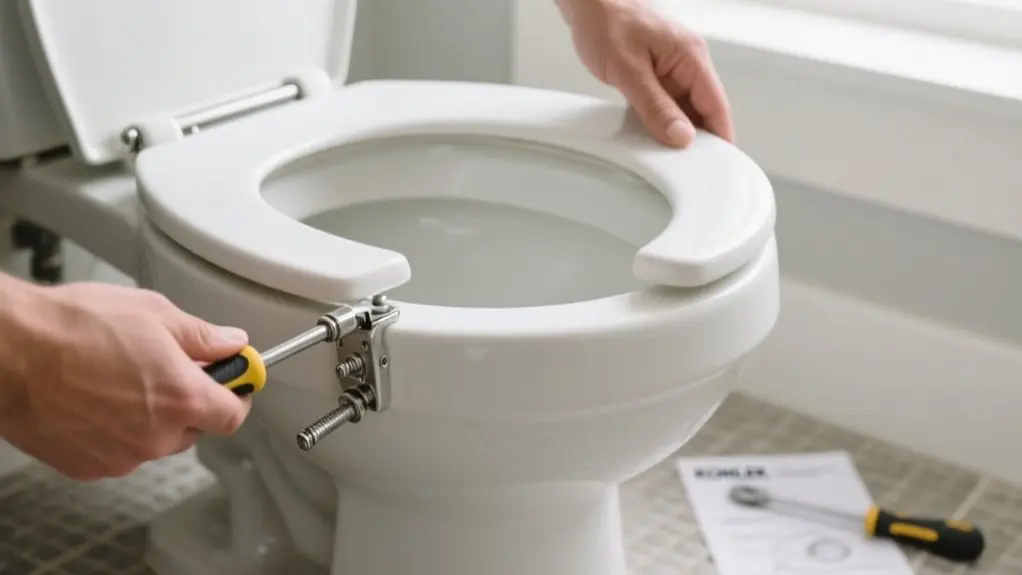
To install your Kohler toilet seat the right way, start by gathering your tools and parts. Position the seat evenly on the bowl, aligning the hinges with the mounting holes.
Insert the bolts from above and secure wing nuts underneath, making sure it fits snugly without holding them while tightening. Use a screwdriver to firmly tighten the bolts, then check the seat for stability and proper alignment.
Keep following these steps to achieve a secure, perfectly fitted seat that lasts.
How To Install a Kohler Toilet Seat: Quick Overview
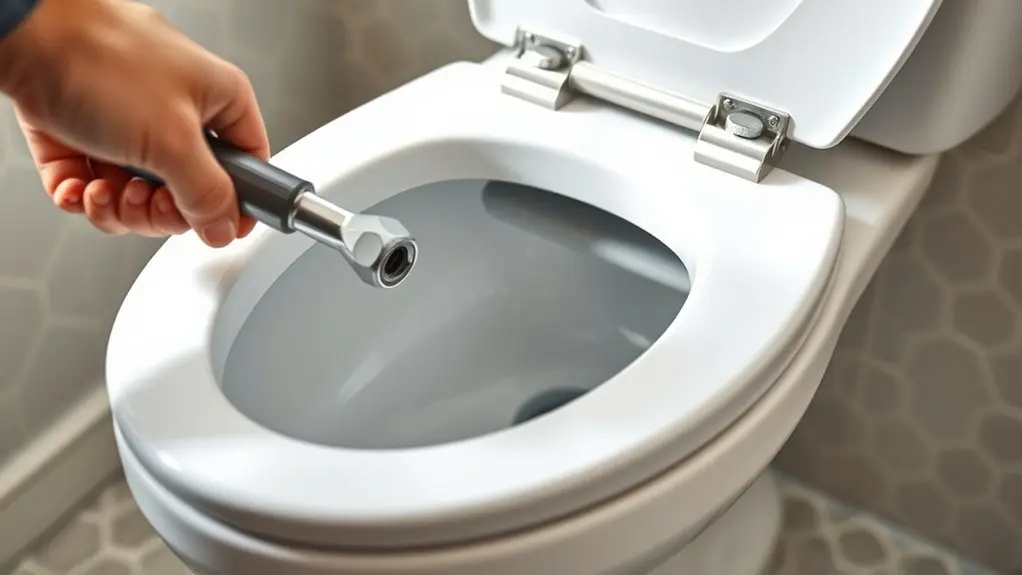
To install your Kohler toilet seat quickly, start by placing it on the toilet bowl and aligning it properly.
Next, insert the bolt through the toilet seat hinge from the top side to secure it in place.
From underneath, push the wing nut onto the bolt until it reaches the bowl, making sure the conical top fits snugly into the bolt threads.
Then, use a screwdriver to tighten the bolt from above while the wing nut stays still below.
This quick attach hardware system lets you secure the seat efficiently without holding the wing nut during tightening.
Following these steps guarantees a fast, stable installation with minimal effort, so your Kohler toilet seat fits securely and functions perfectly right away.
Gather Tools and Kohler Toilet Seat Parts
Before you start installing your Kohler toilet seat, gather all the necessary tools and parts to avoid interruptions.
You’ll need a screwdriver and the Kohler toilet seat components, including the seat itself, bolts, and wing nuts.
Verify you have the correct Kohler model compatible with your toilet for a smooth fit.
Check the installation kit to confirm all parts are included before proceeding.
Identify the top and underside of the toilet seat hinges, where the bolts and wing nuts will secure the seat.
Familiarize yourself with the quick attach hardware, designed to simplify alignment and tightening.
Having everything ready upfront guarantees an efficient, hassle-free installation process.
Position the Kohler Toilet Seat on the Bowl
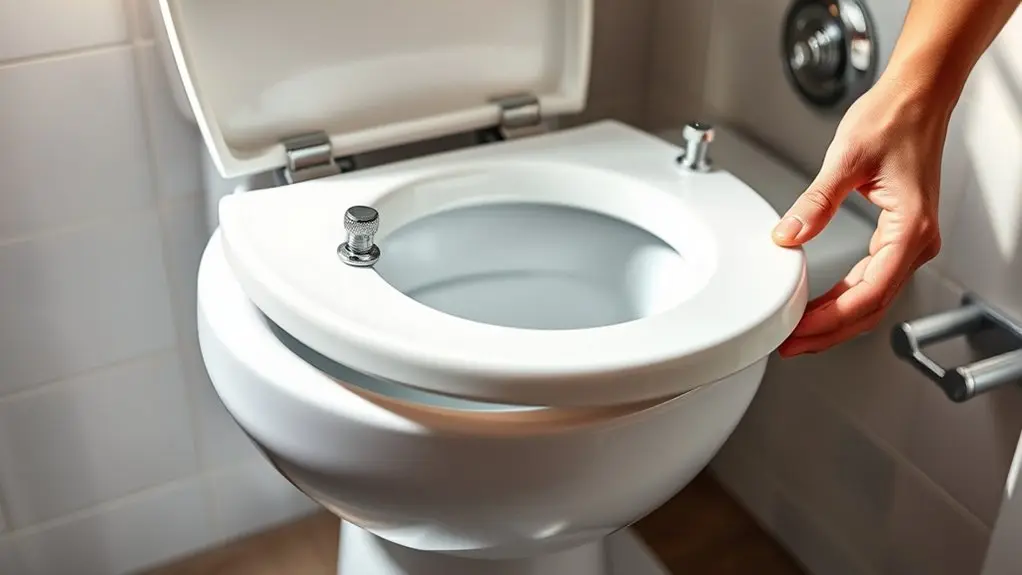
With your tools and Kohler seat parts ready, place the seat carefully over the toilet bowl. Align it centrally to guarantee even spacing on both sides. Make certain the hinges fit perfectly over the holes on the bowl.
Position the seat flush with the back of the bowl so it sits evenly without tilting. Confirm the mounting holes are accessible from the top before you move forward. This positioning step is essential to avoid readjustments later.
| Step | Key Point |
|---|---|
| Align seat centrally | Even spacing on both sides |
| Fit hinges over holes | Proper hinge placement |
| Seat flush with bowl back | Avoids tilting, sits evenly |
| Check mounting holes | Accessible from the top side |
Insert the Bolt and Fasten the Wing Nut Underneath
Start by inserting the bolt through the toilet seat hinge from the top side, ensuring it aligns properly. Hold the seat steady as you push the wing nut onto the bolt from underneath, guiding it until it reaches the bowl.
Make sure the conical top of the wing nut fits snugly into the hole; this catches the bolt’s threads and prevents slippage during tightening. This design lets you keep the wing nut stationary while you tighten the bolt from above later on.
The conical wing nut top locks into the hole, securing threads and preventing slippage during tightening.
The bolt and wing nut system streamlines installation, so you don’t need to hold the nut in place manually.
Once the wing nut is securely fastened underneath, your seat will be properly anchored and ready for the next step in the installation process.
Tighten the Kohler Toilet Seat Bolt With a Screwdriver
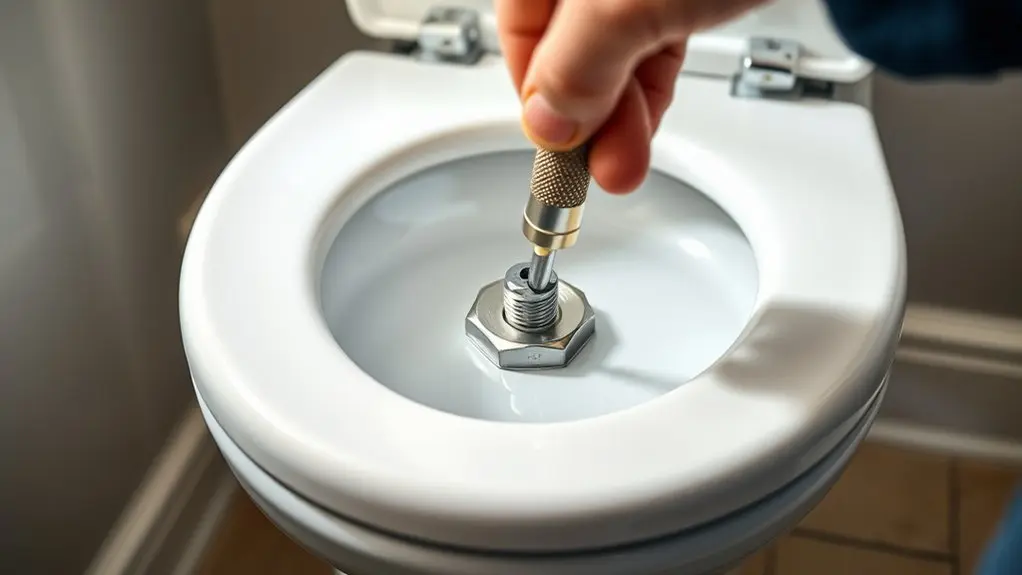
Start by holding the screwdriver firmly on top of the bolt. At the same time, keep the wing nut steady underneath the bowl.
Use steady pressure to tighten the bolt, but be careful not to over-tighten it. This helps make sure the seat stays secure.
If you have quick attach hardware, you actually won’t need to hold the wing nut at all, which makes the whole process a lot easier.
Proper Screwdriver Technique
A key part of installing your Kohler toilet seat is tightening the bolts correctly using a screwdriver. First, select the right screwdriver, flathead or Phillips, matching your bolt type for a snug fit.
Hold the screwdriver perpendicular to the bolt head to maximize torque and avoid slipping. Turn the screwdriver clockwise with steady pressure, tightening the bolt firmly but not so much that you risk cracking the seat or toilet bowl.
While doing this, keep the wing nut beneath the bowl stationary to maintain proper alignment.
After tightening, test the seat’s stability by gently pressing down. If it feels secure without any wobble, you’ve successfully tightened the bolts using the proper screwdriver technique and can move on to the next step.
Securing Wing Nut
Position the wing nut directly under the toilet bowl so its conical top fits snugly into the hole beneath the bolt. This guarantees the wing nut catches the bolt threads properly when you tighten it.
With the wing nut held stationary below, use a screwdriver from the top of the toilet seat to turn the bolt clockwise. Tightening the bolt this way secures the seat firmly to the bowl, preventing any wobbling or movement.
The conical design of the wing nut simplifies this step by aligning itself automatically, so you don’t have to hold it in place.
This quick attachment system makes installing your Kohler toilet seat straightforward, efficient, and secure with just one tool in hand.
Check Alignment and Stability of Your Kohler Toilet Seat
After you tighten the bolts, take a moment to make sure your Kohler toilet seat is properly aligned and centered on the bowl. You want to see even spacing on both sides.
Then, press down gently on the seat to check its stability. If it shifts or wobbles at all, don’t worry. Just adjust the bolts a bit and tighten the wing nuts until the seat feels nice and secure.
Seat Alignment Check
While tightening the bolts, make sure your Kohler toilet seat aligns evenly with the bowl to avoid discomfort and instability.
Before fully securing it, adjust the seat’s position so it sits centered and level. If it feels off, loosen the bolts, reposition the seat, and retighten.
Next, check the wing nut beneath the bowl and confirm it’s properly tightened to prevent wobbling.
To verify alignment, sit on the seat and notice if it feels comfortable and stable. Gently rock the seat side to side; it should stay firmly in place without shifting.
If you detect any movement, revisit the bolt and wing nut tightness.
Taking these steps guarantees your seat fits perfectly, offering both comfort and secure stability for everyday use.
Stability Testing Methods
Even if your Kohler toilet seat looks properly aligned, you should test its stability to verify safe, comfortable use. Start by pressing down gently on the seat. If it wobbles, tighten the wing nuts.
Use a level tool to check for any tilt, confirming balance. Regularly inspect and tighten wing nuts as needed. If your seat features an adjustment option, use it to perfect the positioning.
| Test Step | What to Do | Why It Matters |
|---|---|---|
| Visual Check | Confirm seat is centered | Confirms even weight support |
| Press Test | Gently press down on seat | Detects wobbling |
| Level Check | Use a level tool on the seat | Confirms no tilt |
| Tighten Nuts | Re-tighten wing nuts if loose | Maintains stability |
| Adjustment Feature | Fine-tune seat position | Enhances comfort |
Frequently Asked Questions
Can I Use a Universal Seat Instead of a Kohler-Specific Model?
You can use a universal seat instead of a Kohler-specific model, but it mightn’t fit perfectly. Universal seats often lack the precise dimensions and quick-attach hardware Kohler seats offer, which could cause wobbling or gaps.
Before buying, you should carefully check your toilet’s measurements and compatibility.
If you want seamless installation and stability, sticking with a Kohler-specific seat is usually your best bet.
How Do I Remove a Stuck or Rusted Kohler Toilet Seat?
Removing a stuck Kohler toilet seat is like gaining access to a rusty treasure chest. First, spray penetrating oil on the bolts and wait a few minutes.
Grip the wing nuts underneath with pliers and turn counterclockwise while holding the bolt steady with a screwdriver. If corrosion’s severe, carefully cut the bolts with a hacksaw.
Always wear gloves and goggles to protect yourself. Regular lubrication helps avoid this hassle in the future.
Are There Any Special Cleaning Instructions for Kohler Toilet Seats?
Yes, you should clean your Kohler toilet seat with a non-abrasive cleaner to keep its finish intact.
Avoid harsh chemicals and scouring pads that can damage or scratch the surface.
Instead, wipe it regularly with a soft cloth and use mild soap mixed with warm water for tough spots.
Always dry the seat thoroughly after cleaning to prevent water spots and mold growth.
This simple routine helps maintain cleanliness and durability.
What Should I Do if the Seat Wobbles After Installation?
If your toilet seat wobbles after installation, don’t ignore it; a secure seat means comfort and safety.
First, tighten the wing nuts under the bowl, making sure the bolt sits properly in the hinge.
Check for any damage or irregularities on the seat and bowl. If it still wobbles, replace worn hardware.
Also, confirm your seat matches your toilet model. These steps will stabilize your seat quickly and effectively.
Can I Install a Kohler Toilet Seat Without a Screwdriver?
You can install a Kohler toilet seat without a screwdriver in some cases, using a coin or flat object to tighten bolts, especially with quick attach hardware.
However, this mightn’t secure the seat as firmly, risking wobbling.
For the best stability and security, it’s smart to use a screwdriver or wrench.
These tools guarantee the bolts are tightened properly, giving you a sturdy, long-lasting installation.
Conclusion
Now that you’ve nailed the neat installation of your Kohler toilet seat, you can enjoy a secure, stable seating experience. Remember, routine checks keep everything tight and tidy, preventing pesky problems.
By following these fast, foolproof steps, you’ve guaranteed effortless comfort and convenience in your bathroom. Stay sharp, stay steady, and savor your seat’s seamless support every day!