How To Replace Kohler Canister Flush Valve – Full Tutorial
To replace your Kohler canister flush valve, first turn off the water supply and drain the tank completely. Remove the old valve by disconnecting the supply line and unscrewing any bolts.
Next, install the new valve with a properly seated gasket, then reconnect the supply line. Attach the chain to the trip lever, adjusting tension for smooth flushing.
Finally, set the float height for the correct water level and test for leaks. Following these steps guarantees a precise, leak-free replacement and peak flush performance.
Get Your Tools Ready and Prep the Toilet
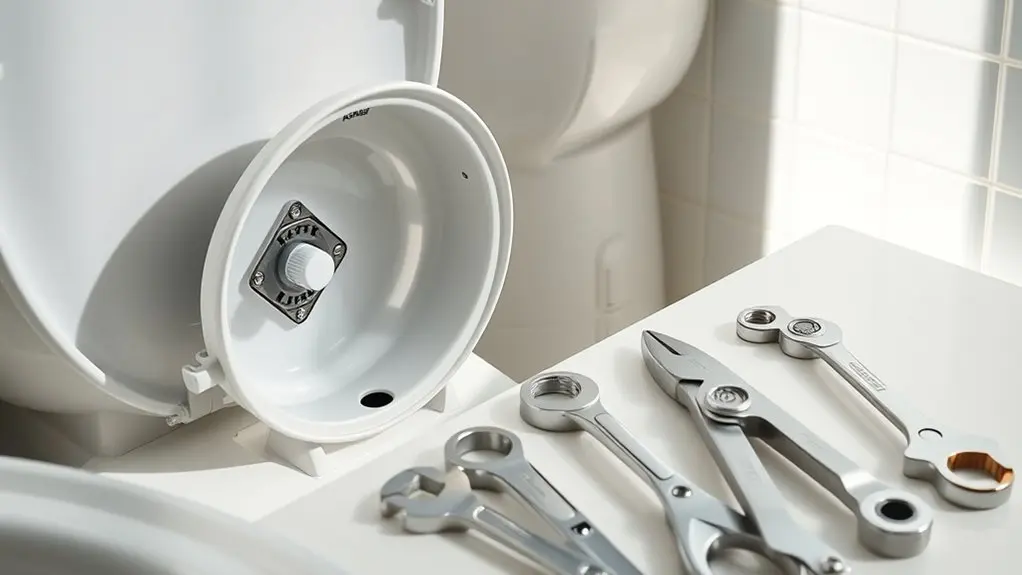
Before you begin replacing the Kohler canister flush valve, make sure you’ve gathered all necessary tools, including an adjustable wrench, screwdriver, sponge, towels, and pliers if needed. Organize these tools within easy reach to streamline the process and prevent interruptions.
Prior to removal, carefully lift the tank lid and set it aside on a soft surface to avoid damage. Use cleaning tips to prepare the area: lay towels around the toilet base to catch spills and keep the workspace tidy.
Tool maintenance is essential. Inspect each tool for rust or damage to ensure safe, effective use.
Turn Off Water and Drain Your Kohler Toilet Tank
With your tools organized and the toilet area prepped, the next step is to stop the water supply to the Kohler toilet. This reduces water pressure and helps prevent leaks during the repair.
Start by locating the shut-off valve behind or beside the toilet. Turn it clockwise to stop the water flow. Then, flush the toilet to drain most of the water from the tank. This makes cleaning the tank easier by minimizing leftover water.
Next, use a sponge or towel to soak up any remaining water at the bottom of the tank to avoid spills. After draining, disconnect the supply line from the tank’s base.
It’s a good idea to place a towel around the toilet base to catch any drips. This way, you’ll have a dry and safe workspace for replacing the Kohler canister flush valve.
Remove the Old Kohler Canister Flush Valve
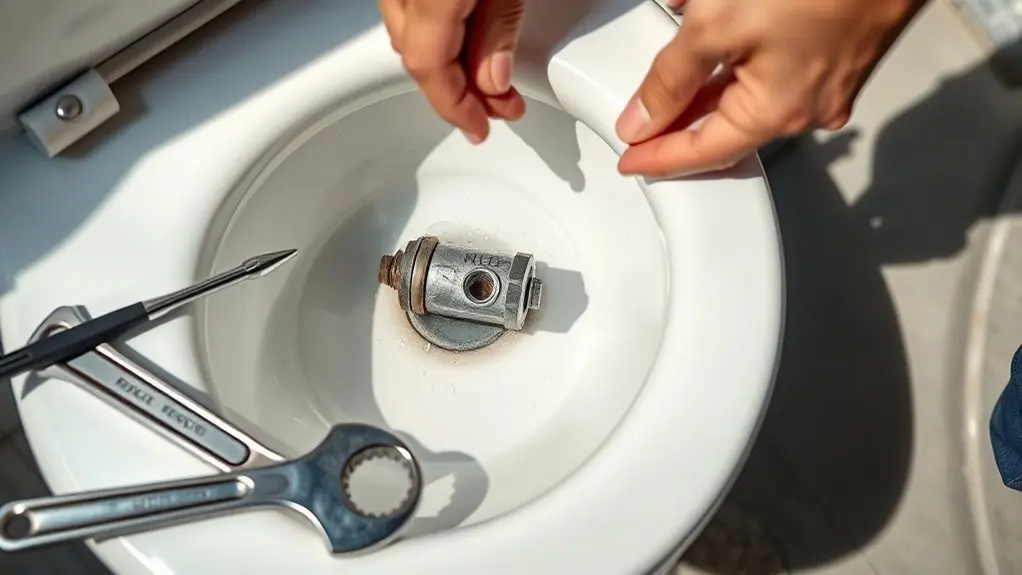
After confirming the water supply is off and the tank is drained, carefully lift the tank lid and place it on a soft surface to avoid damage.
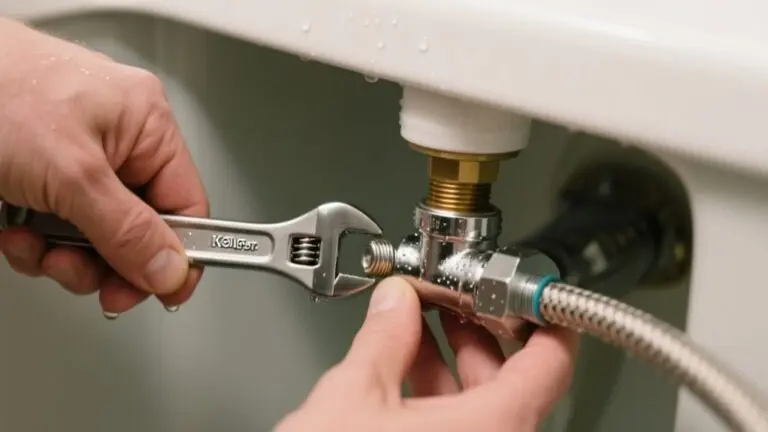
Next, disconnect the water supply line from the fill valve using an adjustable wrench.
If needed, unscrew the tank-to-bowl bolts to lift the tank for better access.
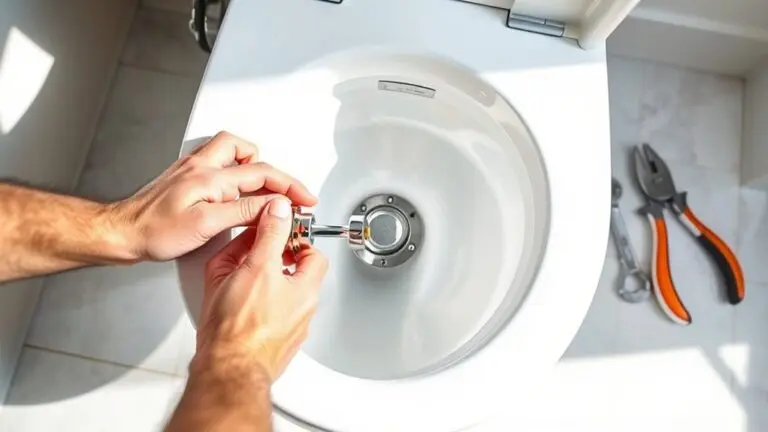
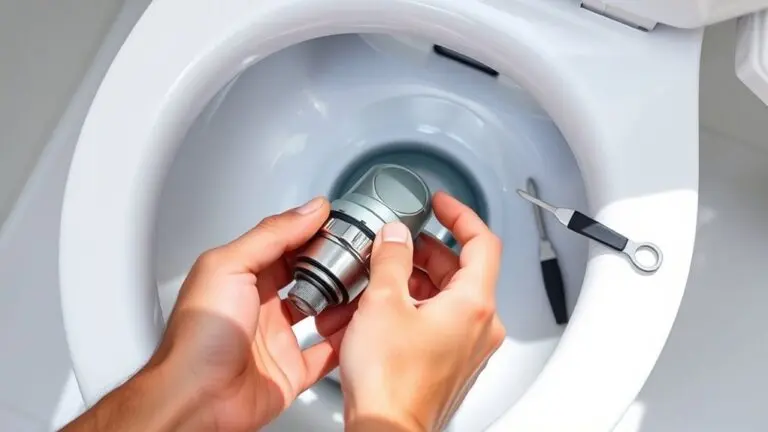
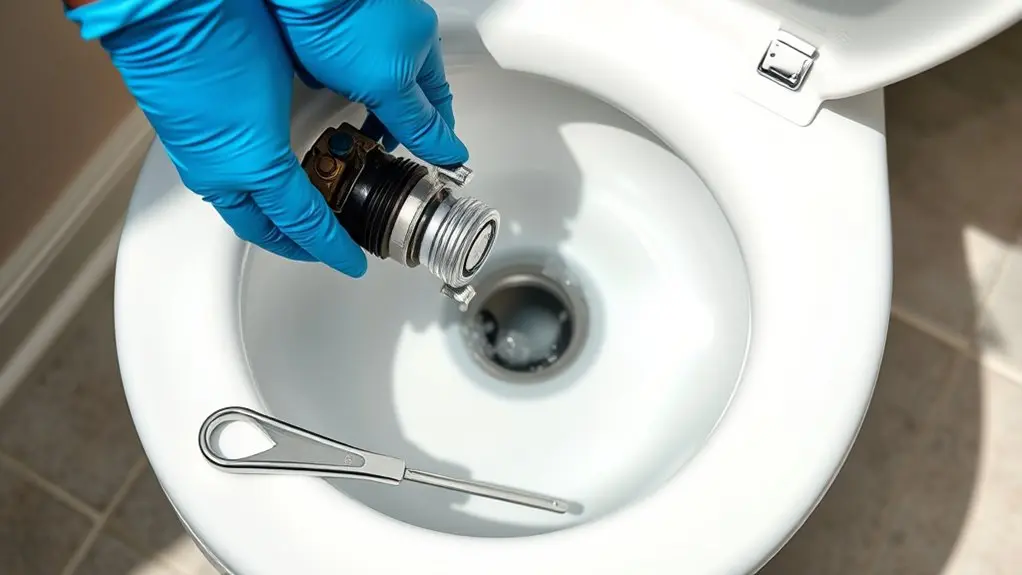
Locate the old Kohler canister flush valve and remove any retaining clips, screws, or twist-lock mechanisms securing it.
Gently detach the valve assembly, taking care not to damage the valve installation area or the gasket placement surface.
Keep all removed parts organized for reference.
This precise removal ensures the tank is ready for the new valve installation and proper gasket placement in the following steps.
Install the New Kohler Canister Flush Valve and Gasket
Start by positioning the new gasket carefully on the flange. Make sure it’s evenly seated with no twists—that way, you’ll get a good seal.
Next, go ahead and secure the canister flush valve firmly in place. This is important to keep everything sealed properly.
Finally, connect the trip lever precisely. Doing this ensures smooth operation every time.
Positioning The New Gasket
Although installing the new gasket may seem straightforward, you need to apply a thin layer of dish soap to its surface to guarantee a smooth, secure seal. This helps the gasket material seat correctly without resistance.
To position the new gasket properly, follow these steps:
- Align the gasket evenly around the base of the canister flush valve, matching it precisely with the flange or mounting surface.
- Ensure the gasket sits flat, avoiding any folds or twists that could compromise the seal or disrupt water flow.
- Gently press the gasket into place, confirming it fully seats within the corresponding grooves or tabs for proper alignment.
Double-check the gasket’s position before proceeding. Accurate placement is critical for preventing leaks and securing the best flush valve performance.
Securing The Flush Valve
When you secure the new Kohler canister flush valve, make sure to apply a small amount of dish soap around the gasket. This helps create a smooth seal and prevents leaks.
Next, align the valve’s tabs with the toilet flange slots. Then gently turn the base clockwise to engage the locking mechanism. Use consistent, gentle pressure so you don’t damage the gasket or distort the seal.
After that, perform a seal inspection by confirming the valve is stable and shows no movement. Proper engagement guarantees a leak-free installation.
| Step | Action | Key Point |
|---|---|---|
| 1 | Apply dish soap on gasket | Ensures smooth seal |
| 2 | Align tabs & twist to lock | Engages locking mechanism |
| 3 | Check stability & seal integrity | Confirms proper seal |
Connecting The Trip Lever
Once you’ve secured the flush valve, attach the trip lever chain to the designated hole or clip on the new Kohler canister flush valve. Make sure the chain has a slight slack to allow proper movement.
Check that the trip lever is compatible by verifying the chain length allows the valve to open fully without binding or being too loose.
For a precise connection, use pliers or your fingers to firmly secure the chain or clip so it won’t disconnect during flushing.
Adjust the chain tension so the flush valve completes its full cycle smoothly. Then, test the trip lever several times to ensure it activates consistently and the chain moves freely.
Getting the chain tension right is really important to avoid incomplete flushes or mechanical issues.
Once you’ve done this, you’ve finished installing your new Kohler canister flush valve and gasket.
Put the Tank Back Together and Reconnect Water Supply
After you’ve firmly secured the tank onto the bowl, go ahead and carefully place the tank lid back on.
Next, reconnect the water supply line to the fill valve. Make sure to tighten it well so there are no leaks.
Once everything is connected, slowly turn the water supply back on and keep an eye out for any leaks before moving on.
Reinstall Tank Lid
How do you guarantee the tank lid fits securely without causing damage? Follow these precise steps to reinstall the tank lid correctly:
- Align the tank lid carefully with the tank’s edges. Make sure any decorative accents match up to keep the look just right.
- Gently press down on the lid to seat it firmly. Be careful not to use too much force, as that could crack or stress the porcelain.
- After positioning, wipe the lid and tank rim to remove any debris. This helps prevent anything from stopping a proper seal.
Once the lid is in place, try to avoid sudden movements that might knock it loose. Taking your time here helps prevent damage and keeps the tank looking and working like new.
Connect Water Supply
Where should you begin when reconnecting the water supply to your Kohler toilet? Start by securely putting the tank back together, making sure all the components line up properly.
Next, reconnect the water supply line.
Be careful to tighten the pipe fittings just enough—not too tight, or you might cause damage. Turn the water back on slowly to avoid any sudden pressure surges that could stress the system.
Watch the fill valve as the tank fills and make sure it shuts off automatically at the right water level.
Check all the connections for leaks, especially around the supply line and the fill valve base. Tighten the fittings if you spot any drips.
Finally, flush the toilet a few times to be sure the tank fills up correctly and everything flushes smoothly. If needed, adjust the float or fill valve to keep the water level just right for the best performance.
Test and Adjust Your Kohler Canister Flush Valve for Best Performance
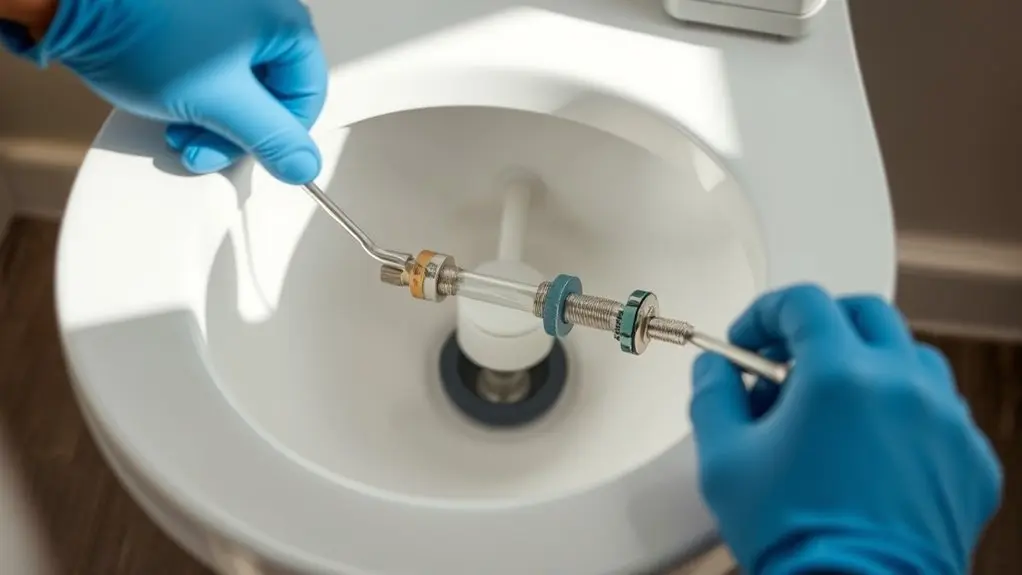
Once you install the Kohler canister flush valve, you’ll need to test it thoroughly to guarantee smooth operation and proper sealing. Start with an overview of the adjustments to fine-tune the settings and make sure you get the best flushing efficiency.
Follow these steps for precise performance testing:
- Perform multiple flushes and watch the canister’s movement. Make sure it opens fully and seals without any leaks.
- Adjust the chain length or trip lever to set the right water level and flush power.
- Check and adjust the float height to optimize the water volume.
If you notice leaks or weak flushes, fine-tune the gasket and base alignment.
Doing this will help your Kohler flush valve work perfectly every time.
Frequently Asked Questions
What Type of Flush Valve Is Compatible With My Kohler Toilet Model?
You’ll need to identify your Kohler toilet model number. It’s usually found inside the toilet tank.
Next, check the flush mechanism type. Is it a canister-style, twist-lock, or screw-in flush valve?
Only flush valves designed specifically for your model and tank construction will fit and work properly.
Be sure to verify compatibility using the manufacturer’s specs. This confirms the replacement flush valve matches your toilet tank’s design and keeps your toilet running at its best.
How Often Should I Replace My Kohler Canister Flush Valve?
Imagine scheduling your annual maintenance like clockwork, just like a car tune-up.
You should replace your Kohler canister flush valve every 5 to 10 years, depending on wear and water quality.
Regular inspections help spot leaks or mineral buildup early, keeping replacement costs down.
Use maintenance tips such as checking for poor flushing or frequent adjustments.
Staying proactive ensures your toilet performs efficiently and avoids costly emergency repairs.
It’s all about catching small issues before they become big problems.
Can I Upgrade to a Dual Flush Valve With This Replacement?
You generally can’t upgrade to a dual flush valve by only replacing your Kohler canister flush valve, as it requires compatible components and tank design.
For eco friendly options, consider a complete dual flush retrofit kit designed for your toilet model.
You’ll need specific installation tools like a wrench and screwdriver to remove existing parts and install the new mechanism properly.
Always verify compatibility before purchasing to guarantee a precise, effective upgrade.
What Causes a Canister Flush Valve to Fail Prematurely?
Premature canister flush valve failure often results from mineral buildup and corrosion, which damage seals during toilet maintenance.
You’ll also see issues if you frequently adjust the valve improperly, stressing components.
Using low-quality replacement tools or incompatible parts compromises sealing, causing leaks.
Harsh cleaning chemicals degrade rubber and plastic, while excessive water pressure strains the valve, leading to cracks.
Regular inspection and proper tools help extend valve life.
Taking these steps can save you from costly repairs down the line.
Are There Any Warranties on Kohler Flush Valve Replacements?
The adage “An ounce of prevention is worth a pound of cure” applies here. Yes, Kohler provides warranty coverage on flush valve replacements, usually covering manufacturing defects for about a year.
To activate warranty coverage, you’ll need proof of purchase and must follow the replacement process outlined by Kohler. Remember, the warranty excludes damage from improper installation or misuse.
Always check your model-specific terms to confirm your flush valve replacement qualifies. It’s a good idea to keep all your purchase documents handy just in case.
Conclusion
Now that you’ve replaced your Kohler canister flush valve, you’re well on your way to a smoothly running toilet. Remember, taking your time and following each step carefully guarantees no leaks or malfunctions slip through the cracks.
With everything reassembled and tested, you’ve nailed it. Your toilet should flush like clockwork.
Keep an eye on it over the next few days. You’ll have this repair down to a fine art in no time.