How To Replace Kohler Flush Valve – Quick Tips
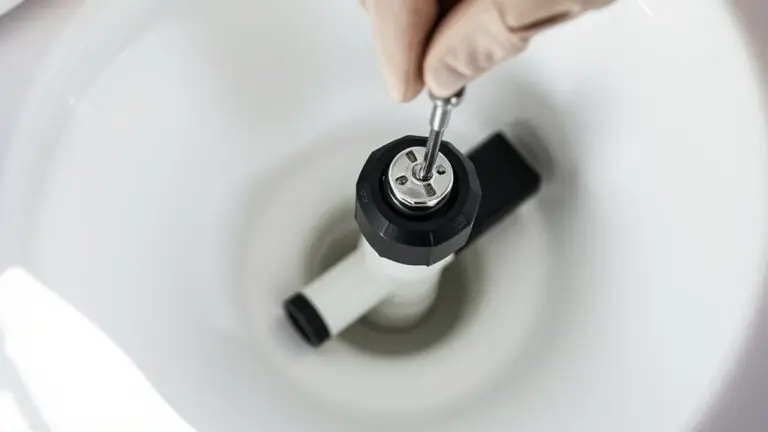
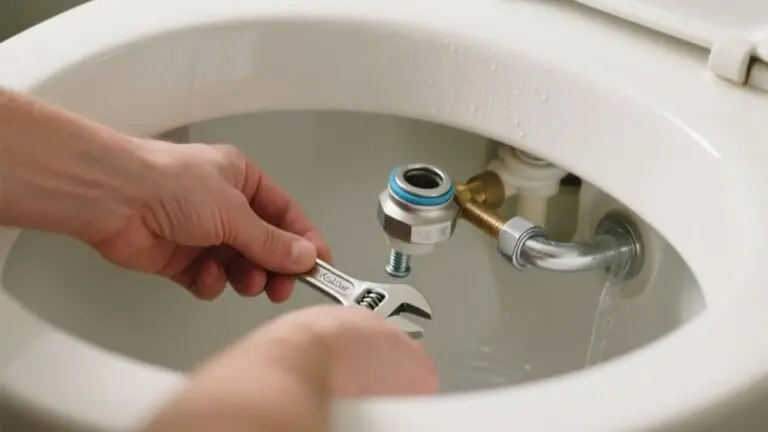
To replace your Kohler flush valve, first shut off the water supply and flush to empty the tank. Remove the tank by loosening bolts, then detach the old flush valve.
Apply dish soap to the new gasket for a tight seal. Align tabs with tank slots, and lock the valve in place by turning clockwise.
Reassemble and test for leaks by flushing multiple times. Proper gasket positioning and clean seals guarantee efficiency. Keep following for detailed steps and troubleshooting tips.
Reasons To Replace Your Kohler Flush Valve
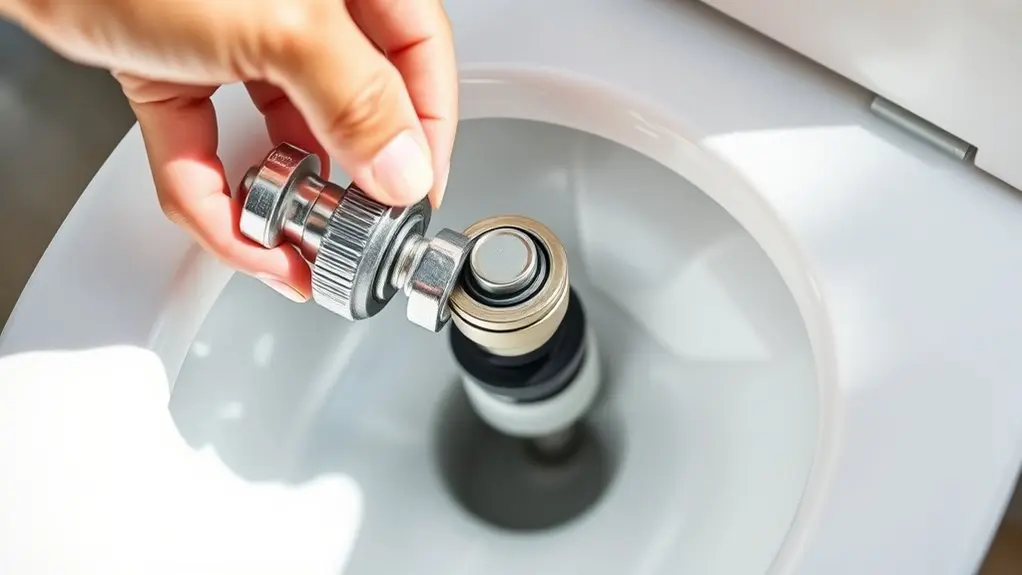
If your Kohler toilet keeps running or making noise, replacing the flush valve can often fix the problem by addressing worn or damaged parts. A faulty flush valve disrupts the tank’s filling process, causing incomplete flushes and water wastage.
Over time, mineral buildup or aging components compromise the valve’s seal, reducing efficiency and increasing leaks.
Mineral buildup and worn parts gradually weaken the valve seal, leading to leaks and decreased performance.
Installing a new flush valve restores proper sealing, improves flushing power, and minimizes the risk of frequent repairs. This upgrade is a practical, cost-effective solution that doesn’t require major plumbing work.
Keep in mind that all content is © Rights Reserved.
How To Shut Off Water And Get Your Toilet Ready
First, find the water supply valve—it’s usually right behind or next to your toilet. Turn it clockwise to shut off the water flow.
Once that’s done, go ahead and flush the toilet. This will drain most of the water from the tank, which helps reduce spills while you’re working.
Try to make sure the tank is as empty as possible before you move on to avoid any mess.
Locate Water Supply Valve
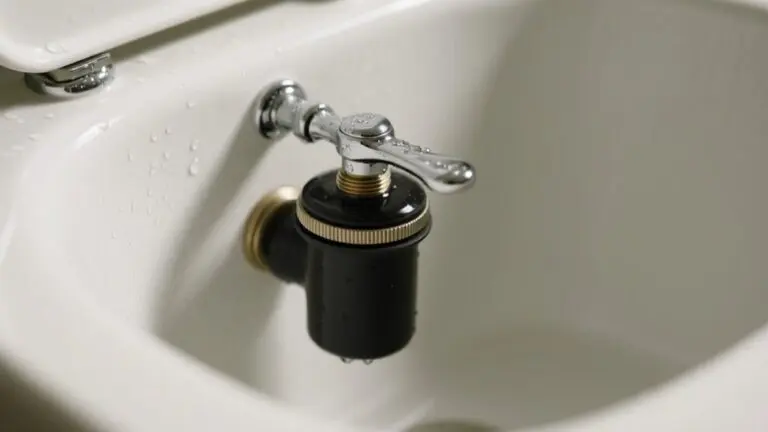
Where can you find the water supply valve to shut off your toilet’s water? Typically, it’s located behind the toilet near the floor or wall. Knowing the valve type helps you select proper installation tools and manage water pressure effectively.
Turn the valve clockwise to fully stop water flow, preventing leaks during flush valve replacement.
| Location | Valve Type |
|---|---|
| Behind toilet | Angle stop valve |
| Near floor | Gate valve |
| Wall-mounted | Ball valve |
Before disconnecting, flush the toilet to drain the tank, and place a towel or bucket under the supply line to catch residual water. Make sure the valve is fully closed to avoid water pressure issues during replacement.
That way, you won’t get any unwanted surprises while working on your toilet.
Turn Off Water Flow
Locate the shut-off valve behind or beside your toilet and turn it clockwise to stop the water flow completely. This step is essential for plumbing safety and water conservation during toilet maintenance.
After shutting off the valve, flush the toilet to drain remaining water from the tank and bowl, minimizing spills.
Place a towel or small container under the tank to catch any residual water when disconnecting the supply line.
If the valve is stuck, use pliers carefully to avoid damage. Confirm that no water refills the tank, ensuring the valve is fully closed.
Properly turning off the water flow prevents leaks and water waste. It sets a safe, efficient stage for replacing your Kohler flush valve.
Drain Toilet Tank
How do you properly drain the toilet tank before replacing the flush valve? Start by turning the shut-off valve behind the toilet clockwise to stop the water flow.
Next, flush the toilet to empty most of the water from the tank, which helps minimize spillage during your bathroom upgrades.
Then, use a sponge or towel to soak up any remaining water inside the tank to avoid leaks or mess.
Once the tank is dry, disconnect the water supply line at the bottom using appropriate plumbing tools.
Finally, place a towel around the base of the toilet to catch any residual water when working on the tank.
These steps are essential for efficient toilet maintenance and will help ensure a smooth flush valve replacement.
Tools And Materials For Kohler Flush Valve Replacement
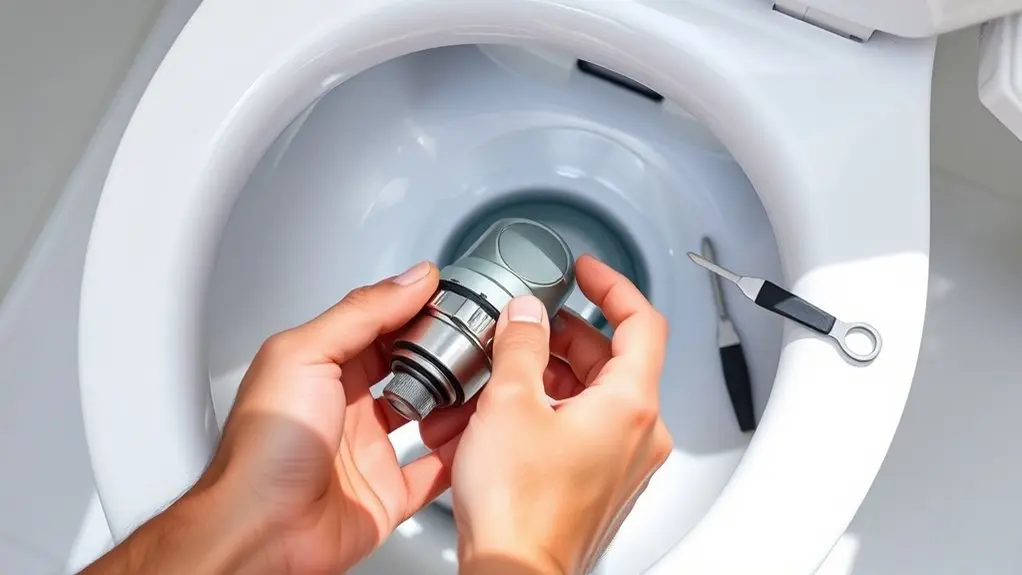
Although replacing a Kohler flush valve requires minimal tools, having the right materials on hand is essential for a smooth installation. You’ll need a compatible canister-style flush valve and replacement gaskets or seals. Make sure the materials are compatible to prevent leaks or damage.
Minimal tools are needed, but having compatible flush valve parts and seals is key for a leak-free installation.
Use a plastic cup to flush residual water and towels to catch drips. This helps keep the installation area safe and dry.
Applying dish soap lubricates gasket surfaces, which makes fitting the valve easier and reduces stress on the components.
Tool maintenance is minimal, but keep your plastic cup clean to avoid contaminating seals. Handle all parts gently and align them precisely. This will help you avoid cracking the tank or damaging the new valve.
Following these practical steps ensures a reliable, safe flush valve replacement with minimal hassle. It’s a straightforward process when you have the right materials and take your time.
Removing The Old Flush Valve From Two-Piece Kohler Toilets
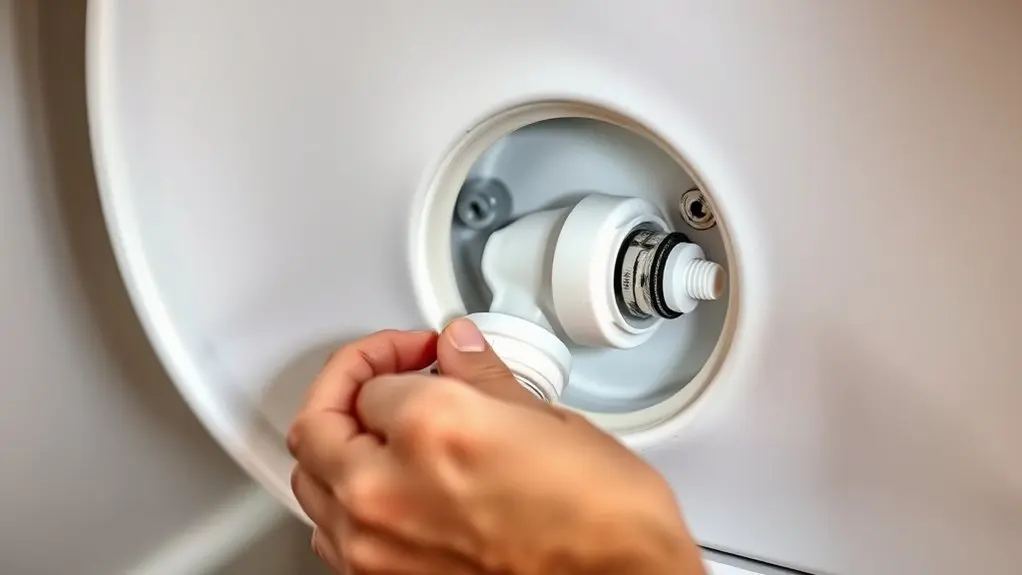
Before you remove the old flush valve, make sure to turn off the water supply and flush the toilet to empty the tank completely.
Next, note the tank color and handle design to guarantee correct reassembly.
Use a wrench or your hands to loosen the tank-to-bowl bolts. Then, carefully lift the tank off the bowl, keeping the bowl shape in mind to avoid any damage.
It’s a good idea to place a towel around the tank base to catch any leftover water.
Detach the flush valve by unscrewing or unclipping it from the tank’s bottom, depending on your model. Then, lift it out gently.
- Confirm tank color and handle design for compatibility
- Protect surfaces based on bowl shape during removal
- Use proper tools to avoid damaging bolts or tank
Installing A New Canister-Style Flush Valve
Start by applying a small amount of dish soap between the gasket and flange to guarantee a smooth, secure seal.
Then, carefully align the tabs on the canister flush valve base with the tank slots.
Once they’re lined up, press down and turn to lock it in place.
Getting this alignment right is really important—it helps prevent leaks and makes sure the flush works reliably.
Gasket Preparation Tips
When installing a new canister-style flush valve, preparing the gasket properly guarantees a reliable seal and prevents leaks. Focus on the gasket material’s integrity and use effective sealing techniques for a secure fit.
Start by cleaning the gasket thoroughly, removing any debris that could compromise the seal.
Next, apply a thin layer of dish soap around the gasket edge. This lubrication makes installation easier and helps improve the seal.
Be sure to align the gasket’s holes precisely with the mounting tabs on the canister to ensure proper seating.
Use your finger or a flat installation tool to press the gasket evenly into place. Avoid pinches or twists to keep the seal intact.
- Clean gasket and flange to prevent leaks
- Lubricate gasket edges with dish soap
- Align gasket holes with mounting tabs before pressing
Proper gasket preparation and using the right installation tools are key for leak-free performance.
Valve Alignment Steps
Although gasket preparation is essential, properly aligning the flush valve guarantees a secure fit and reliable operation. Start by aligning the tabs on the base of the new canister-style flush valve with the tank slots, then press down firmly.
Use installation tools to rotate the valve clockwise or counterclockwise as needed, making sure it seats evenly within the tank opening.
Confirm the gasket sealing is intact for a watertight fit before tightening any securing nuts. Check that the canister cylinder locks properly with a ¼ turn if applicable, completing flush valve maintenance steps.
Finally, manually test the flush mechanism to verify smooth operation and correct valve alignment.
Following these valve alignment steps ensures lasting performance and prevents leaks during flush valve maintenance. It’s a straightforward process that really pays off in the long run.
Key Tips For Aligning And Sealing Your New Flush Valve
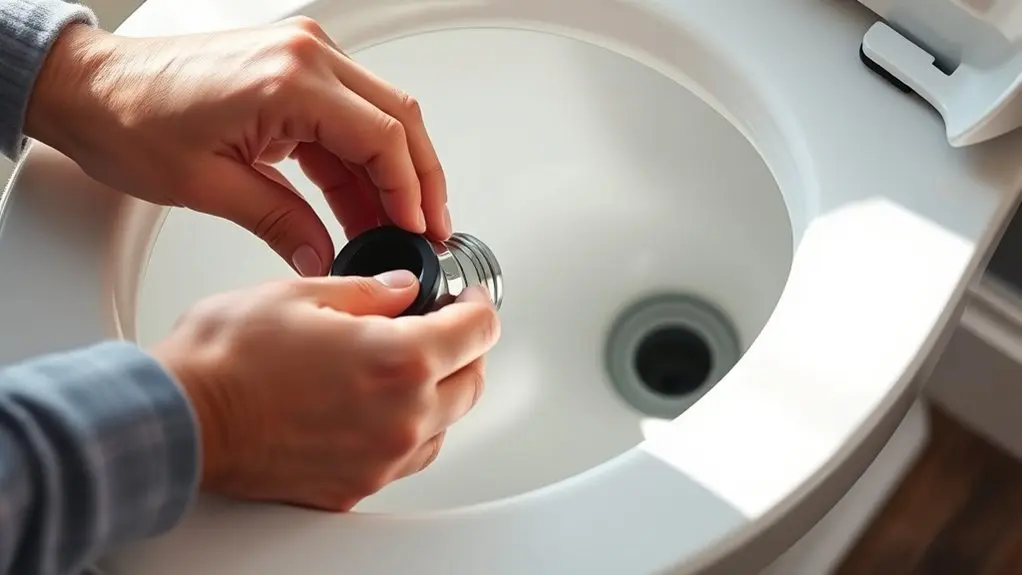
To achieve a reliable seal and prevent leaks, you’ll need to carefully seat the gasket and align it perfectly with the flange before pressing the flush valve into place. Proper gasket positioning is vital. Apply a thin layer of dish soap around the gasket to ease installation.
Perform a thorough seal inspection to make sure all seals are clean and debris-free. This step guarantees a tight, leak-proof fit.
Thoroughly inspect seals for cleanliness and damage to ensure a secure, leak-proof installation.
Finally, engage the locking mechanism by aligning the flush valve tabs with the tank slots and turning clockwise to secure it firmly.
- Confirm gasket positioning aligns flush with the flange
- Conduct seal inspection for dirt or damage before installation
- Secure the locking mechanism by precise tab alignment and rotation
Testing Your Kohler Flush Valve After Installation
Once you’ve installed the new Kohler flush valve, turn on the water supply and let the tank fill completely. Flush the toilet several times to verify the valve opens and closes properly, ensuring a consistent, complete flush each time.
Keep an eye on the fill level and listen for any continuous running or leaks. These issues could waste water and affect your water conservation efforts. Check the gasket’s seal for proper alignment to prevent leaks.
For easy detection of hidden leaks, add food coloring or a dye tablet to the tank and watch for color in the bowl after 15 minutes. It’s a simple trick that can save you from bigger problems down the line.
Make these steps part of your regular maintenance routine to avoid premature valve failure. And if you notice anything unusual, use these troubleshooting tips to fix it quickly. That way, you keep your flush performance ideal and conserve water efficiently.
Common Installation Problems And How To Fix Them
When installing a Kohler flush valve, you might run into issues like leaks or poor flushing. These problems often happen because parts are misaligned, gasket sizes are wrong, or connections aren’t quite right.
To troubleshoot leaks, start by checking if the gasket fits properly. A good fit is crucial to stop water from seeping out. Also, adjusting the trip lever chain is really important. If it’s not connected correctly, you might get incomplete flushing or the toilet could keep running. Make sure the chain has just the right tension.
Be careful not to over-tighten the tank bolts because that can crack the porcelain tank. Before you begin installing, clean the tank seating area thoroughly. This helps ensure a proper seal and prevents leaks.
Key fixes include:
- Aligning the canister flush valve accurately to avoid leaks and poor flushing
- Using the correct gasket sizes for a watertight seal
- Properly adjusting the trip lever chain for effective flushing
Frequently Asked Questions
How Long Does a Kohler Flush Valve Typically Last?
A Kohler flush valve typically lasts 5 to 10 years. To maximize its lifespan, you’ll want to follow maintenance tips like regularly inspecting for leaks and mineral buildup.
Common problems such as frequent running or weak flushing signal it’s time for replacement. When you’re ready, gather replacement tools like a wrench and screwdriver to guarantee a smooth swap.
Staying proactive helps you avoid unexpected failures and keeps your toilet running efficiently. It’s definitely worth the effort to keep things working well!
Can I Use a Universal Flush Valve for My Kohler Toilet?
You’d think universal compatibility means a universal fit, but that’s rarely true for Kohler toilets. Using a generic flush valve often leads to leaks or poor valve durability.
For smooth installation, always measure your Kohler model’s specs and check connection types carefully.
To avoid costly damage and maintain performance, it’s best to pick Kohler-approved parts designed specifically for your toilet.
This approach saves headaches and ensures long-term reliability. Trust me, it’s worth taking the extra step to get the right part.
What Causes a Flush Valve to Leak After Installation?
Flush valve leaks after installation usually stem from common leak sources like improper gasket alignment, damaged or incompatible gaskets, and debris on sealing surfaces.
Over-tightening bolts can crack the tank or deform the gasket, causing leaks.
When you’re troubleshooting installation issues, carefully check the canister cylinder and trip lever chain to make sure they’re positioned correctly.
Using the right replacement tools is key to avoiding overtightening.
This helps guarantee a clean, secure seal for a leak-free flush valve.
Is It Necessary to Replace the Flapper With the Flush Valve?
Replacing the flapper with the flush valve isn’t always necessary, like swapping tires only when they’re worn. If your toilet tank’s flapper is in good shape and guarantees proper valve sealing, you can skip flapper replacement.
However, if it’s warped or leaking, replace it separately for peak performance.
When upgrading to a canister-style flush valve, consider inspecting and possibly replacing the flapper to maintain a tight seal and prevent leaks.
How Do I Know if My Flush Valve Is Compatible With My Toilet Model?
You’ll know if your flush valve is compatible by checking your toilet bowl’s model number and Kohler’s specifications. Make sure the flush valve matches the design, whether it’s one-piece or two-piece, to keep the seal intact and avoid leaks.
Also, double-check that the valve supports your toilet’s required water pressure for the best performance.
It’s a good idea to verify connection types and sizes too. This helps prevent fit issues, so everything works properly and lasts longer.
And remember, always use genuine Kohler parts for the best results. It makes a big difference in reliability and performance.
Conclusion
Replacing your Kohler flush valve doesn’t have to be a challenging task. With the right tools and clear steps, you can tackle this repair like a pro. Remember, shutting off the water and ensuring a proper seal are key to avoiding leaks.
Think of your new flush valve as the heart of your toilet. When it’s aligned and working smoothly, everything flows perfectly. Test thoroughly, fix any issues promptly, and enjoy a reliable flush every time.