How To Install Kohler Flush Valve Kit – Pro Tips
To install your Kohler flush valve kit correctly, first measure the tank opening to confirm whether it’s 2 or 3 inches. Turn off the water, drain the tank, and remove the old valve and gasket carefully.
Next, insert the new valve with a proper gasket seal and hand-tighten the nut evenly. Then reconnect the water supply.
Adjust the overflow tube and chain for smooth flushing. Check for leaks and fine-tune the water level for peak performance.
Following these steps guarantees reliable operation. Feel free to explore further for detailed troubleshooting and adjustments.
How to Measure Your Toilet Tank Opening
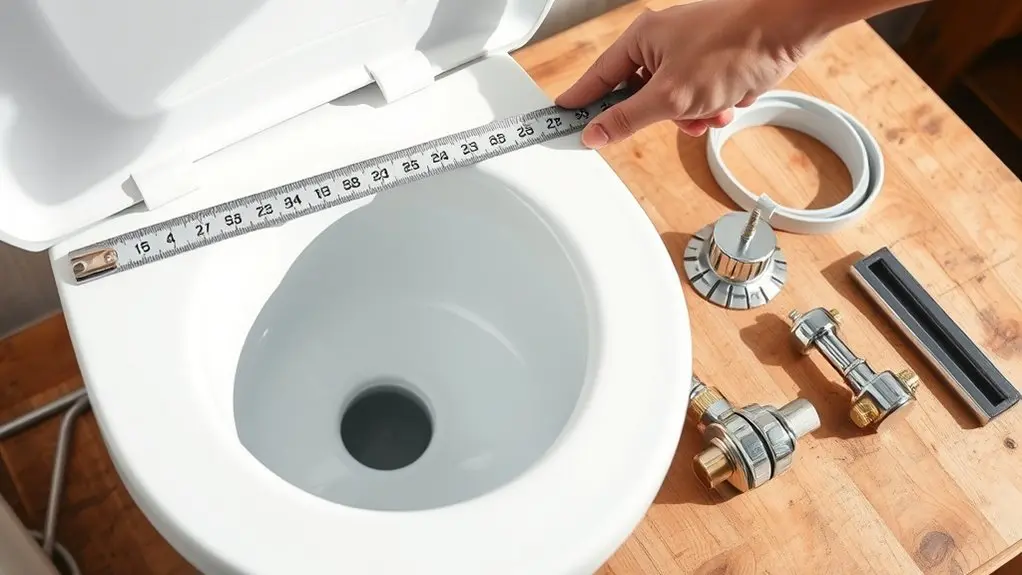
How do you accurately measure your toilet tank opening to guarantee compatibility with your new Kohler flush valve kit?
First, use a ruler or tape measure to determine the diameter of the opening. Place the measuring tool straight across the widest part of the tank opening to confirm an exact reading.
Measure the tank opening’s diameter straight across its widest point for an accurate reading.
Older toilets, typically installed before 2000, usually have a 2-inch opening. Newer models often feature a 3-inch opening. Double-check your measurement to verify whether it matches the flush valve kit’s size requirements.
Selecting the right size flush valve is critical because an incorrect fit can cause leaks or operational issues.
Drain Your Toilet Tank Before Installation
After confirming your toilet tank opening size, the next step is to drain the tank to prepare for installation. Properly draining the tank ensures a clean workspace and protects your replacement tools. Follow these steps precisely:
First, turn off the toilet’s water supply valve to stop the water flow. This is important for checking compatibility and avoiding leaks. Then, flush the toilet to drain most of the water.
Use a sponge or towel to soak up any remaining water. This cleaning tip helps prevent spills and makes installation easier.
Next, carefully disconnect the water supply line from the bottom of the tank. Be sure to mark the water level beforehand so you can restore it accurately later.
These steps will give you a dry, accessible tank, which is essential for installing your Kohler flush valve kit efficiently.
Remove the Old Flush Valve and Gasket
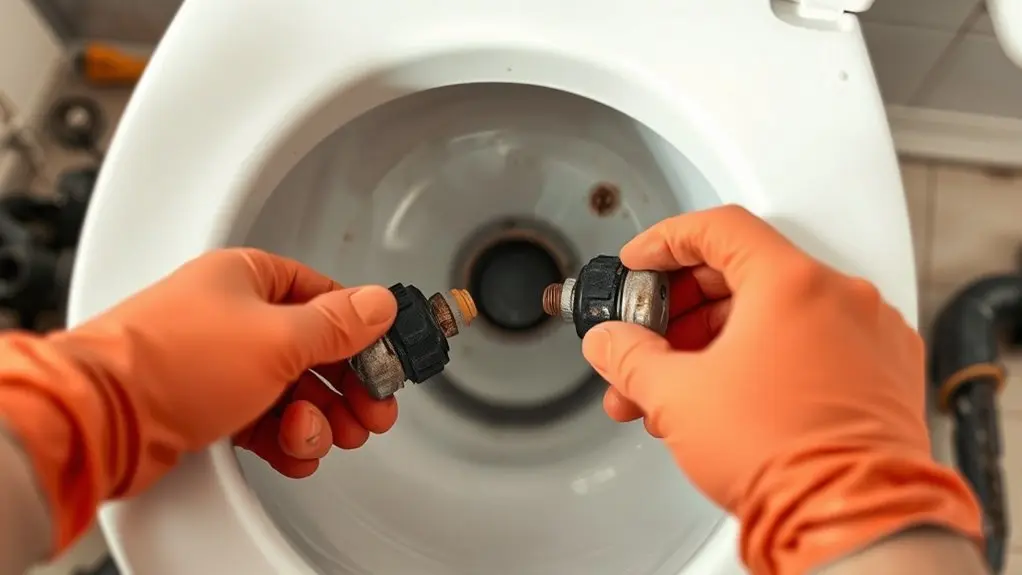
First, shut off the water supply and flush the toilet to fully drain the tank. It’s a good idea to mark the water level for reference before you disconnect the water supply line. Be ready for any residual water that might still be in the tank.
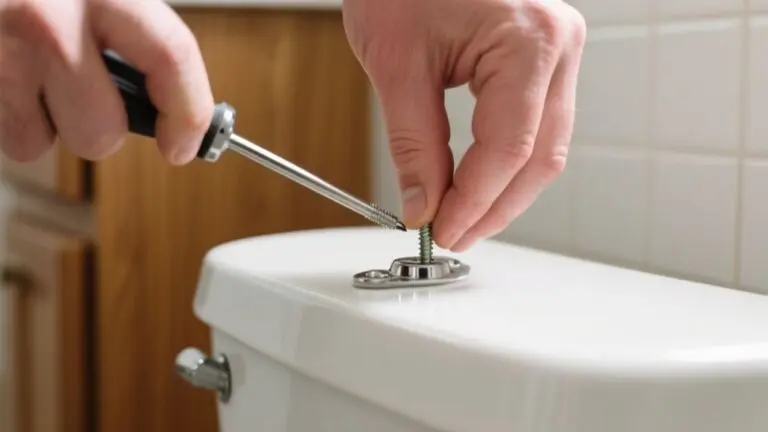
Next, loosen the mounting nuts, and then go ahead and remove the old flush valve and gasket from the tank.
Shut Off Water
Before you begin removing the old flush valve and gasket, turn off the water supply valve to stop water flow to the toilet. This step controls water pressure and protects your pipe fittings from damage.
Next, flush the toilet to drain most of the tank water, minimizing spillage on the tank material. Then, soak up any residual water with a sponge or towel to keep the workspace dry.
Follow these steps:
- Shut off the water supply valve located near the toilet base.
- Flush to empty the tank and reduce water pressure inside.
- Use a sponge to absorb leftover water, preventing leaks during removal.
This guarantees a clean, safe environment for replacing the flush valve and gasket.
Detach Old Valve
With the water supply off and the tank drained, you can now loosen the nuts and bolts securing the tank to the bowl. Carefully lift the tank away to expose the flush valve assembly.
Use a sponge or towel to soak up any residual water inside the tank for thorough tank cleaning.
Next, proceed with old valve removal by unscrewing or pulling the flush valve out from the tank opening. Pay close attention to how the gasket fits around the valve.
Remove the old gasket completely, along with any debris or buildup in the tank opening.
This step is important to guarantee a proper seal during gasket replacement. Taking your time here will help prevent leaks and ensure your new Kohler flush valve kit performs perfectly.
Install the New Kohler Flush Valve (2-Inch Tanks)
Although replacing a flush valve may seem complex, installing the new Kohler 2-inch flush valve is straightforward once you’ve confirmed the tank’s opening size.
Kohler offers various color options to match your tank’s interior. The valve’s material compatibility guarantees durability with standard toilet components.
Plus, their warranty coverage guarantees reliability.
Follow these steps:
- Insert the new 2-inch flush valve, ensuring the gasket seals tightly to prevent leaks.
- Hand-tighten the mounting nut evenly; avoid over-tightening to maintain a secure fit.
- Reassemble the tank, reconnect the water supply, and test the flush for proper function and no leaks.
This method guarantees a professional, leak-free installation tailored for 2-inch tanks. Easy, right?
Install the New Kohler Flush Valve (3-Inch Tanks)
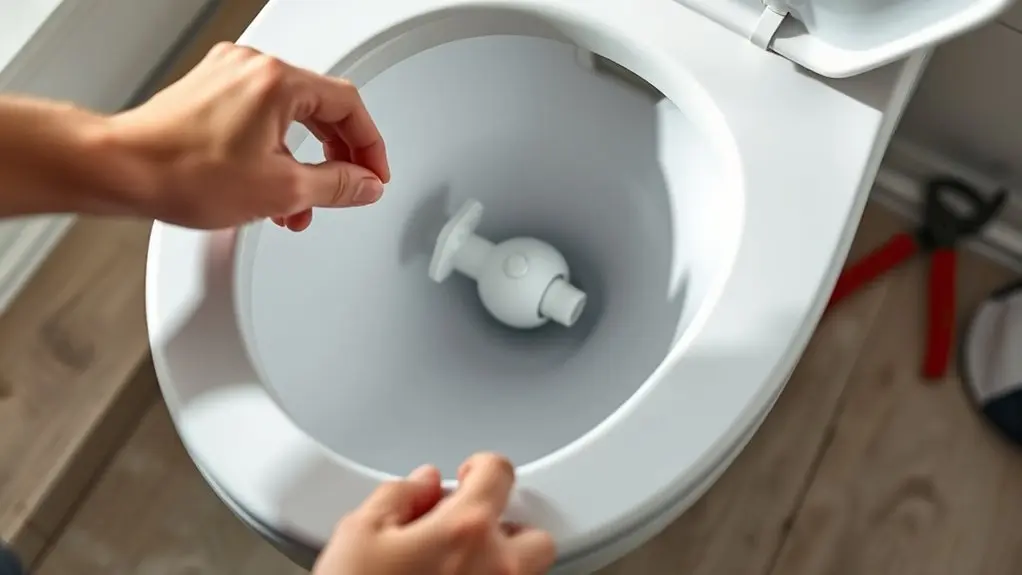
Installing the Kohler flush valve for 3-inch tanks follows similar principles as the 2-inch model but requires confirming the larger tank opening first. Start by measuring the tank hole to ensure compatibility with the 3-inch flush valve.
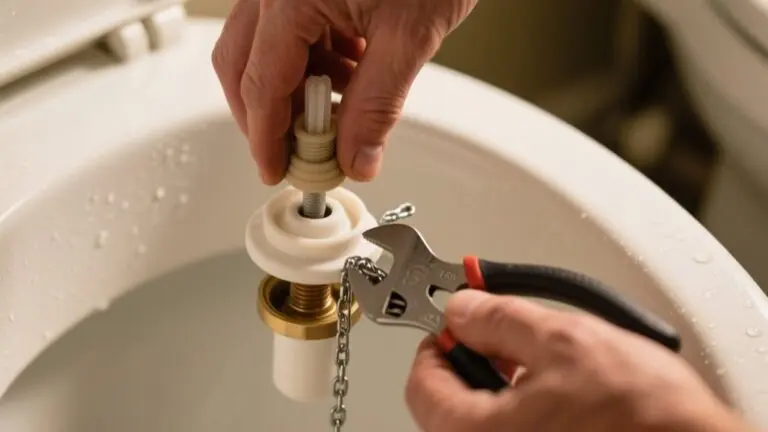
Insert the valve’s threaded bottom into the hole, making sure the black o-ring seals properly. Hand-tighten the mounting nut firmly, using a wrench if needed, to avoid leaks. Proper tank cleaning beforehand ensures no debris compromises the seal.
Reconnect the refill tube and attach the flapper chain with slight slack for optimal water efficiency.
| Step | Detail |
|---|---|
| Tank Hole Size | Confirm 3-inch opening |
| Seal | Black o-ring for leak prevention |
| Mounting Nut Tightness | Hand-tighten securely |
| Water Efficiency | Flapper chain slack: 1-2 links |
Secure the Tank and Adjust the Overflow Tube
Start by aligning the tank and gasket carefully to guarantee a proper seal.
Then, adjust the overflow tube height so it sits about 1/2 inch above the water line and about 1 inch below the flush lever nut.
Make sure to secure the tank bolts evenly to prevent leaks and protect the porcelain from cracking.
Align Tank And Gasket
How do you guarantee a leak-free seal when attaching the tank to the bowl? The key lies in precise gasket alignment and maintaining seal integrity throughout installation.
Follow these steps for effective leakage prevention: Place the gasket carefully, ensuring it aligns perfectly with the tank and bowl surfaces to avoid gaps.
Next, insert rubber washers on each tank bolt. This helps distribute pressure evenly and protects the porcelain and gasket from damage.
Then, tighten tank bolts gradually and alternately. Applying even pressure keeps the gasket seated properly and prevents misalignment. It’s a simple process but makes all the difference!
Adjust Overflow Tube Height
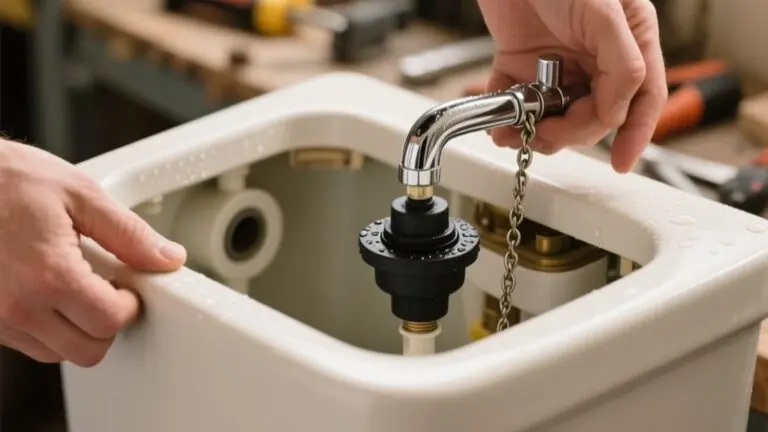
Once the tank is securely fastened with the tank bolts and rubber washers, you can adjust the overflow tube height. Begin by loosening the lock nut on the overflow tube to enable movement. Slide the overflow tube up or down for precise overflow pipe positioning.
Aim to set the tube approximately 1/2 inch above the water line to ensure proper overflow protection. Also, position the overflow tube about 1 inch below the flush lever nut to maintain ideal flushing operation.
After you get the water level right, tighten the lock nut securely to hold the overflow tube firmly in place.
Proper adjustment prevents leaks and ensures reliable flush valve performance within your Kohler toilet system. Taking the time to do this correctly will save you from future headaches. It’s a simple step that makes a big difference!
Connect the Refill Tube and Flapper Chain
Although it may seem straightforward, properly connecting the refill tube and flapper chain is essential for peak flush valve performance. Focus on refill tube positioning, chain slack adjustment, and flapper alignment to guarantee smooth operation.
- Attach the refill tube to the overflow tube with the clip. Keep it kink-free and trim any excess length to prevent flow restriction.
- Connect the flapper chain to the tank lever arm, leaving 1-2 links slack. Too tight restricts flapper sealing, and too loose causes the chain to catch.
- Verify the refill tube directs water into the overflow tube without splashing or bypassing. Also, maintain proper flapper alignment for an effective seal.
These precise steps guarantee your Kohler flush valve functions reliably without leaks or premature flushing issues. Following them will save you time and frustration down the line.
Test Your Kohler Flush Valve and Adjust Water Level
Why is verifying the water level essential after installing your Kohler flush valve? Correct water level ensures efficient flush performance and prevents overflow.
Once the tank fills completely, check the water level against the marked line inside the tank. It should sit within 1/2 inch below the overflow tube opening. If it’s off, perform a precise float adjustment or tweak the fill valve to achieve this target level.
Conduct flush testing by flushing multiple times, observing if the water level remains consistent and the valve operates smoothly. Proper adjustments during this phase guarantee optimal flushing and water conservation.
Skip this step, and you risk poor flush performance or continuous running, which will undermine your installation’s effectiveness. So, take your time here—it really pays off!
Troubleshoot Kohler Flush Valve Issues
After confirming the water level and adjusting the float, you might still run into issues with your Kohler flush valve that affect how it works. Troubleshooting usually points to common installation mistakes like improper gasket placement or using parts that don’t quite fit.
To fix these problems, start by making sure the flush valve sits firmly and the gasket is sealed correctly to stop leaks. Next, check the flush valve and flapper for any cracks or damage that could cause it to run continuously.
Ensure the flush valve is secure and the gasket sealed, then inspect for cracks to prevent continuous running.
Also, take a look at the overflow tube height and the chain length. These need to be just right to prevent water from overflowing or the flush from being incomplete.
If you address these points, you’ll ensure your flush valve is compatible and running at its best. Proper gasket placement and a careful inspection help get rid of leaks and sticking parts, so your Kohler flush valve works reliably without wasting water or acting up.
Frequently Asked Questions
Can I Install a Kohler Flush Valve Without Professional Plumbing Tools?
Yes, you can install a Kohler flush valve without professional plumbing tools by following DIY plumbing best practices. Use tool alternatives like adjustable wrenches and screwdrivers included in the kit.
Carefully follow installation steps, making sure to measure and align the components properly.
The kit’s rubber gasket and fittings help secure a tight seal without the need for advanced tools. Just stick to the instructions, and you’ll be able to complete the job efficiently.
No specialized plumbing equipment is necessary.
How Do I Know if My Toilet Requires a 2-Inch or 3-Inch Valve?
You determine valve sizing by measuring your toilet dimensions, specifically the flush valve opening diameter inside the tank. Use a ruler to check if the opening is 2 inches or 3 inches wide.
Also, make sure to check the manufacturer’s specs or model number to confirm the exact valve size you need. This helps avoid any compatibility issues.
Usually, older toilets need a 2-inch valve.
But newer, high-efficiency models often require a 3-inch valve to fit and function properly.
What Materials Do I Need Besides the Kohler Flush Valve Kit?
You’ll need basic tools like an adjustable wrench or pliers to tighten fittings securely and a screwdriver for removing tank bolts during replacement procedures. Have a bucket or towel ready to catch any leftover water.
Using a level helps make sure the valve sits evenly, which can prevent common issues like leaks.
Sealant or plumber’s tape isn’t necessary, so just focus on using the right tools and putting everything together carefully for a smooth installation.
How Often Should I Replace My Kohler Flush Valve Kit?
You should replace your Kohler flush valve kit every 5 to 7 years to guarantee peak performance.
Regular maintenance tips include inspecting seals and flappers to troubleshoot common issues like leaks or inconsistent flushing.
Monitoring these signs helps you determine replacement frequency before failures occur.
Staying proactive with inspections and timely replacements ensures your toilet remains efficient and prevents costly repairs down the line.
Are Kohler Flush Valves Compatible With All Toilet Brands?
Think of Kohler flush valves like a rotary phone. They’re designed for specific models and aren’t compatible with all toilet brands.
For effective toilet tank maintenance and flush valve troubleshooting, you have to check plumbing parts compatibility carefully.
Kohler valves mostly fit Kohler toilets or those with similar tank opening sizes. Installing one on a non-compatible toilet can cause leaks or poor flushing.
Conclusion
Installing a Kohler flush valve kit can improve your toilet’s efficiency, potentially saving up to 13,000 gallons of water annually per household. By accurately measuring, draining, and following precise installation steps, you guarantee a secure fit and peak performance.
Don’t forget to test and adjust the water level for flawless flushing. With proper troubleshooting, you’ll maintain reliability and prevent leaks. Taking these steps keeps your system running smoothly and conserves valuable resources.