How To Clean Shower Tiles – Easy Guide
To clean your shower tiles easily, start by removing all toiletries and ventilating the space. Rinse tiles with warm water, then apply a bleach-water solution or a homemade mix of vinegar and baking soda to tackle mold and stains.
Scrub grout gently with a soft brush, rinse thoroughly, and maintain by wiping tiles weekly and using a mild spray daily. Regular cleaning stops buildup and mold growth.
Keep going to discover effective maintenance and when to call in a professional.
How To Clean Your Shower Tiles: Step-By-Step Guide
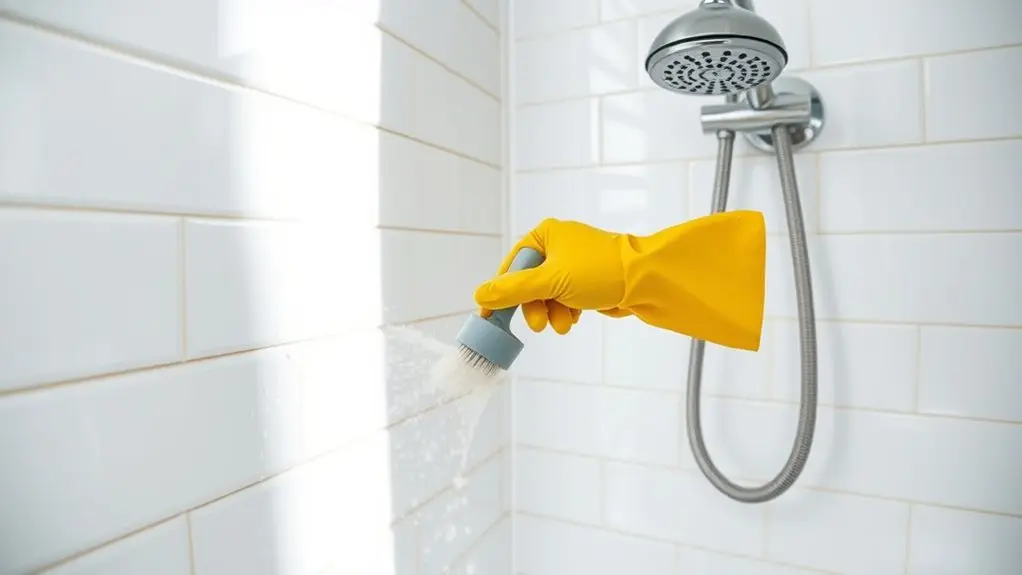
To effectively clean your shower tiles, start by removing all toiletries and ventilating the space to minimize fumes.
Prepare a cleaning solution by mixing one part chlorine bleach with two parts water. Apply it to the tiles and let it soak for 10 minutes to break down soap scum and grime.
Mix one part chlorine bleach with two parts water and soak tiles for 10 minutes to dissolve soap scum and grime.
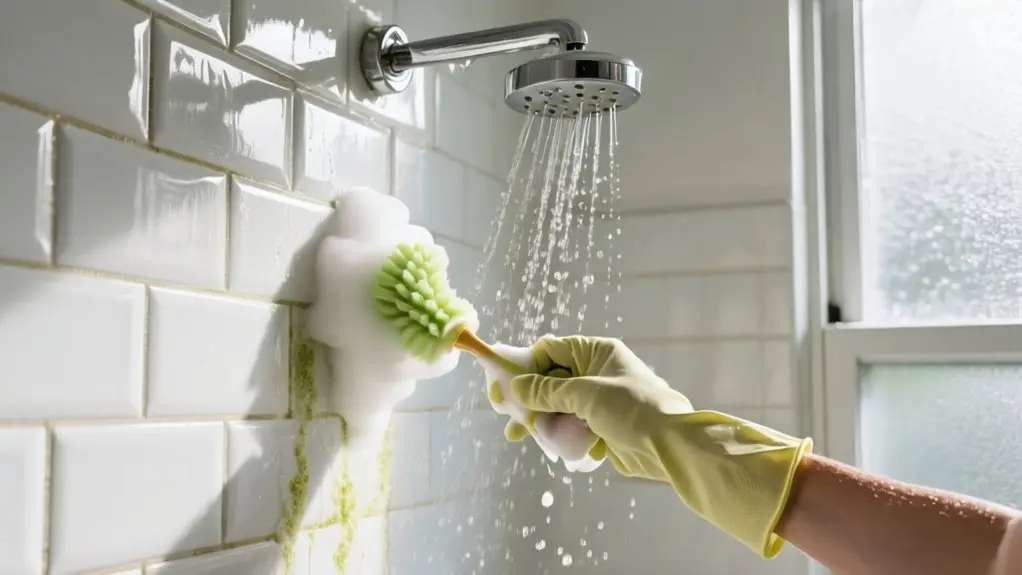
Use a soft-bristled brush or an old toothbrush to scrub the grout thoroughly, focusing especially on moldy or discolored areas. Scrub the grout to guarantee deep cleaning in those tight spaces.
After scrubbing, rinse tiles and grout with hot water to remove all residues from the cleaning solution.
For best results, clean your shower weekly to prevent soap scum buildup and maintain fresh grout and tile surfaces.
How To Make The Best Homemade Cleaners For Shower Tiles
Three simple ingredients, white vinegar, baking soda, and Blue Dawn dish soap, can create powerful homemade cleaners that tackle soap scum, mildew, and grime on your shower tiles.
Start by mixing equal parts white vinegar and water in a spray bottle for a natural cleaning product that’s easy to use regularly.
For tougher stains, combine baking soda and vinegar into a paste. Apply it to stained areas and let it sit for 10-15 minutes before scrubbing.
You can also mix 1 cup of Blue Dawn dish soap with 1 cup of vinegar for a potent cleaner that breaks down grime effectively.
Always test these homemade cleaners on a small area first to protect your tiles.
Using these mixtures helps you clean your shower efficiently without harsh chemicals.
Preparing Your Shower Tiles: Rinsing And Surface Clearing
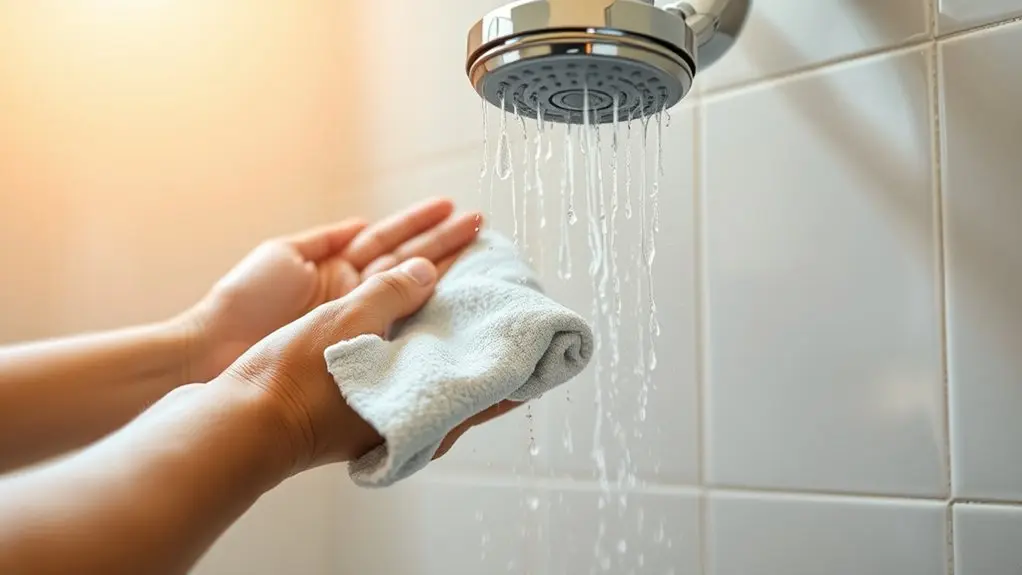
After mixing your homemade cleaners, you’ll want to prepare your shower tiles properly to maximize their effectiveness. Start by removing all toiletries to access every tile and grout line.
Turn on the bathroom fan and open windows to facilitate proper ventilation, reducing fumes. Next, rinse the tiles thoroughly with warm water from a shower head or bucket to soften grime.
Clear hair and debris from the drain to prevent clogs and maintain drainage during cleaning.
| Step | Action | Purpose |
|---|---|---|
| Remove Items | Clear toiletries | Unobstructed tile access |
| Ventilation | Fan and windows open | Reduce fumes, improve airflow |
| Rinse Tiles | Wet tiles thoroughly | Loosen soap scum and buildup |
| Clear Debris | Remove hair/debris | Prevent drain clogs |
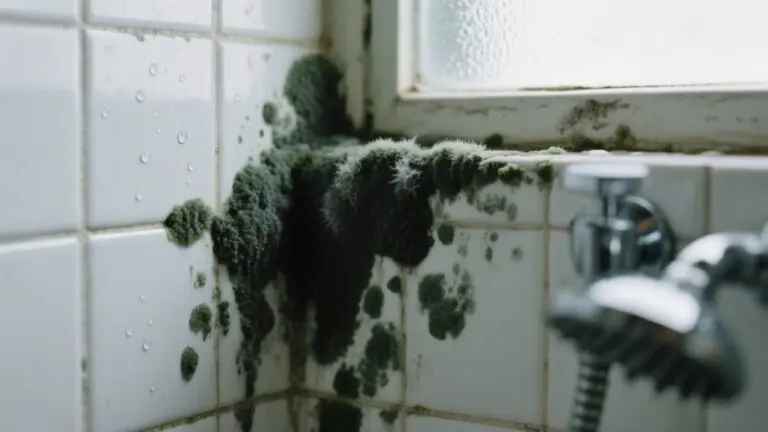
How To Remove Mold And Mildew From Shower Tile Grout Lines
Anyone dealing with mold and mildew on shower tile grout knows it demands prompt attention.
Mold growth thrives in damp grout lines, so cleaning the shower regularly is essential.
Mold flourishes in moist grout, making regular shower cleaning crucial to keep it at bay.
To effectively clean a shower and eliminate mold:
- Mix one part chlorine bleach with two parts water and apply it to grout lines.
- Let it soak for 10 minutes to break down mold and mildew.
- Scrub gently with a soft-bristle brush or old toothbrush.
- Rinse thoroughly with hot water and guarantee proper ventilation.
For a natural shower cleaner, use a paste of equal parts white vinegar and baking soda.
Clean grout 2-3 times monthly to prevent mold growth and maintain tile integrity.
Prompt, consistent cleaning keeps your shower mold-free and fresh.
Effective Tips To Remove Tough Soap Scum And Stains On Shower Tiles
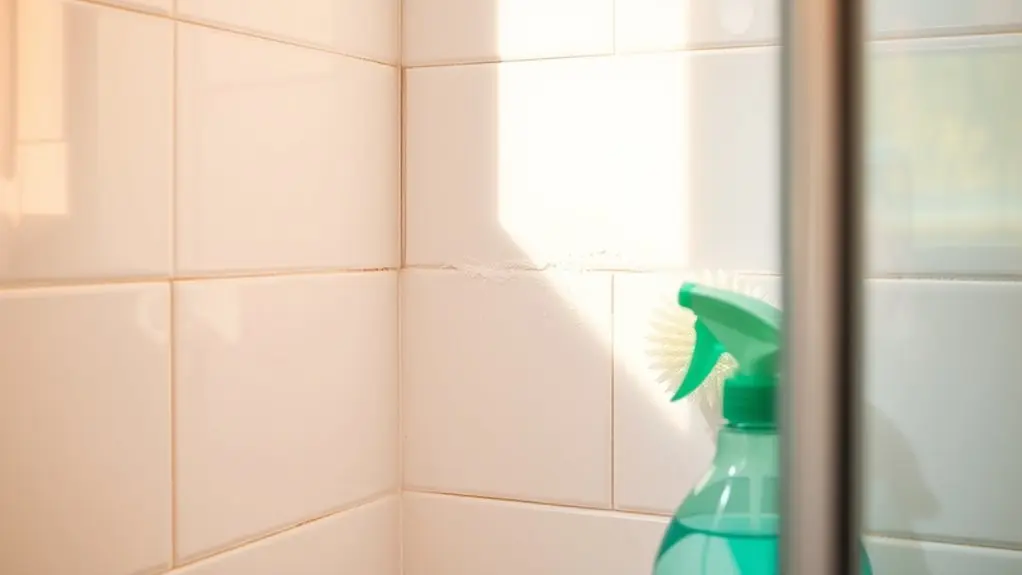
If you’re dealing with tough soap scum on your shower tiles, a great place to start is by spraying a vinegar and water solution.
Just let it sit for a bit before you scrub with a soft brush.
Now, if you’ve got some stubborn stains that won’t budge, try applying a baking soda paste directly onto the spots.
Then, gently scrub to lift the grime away.
Doing these regularly can really help prevent build-up and keep your tiles looking spotless.
It’s an easy routine that makes a big difference!
Soap Scum Removal
Three simple methods can tackle soap scum buildup on your shower tiles effectively. To clean soap scum thoroughly, follow these steps:
- Mix baking soda and water into a paste. Apply it to soap scum, let it sit for 10-15 minutes, then scrub gently with a soft brush.
- Spray a 1:1 vinegar and water solution onto the tile. Let it penetrate for 10-15 minutes before rinsing to break down residue.
- Use a Magic Eraser on stubborn soap scum spots for a scratch-free clean.
- Wipe tiles weekly with a microfiber cloth dampened with vinegar solution to prevent buildup and simplify maintenance.
These methods will keep your shower tile free from soap scum and looking clean without harsh chemicals or damage.
Stain Treatment Methods
While regular cleaning keeps soap scum at bay, stubborn stains can still develop on your shower tiles. Effective stain treatment methods are essential to maintain a clean shower.
For tough soap scum, apply a paste of baking soda and water to the area, let it sit for 10–15 minutes, then scrub with a soft brush. Alternatively, spray equal parts white vinegar and water, let it work for 5–10 minutes, then rinse.
For grout stains, use a solution of one part chlorine bleach to two parts water; soak for 10 minutes before scrubbing to lift discoloration. Magic Erasers also remove stubborn soap scum without scratching tiles.
Incorporate these stain treatment methods into your cleaning routine to guarantee your shower tiles and grout stains stay spotless and your shower remains clean.
How Often Should You Clean Your Shower Tiles?
How often should you clean your shower tiles to keep them looking their best? Regular cleaning prevents soap scum and mold buildup, preserving the tiles’ appearance and longevity.
Start with a deep clean to eliminate existing grime, then maintain with weekly cleaning to avoid stubborn stains and damage.
Follow this schedule for ideal results:
- Perform a deep clean initially to remove all dirt and buildup.
- Clean shower tiles at least once a week to prevent soap scum accumulation.
- For high-usage showers, clean every 3-4 days to keep surfaces fresh.
- Use a daily mild cleaner spray to minimize the need for intensive scrubbing during weekly maintenance.
Sticking to this routine helps maintain hygiene and extends the life of your shower tiles.
Safe Cleaning Tips To Protect Your Shower Tiles And Health
To protect both your shower tiles and your health, always choose pH-neutral or non-abrasive cleaners that won’t damage the tile glaze or grout.
Use a soft-bristled brush when cleaning to prevent scratching, especially on delicate natural stone or ceramic tiles.
Make sure your bathroom is well-ventilated during cleaning to reduce exposure to fumes.
For tough stains, try a baking soda and water paste as a safe alternative to harsh chemicals.
After cleaning, thoroughly rinse the shower tiles to remove any residue, which can attract dirt and cause health issues.
Following these tips helps maintain your shower’s appearance while safeguarding your health, making your cleaning routine both effective and safe.
How To Maintain Shower Tiles To Prevent Soap Scum Build-Up
If you want to keep your shower tiles looking pristine, preventing soap scum build-up is essential. Soap, water, and hard water stains quickly accumulate on shower walls and floor, dulling their appearance.
Keeping shower tiles pristine requires preventing soap scum and hard water stains that dull their shine.
Follow these steps for effective maintenance:
- After each daily shower, wipe down tiles with a squeegee to reduce moisture and soap residue.
- Spray a vinegar and water solution weekly to dissolve early soap scum before it hardens.
- Scrub grout lines and tiles twice monthly using a soft brush or sponge to prevent buildup.
- If hard water stains persist, install a water softener to minimize mineral deposits.
Consistent attention using these methods guarantees your shower tiles stay clean, fresh, and free from persistent soap scum.
When Should You Call A Pro For Shower Tile Cleaning Or Replacement?
You should call a pro when grout stains, mold, or cracks go beyond what you can handle with your usual cleaning. If these issues start to risk water damage, it’s definitely time to get some expert help.
Professionals don’t just clean—they offer deep cleaning and repair services that can bring your tiles back to looking great while protecting your shower from further damage.
Plus, they can spot hidden problems like persistent moisture or strange odors that might be signs of something more serious. So, if things are getting tricky, it’s best to leave it to the experts.
Signs You Need
When should you call a professional for shower tile cleaning or replacement? Recognizing the signs you need expert help is vital to avoid costly damage. Consider these key indicators:
- Persistent stains or discoloration resist all home cleaning efforts, signaling the need for professional cleaning.
- Cracked tiles or chipped surfaces can lead to water damage and require prompt replacement.
- A musty odor often indicates mold buildup that only thorough professional cleaning can eliminate.
- Crumbling or missing grout lines compromise water integrity, making professional re-grouting necessary.
If you notice loose tiles or excessive mold growth during inspections, don’t hesitate to contact a pro.
Addressing these issues early guarantees your shower remains safe, functional, and visually appealing.
Professional Cleaning Benefits
Recognizing the signs that call for professional intervention leads directly to understanding the benefits of hiring an expert for shower tile cleaning or replacement.
Professional cleaning provides thorough mold and mildew removal, targeting buildup that typical household methods can’t fully eliminate. This not only improves your bathroom’s appearance but reduces health risks tied to poor air quality.
You’ll save time, as experts use specialized tools and techniques to deep clean efficiently, sparing you from labor-intensive scrubbing.
Furthermore, trained professionals guarantee prevention of damage to grout and tiles, extending their lifespan.
Though professional services come with upfront costs, their cost-effectiveness shines through by avoiding costly repairs or premature replacements.
Calling a pro is a smart choice to maintain your shower’s integrity and hygiene.
Frequently Asked Questions
What Type of Grout Is Best for Shower Tiles?
You want grout that stands guard like a knight against water and stains. Epoxy grout is your best ally, fiercely resisting moisture and mold.
If you prefer traditional options, sanded grout suits wider joints, while unsanded grout fits narrow ones, but neither matches epoxy’s durability.
Remember, grout color affects appearance, so pick wisely.
Always apply a grout sealer to lock in protection, keeping your shower tiles pristine and battle-ready.
Can Steam Cleaning Damage Shower Tiles?
Yes, steam cleaning can damage shower tiles if you’re not careful. To protect your tiles, follow tile maintenance tips like using the right steam cleaner types and keeping a proper distance to avoid overheating.
Remember, steam cleaning benefits include deep cleaning and mold removal, but grout sealing techniques are essential to prevent damage.
Also, stick to a safe tile cleaning frequency to maintain your shower tiles without causing harm.
Are Natural Stone Tiles Harder to Clean Than Ceramic?
Yes, natural stone tiles are harder to clean than ceramic because they demand careful stone tile maintenance.
You’ll need pH-neutral cleaning solutions, unlike ceramic tiles that tolerate harsher products.
Protective sealants benefit your stone by preventing stains, but you must reseal regularly.
Stain removal techniques require gentle methods to avoid damage.
For long term care, prioritize routine cleaning with suitable products and timely resealing to preserve your stone’s appearance and durability.
How Do Water Hardness Levels Affect Tile Cleaning?
Hard water stains are the bane of your tile maintenance efforts, making cleaning feel like an uphill battle.
Higher water hardness means more mineral buildup on shower fixtures and tiles, requiring stronger cleaning solutions and more frequent upkeep.
You’ll want to adopt preventative measures like using vinegar or water softeners to keep those stubborn deposits at bay.
Managing water hardness directly impacts how easily you can keep your shower tiles spotless.
What Ventilation Methods Reduce Mold Growth in Showers?
To reduce mold growth in showers, you should focus on proper humidity control through exhaust fan installation and using mold resistant materials.
Increase natural light usage and improve airflow by opening windows or doors.
Combine these with frequent cleaning routines to keep moisture at bay.
These ventilation methods stop mold spores from settling and thriving, ensuring your shower stays cleaner and healthier for longer.
Conclusion
Think of cleaning your shower tiles like tending a garden. Neglect leads to stubborn weeds, mold, and soap scum that choke its beauty. Just as a gardener regularly prunes to keep blooms vibrant, you should clean your tiles weekly to prevent grime buildup.
Studies show regular maintenance cuts deep cleaning time by half, saving effort and preserving your bathroom’s shine. With consistent care, your shower stays fresh, hygienic, and inviting, making every rinse a rejuvenating experience.