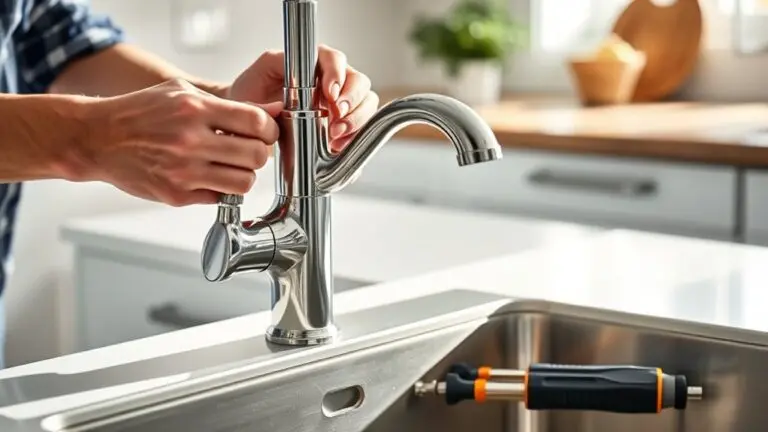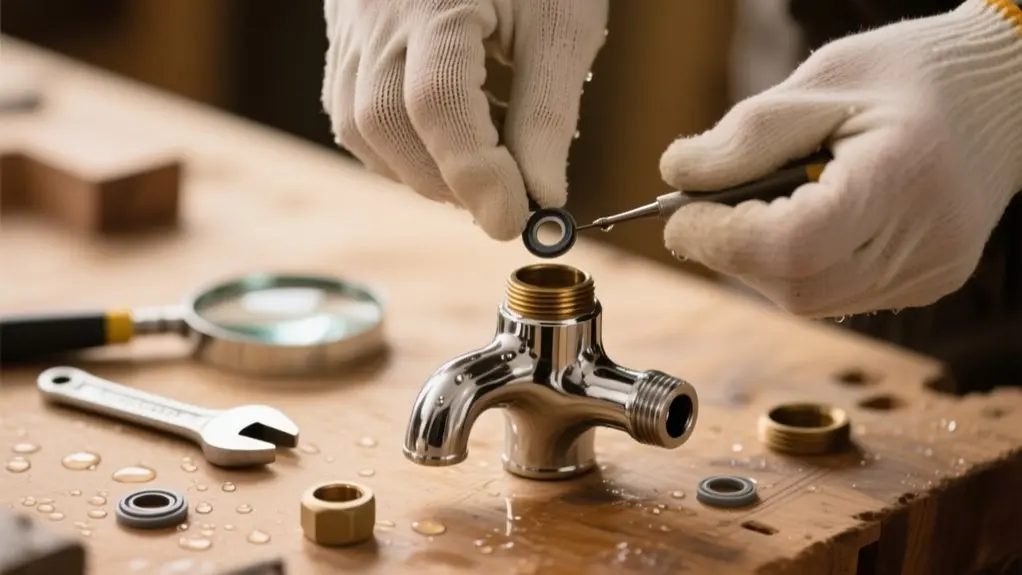
How To Change Washer In Kohler Faucet – Pro Tips
First, shut off the water supply at the valves under your sink or the main supply to prevent leaks. Remove the handle by popping off the plug and loosening the screw beneath.
Unscrew the bonnet below the handle to access the washer, then carefully remove the old washer, checking for damage. Replace it with the correct sized washer, apply silicone-based lubricant, and reassemble the faucet securely.
Turn the water back on, test for leaks, and guarantee smooth handle operation. Follow these steps closely to optimize your repair.
Turn Off Water Supply for Your Kohler Faucet
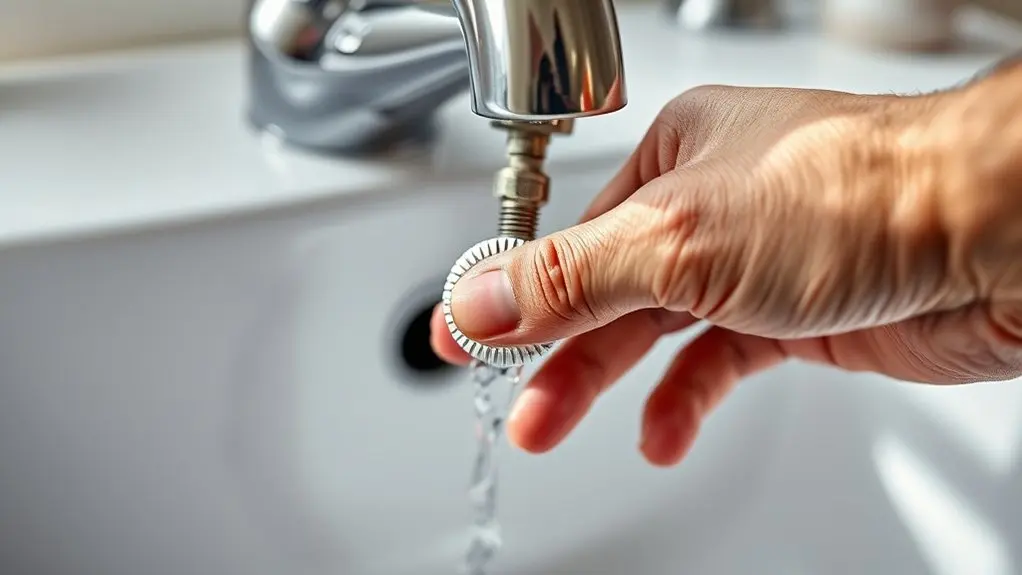
Before you start any repair on your Kohler faucet, turn off the water supply by locating the shut-off valves under the sink.
Identify both the hot and cold water shut-off valves and rotate them fully clockwise to stop water flow.
If your sink lacks individual shut-off valves, you’ll need to shut off the main water supply to your home.
After closing the valves, open the faucet to release any trapped water pressure.
Keep a container nearby to catch residual water that may drain from the faucet during the repair.
Ensuring the water supply is completely off and pressure is relieved prevents spills and damage while you work on your Kohler faucet.
Properly using the shut-off valves is the critical first step in any faucet repair task.
Remove the Handle to Access the Washer
With the water supply securely turned off as outlined earlier, you can proceed to remove the faucet handle to reach the washer.
To remove the handle, start by locating the plug button on the back of the handle and carefully pop it off to expose the screw underneath.
Begin by finding the plug button on the handle’s back and gently pop it off to reveal the hidden screw.
Use a hex wrench to loosen this screw, then gently lift the handle from the faucet. Keep all screws and parts organized during this step to simplify reassembly later.
Once the handle is off, you’ll have clear access to the washer inside the faucet for replacement.
Follow these steps precisely to remove the handle:
- Locate and pop off the plug button
- Use a hex wrench to loosen the exposed screw
- Gently lift the handle off the faucet
- Organize screws and components carefully
- Access the washer for replacement
Unscrew the Bonnet to Reach Internal Parts
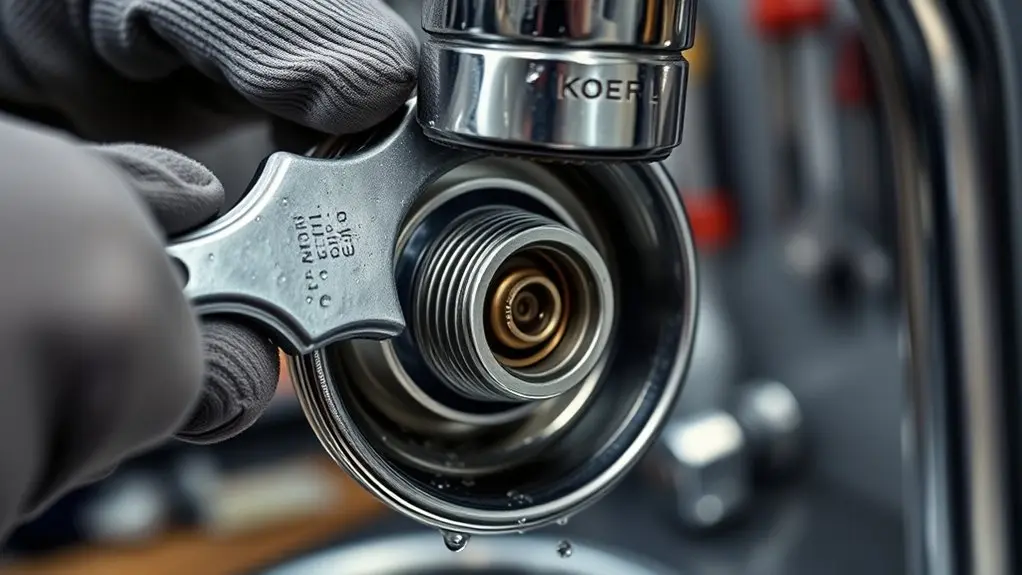
Unscrew the bonnet located just below the handle by turning it counterclockwise to expose the valve and mounting nut. Before starting, make certain the water supply is turned off to prevent leaks.
Use your fingers or an adjustable wrench if the bonnet is tight, but avoid excessive force to prevent damage.
Once the bonnet is removed, you’ll clearly see the mounting nut securing the valve. Loosen this nut carefully with a properly sized wrench to avoid stripping. Note the orientation of the valve and any markings on its body to guarantee proper reassembly.
Inspect the bonnet for wear or corrosion, as a damaged bonnet can affect faucet performance.
Removing the bonnet correctly grants you safe, unobstructed access to all internal components.
Identify and Remove the Old Washer
First, you’ll want to locate the washer inside the valve assembly once you’ve taken off the bonnet nut.
Take your time to carefully remove any retaining parts that are holding the washer in place.
Then, check the washer closely for any cracks or signs of damage to see if it needs to be replaced.
Locate Washer Position
Before accessing the washer, remove the handle by unscrewing the screw hidden beneath the plug button on its back.
To locate washer position in a Kohler faucet, follow these steps carefully:
Unscrew the bonnet counterclockwise to expose the valve and mounting nut. Use a wrench to loosen and remove the mounting nut.
Extract the valve assembly to gain clear access to the washer. Identify the washer seated at the bottom of the valve.
Remove the old washer gently with a flathead screwdriver or fingers. This method lets you precisely locate washer position and remove the old washer without damaging surrounding parts.
Confirm you have the correct washer size before proceeding to reinstall components and prevent leaks.
Remove Retaining Components
Turn off the water supply to your Kohler faucet to avoid leaks during the repair.
Start by removing the handle: pop off the plug button, then loosen the screw beneath with a hex wrench. Once the handle is off, unscrew the bonnet counterclockwise to expose internal parts.
Next, use a large adjustable wrench to loosen the mounting nut securing the valve. Carefully remove this nut and other retaining components to access the washer.
Removing retaining components properly guarantees you won’t damage the faucet’s internal structure.
With these parts removed, you can identify and remove the old washer from the valve stem.
After taking out the old washer, you’ll be ready to proceed with inspecting and replacing it to restore your faucet’s function.
Inspect Washer Condition
Start by making certain the water supply to your Kohler faucet is completely shut off to prevent leaks.
Next, remove the faucet handle to access the internal components housing the washer. To properly inspect washer condition, follow these steps:
- Loosen screws and lift off the faucet handle carefully.
- Unscrew the bonnet nut counterclockwise to expose the valve assembly.
- Pull out the valve assembly to locate the old washer.
- Examine the washer for cracks, splits, or wear that may cause leaks.
- Pry off the old washer gently, noting its orientation for correct replacement.
Thoroughly inspecting washer condition helps you identify if replacement is necessary and guarantees you select the correct size and type for your Kohler faucet.
Pick the Right Replacement Washer for Your Kohler Faucet
Although selecting the right replacement washer might seem straightforward, you need to identify your Kohler faucet’s model number first. It’s usually located under the handle or spout, which helps confirm compatibility.
Next, determine the washer type by matching the dimensions—diameter and thickness—of the original washer precisely. Use Kohler’s official website or authorized retailers to source an exact replacement designed for your model.
Match your washer’s exact diameter and thickness, then find a precise replacement from Kohler’s official sources.
Pay attention to the material: rubber washers suit general use, while silicone offers enhanced durability in demanding conditions.
Before finalizing your choice, inspect the faucet seat and internal components for wear or damage, as these can affect washer performance.
Selecting the correct washer type guarantees a proper seal and prevents leaks, maintaining your faucet’s reliability and longevity.
Apply Lubricant and Install the New Washer
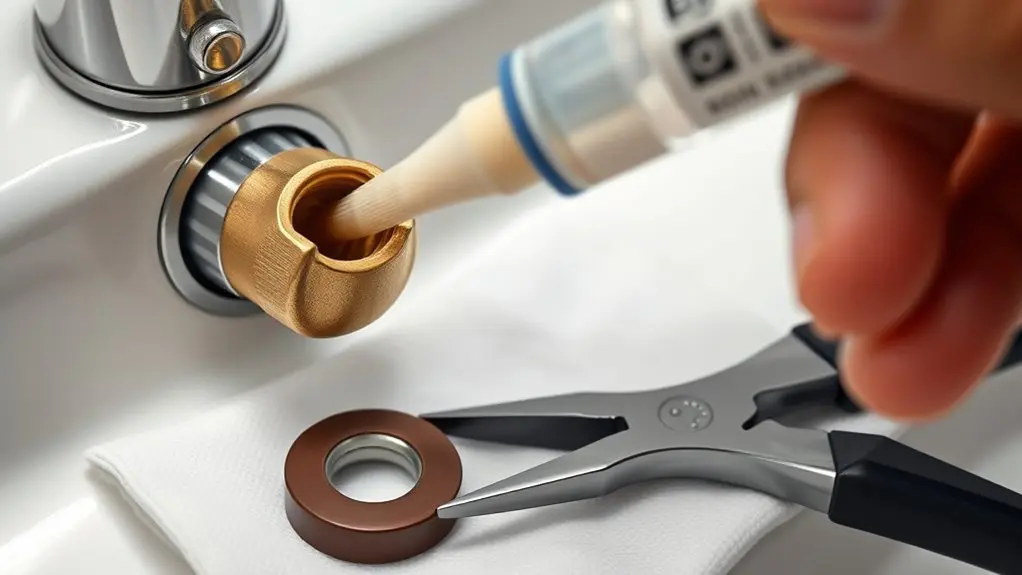
Apply a silicone-based lubricant to the new washer’s surface before installation to enhance sealing and reduce wear. This step guarantees a tight fit and prolongs the washer’s lifespan.
Once lubricated, carefully insert the washer into its designated seat, aligning it precisely with any retaining components.
- Apply lubricant evenly on the washer’s entire surface.
- Confirm the washer matches the seat dimensions.
- Insert the washer without twisting or folding.
- Verify the washer sits flush and properly aligned.
- Avoid contaminating the lubricated surface with dirt.
Taking these steps helps prevent leaks and mechanical wear. Proper application of lubricant and precise installation are critical for peak Kohler faucet performance.
Reassemble Your Kohler Faucet Without Leaks
Two key steps confirm your Kohler faucet reassembles without leaks: securing the handle tightly and verifying all connections before final tightening.
After installing the new washer with a silicone-based lubricant, carefully reinstall the bonnet, tightening it just enough to avoid cracking while confirming a watertight seal.
Next, securely reattach the handle and tighten the screw beneath to prevent movement that could cause leaks.
Before completing the installation, turn on the water supply and inspect around the valve and mounting nut for any signs of leakage.
Address any issues by adjusting connections before final tightening.
Following these steps confirms you reassemble your Kohler faucet without leaks, maintaining proper installation integrity and preventing future water damage.
Test Your Kohler Faucet After Washer Replacement
After you’ve replaced the washer, go ahead and slowly turn the water supply back on.
Take a close look at the faucet to make sure there aren’t any leaks.
Next, run the water and test both the hot and cold settings.
You’ll want to check that the flow is steady and the pressure feels consistent.
Finally, move the handle back and forth a few times.
It should operate smoothly without any resistance or sticking.
If everything feels right, you’re all set!
Inspect For Leaks
Once you’ve replaced the washer in your Kohler faucet, turn on the water supply slowly to check for leaks around the handle and connection points.
Carefully inspect for leaks by observing any moisture or drips on the faucet body and handle.
Run the faucet for several minutes while monitoring all joints to guarantee the new washer seals properly.
If you detect leaks, turn off the water immediately and verify the mounting nut’s tightness and washer seating.
Persistent leaks may require additional repairs beyond washer replacement.
- Inspect all connection points and the handle area closely
- Look for visible drips or moisture as leak indicators
- Allow water to flow for a few minutes during inspection
- Tighten mounting nut if leaks appear
- Note any leaks that persist after initial checks
Test Water Flow
Slowly turn on the water supply and observe the flow from your Kohler faucet to verify the washer replacement was successful.
Test water flow by checking for a steady, consistent stream without sputtering or banging noises, which may indicate trapped air.
Engage both hot and cold settings individually to confirm the washer maintains even pressure across temperatures.
While water runs, inspect around the handle and base for leaks that could signal improper installation.
Run the faucet for several minutes to flush out any debris introduced during repair, ensuring peak performance.
If water flow is irregular or leaks persist, recheck the washer seating and connections.
This test water flow step confirms your repair’s effectiveness and prevents future faucet issues.
Confirm Handle Operation
Turn the faucet handle on and off several times to verify smooth operation and consistent water flow. Confirm handle operation by carefully observing and listening as you test your Kohler faucet after replacing the washer.
Ascertain the handle moves freely without sticking or resistance, signaling proper installation. Check for leaks around the handle and connections once the water supply is on. Verify the handle returns to its original position smoothly.
Watch for any dripping or water escaping during operation. Listen for unusual noises like rattling or hissing indicating air or misalignment. Confirm full water flow with no interruptions or irregular pressure.
Completing these steps guarantees your handle operation is restored, confirming the washer replacement was successful and your faucet functions efficiently.
Frequently Asked Questions
How Often Should I Replace the Washer in My Kohler Faucet?
You should replace the washer in your Kohler faucet every 6 to 12 months.
If you use the faucet frequently or expose it to temperature extremes, check and replace the washer more often.
Watch for leaks or dripping as signs to replace it immediately.
Performing regular maintenance helps spot wear early, preventing damage.
Keep a spare washer on hand so you can make quick repairs and maintain peak faucet performance.
Can I Use a Universal Washer for My Kohler Faucet?
You can use a universal washer for your Kohler faucet, but it’s not ideal.
Kohler faucets often require specific washer sizes and designs to guarantee a proper seal.
Using a universal washer may cause leaks or poor performance. If you choose one, pick a high-quality, durable washer that matches your faucet’s pressure requirements.
For best results, consult Kohler’s parts list or a distributor to get the exact washer for your model.
What Tools Do I Need Besides a Screwdriver to Change the Washer?
A stitch in time saves nine, so gather the right tools before starting.
Besides a screwdriver, you’ll need a hex wrench to loosen the handle screws and a large adjustable wrench to remove the mounting nut.
Keep pliers handy to grip stubborn parts and a container ready to catch any water.
Finally, use silicone-based lubricant to ease the new washer’s installation and guarantee smooth faucet operation.
How Do I Identify if the Washer Is Causing the Leak?
Check for water pooling or dripping around the faucet handle base. That often means a worn washer.
Listen for hissing or dripping sounds when the faucet runs, which indicates a poor seal.
Turn off the water supply. If leaking stops, the washer’s likely the issue.
Inspect the washer for cracks, fraying, or compression marks.
If the handle feels stiff or loose, that’s another sign the washer’s failing and needs replacement.
Are There Any Special Lubricants Recommended for Kohler Faucet Washers?
Think of your Kohler faucet washer like a bike chain. It needs the right lubricant to keep running smoothly. You should use a silicone-based lubricant because it resists moisture and lasts longer.
Avoid petroleum-based lubricants since they break down rubber parts, causing leaks.
Always clean off old lubricant before applying new silicone grease sparingly. This guarantees a tight seal and smooth operation without excess buildup interfering with functionality.
Conclusion
Changing the washer in your Kohler faucet is straightforward when you follow these steps carefully. Like a well-oiled machine, your faucet will run smoothly once you replace the worn washer and reassemble the parts correctly.
Always double-check for leaks after reinstallation to guarantee a perfect seal. With the right tools and attention to detail, you’ll extend your faucet’s life and avoid unnecessary water waste.
Stay precise, and your Kohler faucet will perform flawlessly.