How To Rebuild A Kohler Engine – The Right Way
To rebuild your Kohler engine the right way, start by evaluating engine condition and setting a realistic budget of $450-$600. Use essential tools like a digital caliper, torque wrench, and valve spring compressor to measure cylinder wear, piston size, and crankshaft damage accurately.
Source quality parts or kits, then carefully disassemble, clean, and prepare components using gentle sanding and cleaning solutions. Finally, reassemble with correct torque specs and verify everything aligns for smooth operation. You’ll find the step-by-step process guarantees durability and performance.
Assessing Your Kohler Engine Before Rebuilding
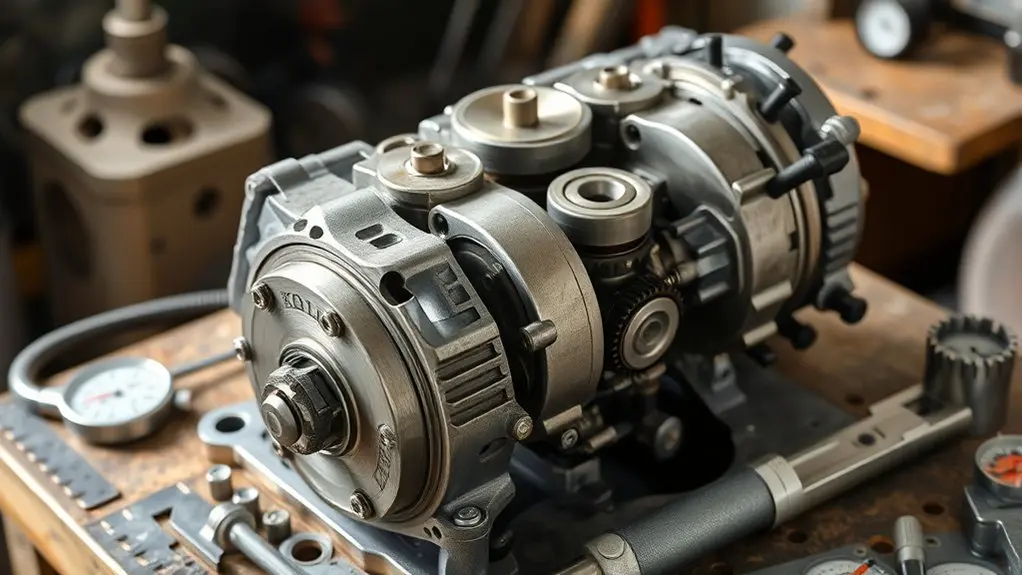
How do you know if your Kohler engine is worth rebuilding? Start by evaluating its overall condition carefully.
Check for wear in the cylinder bore by taking precise measurements of taper and out-of-round conditions. If these exceed manufacturer limits, rebuilding mightn’t be cost-effective.
Inspect the crankshaft for any damage or the need for regrinding. Confirm the availability of replacement parts, especially for older models, since scarce components can delay or complicate your rebuild.
Factor in sentimental value but balance it against practical considerations.
Finally, set a realistic budget, typically between $450 and $600, covering parts and machine work.
Thoroughly evaluating these factors guarantees you make an informed decision on whether rebuilding your Kohler engine is the right choice.
Essential Tools Needed for a Successful Rebuild
Before you begin rebuilding your Kohler engine, you’ll need several essential tools to secure accuracy and efficiency throughout the process. Precision instruments like a digital caliper and telescoping gauges assure exact measurements. Specialized tools such as a valve spring compressor and harmonic balancer puller make disassembly and assembly safe and easy.
A torque wrench is indispensable for tightening bolts to specified values. This helps prevent leaks and mechanical failure.
| Tool | Purpose | Key Feature |
|---|---|---|
| Digital Caliper | Precise measurements | Accuracy to .001 inch |
| Valve Spring Compressor | Valve removal | Safe, controlled action |
| Torque Wrench | Bolt tightening | Correct torque setting |
Using these essential tools ensures a reliable, efficient Kohler engine rebuild.
Measuring Wear on Cylinder, Piston, and Crankshaft
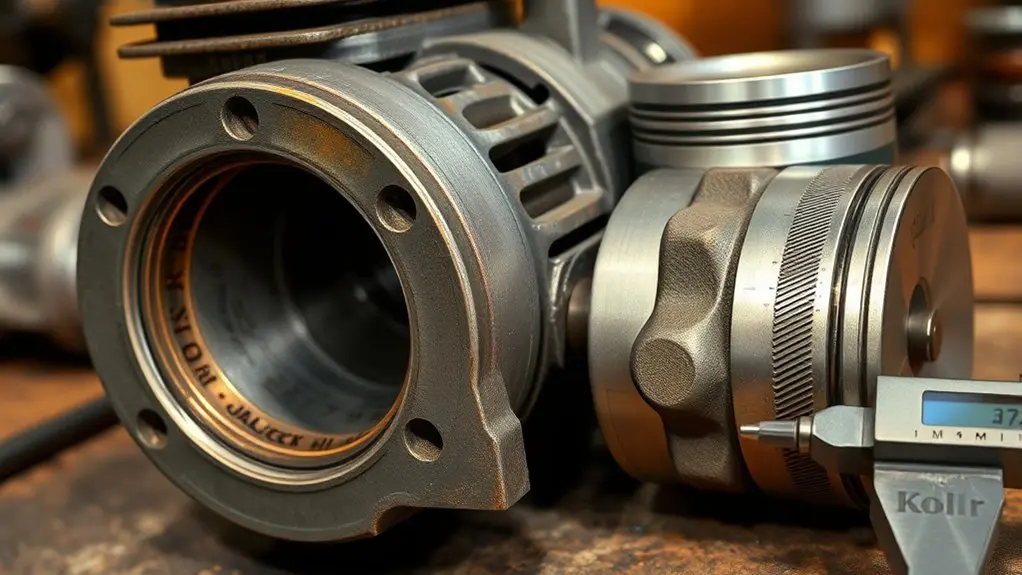
Start by measuring the cylinder bore at several points. This helps you check for taper and out-of-round conditions, and using a telescoping gauge makes this easier.
Once you’ve got those measurements, move on to the piston. Measure its diameter to see whether you need a standard size or an oversize replacement.
After that, take a close look at the crankshaft. Inspect it for any out-of-roundness.
Don’t forget to check the connecting rod for wear as well. Doing all this ensures your engine will perform at its best.
Cylinder Bore Measurement
Accurately measuring the cylinder bore is critical to evaluating wear on the cylinder, piston, and crankshaft. Use telescoping gauges to measure the bore at the top, middle, and bottom, focusing on both the thrust and pin sides to detect taper and out-of-round conditions.
A maximum allowable taper is typically .003 inches. If it exceeds this, the cylinder may need to be bored. For precision, support the telescoping gauges with the piston and confirm readings with a digital caliper.
If measurements show wear beyond .006 inches or the cylinder is out of round, consider having the cylinder bored to a larger size, such as +.020 inches.
Take care to avoid creating an oval shape when the cylinder is bored, ensuring proper fit and engine performance.
Piston Wear Assessment
Evaluating piston wear requires careful measurement of the cylinder bore at multiple heights on both the thrust and pin sides. Use telescoping gauges to detect taper and out-of-round conditions.
For an accurate piston wear assessment, record measurements at three heights, noting deviations against Kohler’s .003-inch tolerance. Expect more wear on the thrust side due to load direction, with less on the pin side.
If taper or out-of-roundness exceeds specs, you’ll likely need to bore the cylinder and install oversized pistons, commonly .010 or .020 inch larger.
Maintaining cylinder integrity is critical because excessive ovalization compromises piston fit and engine performance.
Use these precise measurements to decide if re-ringing, honing, or boring is necessary. This ensures your rebuild meets Kohler’s standards for ideal longevity and function.
Crankshaft Condition Check
Though evaluating piston and cylinder wear sets the foundation, checking the crankshaft condition is equally critical for a reliable Kohler engine rebuild.
Begin the crankshaft condition check by measuring the crankshaft journals in two spots to detect out-of-round conditions. Values over .001 inch indicate wear beyond tolerance.
At the same time, measure cylinder bore wear using a telescoping gauge supported by the piston. Take six readings at both thrust and pin sides—top, middle, and bottom.
Document any cylinder taper exceeding .003 inch, as this signals the need for repairs.
Don’t overlook inspecting the connecting rod for scoring or wear since Kohler engines typically lack rod bearings.
Accurate measurements here are essential to determine if the crankshaft and associated components require machining or replacement. This ensures the engine’s longevity after the rebuild.
Choosing the Best Parts and Rebuild Kits for Kohler Engines
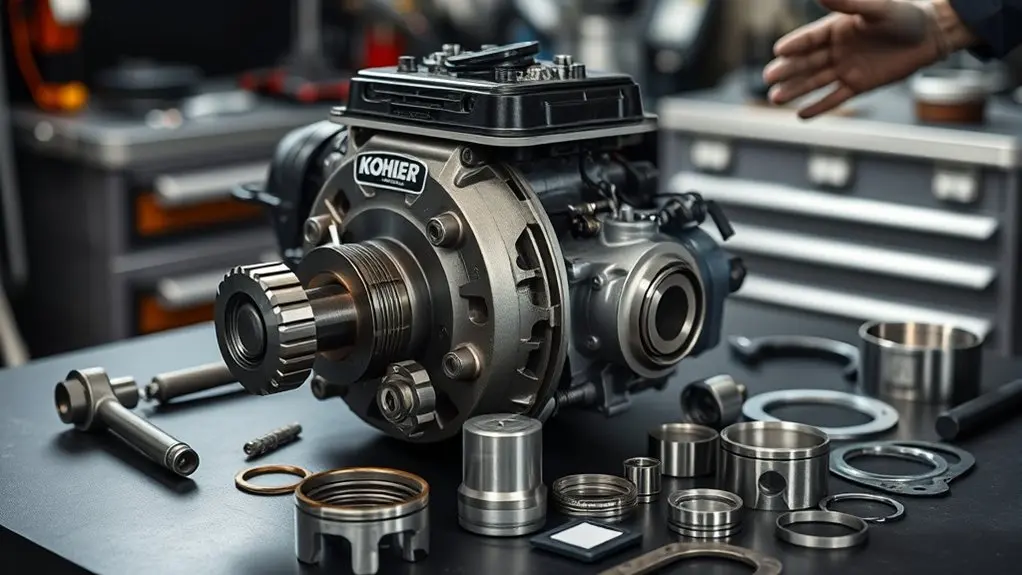
Choosing the best parts and rebuild kits for your Kohler engine starts with sourcing high-quality components from trusted suppliers like isavetractors.com and Jacks Small Engines.
Make sure they match your engine’s exact model and specifications.
A thorough rebuild kit typically costs about $100, while full parts kits run around $125. Always verify what each kit includes before buying.
Thorough rebuild kits cost around $100; full parts kits are about $125—always check kit contents before purchase.
Use Kohler’s exploded parts diagrams and service manuals to identify the exact components you need.
Before purchasing, assess critical parts such as the crankshaft and cylinder bore condition to avoid unexpected machining expenses.
Keep in mind, total rebuild costs often range from $450 to $600, factoring in parts, machine work, and potential repairs.
Selecting a precise, quality rebuild kit minimizes downtime and guarantees reliable engine performance.
Disassembly Tips for Kohler Engines
Start your Kohler engine disassembly by removing external components like the tins, starter generator, and muffler. This makes it easier to access internal parts.
Apply penetrating oil on stuck bolts to ease removal and take photos at each step to help with reassembly. Use a harmonic balancer puller to carefully remove the flywheel without causing damage.
Drain the oil before unfastening the oil pan to prevent spills.
When accessing the piston, raise it to top dead center, then carefully remove the connecting rod cap to avoid bending or damaging the rod.
Employ a valve spring compressor to extract valves, inspecting them for chips or wear and noting any damage.
These disassembly tips for Kohler engines guarantee a smooth teardown, preserving components for an effective rebuild.
Cleaning and Preparing Kohler Engine Components
You’ll want to remove all the carbon buildup first, using a wire wheel and some scraping tools before you start putting everything back together.
When you’re prepping the head, make sure to apply light pressure with wet/dry sandpaper on a flat surface—this helps avoid pitting the combustion chamber.
For cleaning, glass cleaner actually works better than soap and water because it offers more lubrication and efficiency, so it’s the go-to choice when sanding engine parts.
Carbon Buildup Removal
Although removing carbon buildup can be tedious, it’s crucial for restoring your Kohler engine’s performance and longevity. Start by inspecting the combustion chamber, piston, and head for deposits that can hinder sealing and efficiency.
Use a wire wheel or careful scraping to remove carbon buildup, avoiding aggressive methods that risk surface pitting. For stubborn areas, consider gentle blasting or non-abrasive cleaning solutions like glass cleaner to lubricate surfaces during sanding.
Thoroughly clean all debris to guarantee proper gasket sealing and prevent future issues. Consistent carbon buildup removal during maintenance not only sustains engine reliability, especially in models like the K161, but also improves overall efficiency.
This meticulous cleaning step sets the foundation for a successful rebuild and peak engine function.
Head Surface Preparation
Removing carbon deposits sets the stage for thorough head surface preparation, which involves careful cleaning and smoothing of the combustion chamber area. Avoid aggressive methods that cause pitting. Instead, use blasting techniques to remove dirt and buildup safely.
For surface sanding, employ a granite tile with wet/dry sandpaper, moving in circular or figure-8 patterns using light pressure to guarantee a uniform finish.
Check for high and low spots meticulously to assure effective sealing upon reassembly.
Measure the old gasket thickness before removal to maintain proper compression and crankshaft endplay with the new gasket. Using glass cleaner as a lubricant during sanding can improve efficiency, though soap and water work well too.
Proper head surface preparation is essential for reliable engine performance and longevity.
Cleaning Solutions Comparison
Two common cleaning solutions stand out when preparing Kohler engine components: glass cleaner and a soap-and-water mixture.
In this cleaning solutions comparison, glass cleaner excels at removing dirt and carbon buildup efficiently without harming surfaces. This makes it ideal for final cleaning.
Meanwhile, a soap-and-water solution serves as a mild lubricant during surface sanding, reducing the risk of damage from harsh chemicals.
When preparing heads for reassembly, avoid aggressive blasting that can cause pitting. Instead, use wet/dry sandpaper on a granite tile in a circular or figure-8 motion to achieve a smooth, even finish.
After sanding, check for high and low spots to guarantee proper sealing. This methodical cleaning solutions comparison guarantees you maintain component integrity and achieve a reliable engine rebuild.
Reassembly and Testing Your Kohler Engine After Rebuild
When you start reassembling your Kohler engine, make certain to carefully align the crankshaft into the side plate, maintaining the original orientation of the bearings, crank, and side plate to preserve correct end play.
Use a torque wrench to tighten head gasket bolts precisely, 30 in/lb for smaller bolts and 50 ft/lb for larger, to avoid warpage.
During reassembly, replicate the governor gear and valve positions exactly as documented in your disassembly photos. Before you start the engine, double-check all fuel lines and electrical connections for secure attachment.
After reassembly, run the engine briefly, listening for unusual noises or leaks, and let it reach normal operating temperature.
This methodical approach guarantees your Kohler engine runs smoothly and reliably post-rebuild.
Frequently Asked Questions
How Often Should I Perform Maintenance After Rebuilding My Kohler Engine?
You should perform maintenance every 50 hours after rebuilding your Kohler engine.
Change the oil every 25 to 50 hours to keep performance ideal.
Inspect and clean or replace the air filter every 100 hours.
Also, check the fuel system at the same interval or before seasonal use.
Every 200 hours, thoroughly inspect mechanical components like the governor and crankshaft to detect wear early and prevent failures.
What Fuel Type Is Best for a Rebuilt Kohler Engine?
Think of your rebuilt Kohler engine as a finely tuned instrument. It runs best on fuel with at least 87 octane.
You shouldn’t use gasoline with more than 10% ethanol, as it can gum up the works.
If you hear knocking, try premium fuel for smoother combustion.
Always keep your fuel filter clean.
Add a stabilizer if storing the engine long-term to prevent fuel breakdown and maintain peak performance.
Can I Upgrade My Kohler Engine for More Horsepower?
Yes, you can upgrade your Kohler engine for more horsepower.
Start by installing a larger carburetor to increase air and fuel flow.
Swap the stock air filter for a high-flow aftermarket version and replace the exhaust system with a performance model to improve breathing.
Consider a high-performance ignition system to enhance combustion.
Always check the manufacturer’s specs to avoid exceeding design limits, ensuring reliability while boosting power effectively.
How Do I Store a Kohler Engine Long-Term After Rebuilding?
Think of storing your Kohler engine like tucking it in for a long winter’s nap. You’ll want to clean it thoroughly, change the oil and filter, then fog the cylinder with light oil through the spark plug hole to prevent rust.
Store the engine in a dry, temperature-controlled place to avoid moisture damage.
Before restarting, check fluids and crank it without starting to circulate fresh oil and verify everything’s ready to run smoothly.
What Troubleshooting Steps Are Common Post-Rebuild for Kohler Engines?
After your Kohler engine rebuild, check for oil leaks around gaskets, especially the head and side plate.
Perform a compression test to verify cylinder sealing within 90-110 PSI.
Inspect and adjust the carburetor for correct fuel flow and jetting.
Listen closely for unusual noises like knocking or grinding during startup.
Finally, regularly check and adjust the governor linkage to maintain proper RPM under load, preventing potential engine damage.
Conclusion
Rebuilding your Kohler engine is like fine-tuning a precision instrument. Each step sharpens performance and reliability. By carefully evaluating wear, using the right tools, and selecting quality parts, you breathe new life into your engine’s heart.
Follow the process methodically, from disassembly to testing, and you’ll guarantee smooth operation and longevity. With patience and precision, you’ll turn your worn engine into a powerhouse ready to tackle any challenge.