How To Fix Kohler Running Toilet – Made Easy
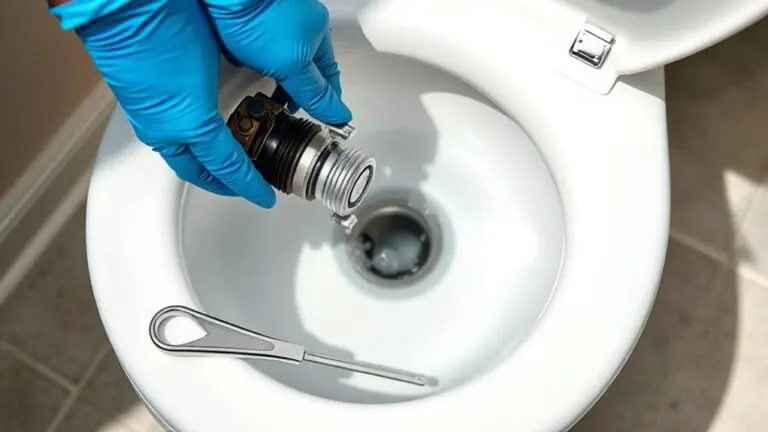
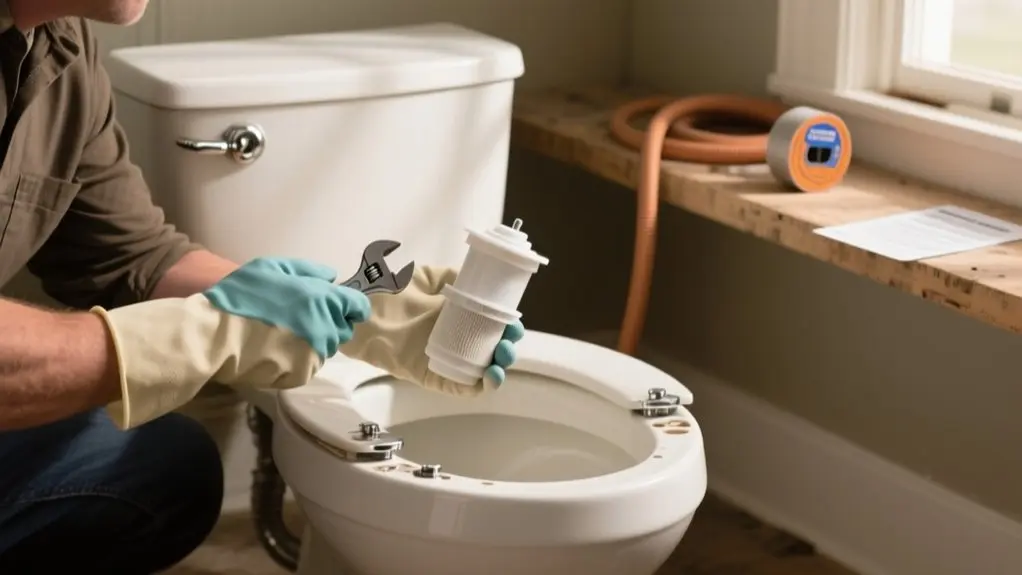
To fix your Kohler running toilet, start by checking the flapper and chain. Make sure the chain has 1-2 links of slack and the flapper seats properly.
Clean or replace the fill valve if debris causes leaks. Adjust the float height or fill tube to keep water below the overflow tube.
If needed, replace the flush valve and flapper seat for a tight seal. Follow these practical steps, and you’ll solve common issues efficiently while revealing deeper maintenance tips.
Why Is My Kohler Toilet Running?
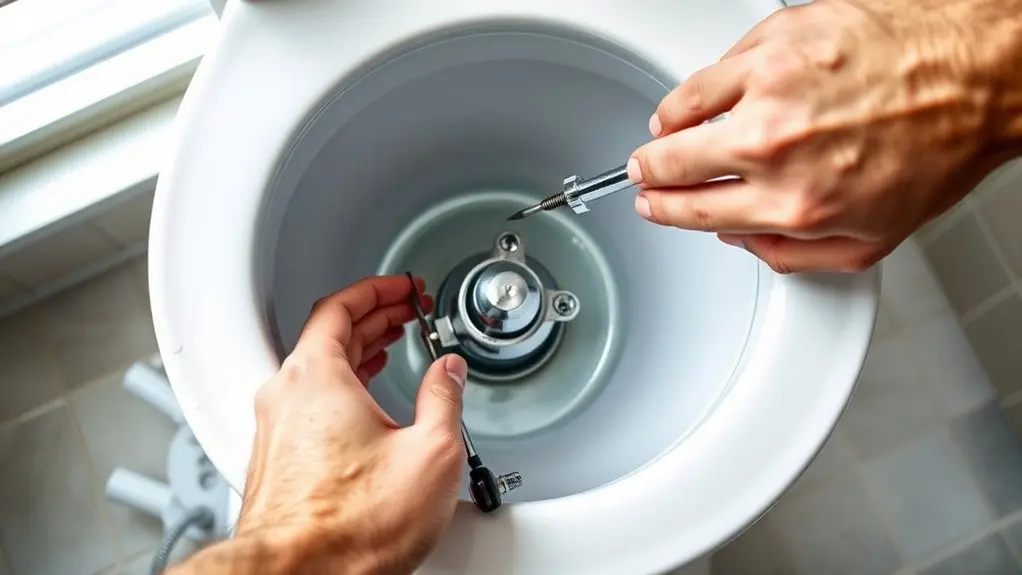
Why is your Kohler toilet running nonstop? The most common culprit is a malfunctioning fill valve. If debris accumulates under the fill valve cap, it prevents the valve from sealing properly, causing continuous water flow into the tank.
Furthermore, if the float is set too high or the fill valve assembly is faulty, water levels rise above the overflow tube, triggering constant refilling. Addressing these issues requires inspecting the fill valve for blockages or wear.
If the float is too high or the fill valve is faulty, water overflows, causing nonstop refilling.
Cleaning or replacing the fill valve often stops the nonstop running. Remember, the fill valve controls water intake, so any obstruction or misalignment directly impacts toilet function.
Regular maintenance helps you avoid these problems, ensuring your Kohler toilet operates efficiently without wasting water or causing noise.
Check and Fix the Flapper and Chain
Start by inspecting the flapper and chain inside your Kohler toilet tank, as these components play a critical role in controlling water flow. Make certain the chain has 1-2 links of slack to allow proper flapper movement.
Check the flapper for corrosion or wear; replace it if necessary to maintain a watertight seal. Verify the flapper seats correctly on the flush valve and isn’t binding. Also, inspect the handle mechanism for obstructions that might keep the flapper open.
| Issue | Action |
|---|---|
| Chain too tight | Adjust slack to 1-2 links |
| Worn flapper | Replace flapper |
| Misaligned flapper | Reseat flapper properly |
| Stuck handle | Clear obstructions |
Regular maintenance of these parts prevents continuous running and water waste.
Clean or Replace the Kohler Fill Valve to Stop Leaks
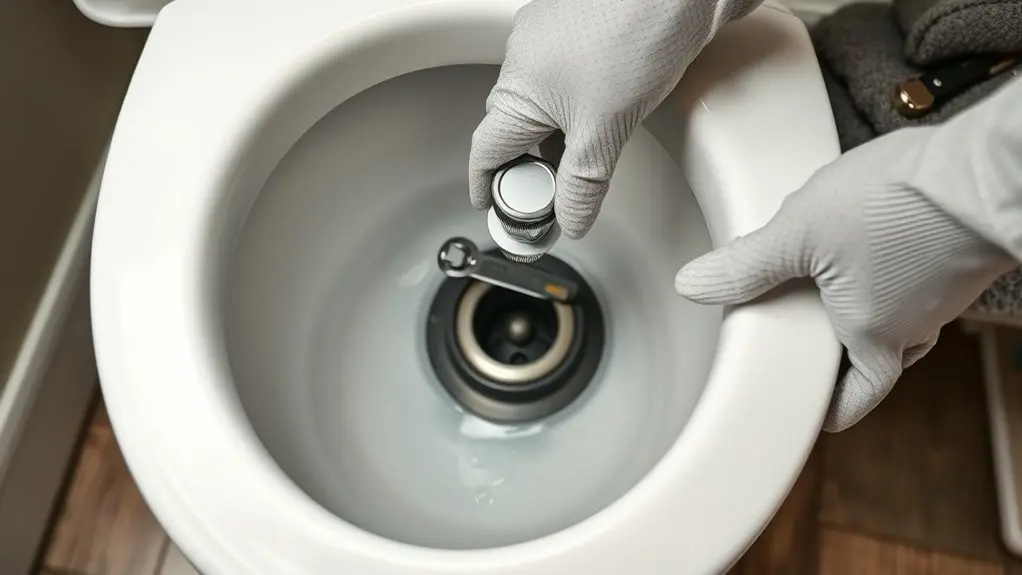
Inspect the fill valve for debris or damage if your Kohler toilet keeps running. A clogged or faulty fill valve often causes water to leak continuously from the tank into the bowl.
Start by flushing the valve to clear any buildup. If leaks persist, replacing the fill valve may be necessary.
Shut off the water supply and drain the tank. Remove the old fill valve per your model’s instructions.
Clean the valve seat and any visible debris.
Install a compatible Kohler fill valve, guaranteeing a secure fit. Test for leaks and proper operation before reassembling.
Regular maintenance prevents leaks and extends valve life. Always reference model-specific guides to guarantee correct parts and installation.
Adjust the Kohler Fill Tube and Float to Control Water Level
After cleaning or replacing the fill valve, adjust the fill tube and float to regulate the water level in the tank. Make sure the fill tube’s end sits above the water line to avoid continuous running or overflow.
For older models with a ball float, bend the float arm down to lower the water level. Newer Kohler toilets with cup or cylinder floats use an adjustment screw or clip to set the correct height.
Inspect the fill tube for kinks or blockages that could affect flow. If it’s submerged, trim the tube to optimize fill efficiency. Proper adjustment prevents water from continuously flowing through the flush valve, saving water and improving performance.
| Step | Action |
|---|---|
| Fill Tube Position | Place above water level |
| Ball Float | Bend float arm down if water too high |
| Cylinder Float | Adjust screw/clip to set water height |
| Fill Tube Inspection | Check for kinks or blockages |
| Tube Trimming | Trim if submerged to prevent overflow |
How to Replace the Flush Valve and Flapper Seat
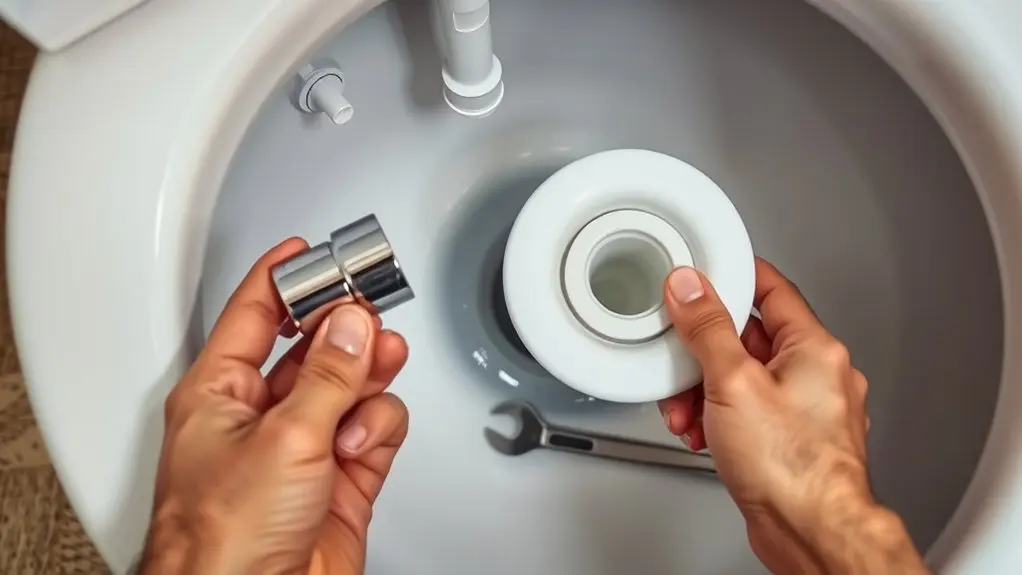
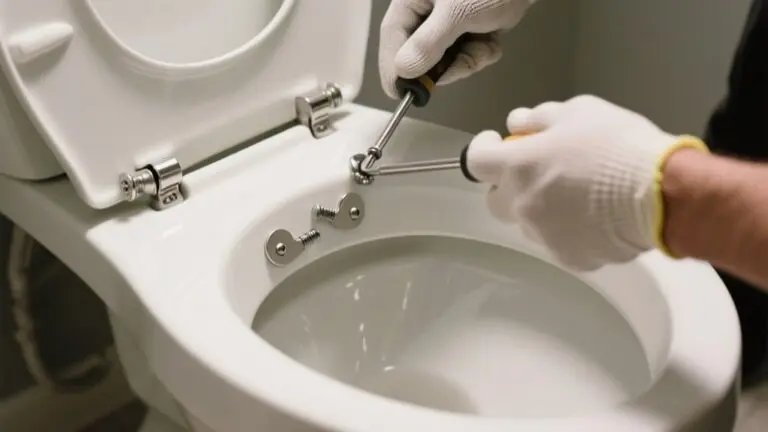
First, go ahead and turn off the water supply to your toilet. Then, flush it to drain the tank—that way, you can easily remove the old flush valve.
After that, it’s time to replace the flapper seat. Make sure it’s lined up just right so it creates a good seal and prevents leaks.
Once everything is in place, put all the parts back together.
Turn the water back on, and give the toilet a test flush to make sure it’s not running anymore. Easy, right?
Flush Valve Removal
Turn off the water supply and flush the toilet to empty the tank before removing the flush valve. This step guarantees no water spills during the process.
Next, disconnect the water supply line from the fill valve to allow for easier tank removal if needed.
Then, unscrew the tank bolts securing the tank to the bowl, and carefully lift the tank off to access the flush valve.
Once exposed, remove the old flush valve for replacement.
- Turn off water supply and flush tank
- Disconnect water supply line
- Unscrew tank bolts and lift tank
- Remove old flush valve
- Install new flush valve with proper alignment
Reassemble the tank, reconnect the water supply, and adjust the fill valve to prevent running issues.
Flapper Seat Replacement
Once you’ve removed the flush valve, focus on the flapper seat, which plays a key role in preventing leaks.
Start by turning off the water supply and flushing the toilet to empty the tank, giving you easier access.
Remove the old flapper and carefully inspect the flush valve seat for mineral buildup or damage.
Clean or replace it if necessary.
Install the new flapper seat by securing it evenly to guarantee a tight seal that stops leaks.
Reattach the flapper to the chain, adjusting slack to 1-2 links, allowing the flapper to close fully after flushing.
This precise installation of the flapper seat is essential for stopping running water and restoring proper toilet function.
Reassembly and Testing
Although the tank is empty, carefully remove the old flush valve by disconnecting it from the tank and detaching the flapper seat.
For proper reassembly and testing, follow these steps:
Install the new flapper seat and secure the flush valve, making sure all gaskets sit properly to prevent leaks.
Reconnect the fill tube and other components you’ve removed.
Turn the water supply back on and adjust the water level inside the tank.
Flush the toilet to observe the flush valve and flapper seat operation.
Inspect for leaks and fine-tune the flush valve height or flapper chain tension as needed.
Maintain Your Kohler Toilet to Prevent Running
You should regularly clean the fill valve to keep debris from building up, which can cause leaks or make your toilet run continuously.
Also, adjusting the float helps maintain the right water level and ensures your toilet flushes efficiently.
It’s a good idea to schedule routine inspections of key parts so you can catch any issues before they turn into a constant running problem.
Regular Fill Valve Cleaning
Because debris buildup often causes your Kohler toilet to run continuously, regular cleaning of the fill valve is essential.
Keeping the fill valve free of sediment guarantees smooth operation and prevents leaks or water wastage. Follow these steps to maintain it effectively:
Turn off the water supply before servicing the fill valve.
Remove the valve cap and use a plastic cup to flush out debris with clean water.
Inspect the fill valve every few months for sediment or mineral deposits.
Check water levels to avoid overflow but save detailed float adjustments for later.
Replace the fill valve if cleaning doesn’t restore proper function.
Consult Kohler-specific video tutorials to match maintenance techniques with your toilet model for best results.
Proper Float Adjustment
Three common types of floats require proper adjustment to prevent your Kohler toilet from running continuously. If you have a ball float, position the arm so the water level rests about 1 inch below the overflow tube when the tank is full.
For newer models with a cup or cylinder float, use the height adjustment screw or clip to set the float precisely, maintaining the correct water level.
Regularly inspect the float for damage or wear, as a faulty float causes incorrect water levels and constant running.
Keep the water level consistent to avoid overflow into the flush valve. If the float functions correctly but the toilet still runs, clean the fill valve to remove debris obstructing water level regulation.
Proper float adjustment is essential for efficient Kohler toilet operation.
Scheduled Component Inspection
Although your Kohler toilet may seem trouble-free, scheduling regular component inspections can prevent running issues before they start. A scheduled component inspection guarantees each part functions at its best and helps maintain the correct water level, avoiding waste and malfunction.
Focus on these key checks during your inspection:
- Clean the fill valve to remove debris that may cause leaks.
- Check the trip lever arm for binding and guarantee 1-2 links of chain slack.
- Adjust the tank water level so it doesn’t exceed the overflow tube.
- Use Kohler-specific video tutorials for step-by-step maintenance guidance.
- Schedule inspections at least once a year to catch minor issues early.
Regularly performing these tasks keeps your Kohler toilet running efficiently and prevents costly water waste.
Quick Troubleshooting Tips for Persistent Running Issues
Where should you start when your Kohler toilet keeps running despite previous fixes? First, inspect the fill valve for debris or sediment that may obstruct its function. This can cause leaks and persistent running.
Next, check the trip lever chain; it should have 1-2 links of slack to prevent binding. This helps guarantee the flapper seals properly.
Ensure the trip lever chain has 1-2 links of slack to allow the flapper to seal correctly.
Also, verify the tank water level is below the overflow tube’s top to avoid constant overflow. Confirm the fill tube’s end sits above the water level to prevent siphoning into the overflow tube.
If you’ve replaced the flapper or handle without success, the fill valve or flush valve may be faulty.
Consider replacing these components to resolve ongoing running issues efficiently and restore proper function.
Frequently Asked Questions
What Tools Do I Need to Fix a Running Kohler Toilet?
You’ll need a flathead screwdriver to adjust or remove components and a channel lock wrench to secure or detach the fill valve.
Have a plastic cup handy to flush out debris from the fill valve.
Keep scissors or a utility knife for trimming replacement parts if necessary.
A towel or sponge will help manage spills while draining the tank.
Finally, use your smartphone or camera to document the setup before disassembly for accurate reassembly.
How Often Should I Replace Toilet Parts to Avoid Running?
You should replace toilet parts like flappers and fill valves every 3 to 5 years to prevent running.
Inspect components such as the trip lever and float regularly, and flush sediment buildup annually to maintain function.
If your toilet runs consistently, replace parts preemptively to save water and avoid damage.
Keep a repair log to track part lifespan and schedule timely replacements, ensuring your toilet runs efficiently without surprise leaks or failures.
Can Hard Water Damage Kohler Toilet Components?
Yes, hard water can damage Kohler toilet components. It causes mineral buildup like limescale and calcium deposits, which can prevent the flapper from sealing properly and clog the fill valve.
This leads to leaks and running toilets. To protect your toilet, clean parts regularly with vinegar or descaling agents.
You might also consider installing a water softener to reduce mineral accumulation and extend the lifespan of your Kohler toilet components.
Is It Safe to Use Chemical Cleaners in a Running Toilet?
You might think using chemical cleaners in a running toilet is fine, but it’s not safe. These chemicals can damage key parts like the flapper and fill valve, causing leaks or malfunction.
Plus, they might leave buildups that interfere with your toilet’s operation.
Instead, opt for non-toxic, biodegradable cleaners or homemade solutions to protect your Kohler toilet and avoid voiding warranties.
Always check the manufacturer’s guidelines before cleaning.
How Do I Identify My Kohler Toilet Model for Parts?
To identify your Kohler toilet model, check inside the tank for a label or sticker on the back or side wall.
It usually includes the model number and manufacturing date.
If the label’s missing or unreadable, visit Kohler’s website or contact customer support with your toilet’s style details.
You can also measure the height and bowl shape to narrow down options.
Use the model number to find exact parts and repair guides.
Conclusion
A running Kohler toilet can waste up to 200 gallons of water daily, so fixing it promptly saves both water and money. By checking the flapper, adjusting the fill valve and float, or replacing worn parts like the flush valve, you can stop leaks efficiently.
Regular maintenance prevents persistent issues and keeps your toilet functioning effectively. Use these practical steps to fix your Kohler toilet quickly and avoid costly water waste.