How To Adjust Scald Guard On Kohler Shower – Made Easy
To adjust the scald guard on your Kohler shower, start by loosening and removing the valve handle and trim carefully to expose the Rite-Temp valve. Remove the black o-ring, caution tag, and collar, then turn the valve stem clockwise while testing the water temperature with a thermometer.
Keep the maximum setting below 120°F for safety, reattach the collar and caution tag, and reassemble the handle and trim securely. Continue for a detailed guide on precise adjustments and troubleshooting.
Removing the Rite-Temp Valve Handle and Trim
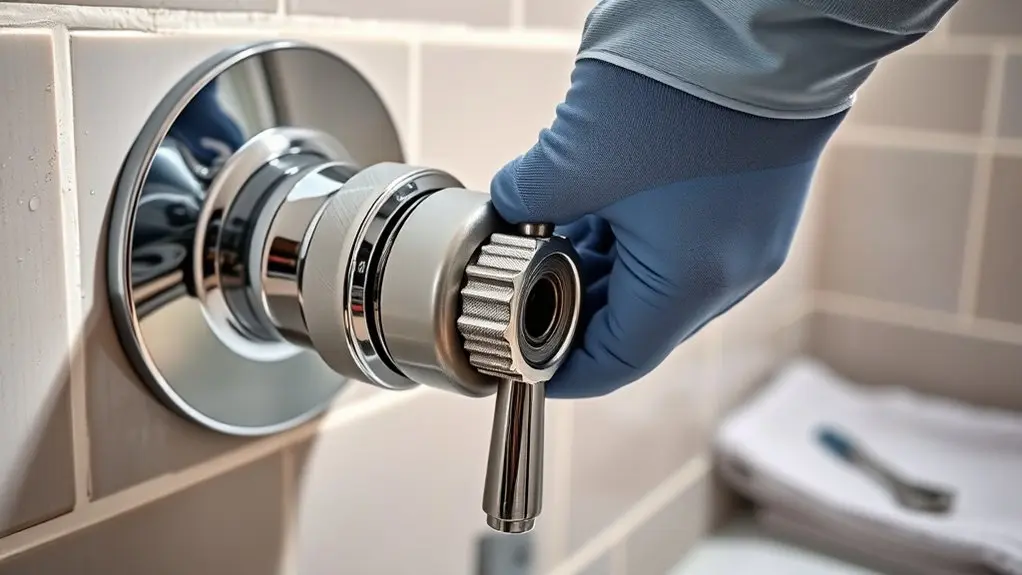
Start by loosening the screw located underneath the shower handle to remove it carefully. Use a soft cloth to protect the handle’s finish as you work.
Once the handle is off, remove the trim to expose the valve assembly. Depending on your Kohler model, this may involve unscrewing several screws or gently pulling the trim off.
After removing the handle, carefully detach the trim to reveal the valve assembly, varying by Kohler model.
Taking care during this step will help prevent damage to the trim and wall surface.
With the handle and trim removed, you gain full access to the Rite-Temp valve. This access is essential for precise adjustments and helps prevent accidental scalding by allowing you to properly regulate the valve’s settings.
Keep tools and cloths handy for a smooth, damage-free removal process.
Adjusting Maximum Hot Water Temperature on a Rite-Temp Valve
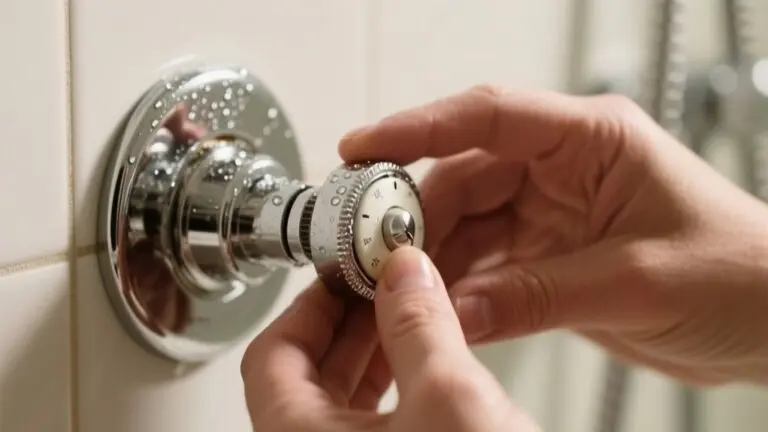
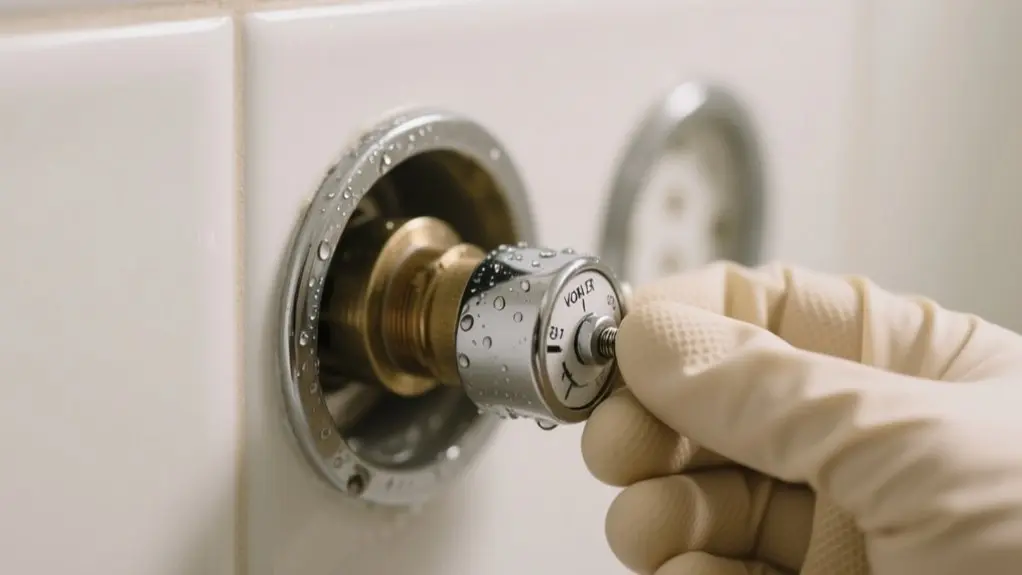
With the handle and trim removed, you have clear access to the K-304 Rite-Temp valve’s cap assembly, allowing you to adjust the maximum hot water temperature.
Begin by carefully removing the black o-ring, caution tag, and red collar from the brass stem.
Turn the valve stem clockwise to activate water flow and test the temperature. Keep in mind, the maximum setting shouldn’t exceed 120°F to guarantee safety.
Once you reach the desired maximum temperature, reattach the red or black collar to secure the setting.
Finally, reinstall the caution tag, black o-ring, and handle, making sure all components are properly secured.
This precise adjustment guarantees your Kohler shower provides safe, controlled hot water without the risk of scalding.
Testing and Setting Your Desired Water Temperature
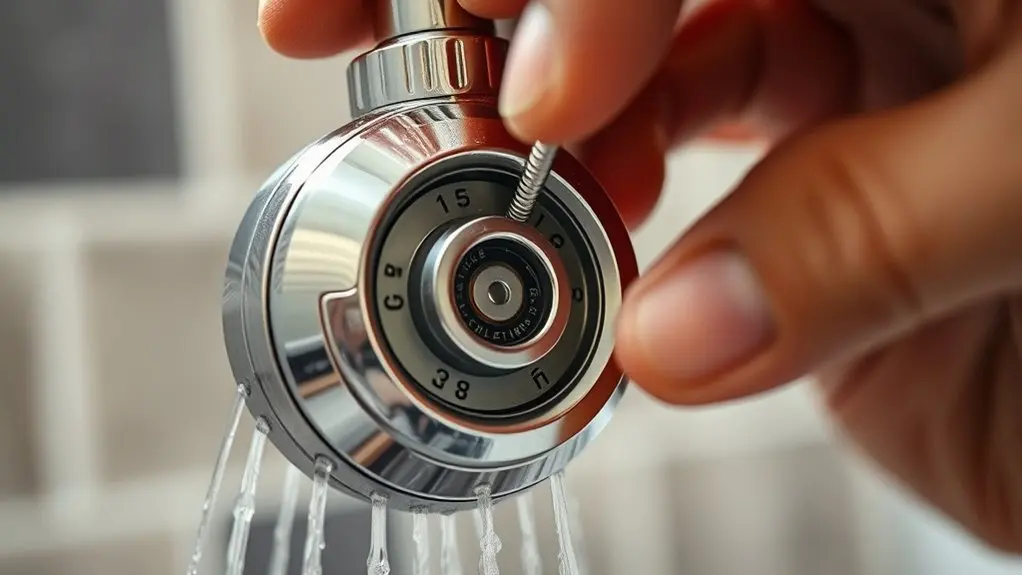
Before finalizing your Kohler shower’s water temperature, you’ll need to test and adjust it carefully to verify it stays within the safe maximum of 120°F.
Start by removing the handle and trim to access the valve assembly.
Turn the valve stem clockwise to activate the water flow and use a thermometer to monitor the temperature.
Adjust incrementally until you reach your desired temperature, confirming it doesn’t exceed 120°F to prevent scalding.
Adjust slowly to your preferred temperature, ensuring it stays below 120°F to avoid scalding risks.
Once set, securely replace the red or black collar on the valve stem to lock in the adjustment.
This step is essential to maintain your temperature limit.
Testing thoroughly verifies consistent, safe water temperature during use and prepares you for the final reassembly steps.
Reassembling the Valve After Adjustment
After completing the temperature adjustment, you’ll need to carefully reassemble the valve to ensure proper function and safety. Begin by placing the black o-ring back onto the valve assembly to make certain of a leak-free seal.
Reinstall the caution tag to maintain safety awareness. Next, securely reattach the trim, aligning it precisely with the valve.
Finally, install the handle, confirming it fits snugly and operates smoothly. Once assembled, double-check all parts are tight and correctly positioned to prevent malfunctions.
| Step | Component | Action |
|---|---|---|
| 1 | Black O-ring | Place back on valve assembly |
| 2 | Caution Tag | Reinstall on valve assembly |
| 3 | Trim | Align and fasten to wall |
| 4 | Handle | Attach and test for smooth fit |
Keeping Your Water Temperature Safe and Troubleshooting
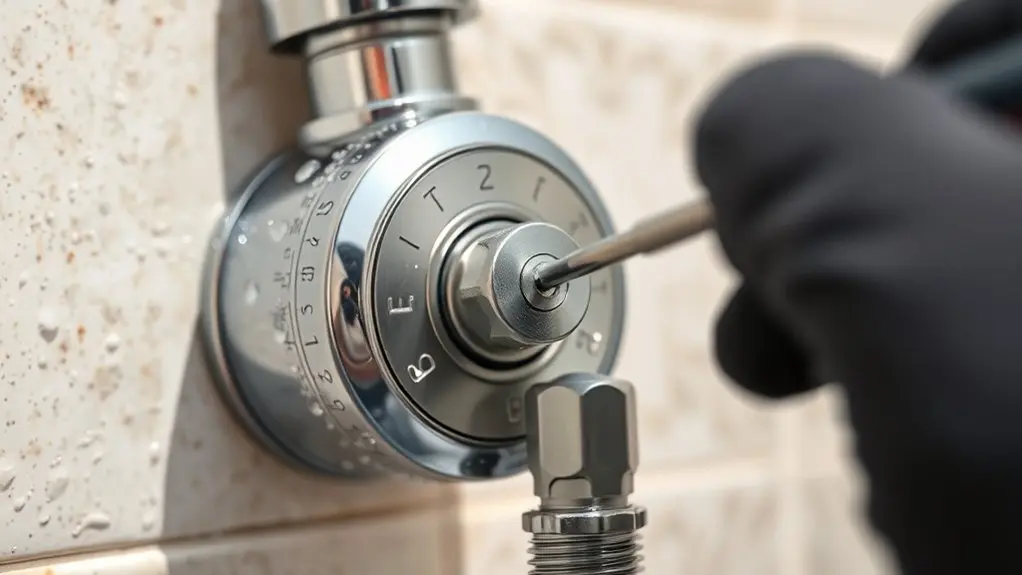
Although adjusting your Kohler shower’s scald guard guarantees safer water temperatures, you should regularly verify that the maximum hot water temperature doesn’t exceed 120 degrees Fahrenheit to prevent burns.
To maintain safety, routinely check and recalibrate if necessary.
If you face issues accessing online adjustment instructions, first clear your browser cache and try different devices or networks to rule out local connectivity problems.
Should connection issues persist, review known service outages or consult specific support documentation.
Encountering error messages? Note the Request ID to streamline technical support.
These troubleshooting steps ensure you can consistently manage your shower’s temperature safely and effectively, minimizing risk of scalding while addressing any access difficulties to necessary adjustment resources.
Frequently Asked Questions
Can Adjusting the Scald Guard Affect Water Pressure?
Adjusting the scald guard won’t affect your Kohler shower’s water pressure.
The scald guard only limits the maximum hot water temperature to prevent burns, but it doesn’t control or restrict water flow.
Water pressure depends on your plumbing system and valve design, which remain unchanged when you adjust the scald guard.
Is a Professional Plumber Needed for Scald Guard Adjustments?
You don’t need a professional plumber to adjust your Kohler shower’s scald guard. Think of it like tuning a vintage radio—straightforward once you know how.
You can access the valve and turn the adjustment stem yourself to set safe water temperatures, usually below 120°F.
However, if you’re unsure or uncomfortable with plumbing tasks, calling a pro guarantees it’s done right and safely.
Regular checks keep everything running smoothly.
What Tools Do I Need to Adjust the Scald Guard?
You’ll need a screwdriver to remove the handle and trim, plus pliers to grip and turn the valve stem.
Use a soft cloth to protect the finish while working.
A level helps guarantee the handle aligns properly when reattaching.
Keep a thermometer nearby to measure water temperature accurately, aiming to keep it below 120°F.
These tools make adjusting the scald guard precise and safe.
How Often Should the Scald Guard Be Checked or Adjusted?
You should check and adjust your scald guard at least once a year to guarantee safe water temperatures.
Also, monitor household members for any discomfort, especially kids and the elderly. Recalibrate after plumbing changes or hot water temperature shifts.
Periodically test the maximum hot water temperature to keep it below 120°F.
Regular maintenance helps prevent scalding and keeps your shower system compliant with safety standards.
Will Adjusting the Scald Guard Void My Kohler Warranty?
Think of your Kohler shower like a finely tuned clock. Tweaking its scald guard carefully won’t break the gears.
Adjusting it won’t void your warranty as long as you follow Kohler’s guidelines, use approved tools, and keep records of your work.
If you handle it improperly and cause damage, that’s when warranty coverage might be at risk.
When in doubt, consult authorized service to protect your investment.
Conclusion
Adjusting your Kohler shower’s scald guard is like tuning a precision instrument. It guarantees your water temperature stays safe and comfortable. By carefully removing the valve handle, adjusting the maximum hot water, and testing your settings, you maintain control over your shower experience.
Reassemble everything securely, and you’re set. Regular checks prevent surprises and keep your system running smoothly. With these steps, you’ll confidently manage your shower’s temperature every time.