How To Replace Kohler Toilet Seat With Hidden Bolts – Guide
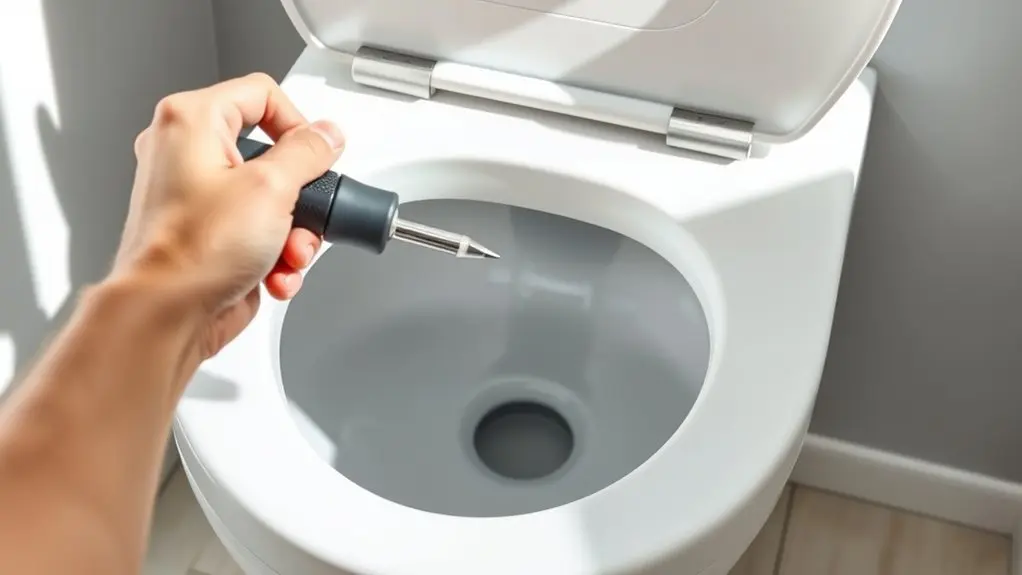
To replace your Kohler toilet seat with hidden bolts, first use a flat-head screwdriver or pry tool to gently remove the plastic caps covering the bolts. Loosen the bolts with the right screwdriver, and if they’re stuck, apply some lubricant to help. Then, carefully unscrew them.
Next, lift off the old seat and clean the bolt holes and hinge area. This makes sure everything fits nicely and stays secure.
Now, align the new seat’s hinges over the holes. Insert and tighten the bolts, secure the wing nuts, and snap the caps back firmly for a clean look.
Keep exploring to master bolt troubleshooting and maintenance tips. You’ll find it makes future replacements or fixes a lot easier!
Remove Plastic Caps Covering Hidden Bolts
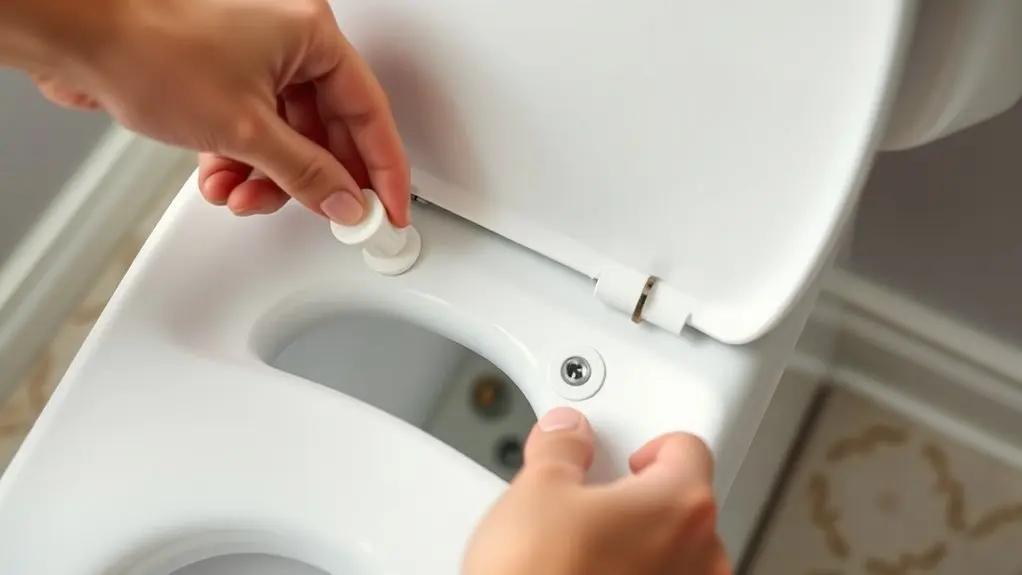
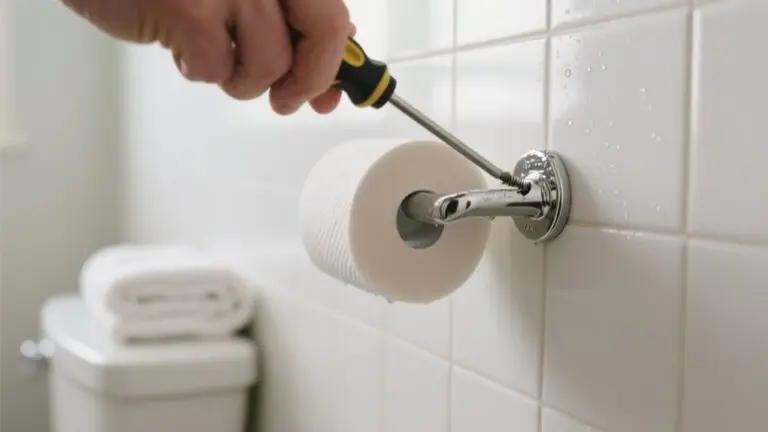
Before you can access the bolts securing the Kohler toilet seat, you’ll need to remove the plastic caps covering them. These plastic caps hide the bolts beneath, keeping the installation neat. To remove them, use a flat-head screwdriver or a plastic pry tool.
Carefully insert the pry tool under the edge of the plastic caps to avoid damaging the porcelain or the caps themselves. Apply gentle, even pressure to lift the caps without cracking or breaking them.
Gently pry under the plastic caps to protect both the porcelain and the caps from damage.
Sometimes, you might need to twist the caps slightly to loosen them before prying.
Once the plastic caps are removed, you’ll have clear access to the hidden bolts. Then you can proceed with loosening or removing the toilet seat securely and efficiently.
How To Unscrew The Hidden Bolts Easily
Once you lift the toilet seat, use a flashlight or mirror to locate the hidden bolts beneath the hinges. Inspect the area carefully for any small covers concealing the bolts. Remove these covers gently with a flathead screwdriver or your fingers to expose the fasteners.
Select the appropriate screwdriver to start unscrewing bolts from underneath. If the bolts resist turning, apply a penetrating lubricant directly onto them. Let the lubricant soak in for several minutes to loosen any corrosion or buildup.
Then, try unscrewing the bolts again with steady, controlled force to avoid stripping. Using penetrating lubricant makes it easier to remove stubborn hidden bolts.
This way, you’ll make the process smoother and avoid damaging the toilet or hardware.
This approach helps you get those bolts off safely and effectively without any hassle.
Remove The Old Kohler Toilet Seat Safely
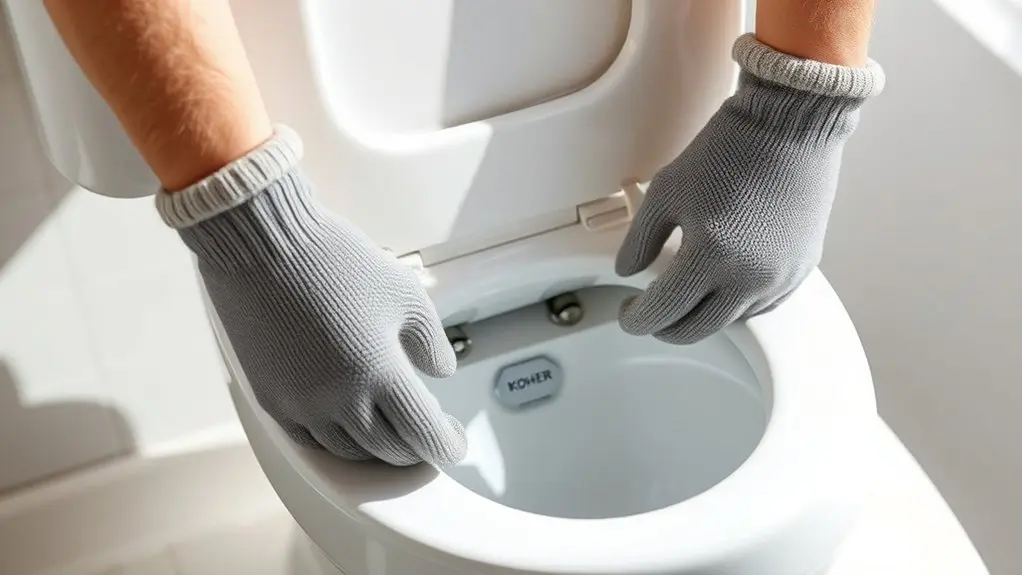
Although loosening the bolts may require some effort, you can start by turning the wing nuts counterclockwise with a screwdriver from above.
If the bolts are rusted or stuck, apply a lubricant like WD-40 and wait a few minutes before trying again.
Once the bolts are fully loosened, carefully lift and remove the old toilet seat to avoid damaging the porcelain surface. Wear gloves to protect your hands and prevent scratches.
After removing the toilet seat, inspect the bolt holes for any leftover debris or residue. Clean the area thoroughly to guarantee proper installation of the new seat.
Taking these steps will help you safely remove the old Kohler toilet seat and prepare for a smooth replacement.
Clean And Prepare The Kohler Toilet Bowl
To guarantee a secure fit for your new Kohler toilet seat, start by thoroughly cleaning the toilet bowl surface with a mild cleaner and a cloth to remove any debris or residue. Make certain the toilet bowl, especially around the hinge holes, is dry and free from dust or mineral buildup. This prevents interference during installation and secures a tight fit.
Confirm all hinge holes are accessible and clear of obstructions before proceeding. Prepare your tools and hardware on a new account to streamline the process.
| Task | Purpose |
|---|---|
| Clean toilet bowl surface | Remove debris and residue |
| Dry hinge area | Prevent dust and moisture interference |
| Check hinge hole access | Ensure smooth installation |
Align The New Kohler Toilet Seat Properly
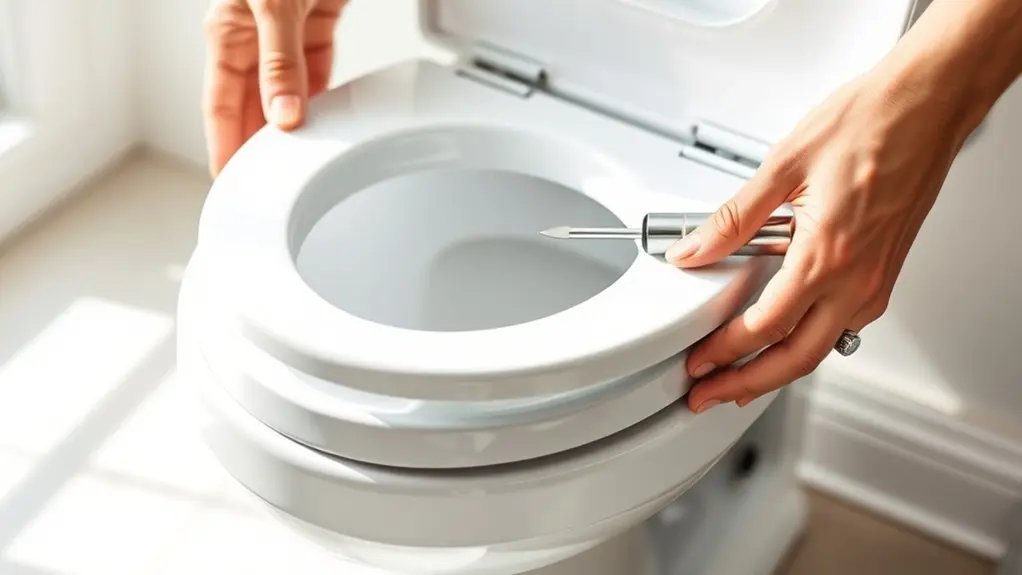
Start by positioning the hinges of the new Kohler seat directly over the pre-existing holes on the toilet bowl. Make sure the bolt holes are accessible and unobstructed so you don’t run into any alignment issues.
Once everything looks good, double-check that the hinges sit flush against the bowl.
If needed, adjust them a bit before you go ahead and secure the bolts.
Position Hinges Correctly
When you place the new Kohler toilet seat on the bowl, make sure the hinges align precisely with the bolt holes to guarantee proper positioning. Focus on hinge alignment by ensuring both hinges sit evenly and symmetrically on either side of the bowl.
Verify bolt positioning so the bolt holes are fully accessible and unobstructed before inserting fasteners.
Check the seat centering from the front and sides, adjusting as needed to achieve a balanced, level fit. Make small incremental movements to fine-tune the seat position, ensuring it sits snugly without shifting.
Proper hinge alignment and bolt positioning are critical for a secure, stable installation.
Once aligned and centered, you can confidently proceed to tighten the bolts securely, locking the seat in place for long-term use. This will help keep everything steady and comfortable every time you use it.
Check Hole Accessibility
Although you’ve positioned the hinges correctly, you still need to guarantee the hinge holes on the toilet bowl are fully accessible and unobstructed. Clear any debris or residue that could block bolt insertion. This step is essential for proper hinge maintenance and preventing bolt corrosion.
Use a flashlight to inspect the holes, making sure hidden bolts fit smoothly. Proper hole accessibility directly impacts seat stability and prevents misalignment during installation.
| Check Aspect | Purpose | Tip |
|---|---|---|
| Hinge Hole Clarity | Avoids bolt obstruction | Use a flashlight |
| Bolt Access | Ensures smooth insertion | Confirm bolt visibility |
| Debris Removal | Prevents corrosion | Clean thoroughly before fit |
Confirm these steps for a secure, stable Kohler toilet seat fit every time.
Insert And Tighten Bolts To Secure The Seat
Before tightening the bolts, make sure you insert each bolt through the hinge hole on the top side of the toilet seat, aligning it precisely with the base. Push the wing nut from underneath until it contacts the toilet bowl’s underside, allowing it to slide freely on the bolt.
Fit the conical top of the wing nut into the hinge hole to catch the threads securely.
Use a screwdriver to tighten the wing nut from above, ensuring it spins onto the bolt without needing to be held.
Focus on adjusting bolt tension to prevent seat wobble, and avoid over-tightening which could crack the seat or toilet.
Choose the right tools: a screwdriver suited for your bolt type.
Insert bolts carefully for precise alignment.
Slide wing nuts freely before tightening.
Adjust tension incrementally to secure the seat firmly.
Prevent seat wobble by avoiding overtightening.
Snap The Caps Back To Hide The Bolts
Make sure to line up the caps carefully with the hinges before pressing them down. This helps ensure a proper fit.
Then, snap the caps firmly into place—you’ll hear a click when they’re secure. This not only covers the bolts completely but also gives a cleaner look and keeps dirt from building up.
Align Caps Properly
When you position the caps over the bolt holes on the toilet seat hinges, make sure they fit correctly to fully cover the bolts. Proper cap alignment is essential for effective hinge coverage and bolt concealment, ensuring a sleek finish.
Follow these steps:
- Align the caps precisely with the bolt holes on the hinges.
- Position each cap so it fully covers the bolt head and nut.
- Press the caps firmly until you hear a snap, confirming secure placement.
- Verify that the caps sit flush against the toilet seat surface without gaps.
- Inspect visually to confirm all bolts are completely hidden, enhancing the seat’s appearance.
This precise approach guarantees neat bolt concealment and maintains the durability of your Kohler toilet seat hinges. It’s a simple step that really makes a difference in how your toilet seat looks and functions.
Secure Caps Firmly
Although you’ve already tightened the bolts, you still need to snap the caps firmly back onto the hinges to fully conceal them. Begin by ensuring precise cap alignment with the hinges to guarantee correct cover placement.
Press the caps down until you hear a definitive click, confirming snap security and preventing them from loosening or falling off during use.
Check that each cap sits flush against the toilet bowl surface for a clean, professional look. After initial installation, recheck the caps to verify they remain firmly snapped in place and completely cover the bolts.
Proper secure caps firmly procedure not only enhances aesthetics but also protects the bolts from moisture and debris.
This helps extend the lifespan of your Kohler toilet seat assembly. So, take a moment to make sure everything is snug and secure. It’s a small step that really makes a difference!
Troubleshooting Kohler Toilet Seat Bolt Issues
Since Kohler toilet seat bolts often become stuck or corroded, you’ll need the right tools and techniques to remove them effectively. Addressing bolt corrosion requires penetrating lubricants like WD-40 to loosen rusted parts.
Your tool selection is critical—consider bolt extractors or reverse drills if the bolt heads are stripped or hidden.
Always observe safety precautions to avoid damaging porcelain or injuring yourself.
Tips for troubleshooting Kohler seat bolt issues:
- Apply penetrating lubricant and let it sit
- Use proper wrenches or bolt extractors for stubborn bolts
- Avoid excessive force to protect porcelain and threads
Also, consult Kohler installation guides or tutorials for specific visuals. Don’t forget to wear gloves and eye protection while working.
Following these steps ensures a smooth bolt removal process and prevents damage.
Frequently Asked Questions
Can I Use Any Type of Wrench to Remove Hidden Bolts?
You can’t just use any type of wrench for hidden bolt removal techniques on Kohler toilet seats. Wrench compatibility tips suggest using a screwdriver or a socket wrench specifically designed for wing nuts.
Standard or adjustable wrenches might damage the bolts or surrounding parts. So, it’s really important to prioritize hidden bolt safety by choosing the right tool.
This helps you avoid stripping or breaking fasteners. Stick to recommended tools for efficient, damage-free bolt removal.
How Do I Know if My Kohler Seat Has Hidden Bolts?
You’ll know your Kohler seat has a hidden bolt design if you don’t see visible screws on the hinges. Check for removable caps covering the bolts beneath the seat. Toilet seat materials like plastic or wood often hide bolts for a cleaner look.
Take a close look at the mounting area. If the bolt installation points are concealed or use snap-on mechanisms, you’ve got hidden bolts. It’s a neat way to keep things looking tidy.
If you’re unsure, always refer to your product manual for confirmation. That way, you’ll know exactly what you’re dealing with.
Are Replacement Seats Compatible With All Kohler Toilet Models?
No, replacement seats aren’t compatible with all Kohler toilet models. You need to match the toilet bowl shape precisely to guarantee a secure fit.
Check seat material compatibility for durability and comfort.
Also, use the correct bolt installation tools designed for Kohler’s hidden bolt systems to avoid damage and ensure stability.
Always verify your toilet’s model number and Kohler’s recommended replacements before purchasing to guarantee proper installation and performance.
What Materials Are Best for Cleaning Around Bolt Areas?
You should use soft cleaning tools like a soft-bristled toothbrush and damp cloths to clean around bolt areas without causing damage.
Mild soap or disinfectant sprays work well for sanitizing, but avoid abrasive cleaners.
Always wear protective gloves to safeguard your skin from chemicals.
For stubborn grime, a mixture of water and vinegar helps loosen buildup naturally.
Applying a light lubricant afterward prevents rust and makes future cleaning easier.
It’s a simple step that really pays off in the long run.
Just take your time and be gentle!
How Often Should I Replace a Toilet Seat for Hygiene?
Think of your toilet seat as a frontline soldier in bathroom cleanliness. Replace it every 1 to 2 years for the best seat hygiene. Frequent use and cleaning wear it down, leading to cracks or stains that harbor bacteria.
Keep an eye out for discoloration, odors, or damage. Prioritize toilet maintenance by watching for these signs.
Regular replacement prevents germ buildup and helps keep your bathroom sanitary and safe for daily use. Don’t wait until it’s visibly worn—proactive care keeps things fresh.
Conclusion
Replacing your Kohler toilet seat with hidden bolts is like restoring a seamless lock on a trusted door. Each step guarantees stability and cleanliness.
Start by carefully removing the caps, then unscrew the bolts. Align the new seat properly to secure comfort and function.
Tighten the bolts firmly, and snap the caps back on to hide any imperfections. This gives your bathroom a polished look.
With this guide, you can confidently turn maintenance into a quick and precise task. It helps keep your Kohler toilet seat reliable and sleek.