How To Install Kohler Trip Lever – Easy Steps
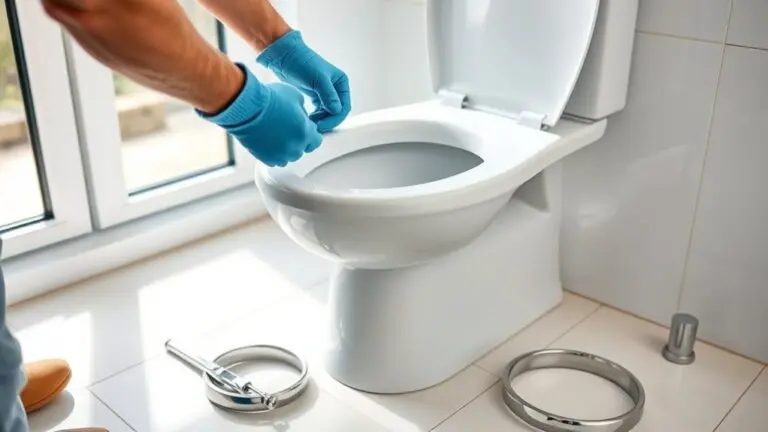
To install a Kohler trip lever, first gather a compatible lever, screwdriver, and pliers. Turn off the water supply, remove the old lever by unscrewing it, and disconnect the lift chain.
Insert the new lever, fasten it with the mounting nut, and adjust its height for the toilet model. Connect and adjust the lift chain with slight slack to guarantee smooth flushing.
Test the flush action and make fine adjustments as needed. More detailed guidance will help handle troubleshooting and maintenance.
Gather Tools and Materials
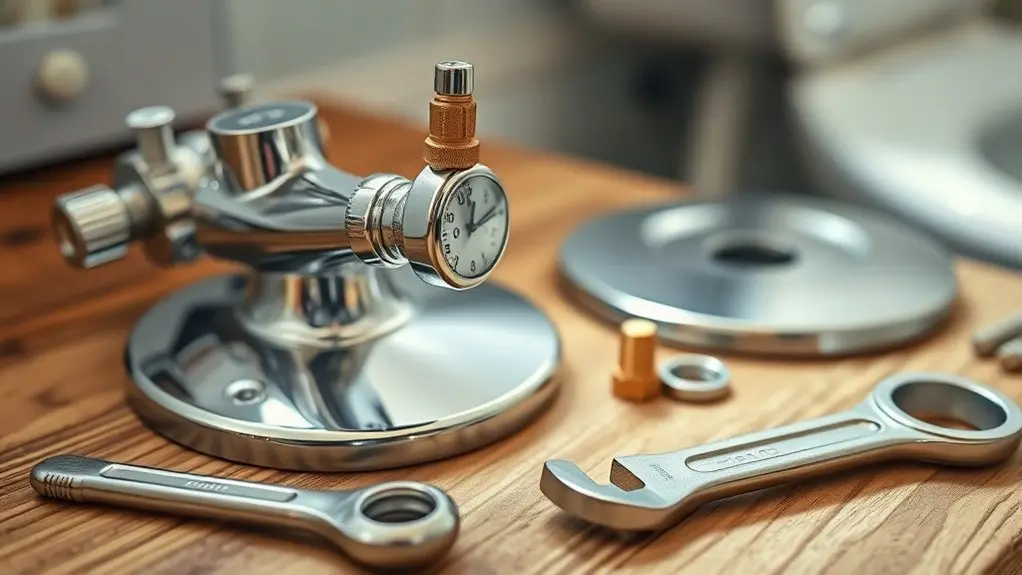
Before you begin installing your Kohler trip lever, gather all necessary tools and materials to streamline the process. Start by selecting a compatible Kohler trip lever model to guarantee proper fit and functionality.
Next, gather essential tools such as a screwdriver, pliers, and a level to facilitate precise installation. Collect all required materials, including the new trip lever, mounting screws, and washers, to secure the assembly effectively.
Gather tools like a screwdriver, pliers, and level, plus all materials for a secure trip lever installation.
Clear the workspace around your toilet to avoid damage and improve accessibility during installation.
Finally, review the manufacturer’s instructions thoroughly to understand any specific requirements or tips related to your selected trip lever.
Preparing properly by gathering tools and materials upfront will make your installation efficient and error-free.
Remove the Old Kohler Trip Lever
Since water can cause damage or mess, turn off the water supply before you begin removing the old Kohler trip lever.
Follow these steps to remove the trip lever from the tank safely:
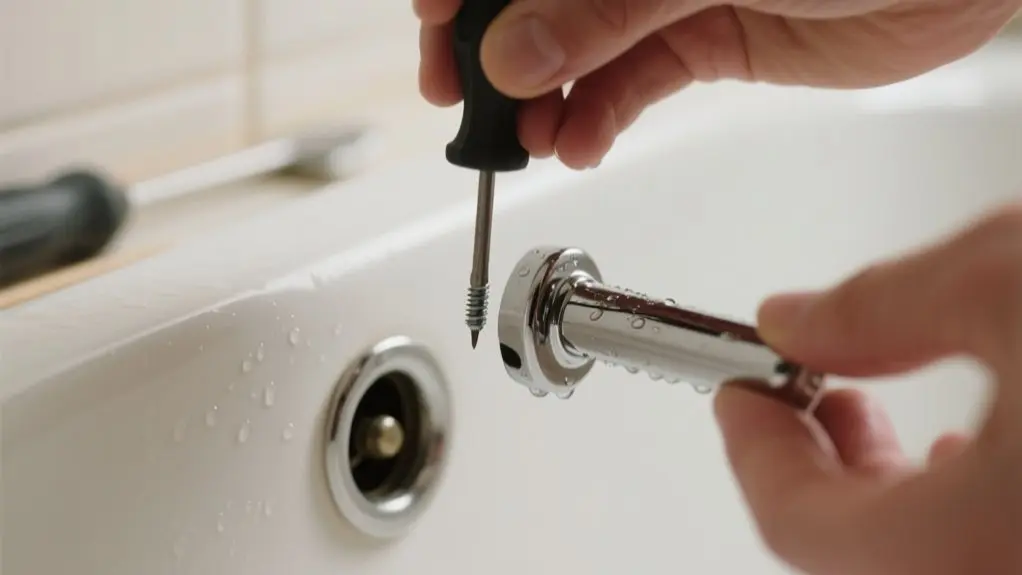
- Use a screwdriver to remove the screw securing the trip lever to the toilet tank.
- Gently pull the trip lever out from the tank, avoiding damage to nearby components.
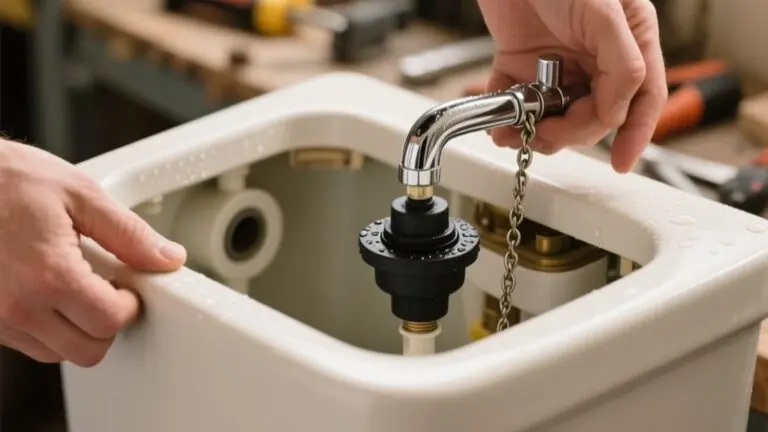
- Disconnect the lift chain from the old trip lever, noting how it was attached for reference.
- Inspect the tank hole for debris or damage to guarantee a proper fit for the new trip lever.
Attach the New Kohler Trip Lever
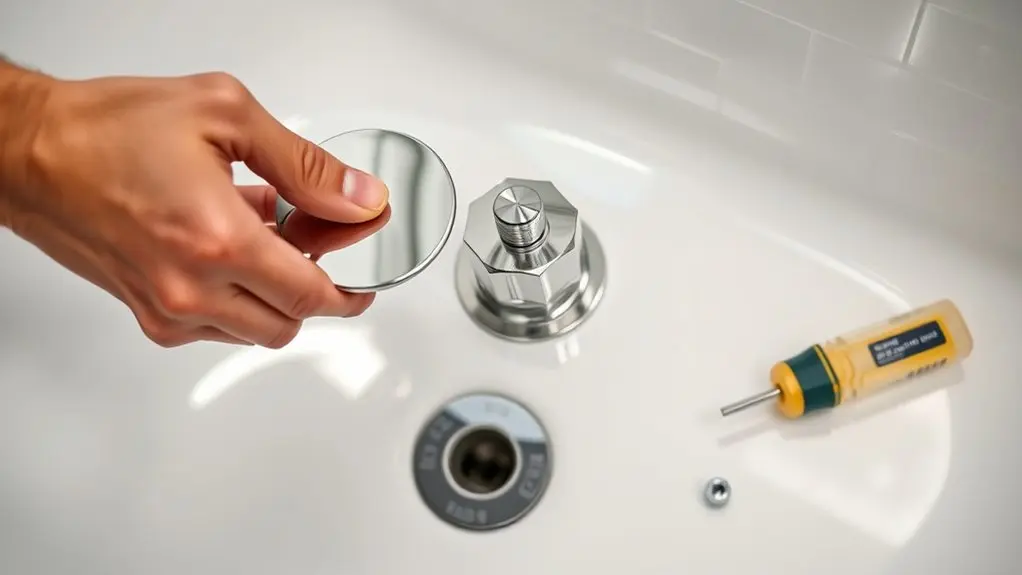
Start by aligning the new Kohler trip lever with the mounting hole, making sure it fits securely.
Once it’s in place, go ahead and fasten the lever assembly using the nut and washer. Tighten it carefully so you don’t risk any damage.
Before you move on, double-check that all the components are properly positioned. This will help ensure everything works smoothly.
Align Lever Components
Remove the old trip lever by unscrewing the mounting nut and detaching the lever arm. Next, align the new Kohler trip lever correctly to guarantee smooth operation. Follow these steps:
- Position the new lever so the mounting hole lines up perfectly with the tank opening.
- Attach the lever arm securely to the trip lever mechanism inside the tank.
- Confirm the lever moves freely without any obstruction or binding.
- Hand-tighten the mounting nut to secure the lever, avoiding over-tightening to prevent tank damage.
This precise alignment and attachment guarantee the trip lever functions properly, preparing you for the next step in securing the lever assembly.
Secure Lever Assembly
With the new Kohler trip lever properly aligned and hand-tightened, you can now secure the lever assembly by tightening the mounting nut from inside the tank. This step is vital to install the lever firmly and prevent leaks.
Insert the mounting nut through the lever shaft and tighten it securely, ensuring the assembly is stable but not over-tightened to avoid damage.
Next, attach the trip lever rod to the flapper chain, adjusting the slack to allow smooth operation without excess looseness that could impair flushing.
If needed, adjust the lever height to match your toilet model for peak performance.
Finally, test the installation by flushing several times to confirm the lever operates smoothly and the assembly is secure throughout the operation.
Connect and Adjust the Lift Chain to Flush Smoothly
Attach the lift chain securely to the trip lever arm, ensuring it allows smooth movement during flushing. To connect and adjust the lift chain for an ideal flush:
- Securely fasten the lift chain to the trip lever, allowing free movement without binding.
- Adjust the chain length to leave slight slack, so the flapper fully opens and closes.
- Make sure the chain isn’t too tight, as this can stop the flapper from sealing and cause continuous water flow.
- Press the trip lever to check the flush action, making sure the flapper lifts smoothly and returns without sticking.
Properly connecting and adjusting the lift chain guarantees consistent, reliable flushes and prevents leaks caused by improper flapper sealing.
Test and Adjust the Trip Lever
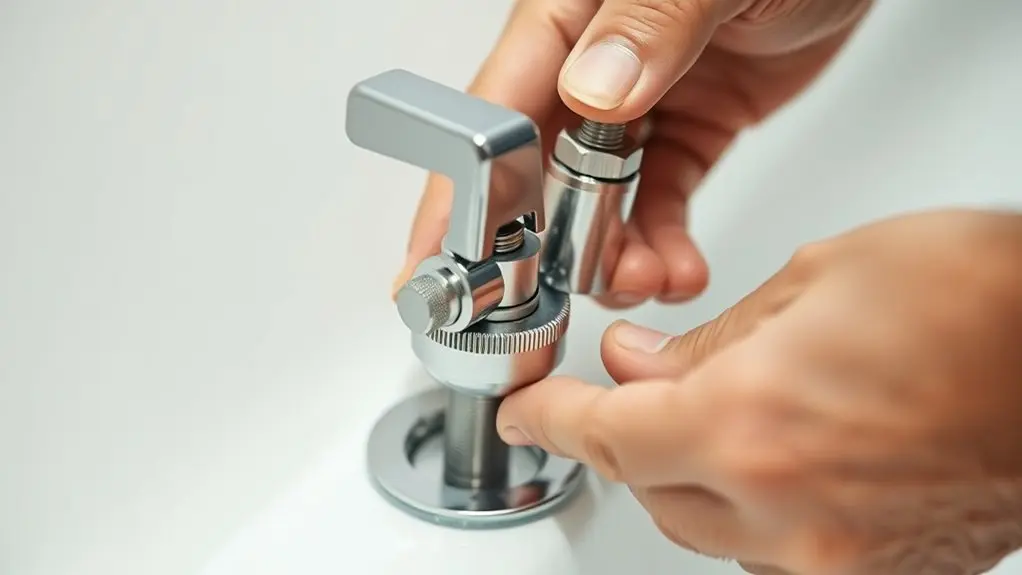
First, go ahead and flush the toilet to see how the trip lever moves and make sure the flapper opens all the way.
If it doesn’t seem quite right, you can adjust the tension by bending the arm a little or changing the length of the chain.
Once you’ve made those tweaks, double-check that the lever is firmly in place.
Then, try flushing a few more times to make sure everything is working smoothly and consistently.
Checking Lever Movement
Although installing the trip lever is complete, you need to check its movement by pulling it gently. This will verify it raises and lowers freely without obstruction. Ensuring smooth lever movement is essential for proper functionality.
Follow these steps to check and adjust the lever:
- Pull the lever slowly to see if it moves without stiffness or resistance.
- Inspect the mechanism for misaligned parts or debris causing obstruction.
- Adjust the linkage connected to the lever to fine-tune its height and engagement with the flapper.
- Test the lever multiple times to confirm consistent, smooth operation.
Adjusting Trip Lever Tension
After confirming the trip lever moves freely without obstruction, you can proceed to adjust its tension for peak performance.
Locate the adjustment screw on the lever arm, typically accessible with a flathead screwdriver.
Test the lever by flushing the toilet; it should operate smoothly and return to its original position without resistance.
If the lever feels too tight, loosen the adjustment screw slightly to reduce tension, ensuring proper engagement.
Conversely, if the lever is too loose or fails to engage correctly, tighten the adjustment screw to increase tension.
After each adjustment, test the lever’s performance again to confirm smooth operation.
Regularly check and fine-tune the tension as needed to maintain optimal lever function and reliable trip lever performance over time.
Ensuring Proper Flush Operation
Press the Kohler trip lever to test the flush operation and verify that the flapper lifts fully, allowing water to flow from the tank to the bowl. If the flush isn’t complete, adjust the trip lever accordingly.
Follow these steps to confirm ideal performance:
- Check the trip lever arm angle and adjust it to fully open the flapper during operation.
- Confirm the lever moves smoothly without stiffness. Reposition or lubricate if necessary.
- Inspect the flapper chain tension. It should be neither too tight nor too loose for consistent flush performance.
- Repeat the flush test multiple times to ensure smooth, reliable operation and proper water flow.
These adjustments guarantee that your trip lever supports efficient flush operation and maximizes system reliability.
Troubleshoot Common Kohler Trip Lever Issues
When you notice the Kohler trip lever handle isn’t returning to its original position or feels loose, it’s crucial to inspect the alignment, mounting screws, and lever condition immediately. To troubleshoot common issues, check for obstructions in the lift rod and verify correct assembly.
Loose mounting screws or a damaged lever often cause wobbling. Continuous running water signals a faulty trip lever needing adjustment or replacement. Regular maintenance, including cleaning and lubrication, prevents many problems and extends the lever’s lifespan.
| Issue | Cause | Solution |
|---|---|---|
| Handle not returning | Misalignment, worn parts | Realign, replace worn parts |
| Loose or wobbly handle | Loose screws, damaged lever | Tighten screws, replace lever |
| Continuous running water | Faulty lever mechanism | Adjust or replace lever |
| Lift rod obstruction | Debris or misplacement | Clear obstruction, reassemble |
| Lack of maintenance | Dirt, no lubrication | Clean and lubricate regularly |
Frequently Asked Questions
Can I Use a Universal Trip Lever for My Kohler Toilet?
Yes, you can use a universal trip lever for your Kohler toilet, but you need to check compatibility first.
Measure your toilet’s mounting hole distance and verify the lever’s action (pull or push) matches your flushing mechanism.
Review product specifications and user feedback to confirm fit and function.
Keep in mind, universal levers mightn’t match your toilet’s finish, so consider both performance and aesthetics before purchasing.
How Often Should I Replace the Trip Lever?
You should replace your trip lever every 5 to 10 years, depending on use and condition.
If you notice difficulty flushing, a loose handle, or visible corrosion, it’s time for a replacement.
Regular cleaning can extend its lifespan, but rust or mineral buildup means you shouldn’t wait.
Acting promptly prevents leaks and maintains toilet efficiency.
Keep an eye on wear to avoid unexpected plumbing problems.
Will a New Trip Lever Improve Water Efficiency?
Yes, a new trip lever can improve water efficiency by ensuring the flapper seals correctly. This prevents leaks that waste water.
Upgrading to a modern, adjustable trip lever lets you control flush volume, optimizing water use without sacrificing performance.
Installing one designed for low-flow toilets can reduce water consumption by up to 30%.
Regularly replacing worn trip levers helps maintain efficient flushing. This ultimately lowers your water bill through reduced unnecessary water usage.
Can I Install the Trip Lever Without Shutting off Water?
You wouldn’t jump into a pool without checking the depth. Similarly, you shouldn’t install a Kohler trip lever without shutting off the water.
While it’s technically possible, doing so risks spills and flooding. If you proceed, act quickly, have towels ready, and expect leaks.
For a smooth, safe installation, always turn off the water supply first. Follow your model’s instructions closely to avoid any costly mishaps.
Are There Safety Concerns When Replacing a Trip Lever?
Yes, you should be cautious when replacing a trip lever. Always turn off the water supply to prevent leaks or overflow. Drain the tank completely before starting.
Wear protective gloves to avoid injuries from sharp edges or slipping tools like pliers or wrenches. Handle components carefully to prevent cuts.
After installation, check for leaks to confirm everything is secure and functioning properly, minimizing the risk of water damage or accidents.
Conclusion
Installing your Kohler trip lever is like tuning a finely crafted instrument. Each adjustment guarantees smooth, reliable performance. By gathering the right tools, removing the old lever, and carefully attaching and adjusting the new one, you restore harmony to your flush mechanism.
When you test and troubleshoot, you’re fine-tuning for flawless operation. With these steps, your toilet will flow seamlessly, symbolizing efficiency and control in your daily routine.