How To Install Kohler Gp85160 – Step-by-Step Guide
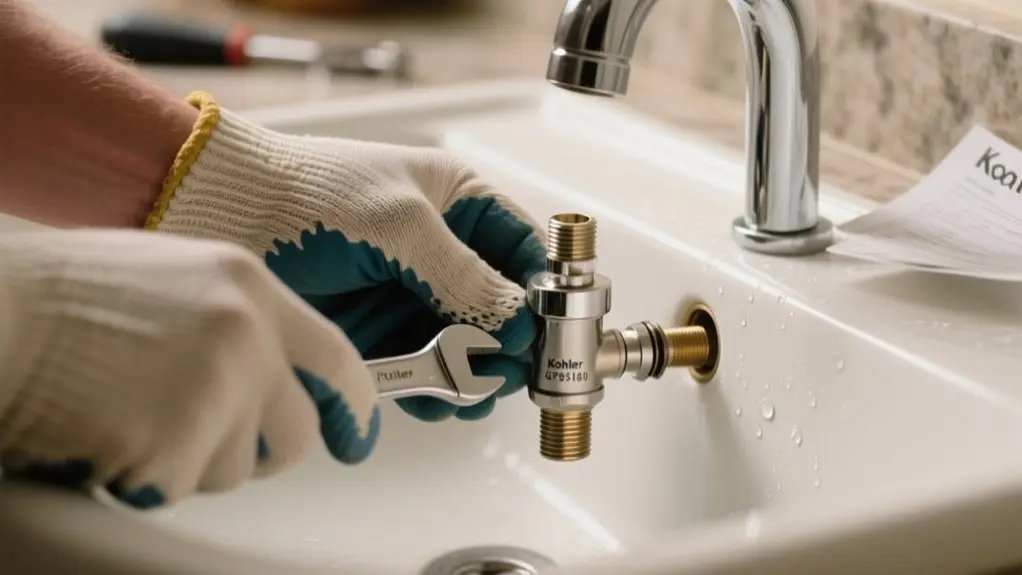
To install the Kohler GP85160 flapper seal, first turn off the water supply and flush the toilet to empty the tank. Remove the old flapper by unhooking the chain and pulling it off the flush valve pegs.
Clean the valve seat, then align and snap the new flapper onto the mounting pegs. Adjust the chain slack for a smooth flush, turn the water back on, and check for leaks.
Follow these steps closely for a reliable fix, and explore further details for troubleshooting and maintenance.
Why Replace the Kohler GP85160 Flapper Seal?
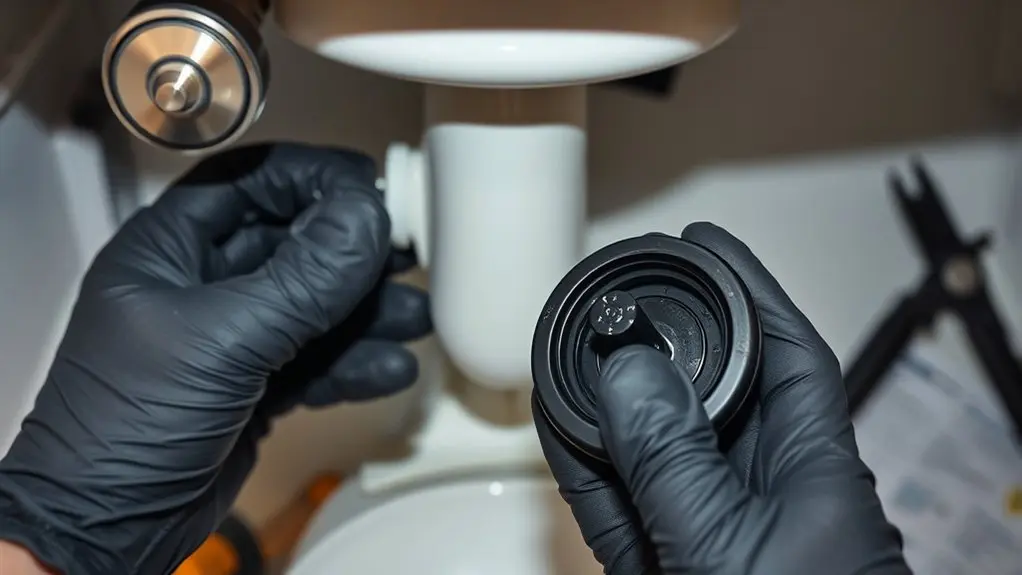
Why should you replace the Kohler GP85160 flapper seal? This component controls water flow from the tank to the bowl during flushing, ensuring efficient operation.
Over time, mineral buildup, warping, or material deterioration can compromise the seal, causing continuous leaks and intermittent running. Replacing the GP85160 restores proper flushing performance and prevents water waste, which helps reduce your water bills.
Mineral buildup and wear cause leaks; replacing the GP85160 restores flush efficiency and saves water.
The installation process is straightforward and typically requires no special tools, making it a practical DIY task. However, you should confirm the GP85160’s compatibility with your specific Kohler toilet model before proceeding.
Timely replacement not only maintains toilet functionality but also enhances water efficiency and prevents potential damage from persistent leaks.
Shut Off Water and Empty the Toilet Tank
Start by locating the shut-off valve behind your toilet, usually near the wall, and turn it clockwise to stop the water supply.
Next, flush the toilet to drain the tank, removing most of the water to simplify the installation.
Use a sponge or towel to soak up any remaining water inside the tank to make certain it’s completely dry.
Keeping the toilet seat down during this process helps prevent accidents and maintains cleanliness.
Once the tank is empty, carefully inspect all internal components for signs of wear or damage that might affect the installation or toilet function.
This step prepares you for a smooth replacement of the Kohler GP85160 flapper seal, guaranteeing peak performance and avoiding unexpected issues.
Remove the Old Kohler GP85160 Flapper Seal
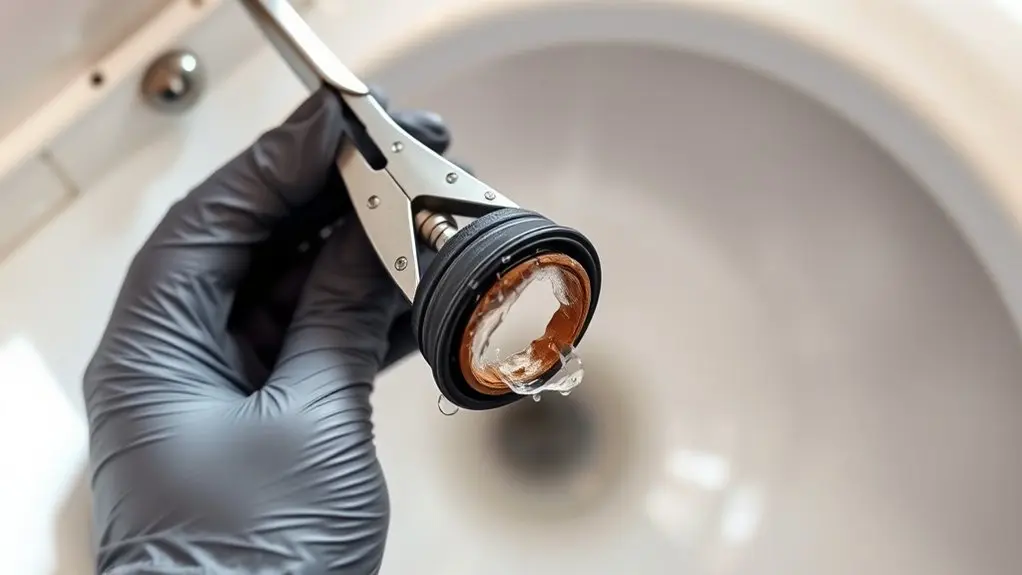
Turn off the water supply and flush the toilet to empty the tank, holding the handle down to guarantee complete drainage.
Next, carefully unhook the chain connecting the flapper seal to the flush lever, noting its original configuration for later reattachment.
Next, gently detach the chain linking the flapper seal to the flush lever, remembering its original setup.
Grasp the old Kohler GP85160 flapper seal and pull it off the flush valve’s mounting pegs with a firm, steady motion.
Once removed, inspect the valve seat for any debris or mineral buildup that could affect the new flapper’s seal. Remove any deposits before proceeding.
Dispose of the old flapper seal properly.
Confirm the replacement Kohler GP85160 matches the size and design of the existing valve to ascertain ideal fit and function during installation.
Inspect Flush Valve for Damage
Before installing the new flapper seal, carefully inspect the flush valve for any damage that could compromise its function.
Examine the valve body closely for visible cracks, chips, or warping that may cause leaks or weaken flushing performance.
Pay particular attention to the valve seat; make sure it’s clean and free from mineral deposits or debris that could prevent a tight seal.
Also, check for any misalignment between the flush valve and the tank opening, as this can cause water to escape improperly.
Addressing these issues now prevents future leaks and inefficient flushing.
A thorough inspection guarantees the flush valve’s integrity, helping maintain peak toilet operation and extending the life of your Kohler GP85160 installation.
Don’t skip this critical step before proceeding.
Position and Secure the New Kohler GP85160 Flapper Seal
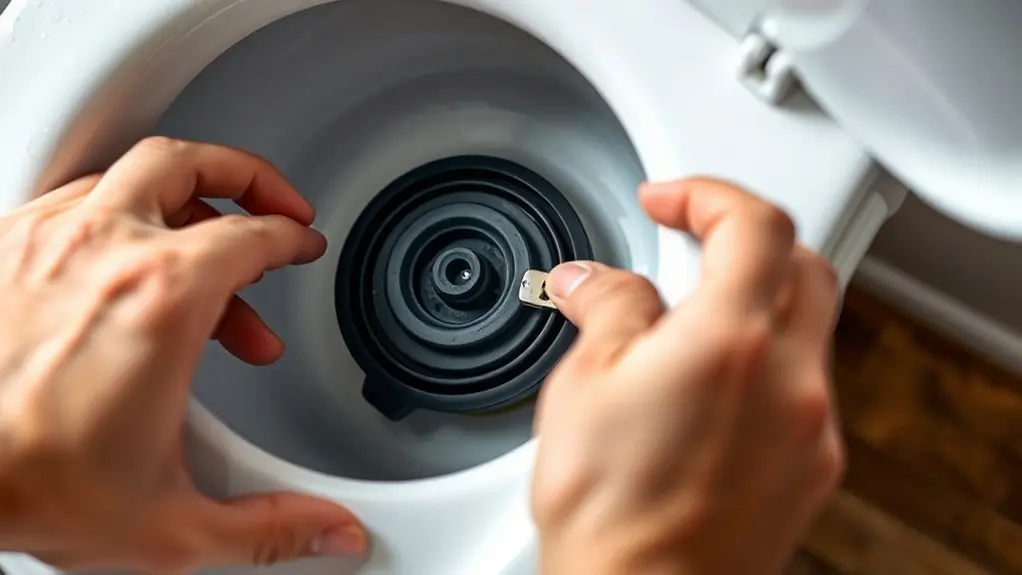
Make certain the toilet tank is completely empty to prevent water spillage during installation. Align the Kohler GP85160 flapper seal’s ears with the mounting pegs on the overflow tube. Press the flapper firmly until it clicks, confirming it’s securely attached.
Before finalizing, check the chain length to verify proper slack for an unobstructed flush. Once positioned, turn the water supply back on and observe for leaks, verifying a proper seal.
| Step | Action | Purpose |
|---|---|---|
| 1 | Empty tank | Prevent water spillage |
| 2 | Align flapper ears | Verify correct fit |
| 3 | Press flapper onto pegs | Secure attachment |
| 4 | Check chain slack before seal | Guarantee full flush operation |
Adjust Kohler Flapper Chain for Proper Flush
To adjust the Kohler flapper chain, start by measuring its length to make sure there’s a little slack when the flapper is closed.
This is important because it stops the flapper from staying open or not sealing properly.
Next, make careful adjustments so the flapper lifts fully during the flush and then reseats quickly.
This way, you’ll get the best performance out of your toilet.
Chain Length Adjustment
Although it might seem minor, adjusting the Kohler flapper chain length is vital for proper flushing performance. You need about 1/2 inch of slack in the chain to allow the flapper to open fully during a flush and seal tightly afterward.
To adjust, detach the chain from the lever arm, then either re-hook it to a different link or trim excess length. If the chain is too short, the flapper won’t close, causing continuous running water.
If it’s too long, the flush weakens because the flapper doesn’t open properly. After replacing the flapper, always check this adjustment to maintain peak function.
Precise chain length guarantees efficient flushing and prevents water waste.
Ensuring Flapper Seal
Adjusting the chain length sets the stage for a proper flapper seal, which directly affects flush efficiency. You need the chain to have about one inch of slack when the flapper is closed to guarantee it seals correctly without hindering flush action.
Here’s how to guarantee a peak flapper seal:
- Confirm the chain isn’t too tight, preventing the flapper from fully closing.
- Avoid excessive slack that stops the flapper from lifting enough for a strong flush.
- Inspect the flapper seal for cracks or wear if flushing problems persist.
- Replace the flapper seal if damaged to restore proper function.
Regularly check chain tension and flapper condition after installation to maintain leak-free, efficient flushing.
Turn the Water Back On and Fill the Tank
To get the water flowing back into the tank, simply turn the water supply valve counterclockwise. This will let the tank fill up to the marked water level.
Keep an eye on the filling process, making sure there are no leaks around the flush valve and that all the seals stay tight.
Once the tank is full, go ahead and test the flush valve to see how it works.
Listen carefully for any continuous running sounds, as that could mean there’s an issue you need to fix.
Water Supply Valve Operation
Locate the water supply shut-off valve, usually found under the toilet or near the wall, and rotate it clockwise until it’s fully open. This action restores water flow to the tank.
Next, observe the tank as it fills, which typically takes 1-2 minutes depending on your water pressure. During this time, make certain the flapper seal seats properly to avoid leaks.
After filling:
- Check for leaks around the water supply line connections.
- Inspect the base of the toilet for any signs of water.
- Confirm the flapper remains securely in place.
- Flush the toilet to verify smooth water flow and valve operation.
Following these steps guarantees your Kohler GP85160’s water supply valve functions correctly and prevents potential water damage.
Tank Filling Process
Begin by slowly opening the water supply valve counterclockwise to let water flow back into the tank. Watch carefully as the tank fills, verifying the water level reaches the designated mark on the inside wall. This mark indicates the proper fill level needed for ideal flushing performance.
While filling, inspect the flapper seal and surrounding components for any signs of leakage.
Once the tank reaches the correct level, flush the toilet to confirm proper operation and ensure the flapper seals correctly.
If water continues to run after flushing or you notice leaks, re-examine the flapper installation. Make any necessary adjustments to maintain a tight seal.
This precise filling process guarantees your Kohler GP85160 functions efficiently and prevents water waste.
Leak Inspection Steps
After confirming the tank has reached the correct water level, slowly open the water supply valve to let the tank fill completely. As the tank fills, closely inspect for leaks around the flapper and connections.
Here’s what you need to do:
- Observe the water level carefully, verifying it stabilizes without continuous flow into the bowl.
- Check the flapper’s seating on the overflow tube; adjust its alignment if water keeps running.
- Examine the rubber seals on the flapper and flush valve for debris or damage that could cause leaks.
- Listen for persistent running sounds, which indicate improper sealing needing further adjustment.
Following these steps guarantees a secure, leak-free installation and peak function of your Kohler GP85160.
Test the Flush and Fix Common Problems
Press the handle to test the flush and confirm water releases fully into the bowl. If the toilet keeps running, check the chain length. Adjust it to remove slack that prevents the flapper from sealing properly.
Inspect the flapper seal for leaks. Make sure the flapper sits evenly and isn’t warped or damaged.
Weak or inconsistent flushing often results from an incorrect water level in the tank. So, verify it reaches the marked fill line for adequate force.
Frequent fill cycling indicates a malfunctioning flush valve or float. Confirm both operate correctly and adjust the float to regulate water levels accurately.
Addressing these issues guarantees ideal performance and prevents water waste after installing your Kohler GP85160 flapper.
Frequently Asked Questions
What Tools Are Needed to Install the Kohler GP85160 Flapper Seal?
You’ll need basic tools like pliers to remove the old flapper and a flathead screwdriver for loosening corroded hardware or adjusting the chain.
Have a bucket ready to catch any water when disconnecting the flapper.
Using a towel or rag helps manage spills, and gloves keep things sanitary.
These tools make the Kohler GP85160 flapper seal installation straightforward and efficient without requiring specialized equipment.
How Often Should the Kohler GP85160 Flapper Seal Be Replaced?
Think of your Kohler GP85160 flapper seal as the gatekeeper of your toilet’s efficiency. You should replace it every 3 to 5 years to keep everything running smoothly.
If you notice water leaking, intermittent running, or weak flushes, it’s a sign the seal’s failing. Harsh water conditions may require more frequent changes.
Regular checks help you catch wear early, saving water and preventing costly damage.
Can the Kohler GP85160 Flapper Seal Fit Non-Kohler Toilets?
No, the Kohler GP85160 flapper seal won’t fit non-Kohler toilets properly.
Its design and specifications match Kohler models exactly, ensuring a tight seal and effective flushing.
Using it on other brands can cause leaks or improper function because they often require different flapper styles.
You should always check your toilet manufacturer’s guidelines or consult a plumbing expert to find the correct flapper seal compatible with your specific toilet model.
What Materials Is the Kohler GP85160 Flapper Seal Made From?
The Kohler GP85160 flapper seal is made from durable rubber, engineered to resist deterioration from constant water exposure. Its rubber contains additives improving resistance to chlorinated water and common plumbing chemicals, enhancing longevity.
You’ll appreciate that this material guarantees a tight seal, minimizing leaks and water loss, boosting toilet efficiency.
In fact, rubber flapper seals like this can extend flushing system life by up to 30%, thanks to their resilience.
Is Professional Installation Necessary for the Kohler GP85160 Flapper Seal?
You don’t need professional installation for the Kohler GP85160 flapper seal. It’s designed for straightforward replacement that most homeowners can handle with minimal tools and no specialized plumbing knowledge.
You can complete the swap in under 15 minutes. Just make sure the seal matches your specific Kohler toilet model.
However, if leaks persist or other plumbing issues arise, consulting a professional plumber would be a wise next step.
Conclusion
Now that you’ve installed the Kohler GP85160 flapper seal, don’t rush to finish just yet. The real test lies ahead: will your flush be flawless, or will leaks persist?
Carefully observe the tank’s refill and flush performance, making small chain adjustments as needed. Mastering this final step guarantees lasting efficiency and prevents costly water waste.
Stay sharp; your toilet’s reliability depends on it.