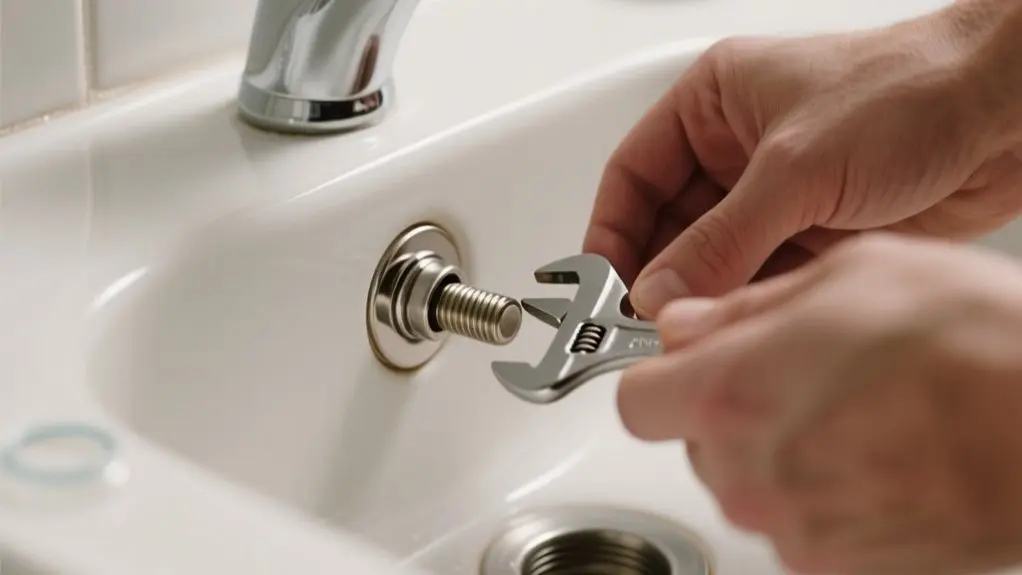
How To Install Kohler Clicker Drain With Overflow – Guide
To install your Kohler clicker drain with overflow, first gather tools like a basin wrench and plumber’s putty, then clear the sink area. Remove the old drain by turning off water and disconnecting components carefully.
Assemble the brass tailpiece and align the overflow with the sink’s hole, sealing connections with plumber’s putty or silicone. Tighten securely without overtightening, then test for leaks and proper function.
Follow these steps closely, and you’ll guarantee a reliable, leak-free installation with more tips ahead.
Get Tools Ready and Set Up Your Workspace for Kohler K-25322 Installation
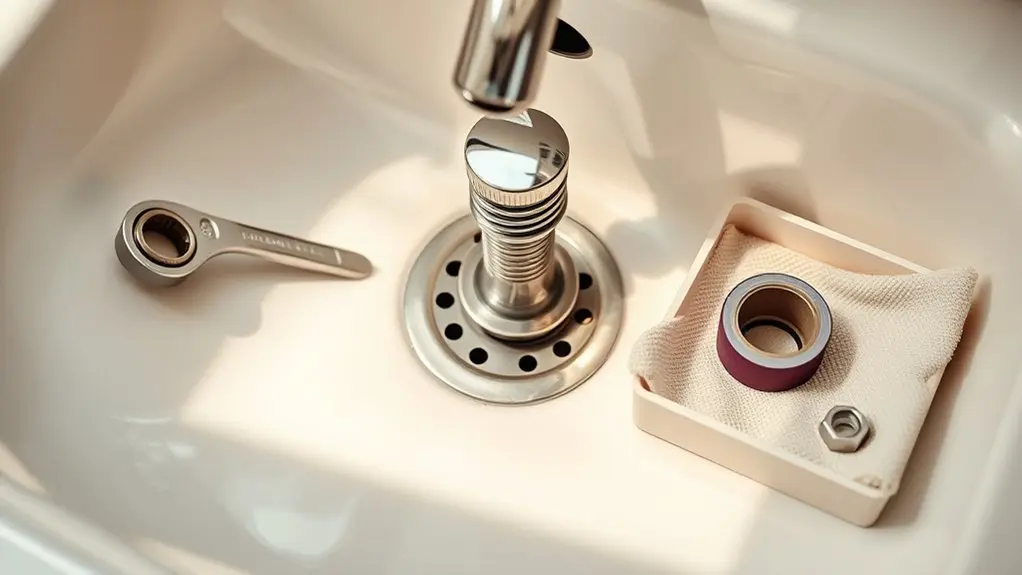
Before you plunge into installing the Kohler K-25322 Clicker drain, make certain you gather all the essential tools like a basin wrench, plumber’s putty, and a screwdriver.
Clear your workspace around the sink to guarantee unobstructed access during installation.
Verify that you have all components from the packaging, including the brass tail piece and overflow connection.
A clean, dry sink surface is critical to achieving a secure fit and preventing leaks.
Take time to review the Kohler installation guide carefully. It contains valuable diagrams and step-by-step instructions that will guide you efficiently through the process.
Preparing your tools and workspace precisely will save time and reduce errors when installing the Kohler K-25322 Clicker drain.
How to Safely Remove Your Old Drain Assembly
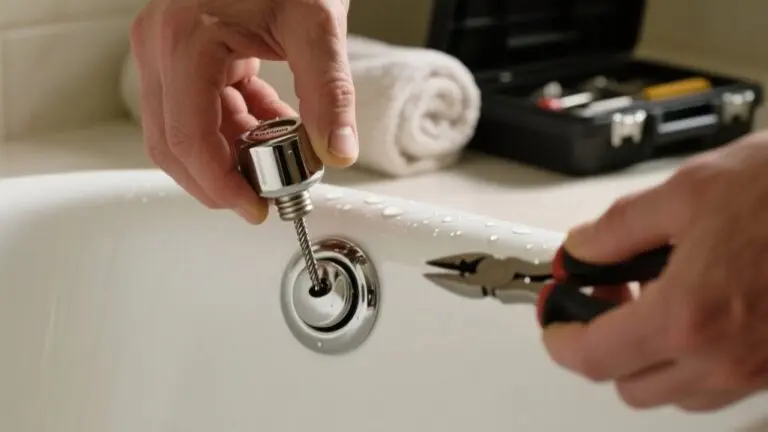
Before you start taking apart your old drain assembly, make sure you have all the right tools handy. You’ll want slip-joint pliers, an adjustable wrench, and a bucket to catch any leftover water.
First things first, turn off the water supply. This step is really important because it helps prevent any leaks while you’re disconnecting everything.
Once that’s done, grab your wrench and gently loosen the drain components. Take your time and be careful as you detach each part to remove the assembly safely.
Preparing Drain Removal Tools
Gather the necessary tools, such as a basin wrench, slip joint pliers, screwdriver, and plumber’s putty knife, to ensure a safe and efficient removal of your old drain assembly.
Before you start, verify the sink is completely empty and dry for unobstructed access.
Shut off the water supply to prevent leaks during removal. Use the basin wrench to carefully loosen and detach the retaining nut connecting the drain to the sink, avoiding damage to the sink surface.
The plumber’s putty knife will help you scrape away any old putty or debris around the drain area, preparing a clean surface for the new installation.
Having these tools ready and following these steps will streamline the removal process and minimize risks.
Disconnecting Old Drain Components
Start by turning off the water supply to eliminate any risk of leaks during the removal process.
Place a bucket under the P-trap to catch any residual water before loosening the drain components with an adjustable wrench. Carefully unscrew retaining nuts and disconnect the tailpiece and P-trap.
Gently pull the old drain assembly out, avoiding scratches on the sink surface.
After removal, thoroughly clean the sinkhole to eliminate putty or sealant remnants, ensuring a proper seal for the new installation.
Key steps to follow:
- Use proper tools like an adjustable wrench and bucket
- Handle components carefully to avoid damage
- Clean the sinkhole thoroughly for a tight seal
Dispose of old parts properly, and confirm all new components are ready for installation.
Assemble the Brass Tailpiece and Connect It to the Drain
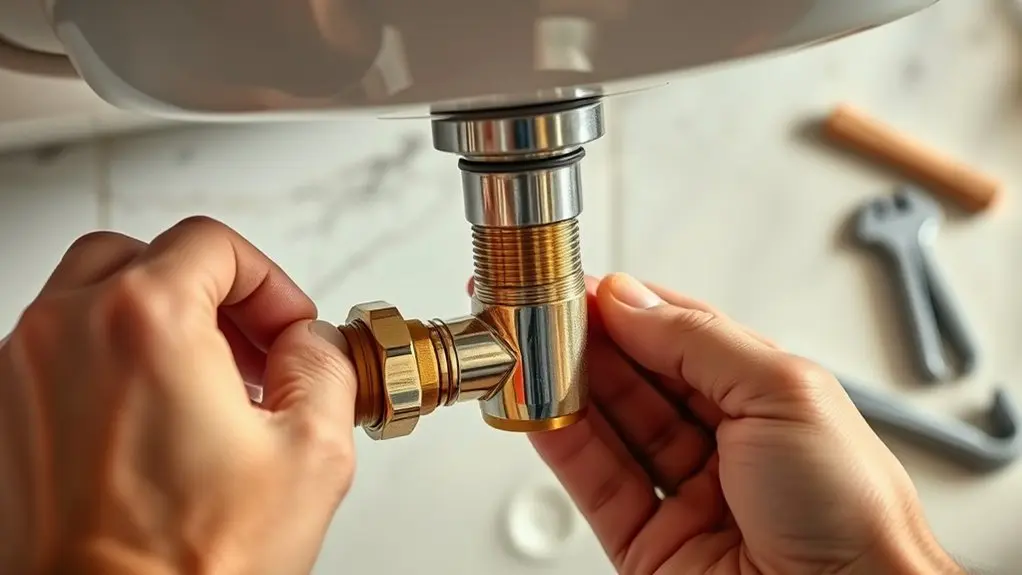
Start by securely attaching the brass tailpiece to the drain assembly.
Make sure the 1-1/4 inch connection lines up perfectly with the drain opening.
It helps to apply plumber’s tape or sealant on the threads to ensure a tight, leak-free seal.
Once you’ve done that, tighten the connection by hand first. Then, use a wrench to snug it up, but be careful not to over-tighten.
Finally, double-check that all the fittings and the overflow mechanism are properly aligned before moving on.
Tailpiece Assembly Steps
Assemble the brass tailpiece of the KOHLER K-25322 Clicker drain by first confirming all connections are clean and free of debris for a secure fit.
Align the tailpiece with the drain body, then tighten the connection firmly to prevent leaks.
Attach the tailpiece to your existing plumbing using the 1-1/4 inch connection provided, following standard plumbing practices.
Maintain vertical alignment to confirm efficient drainage flow.
After assembly, run water through the system and inspect all joints for leaks, adjusting connections as needed.
Key considerations for tailpiece assembly:
- Clean all connecting surfaces to avoid improper sealing.
- Securely tighten connections without overtightening.
- Verify vertical alignment to optimize drainage performance.
Drain Connection Tips
After securing the brass tailpiece to the KOHLER K-25322 Clicker drain, focus on connecting it properly to your existing drain line. The tailpiece has a 1-1/4 inch connection designed to fit snugly into the drain pipe.
Begin by applying plumber’s tape to all threaded fittings to guarantee a tight, leak-free seal. Use the appropriate plumbing fittings and seals compatible with your drain system.
When assembling, hand-tighten the connections first, then use a wrench to secure them firmly. Avoid overtightening to prevent damage to the brass components.
Double-check that the tailpiece aligns correctly with the drain line to maintain proper flow and prevent strain on the joints. This precise approach guarantees a durable, leak-resistant connection.
Position the Kohler K-25322 Drain for Proper Overflow Alignment
When positioning the Kohler K-25322 Clicker drain, you’ll need to confirm it sits at the correct height so its overflow opening aligns perfectly with your sink’s overflow hole. Begin by verifying the drain’s 8-1/2 inch height fits snugly within your sink without obstructing other plumbing.
Next, make certain the brass tail piece is vertical to maintain effective drainage and overflow function. Proper alignment involves matching the sink’s overflow hole with the drain’s overflow mechanism for secure attachment.
Ensure the brass tail piece is vertical for proper drainage and secure overflow alignment.
Also, verify the drain’s dimensions don’t interfere with surrounding plumbing. Position the tail piece straight down for ideal flow.
This precise alignment makes sure the overflow feature works correctly, preventing water from backing up and maintaining overall system integrity.
Seal and Secure Drain Connections to Prevent Leaks
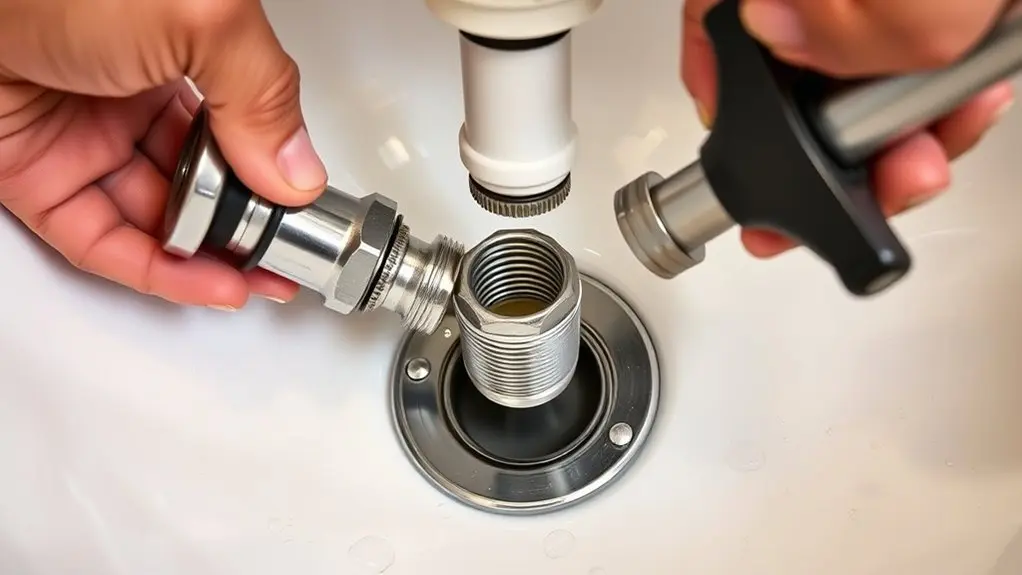
To prevent leaks, you’ll want to apply plumber’s putty or silicone sealant around the drain flange before securing it to the sink.
Next, tighten the locknut beneath the sink carefully, ensuring a secure fit without overtightening, which can damage components.
Confirm that the brass tailpiece of the KOHLER K-25322 Clicker drain connects firmly to the 1-1/4 inch drain pipe, creating a tight, leak-proof seal.
Also, verify the overflow connection aligns perfectly and seals properly to the overflow tube, as misalignment can cause leaks.
Each connection should feel secure but not forced.
Test Your Kohler K-25322 Clicker Drain for Leaks and Function
Once you’ve securely sealed and tightened all connections, it’s time to verify the Kohler K-25322 Clicker Drain functions correctly and remains leak-free.
Begin by filling the basin to the overflow level and carefully inspecting for leaks around the drain and overflow pipe.
Next, operate the clicker mechanism multiple times to confirm smooth opening and closing, making certain the seal prevents water escape.
Finally, test the overflow by allowing water to reach the overflow outlet, verifying it redirects excess water without leakage.
- Check the brass tail piece connection for tightness and proper gasket seating.
- Observe the clicker’s seal integrity during multiple open-close cycles.
- Confirm the overflow outlet channels water back into the basin without dripping.
These steps guarantee reliable, leak-free performance before regular use.
Maintain and Troubleshoot Your Kohler K-25322 Clicker Drain
Maintain your Kohler K-25322 Clicker Drain by routinely inspecting the clicker mechanism for debris buildup that can hinder smooth operation.
Check the brass tail piece and 1-1/4 connection regularly for leaks or corrosion to guarantee proper drainage.
Regularly inspect the brass tail piece and connections for leaks or corrosion to ensure effective drainage.
If water drains slowly, apply KOHLER K-23726 Drain treatment to clear potential clogs effectively.
Confirm the overflow remains unobstructed to prevent water pooling and overflow risks.
For detailed troubleshooting, consult the installation guide and specification sheet specific to the KOHLER K-25322 model.
Following these steps will help you maintain ideal function and address common issues promptly, ensuring your clicker drain operates reliably and efficiently over time.
Frequently Asked Questions
Can I Install the Kohler Clicker Drain Without Professional Plumbing Experience?
Yes, you can install the Kohler Clicker drain without professional plumbing experience. It’s designed for DIY use, with clear instructions and basic tools needed.
You’ll benefit from its compact size and secure 1-1/4 inch connection, which simplifies fitting. Just follow the installation guide carefully, use the provided parts breakdown, and double-check your connections for leaks.
With patience and attention to detail, you’ll achieve a reliable, leak-free installation.
What Type of Plumber’s Putty Is Best for This Drain Installation?
You should use a high-quality, waterproof plumber’s putty specially formulated for bathroom fixtures to guarantee a reliable seal around the drain flange.
Choose brands like Oatey or RectorSeal, which work well with brass components and resist water exposure over time.
Avoid silicone or caulk since they harden and complicate future repairs.
Always follow the manufacturer’s instructions to apply the putty correctly for a durable, leak-free installation.
Will the Kohler K-25322 Fit All Standard Bathroom Sinks?
The Kohler K-25322 fits most standard bathroom sinks with a 1-1/4 inch drain opening, but it won’t fit all. You need to verify your sink’s drain dimensions and overflow compatibility before installation.
Its 2-3/16 inch width and length, plus an 8-1/2 inch height, suit many designs. However, some sinks with unique measurements or non-standard overflows may require a different model.
Always check your sink specs first.
How Long Does the Installation Typically Take From Start to Finish?
You can expect the installation to take about 1 to 2 hours, depending on your experience and plumbing setup.
Preparation like gathering tools and reviewing instructions adds 15 to 30 minutes.
If you need to adjust existing plumbing, factor in extra time, sometimes an hour or more. Following the guide precisely helps avoid delays.
But if it’s your first time, allow extra time for troubleshooting and alignment to guarantee everything fits and functions correctly.
Is the Kohler Clicker Drain Compatible With Water-Saving Faucets?
Yes, the Kohler Clicker Drain is fully compatible with water-saving faucets. You might worry it won’t handle reduced flow rates efficiently, but its design guarantees smooth drainage without backups.
Its brass tailpiece and standard 1-1/4 connection fit most water-saving faucets perfectly.
Plus, the overflow feature prevents accidental overfilling, maintaining safety and performance.
Conclusion
Now that you’ve installed your Kohler K-25322 clicker drain with precision, you’re ready to enjoy a leak-free sink. Remember, a well-sealed connection is worth its weight in gold. It prevents water damage and costly repairs.
Keep an eye on the drain’s function regularly and address any issues promptly to guarantee smooth operation. With proper maintenance, your Kohler drain will serve you reliably for years to come, making your bathroom routine hassle-free.