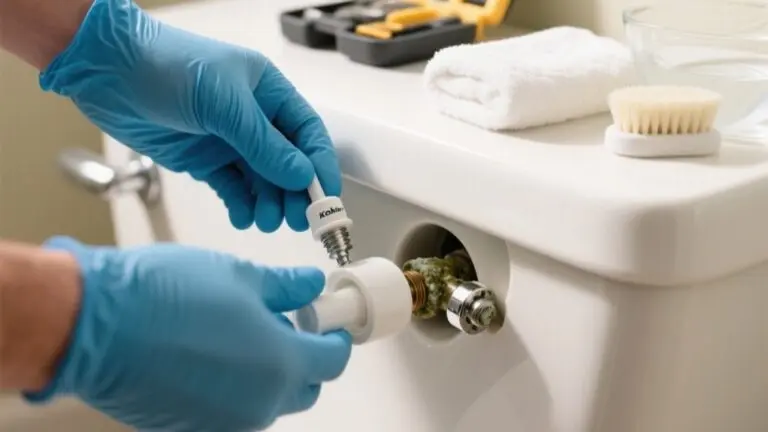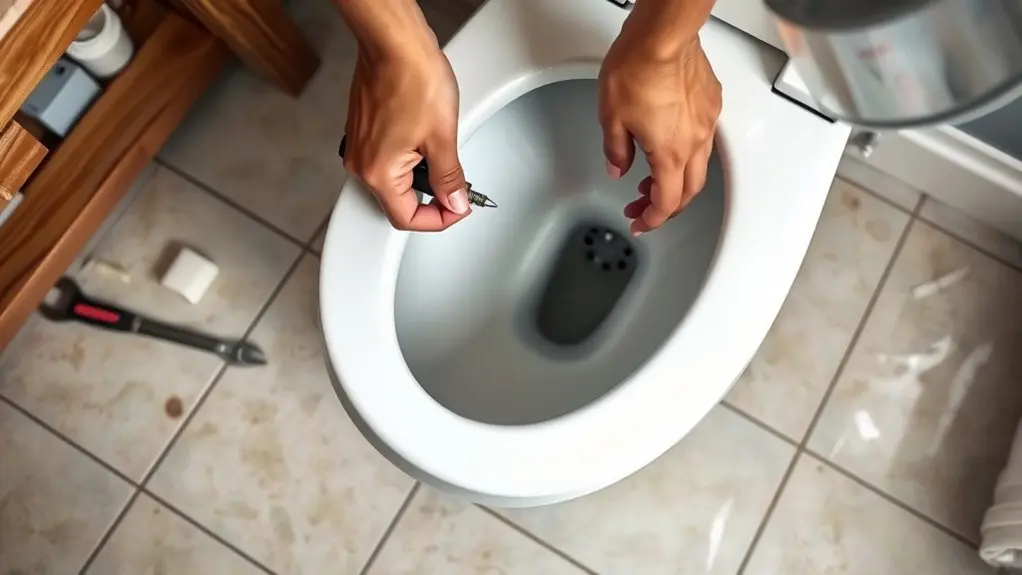
How To Fix A Kohler Toilet – Step-by-Step Guide
To fix your Kohler toilet, first identify common issues like leaks, clogs, or weak flushes. Turn off the water supply and drain the tank completely. Use a flange plunger or auger to clear clogs, then replace worn parts like the flapper or fill valve.
Seal leaks around the base with silicone caulk. After repairs, flush several times and check for leaks or irregular operation. Follow these steps carefully to restore your toilet’s function and avoid recurring problems.
Taking it step-by-step makes the whole process easier and helps you avoid making the same issue happen again. Just be patient and methodical, and you’ll have your Kohler toilet working like new in no time.
Spot the Most Common Problems With Your Kohler Toilet
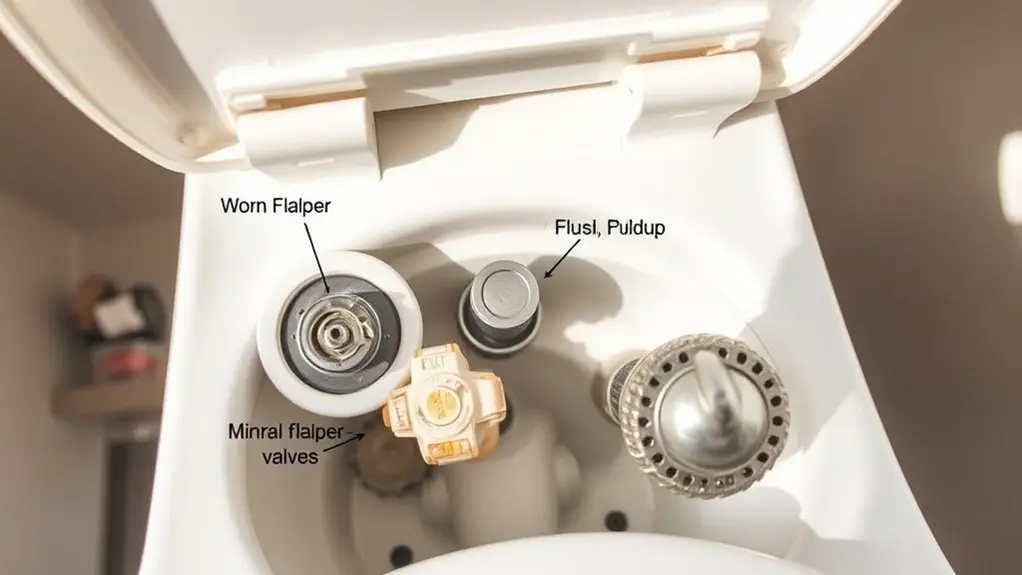
When you notice your Kohler toilet running constantly, flushing weakly, or clogging frequently, these symptoms often point to common internal issues.
Continuous running usually stems from a leaky flapper or a damaged fill valve, both of which disrupt proper water flow and waste a significant amount of water.
Weak flushing power often indicates mineral deposits or worn parts within the flushing system, reducing efficiency.
Frequent clogs typically result from buildup or improper use of the flushing mechanism, especially in specific Kohler models designed with unique trapways.
Also, take a look at the toilet bowl and tank for cracks or warping, as these can cause leaks and affect how well the toilet works.
Catching these common issues early helps you make the right repairs and keep your Kohler toilet running smoothly.
How to Turn Off Water and Drain Your Kohler Toilet
Where do you start when preparing to fix your Kohler toilet? First, locate the shut-off valve near the base of the toilet and turn it clockwise to stop the water flow. Once the water is off, flush the toilet to drain most of the water from the tank and bowl.
Use a sponge or towels to soak up any remaining water to prevent spills during repair. If the shut-off valve doesn’t function, carefully disconnect the supply line after draining the tank.
In cases where the individual shut-off valve is inaccessible or faulty, turn off the main water supply to the bathroom.
Following these steps guarantees your toilet is properly drained and ready for maintenance.
Clear a Kohler Toilet Clog With a Plunger and Auger
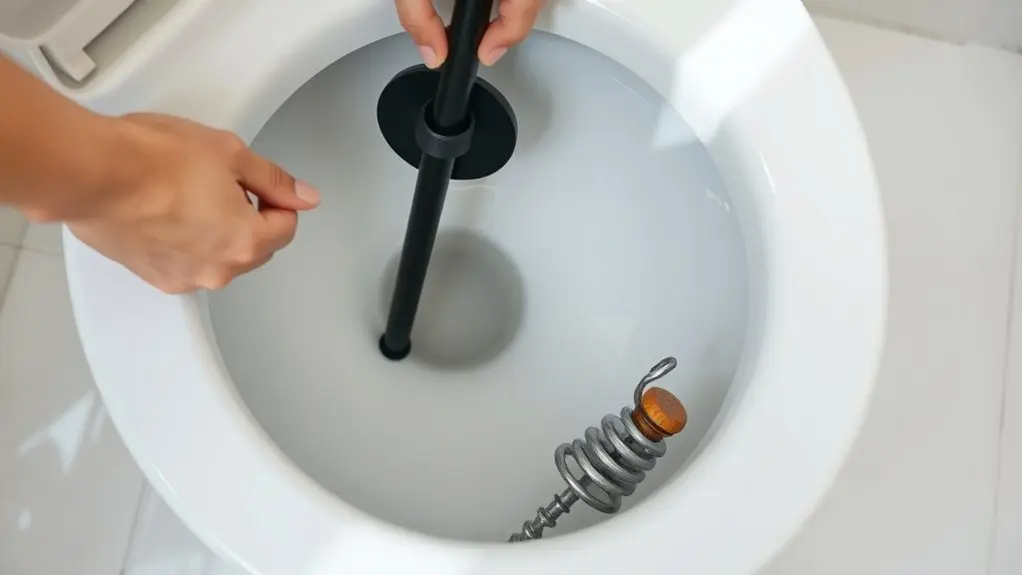
Although a blocked Kohler toilet can be frustrating, you can often clear it yourself using a flange plunger or a toilet auger.
Start with a toilet plunger designed for toilets to guarantee a tight seal and effective suction. Press steadily for 15-20 seconds, keeping the cup submerged.
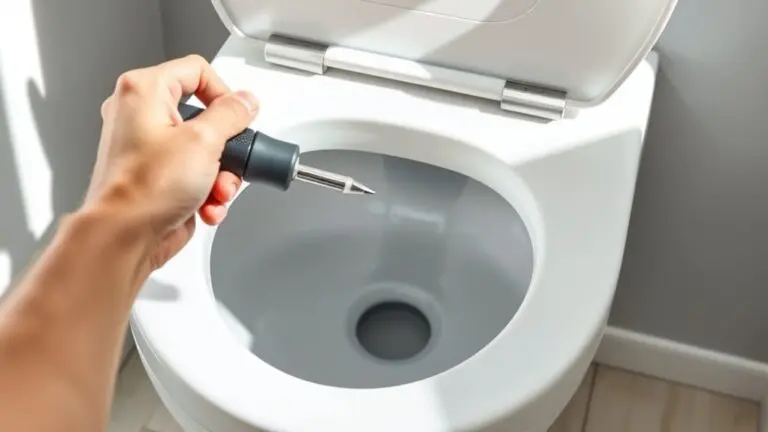
If this doesn’t work, try using a toilet auger. Insert it into the drain and rotate clockwise to break up or retrieve the clog.
Just be careful not to scratch the porcelain while you’re doing this.
Once the clog is cleared, flush multiple times to make sure everything flows freely.
- Use a flange plunger for a secure seal
- Apply steady, vigorous pressure for 15-20 seconds
- Keep the plunger cup submerged in water
- Rotate the toilet auger clockwise to clear blockages
- Avoid damaging the toilet’s porcelain surface
Replace a Faulty Kohler Toilet Flapper
First, go ahead and turn off the water supply to your toilet. After that, flush the toilet to drain the tank completely so you’re working with an empty space.
Next, you’ll want to remove the old flapper. This means detaching it from the flush valve—make sure to take note of how it’s attached because you’ll want to replicate that with the new one.
Finally, install the new Kohler flapper securely in place. Don’t forget to adjust the chain slack just right, so it operates smoothly.
Once everything looks good, turn the water back on and check to see if it’s sealing properly.
Flapper Removal Steps
Before removing the flapper, turn off the water supply and flush the toilet to drain the tank. This prevents water from spilling during the process.
Next, take off the tank lid and locate the flapper at the tank’s bottom, connected to the flush lever.
Carefully unhook the flapper from the flush valve, avoiding damage to the chain or clips.
Inspect the flapper’s rubber seal for cracks or warping as this indicates replacement is necessary.
Follow these steps precisely:
- Shut off water supply and flush to empty tank
- Remove tank lid to access flapper
- Unhook flapper from flush valve gently
- Check flapper’s rubber seal condition
- Prepare for replacement if damaged
This guarantees a smooth flapper removal without causing additional issues.
Installing New Flapper
Once you’ve removed the old flapper and drained the tank, clean the flush valve area thoroughly. This will help make sure the new flapper creates a proper seal.
Attach the new flapper securely to the flush valve. Then, connect the chain to the flush lever. Adjust the chain slack so the flapper lifts fully without too much slack that could stop it from sealing properly.
Turn the water supply back on and flush to test. Check that the flapper closes tightly and no water leaks into the bowl.
| Step | Action | Tip |
|---|---|---|
| 1 | Clean flush valve area | Use a sponge or cloth |
| 2 | Attach new flapper | Ensure a snug fit |
| 3 | Connect chain | Adjust for proper slack |
| 4 | Test flush and seal | Observe for leaks |
Replace the Fill Valve in Your Kohler Toilet
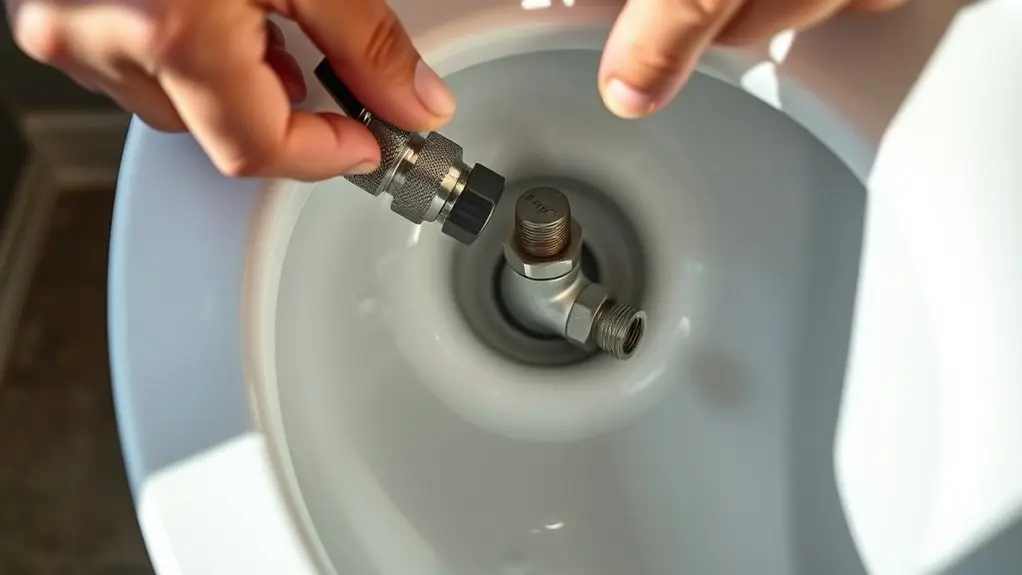
You’ll know it’s time to replace the fill valve if your toilet won’t fill properly or keeps running nonstop. First things first, shut off the water supply and drain the tank.
Once that’s done, use adjustable pliers to remove the old valve.
After that, it’s just a matter of following a clear, step-by-step process to install the new fill valve. Make sure you get the height right and create a good seal so you don’t end up with leaks. Easy enough!
Identifying Fill Valve Issues
When your Kohler toilet runs continuously or fills slowly, the fill valve is often the culprit. This part controls how water flows into the tank, and if it’s not working right, flushing can get messed up.
To check for fill valve issues, start by removing the tank lid and take a look at the valve connected to the water supply line. Keep an eye out for things like continuous running water after you flush, or the tank filling slowly or only partway.
You might also notice no water entering the tank at all, visible leaks or corrosion around the valve, or the water level not reaching the marked line. Catching these signs early can help you figure out if the fill valve is failing.
That way, you can get ready to replace it without wasting time or money on parts you don’t need. Diagnosing the problem right means you fix it faster and more efficiently.
Step-by-Step Replacement Process
Before starting the replacement, turn off the water supply valve and flush the toilet to empty the tank completely.
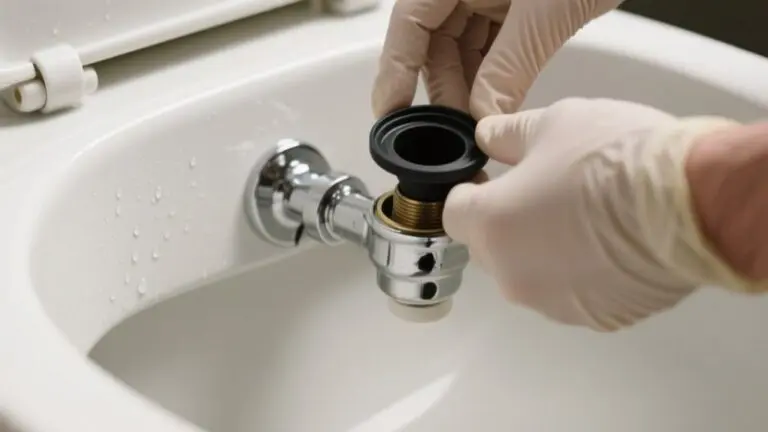
Next, disconnect the water supply line from the fill valve and remove the old fill valve assembly from the tank.
Install the new fill valve following the manufacturer’s instructions, making sure it’s properly aligned and seated to avoid leaks.
Adjust the fill valve height and float setting to match the tank’s specifications. This step is critical for maintaining the correct water level.
Once installed, turn the water supply back on and check for leaks around the connections.
Finally, test the fill valve to confirm it fills the tank correctly without causing overflow.
This precise approach guarantees a smooth toilet installation and restores proper function efficiently.
Find and Fix Leaks at the Toilet Base
How can you identify and fix leaks at the toilet base? Leaks here usually mean the wax ring or rubber gasket has failed. To fix this, start by turning off the water supply and draining the toilet.
Next, detach the toilet from the flange for inspection. Check the wax ring for damage or misalignment and replace it if needed.
Make sure to secure the toilet by tightening the bolts evenly to prevent shifting, which can cause leaks.
Finally, apply a fresh bead of silicone caulk around the base to seal any small gaps.
- Turn off water and drain the toilet
- Remove toilet and inspect wax ring
- Replace damaged or misaligned wax ring
- Tighten floor bolts evenly to secure toilet
- Apply silicone caulk around base for extra seal
Test Your Kohler Toilet After Repairs
Once you’ve completed repairs, flush your Kohler toilet several times to confirm it operates correctly and no leaks occur. Test for water seeping around the base or tank to verify a secure seal. Observe the bowl and tank for consistent water levels and smooth flushing performance.
Flush multiple times to ensure proper operation and check for leaks around the base and tank.
Listen carefully for any unusual noises that might signal further adjustment needs.
To test the flapper seal, add food coloring to the tank and wait 10 minutes without flushing. If colored water appears in the bowl, the flapper isn’t sealing properly and requires correction.
Go through these tests step-by-step to make sure your repairs really worked and to avoid any future problems. This practical testing phase helps ensure your Kohler toilet functions reliably and efficiently before you finish up your maintenance.
When to Call a Professional for Kohler Toilet Issues
If your Kohler toilet keeps leaking despite repeated attempts to tighten seals, or if clogs persist even after using a snake or chemical treatments, it’s time to call a professional. Persistent issues often signal underlying problems that need expert diagnosis and repair.
Consider reaching out to a professional if you notice continuous leaks after seal tightening. Or if you’re dealing with recurring or severe clogs that require aggressive snaking. Water pressure irregularities affecting flushing are another sign to get help.
Also, if there’s internal tank damage or broken components, or if you have electrical issues in smart toilets or bidet functions, it’s best to call in an expert.
A licensed professional has the tools and know-how to handle complex repairs or replace specialized parts. This helps ensure your Kohler toilet operates reliably and safely.
Don’t risk further damage or improper fixes. Getting professional help will save you time and prevent costly mistakes.
Frequently Asked Questions
What Tools Do I Need to Repair a Kohler Toilet?
You’ll need an adjustable wrench for loosening and tightening bolts. Make sure the tool is compatible with Kohler’s specific hardware.
A putty knife comes in handy to remove old wax rings and clean the flange.
Grab a bucket and some towels to manage any water spills.
Using a new wax ring or rubber gasket is important for a reliable seal.
Don’t forget gloves and goggles to keep yourself safe.
Having these tools ready will make your Kohler toilet repairs more efficient and precise. It’s always better to be prepared!
How Often Should I Replace Toilet Parts for Maintenance?
You should follow a Maintenance Schedule to keep your toilet in top shape. Replace flappers and fill valves every 3 to 5 years to prevent leaks and flushing issues.
Change the wax ring whenever you remove the toilet or detect leaks around the base.
Toilet seats typically need replacement every 1 to 2 years due to wear.
Regular inspections help you catch problems early and extend the life of your Kohler toilet parts. It’s a simple way to avoid bigger issues down the road.
Can I Use Any Replacement Parts for My Kohler Toilet?
You shouldn’t use just any replacement parts for your Kohler toilet because part compatibility is essential. Genuine Kohler parts guarantee a proper fit, maintain flushing efficiency, and protect your warranty.
While some generic parts might seem compatible, they often lack precise specifications, which can lead to leaks or malfunction. It’s really important to get the right parts for your specific model.
Always verify the exact model-specific part numbers before purchasing. If you’re unsure, check your manual or reach out to a Kohler representative.
This way, you can make sure everything fits perfectly and your toilet runs smoothly.
How Do I Prevent Future Clogs in My Kohler Toilet?
To prevent future clogs in your Kohler toilet, balance careful use with proactive maintenance. You shouldn’t flush non-degradable items or overload the bowl. Doing these simple things goes a long way in keeping things flowing smoothly.
You can also install a larger trapway to improve flow. Regularly inspect and clean the trap and drain to avoid buildup. Using enzyme-based cleaners every now and then helps break down organic waste, which further prevents clogs.
What Causes a Toilet to Make Loud Noises After Repair?
Loud noises after repair usually stem from loose or misaligned fill or flush valve components.
During noise troubleshooting, check for high water pressure causing rattling, or trapped air in the refill tube creating hissing sounds.
A worn flushing mechanism or faulty mounting bolts can also cause banging or creaking.
Tighten all parts, realign the flapper, and guarantee bolts are secure to eliminate these noises effectively.
Conclusion
Fixing your Kohler toilet might seem intimidating, but with the right steps, you’re well-equipped to tackle common issues yourself. From turning off the water to replacing faulty parts, each task brings you closer to a smoothly running toilet.
Remember, a little patience goes a long way. Even the smallest leak can cause big problems. When in doubt, don’t hesitate to call a professional to guarantee lasting repairs.