How To Repair Kohler Acrylic Tub – Simple Steps
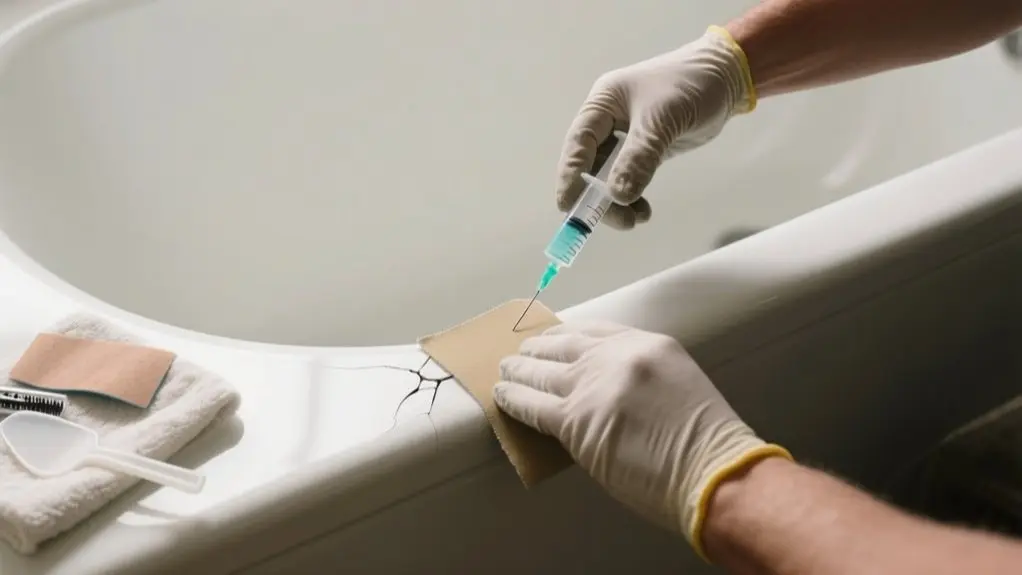
To repair your Kohler acrylic tub, start by grinding a V-shaped groove around the damage. Then clean it with acetone while wearing gloves.
Mix Kohler Poly Paste with 3-5% hardener and apply it quickly. Overfill cracks slightly for better coverage.
If needed, use fiberglass cloth and epoxy for reinforcement. Sand with 100, then 320 grit paper for a smooth finish.
Finally, polish with rubbing compound to restore shine. Always follow safety precautions to handle chemicals properly.
Explore the full process to master seamless tub repairs.
Gather Tools and Materials for Kohler Acrylic Repair
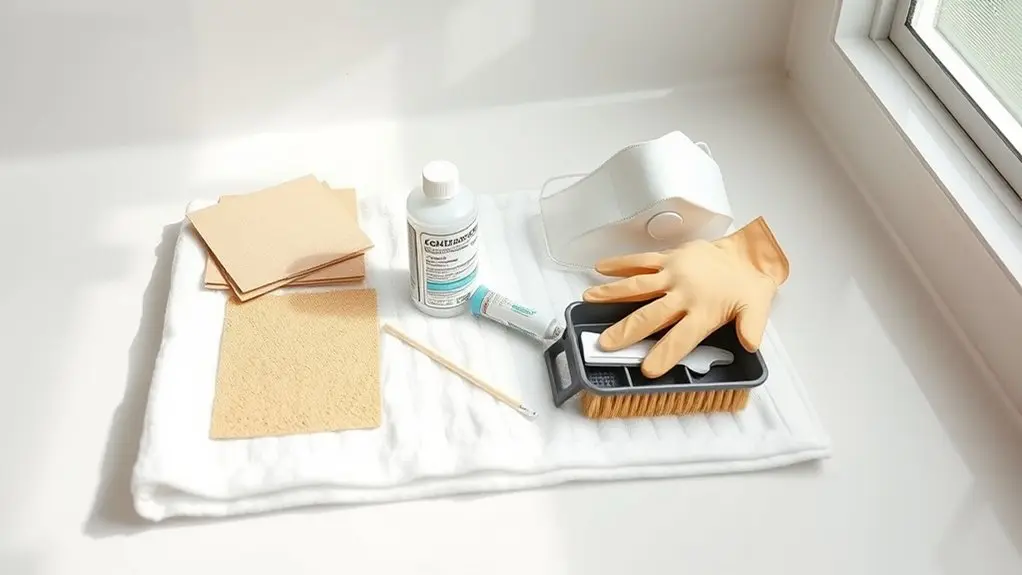
Before starting your Kohler acrylic tub repair, gather all necessary tools and materials to affirm a smooth process.
Begin with the Acrylic DIY Kit Kohler Poly Paste, which includes a 3 oz. jar of factory-matched repair paste, catalyst, and rubbing compound.
You’ll also need safety gear like latex gloves since the materials can be hazardous.
For acrylic bathtubs, proper preparation is key. Have grinding tools on hand, along with acetone or nail polish remover for cleaning.
Prepare mixing cups and stir sticks to combine the Poly Paste with a 3% to 5% cream hardener as instructed.
Finally, ready sanding materials, starting with 100 grit sandpaper and moving to 320 grit to ensure the repaired area blends seamlessly with the tub’s surface.
Prepare the Damaged Area by Cleaning and Grinding
Start by grinding a V-shaped groove around the damaged area. This helps make sure the repair paste will stick really well.
Next, clean the surface thoroughly with acetone or nail polish remover to get rid of any oils or contaminants. After that, let it dry completely.
And don’t forget to wear gloves while you’re doing this.
Also, take your time prepping the surrounding surface carefully so the repair turns out smooth and durable.
Cleaning Techniques For Repairs
A grinding tool shapes a V around the damaged area, removing loose particles and preparing the surface for repair.
After grinding, clean the area thoroughly with acetone or nail polish remover to eliminate any residual oils, dust, or contaminants that could weaken adhesion.
Use a lint-free cloth to apply the solvent evenly, making sure you cover the entire prep zone. Allow the surface to dry completely before moving on.
Always wear latex gloves during this process to protect your skin from harsh chemicals.
Be sure to consult the Safety Data Sheets included with your repair kit for proper handling and disposal instructions.
These cleaning steps are critical to achieving a strong bond and a durable repair on your Kohler acrylic tub.
Grinding Methods For Prep
Assess the damaged area on your Kohler acrylic tub and use a grinding tool to shape a precise V groove around chips or cracks. This deepens the surface, improving adhesion for repair materials.
Remove any loose particles carefully to prevent contaminants from weakening the repair.
Next, clean the area thoroughly with acetone or nail polish remover to eliminate oils and residues that could interfere with bonding.
Pay attention to the surrounding surface, ensuring it’s ready for a smooth shift after sanding.
Always wear gloves and follow safety precautions during grinding and cleaning to protect your skin from injury and harmful chemicals.
Proper grinding prep sets a solid foundation for durable, seamless tub repairs.
Surface Preparation Best Practices
Although grinding the damaged area to form a V groove is essential for strong adhesion, you must also remove all loose particles and clean the surface thoroughly with acetone or nail polish remover. This guarantees the repair material bonds properly without interference from dirt or grease.
Always wear latex gloves to protect your hands from chemicals and debris during this process. Make sure the surface is completely dry before applying any repair materials to prevent moisture from weakening the bond.
Follow these steps to prepare the surface effectively:
- Grind the damaged area into a smooth V groove matching the surrounding contour.
- Remove all loose particles, then clean the area with acetone or nail polish remover.
- Dry the surface fully before proceeding with the repair.
Check Material Compatibility to Ensure Lasting Repairs
When repairing a Kohler acrylic tub, you must use materials specifically designed for acrylic surfaces to secure a durable bond. Opt for Kohler’s Acrylic DIY Kit Poly Paste, which includes factory-matched repair paste and accessories tailored for their tubs.
Use a binding resin compatible with acrylic to guarantee effective adhesion, avoiding generic adhesives that may fail. Choose fillers like Multitech’s poly filler, recommended for acrylic repairs, to enhance durability.
Recognize that Kohler acrylics require delicate handling due to their thinness and quality. For added reinforcement, consider the reverse patch technique with fiberglass cloth and epoxy.
Understanding these material compatibilities is critical. Using incompatible products risks weak repairs and shortens the tub’s lifespan. Always confirm product suitability before proceeding to maintain lasting results.
Mix and Apply Kohler Poly Paste Properly
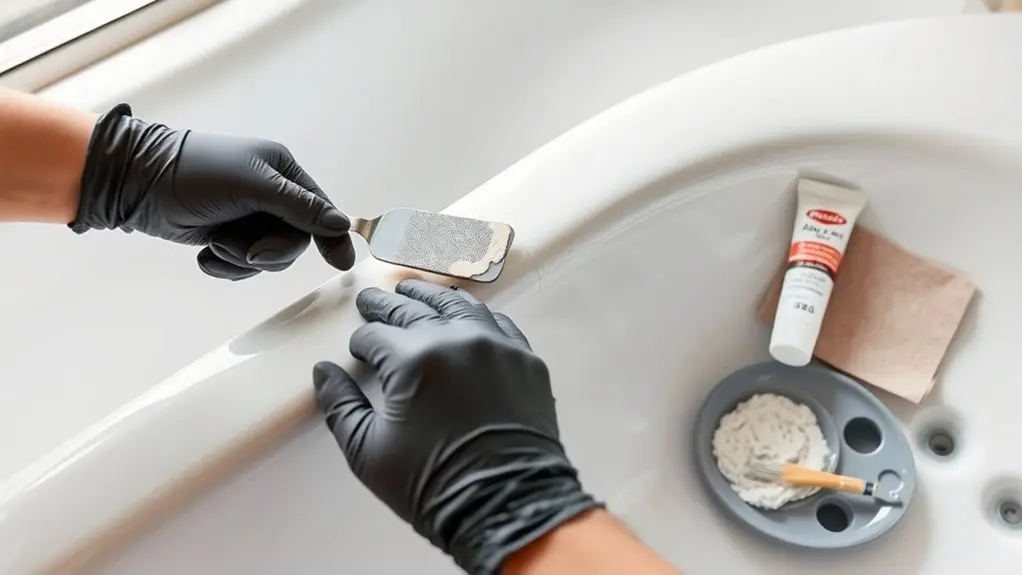
You’ll want to mix Kohler Poly Paste with about 3% to 5% cream hardener for the best curing results.
Just make sure the paste is thoroughly blended before you start applying it.
Once mixed, go ahead and apply the mixture right away.
It’s a good idea to slightly overfill any cracks or chips to ensure full coverage.
Just keep in mind you need to do this within five minutes.
Mixing Ratios Explained
A precise mixing ratio plays a critical role in ensuring a durable and professional repair with Kohler Poly Paste. To achieve excellent results, you’ll need to mix the poly paste with 3% to 5% cream hardener before application.
Here’s how to get it right:
- Use a precise measuring tool to add the hardener. Too little or too much compromises durability.
- Stir thoroughly until the mixture reaches a uniform consistency, ensuring even bonding.
- Apply the mixed material within 5 minutes to maintain ideal curing and adhesion.
Following these steps guarantees the repair will bond properly and deliver a smooth, professional-grade finish on your Kohler acrylic tub.
Application Tips and Techniques
Anyone tackling a repair must mix the Kohler Poly Paste with 3% to 5% cream hardener in a clean cup. Use the mixture within five minutes to guarantee maximum bonding.
Prepare the damaged area by grinding a V shape and cleaning with acetone. Use the stir sticks and applicator to slightly overfill cracks, ensuring proper leveling as it cures.
After curing, wet sand from 100 to 320 grit for a smooth finish. Always wear gloves and dispose of unused materials safely.
| Step | Action | Key Detail |
|---|---|---|
| Mix | Poly Paste + Hardener | Use within 5 minutes |
| Prepare | Grind & Clean | Acetone for debris |
| Apply | Overfill crack | Use provided tools |
| Cure & Sand | Wet sand 100–320 grit | Smooth surface finish |
| Safety | Wear gloves, proper disposal | Follow local guidelines |
Use Reverse Patch Technique for Kohler Acrylic Repair
The reverse patch technique offers an effective solution for repairing thinner Kohler acrylic tubs by reinforcing the damaged area with fiberglass cloth and epoxy resin. This method guarantees a strong bond and durability while maintaining the tub’s seamless finish.
To apply this technique correctly:
- Prepare the damaged surface by grinding a V-shaped groove and removing all loose debris.
- Cut fiberglass cloth to size, then saturate it with epoxy resin for ideal adhesion.
- Press the epoxy-soaked cloth onto the prepared area, guaranteeing even coverage and a smooth bond.
Using epoxy resin is critical because it adheres better to thinner acrylics, adding strength without compromising aesthetics.
Follow these steps to reinforce your repair effectively.
Sand and Finish Kohler Acrylic Repair Seamlessly
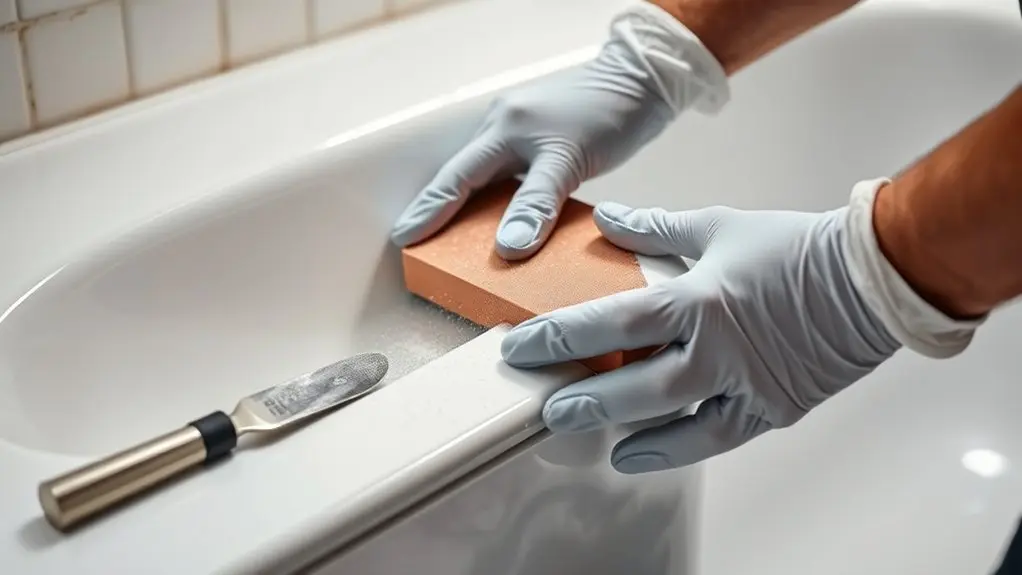
Several sanding steps guarantee your Kohler acrylic repair blends flawlessly with the surrounding surface.
Start with 100 grit sandpaper to remove excess material and begin blending the repair. Use even pressure to avoid gouging the acrylic.
Next, switch to 320 grit sandpaper for a smoother finish, creating a seamless shift between the repair and original surface.
Wet sanding is recommended throughout to minimize dust and prevent surface damage.
After sanding, polish the area using the rubbing compound included in your acrylic DIY kit to restore the tub’s original shine.
This method guarantees a professional, durable finish that matches the existing acrylic, maintaining both the aesthetic and structural integrity of your Kohler tub.
Follow Safety Tips When Repairing Your Kohler Acrylic Tub
After sanding and polishing your Kohler acrylic repair, protecting yourself during the next steps is just as important.
Handling chemicals in the Acrylic DIY Kit requires caution to prevent health risks and guarantee a successful repair.
- Always wear latex gloves when applying the Kohler Poly Paste to avoid direct skin contact with harmful substances.
- Work in a well-ventilated area, especially when using acetone or nail polish remover for cleaning. This helps reduce inhalation of toxic fumes.
- Carefully read the Safety Data Sheets and warning labels to understand hazards.
Dispose of unused materials according to local regulations to prevent environmental harm.
Following these safety measures guarantees you complete your repair effectively while minimizing health and environmental risks.
Frequently Asked Questions
Can I Use Household Cleaners on My Kohler Acrylic Tub?
You shouldn’t use typical household cleaners on your Kohler acrylic tub if they contain bleach or ammonia, as these can damage the finish.
Instead, choose pH-balanced, non-abrasive cleaners made for acrylic surfaces.
Always test any new cleaner on a small, hidden spot first.
Clean gently with a soft sponge or cloth, and rinse thoroughly to avoid residue buildup that could dull or discolor the tub.
How Long Does a Typical Kohler Acrylic Tub Repair Last?
A typical Kohler acrylic tub repair lasts between 3 to 10 years. You’ll get this durability by preparing the surface properly, mixing the Kohler Poly Paste accurately, and sanding smoothly.
Smaller scratches hold up better, while larger cracks need reinforcement like fiberglass cloth.
Keep your tub maintained and avoid harsh conditions to extend the repair’s lifespan and maintain the tub’s integrity over time.
Are There Professional Services for Repairing Kohler Acrylic Tubs?
Yes, you’ll find professional services specializing in Kohler acrylic tub repairs.
These experts use advanced materials like epoxy resin and fiberglass cloth to restore chips, scratches, and nicks effectively.
They often employ factory-matched repair pastes to guarantee seamless finishes and durability.
Choosing technicians experienced with Kohler products is essential, as their repair methods differ from standard acrylic tubs.
Checking user reviews can help you select a reputable, skilled service for lasting results.
Can Repaired Areas Withstand Hot Water Without Damage?
Like a fortress against the elements, repaired areas can withstand hot water without damage if you follow the right steps.
The Acrylic DIY Kit’s binding resin forms a strong bond with the surface, resisting heat and moisture.
You need to let the paste cure completely before use and wet sand the area for smoothness.
Always wear gloves and guarantee ventilation to protect yourself while working with these durable materials.
What Causes Cracks in Kohler Acrylic Tubs Initially?
Cracks in Kohler acrylic tubs start mainly from thermal expansion and contraction caused by temperature changes, which stress the material.
You can also cause cracks by dropping heavy objects or using abrasive cleaners that weaken the surface.
Over time, improper maintenance and exposure to harsh chemicals or moisture degrade the tub’s integrity, making it more prone to fractures.
Regular, gentle care helps prevent these issues before they develop.
Conclusion
You’ve gathered tools and prepared the damaged area. You’ve checked compatibility and mixed the poly paste precisely. You’ve applied the reverse patch and sanded the repair seamlessly.
Now, you’re ensuring safety throughout every step. Repairing your Kohler acrylic tub demands patience, precision, and proper technique.
Follow these steps, maintain focus, and achieve lasting results. With diligence, care, and the right approach, your tub will look and function like new again.