How To Remove Kohler Shower Handle With Set Screw – Guide
To remove your Kohler shower handle with a set screw, first turn off the water supply and gather an Allen key or hex wrench that fits the screw. Locate the set screw, which is often hidden under a decorative cap. Then apply steady counterclockwise pressure to loosen and remove it.
If it’s stuck, try using penetrating oil and gentle tapping. Once the screw is removed, you can clean, repair, or replace the handle as needed. Keep going to explore detailed steps and troubleshooting tips.
Gather Tools for Removing Your Kohler Shower Handle
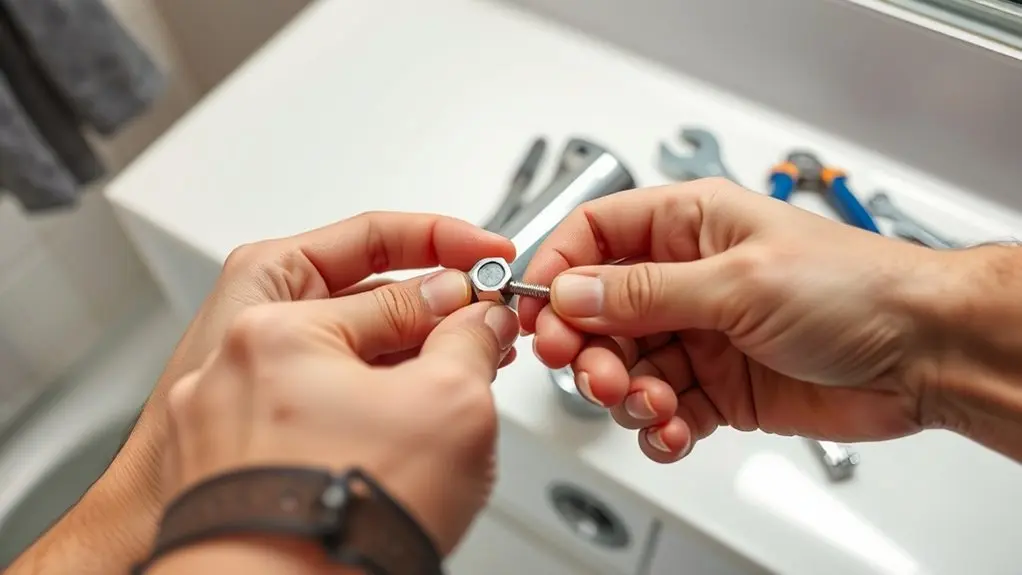
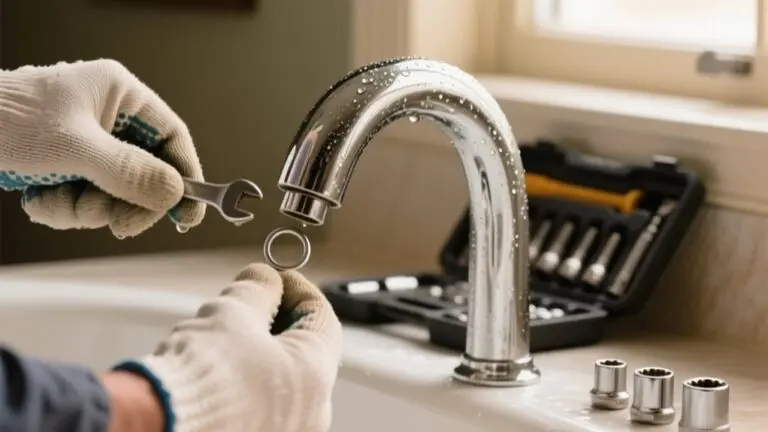
Before you begin removing your Kohler shower handle, make sure you have the right tools on hand. The handle material, usually metal or plastic, affects which tools you’ll need to avoid damage. Generally, a hex wrench or Allen key set is essential for loosening set screws without stripping them.
You might also need a screwdriver if your model uses screws instead of set screws. Have a cloth or rag ready to protect the handle surface while you work. It’s also a good idea to prepare a small container to hold screws and parts.
Be aware of your water pressure. Before you start taking things apart, turn off the water supply to prevent unexpected leaks or pressure buildup. Having these tools and precautions set will help make the removal process smooth and damage-free.
Locate the Set Screw on Your Kohler Shower Handle
Once you’ve gathered the necessary tools and shut off the water supply, the next step is to find the set screw securing your Kohler shower handle. The set screw location varies depending on the handle design. Typically, it’s hidden for a clean look.
Inspect the handle carefully. Some models have the set screw beneath a decorative cap, while others place it on the side or back.
| Handle Design | Set Screw Location |
|---|---|
| Lever Handle | Underneath decorative cap |
| Round Knob | Side or back of the handle |
| Cross Handle | Near the base or under cap |
Knowing your handle design helps you quickly locate the set screw. This makes the removal process much smoother.
How to Loosen and Remove the Set Screw
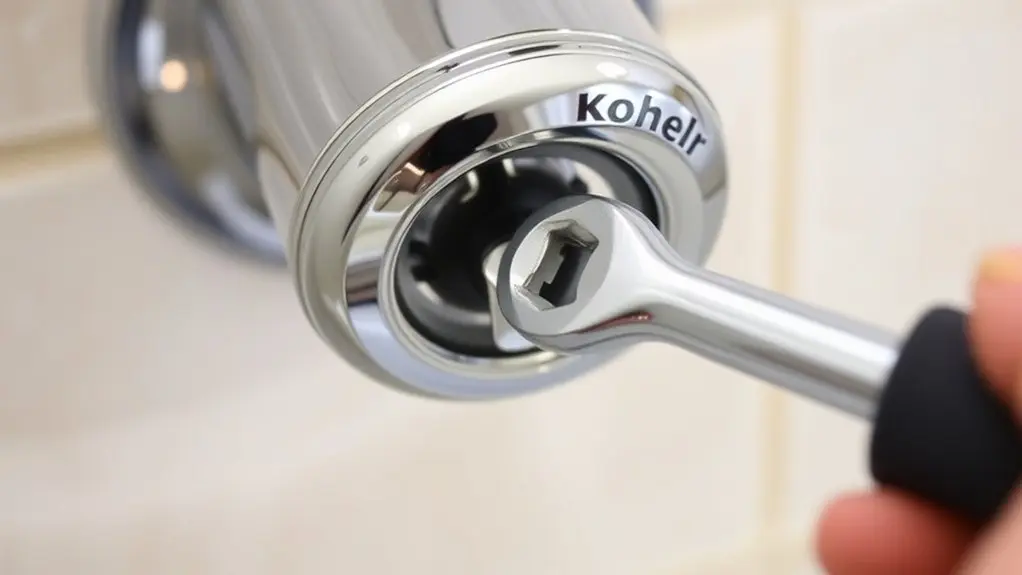
How exactly do you loosen and remove the set screw without damaging your Kohler shower handle? Proper handle maintenance starts with careful screw extraction.
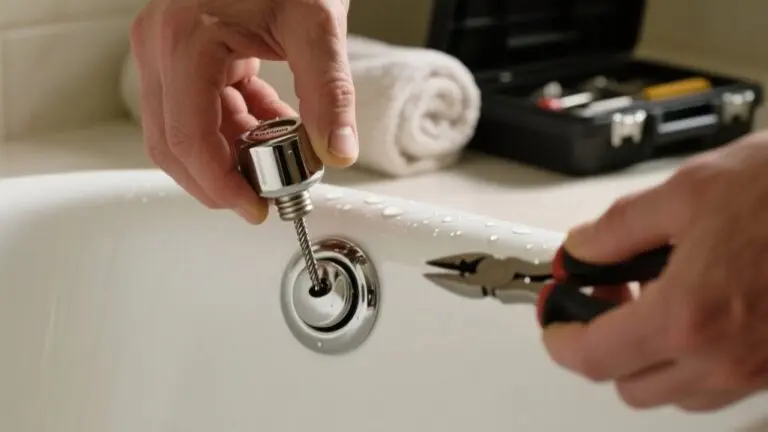
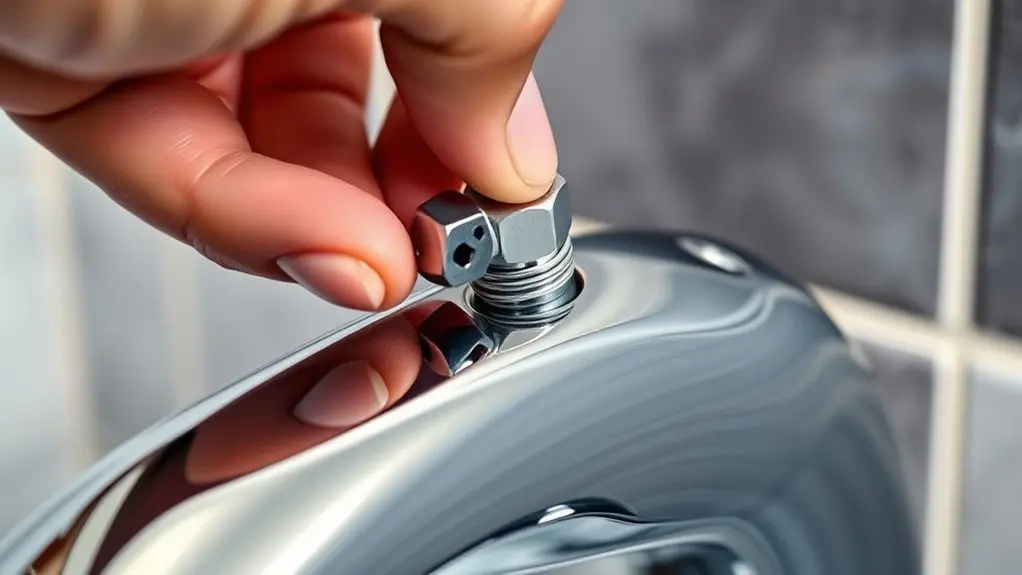
First, select the correct hex or Allen wrench that fits the set screw snugly to prevent stripping.
Next, apply steady, counterclockwise pressure to loosen the screw. Avoid sudden force that could damage the handle’s finish or threading.
Once the screw is loose, remove it completely and set it aside safely.
These steps guarantee efficient removal without harming your fixture. Using the right tool and technique is vital for preserving your Kohler shower handle’s integrity during maintenance.
Follow this method, and you’ll be ready to move confidently to the next step of handle removal.
What to Do If Your Kohler Shower Handle’s Set Screw Is Stuck
If your Kohler shower handle’s set screw is stuck, you’ll need to apply specific techniques to avoid damaging the handle or the fixture. Start by identifying the set screw type, commonly hex or Phillips, so you can use the correct tool.
Apply penetrating oil to the screw and let it sit for 10–15 minutes to loosen any corrosion.
Use a high-quality, properly sized Allen wrench or screwdriver for handle maintenance to prevent stripping the screw head.
If the screw remains immobile, gently tap the screw head with a hammer to break rust bonds. Avoid excessive force though; instead, try turning the screw counterclockwise with steady pressure.
If all else fails, consider using a screw extractor designed for stripped or stuck set screws.
Just make sure you maintain the integrity of your Kohler shower handle assembly while doing this. It can be a bit tricky, but taking it slow usually pays off.
Next Steps: Repairing or Replacing Your Kohler Shower Handle
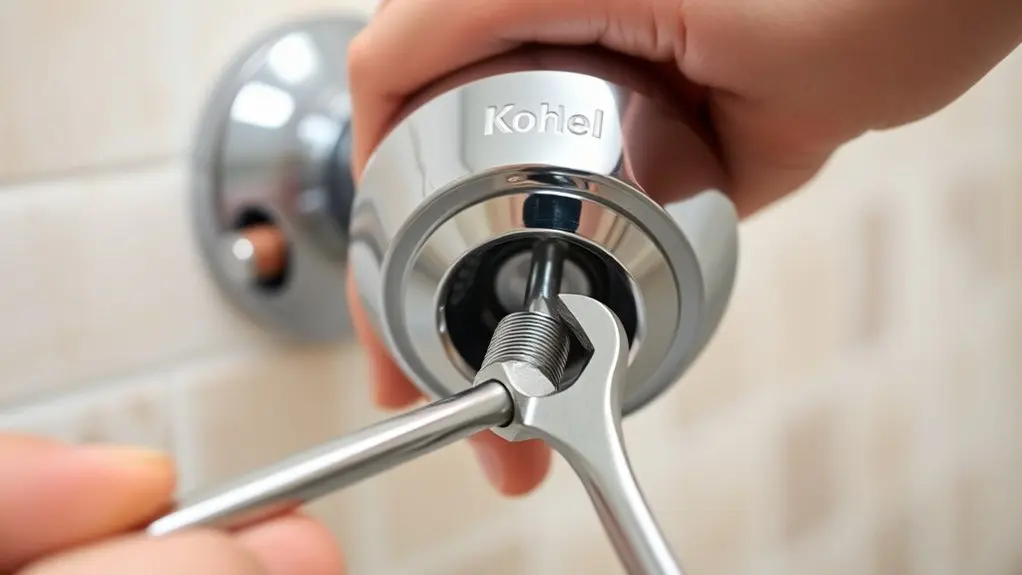
After successfully removing the stuck set screw, you’ll need to decide whether to repair the existing Kohler shower handle or replace it entirely. Use these DIY tips to avoid common mistakes and ensure a smooth process.
First, inspect the handle for cracks or corrosion. You can repair minor damage with epoxy or replacement parts. Next, clean the internal components thoroughly to prevent buildup that can impair functionality.
If the handle is worn or damaged beyond repair, choose a compatible Kohler replacement handle. Then, follow the manufacturer’s instructions for installation.
Avoid forcing parts or skipping cleaning steps. These common mistakes can cause leaks or poor handle operation.
Taking a methodical, hands-on approach will save time and improve longevity, whether you repair or replace your shower handle.
Frequently Asked Questions
What Types of Kohler Shower Handles Use a Set Screw?
Kohler shower handles that use a set screw are usually older or classic models. They’re designed to make handle repair and replacement parts easy to access.
You’ll often find these set screws hidden under a decorative cap or at the base of the handle, where it attaches to the valve stem.
When it’s time to replace or repair the handle, loosening this set screw lets you remove the handle without damaging the fixture.
This makes maintenance a lot more straightforward. It’s a simple way to keep your shower working smoothly without extra hassle.
Can I Remove the Handle Without Turning off the Water Supply?
You can remove the Kohler shower handle without turning off the water supply, but it’s not recommended for water safety. Handle maintenance often involves exposing internal parts, which might cause leaks or accidental water flow.
To avoid water damage or injury, it’s safer to shut off the water supply before removal. This precaution guarantees a controlled environment, preventing unexpected water release and making handle maintenance easier and safer.
How Do I Identify the Correct Replacement Handle Model?
Like a detective piecing together clues, start by examining your handle’s color and material closely. They’re your best leads. Match these with Kohler’s official model charts or manuals.
Check for stamped model numbers or logos on the handle’s underside. Then, consult Kohler’s website or customer service with these details to pinpoint the exact replacement handle model.
This guarantees compatibility and preserves your shower’s style and function seamlessly.
Are There Special Tools Recommended for Kohler Shower Handle Removal?
Yes, you should use tools compatible with your Kohler handle design, typically a hex key or Allen wrench for set screws.
Make sure the tool size matches the screw to avoid stripping.
Some handles may require a Phillips screwdriver or a specialized Kohler handle puller for tight fits.
Using the right tool ensures efficient removal and protects the handle and valve from damage during the process.
This helps maintain the overall fixture integrity.
What Causes a Kohler Shower Handle to Become Loose Initially?
You might notice your Kohler shower handle becomes loose because water pressure fluctuates, gradually loosening the set screw inside.
Over time, handle corrosion can eat away at the metal, weakening its grip on the valve stem. These factors combine, causing the handle to wiggle or slip.
To fix this, you’ll need to tighten or replace the set screw and address any corrosion to guarantee a secure, lasting fit.
It’s a simple fix once you know what’s going on, and it helps keep your shower working smoothly.
Conclusion
Now that you’ve removed the Kohler shower handle by loosening the set screw, you might wonder if applying lubricant beforehand really helps. In practice, a little penetrating oil often eases stuck screws, saving time and frustration.
If it doesn’t, carefully using the right tools avoids damage. With the handle off, you’re ready to repair or replace it confidently.
Following these steps guarantees a smooth, efficient process every time.